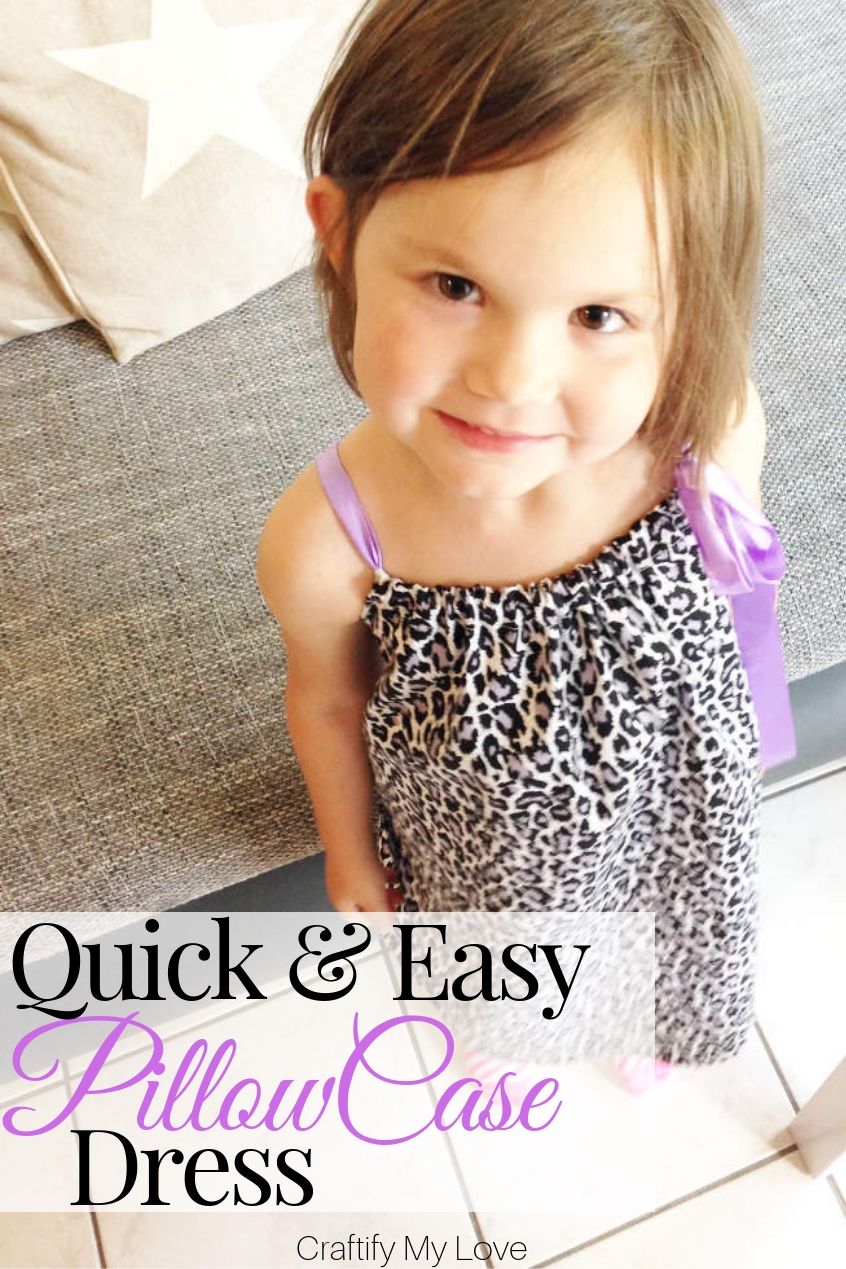
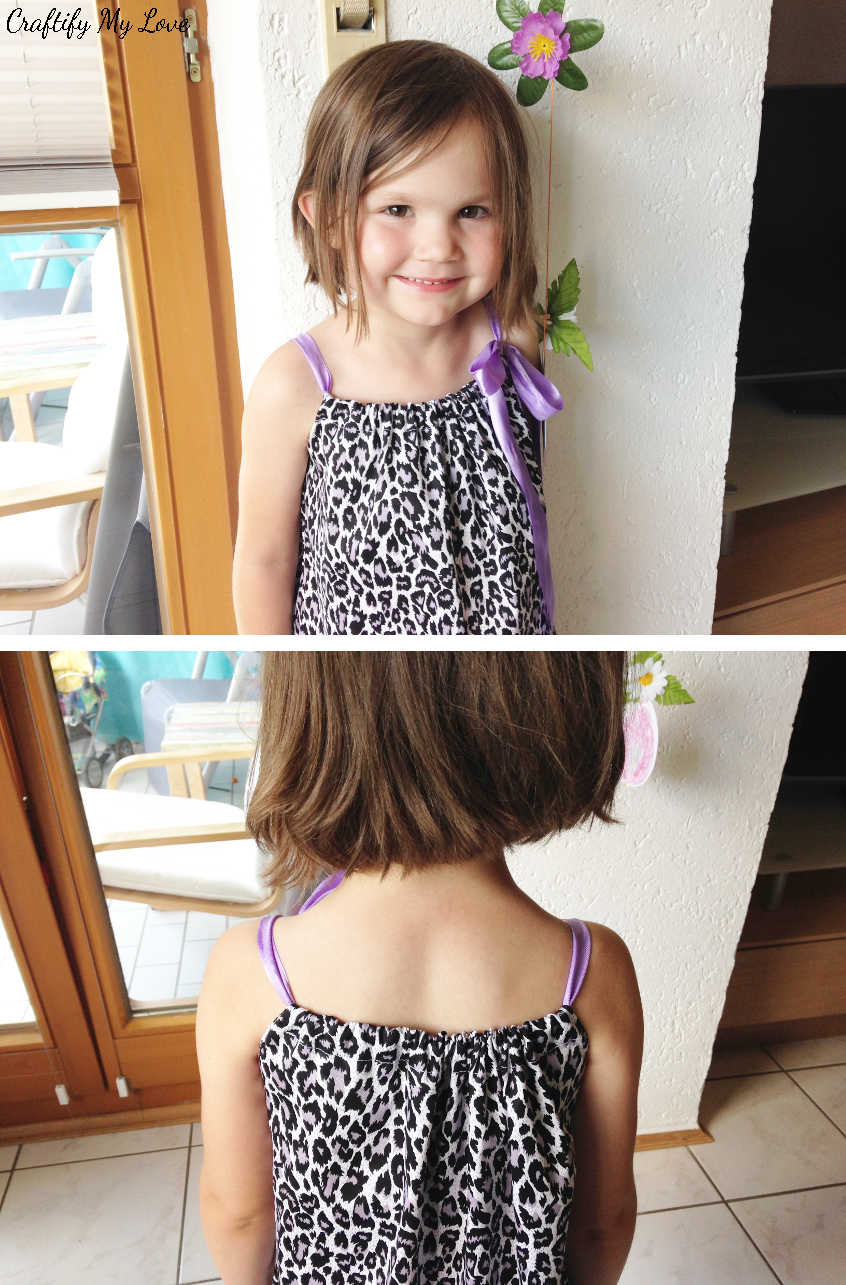
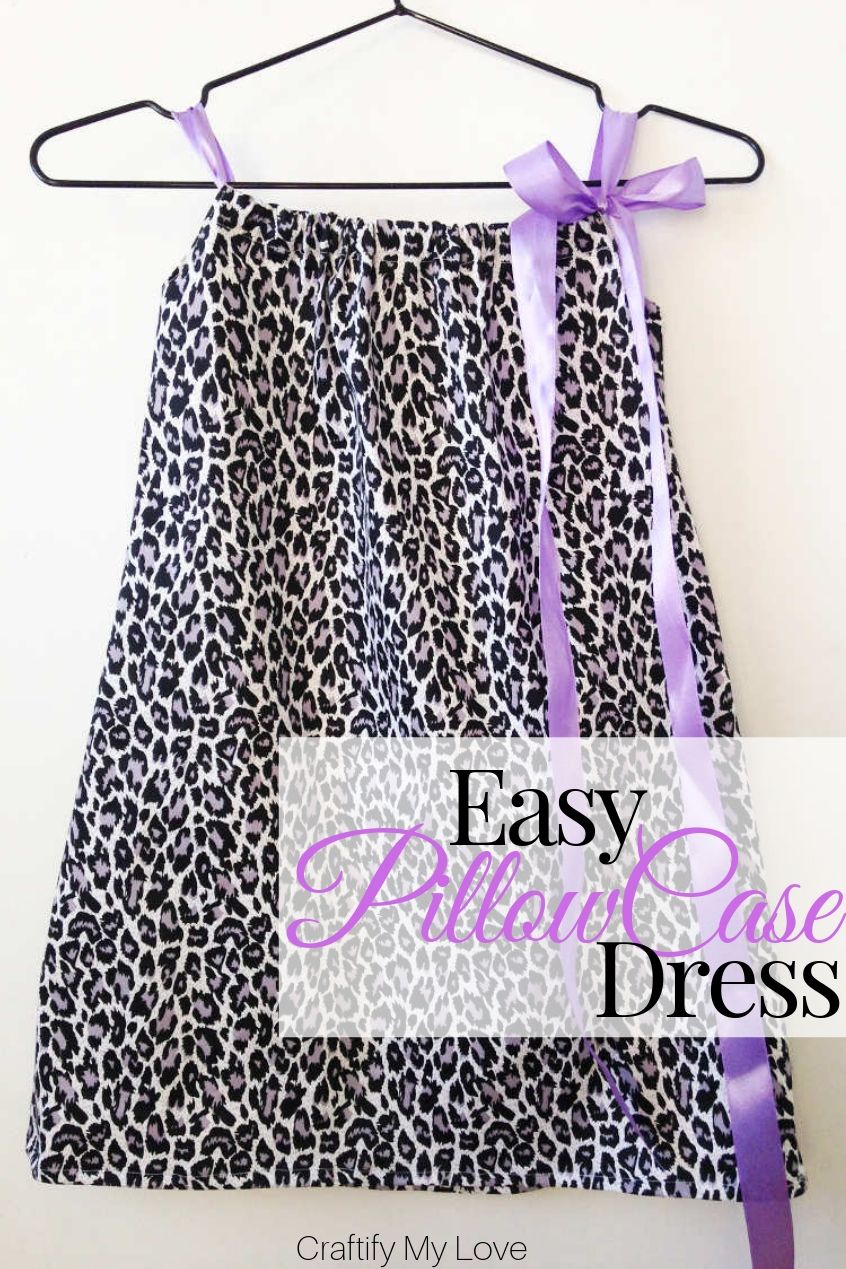
Last summer I made this cute a-line dress for my little god-daughter and today I want to show you how to make the pattern and sew a simple pillowcase dress for your little girl this summer.
In case you want to DIY that cute little Felt Owl Bookmark for or even together with your kid, too, you’ll find the instructions and a variety of accessory templates to customise the felt owl or even turn it into a penguin.
Bring on the Crafts — A Craft & DIY Blog Hop

On the first Friday through Sunday of each month, a group of DIY and crafty bloggers join forces. Together Marie from The Inspiration Vault and I, the creative mind behind Craftify My Love, we bring you the #BringontheCrafts blog hop. Each blogger creates a fun craft or DIY project to share that follows a monthly materials theme. June’s theme is Fabric! Each blogger chooses their own craft to make as long as they love it and it uses Fabric in the project.
Our June’s Co-hosts
Jenny at Cookies, Coffee and Crafts •
Erlene at My Pinterventures • Marie at DIY Adulation • Michele at Coastal Bohemian • Beverly at Across the Blvd • Gail at Purple Hues & Me
Join in on the fun! If you’d like to participate next month, you can request to join our Bring on the Crafts Facebook Group. Next month’s theme is Buttons & Beads!
Not a blogger, but a creative mind none the less!? Don’t worry, share your awesome creations in our Craft Cult Facebook Group. This is also a great place to ask craft & DIY related questions and find inspiration for your next project.
Want to see what other projects I’ve made for this challenge?
-
- How To: Sparkly Spring Painted Flower Pot
- DIY sparkly butterfly or fairy wings
- Easy NO-SEW Butterfly Family Costume
- Floral Cardboard Cut-Out Sign: Be Happy
- How To Make A Fall Fairy Garland
- Butterfly Themed Couples Costume for Halloween
- Simple & Elegant Single Maple Leaves Fall Wreath
- DIY Hygge Mini Christmas Trees
- Hand-Printed Recyclable Gift Wrapping Paper
- Mini Envelopes from Recycled Handlettering Practice Sheets
- DIY Jewelry – Dried Flowers Wood Pendants
- Cutting Machine made Felt Flower – Anemone (1 of 5)
- Hand-Stamped Tea Towel
Find even more projects by my fellow creators using Fabric at the very end of this post!
Supplies for Quick&Easy Little Girls Summer Dress
This post contains affiliate links. That means if you make a purchase through these links, I may receive a small commission at no extra cost to you! You can click here to read my full disclosure.
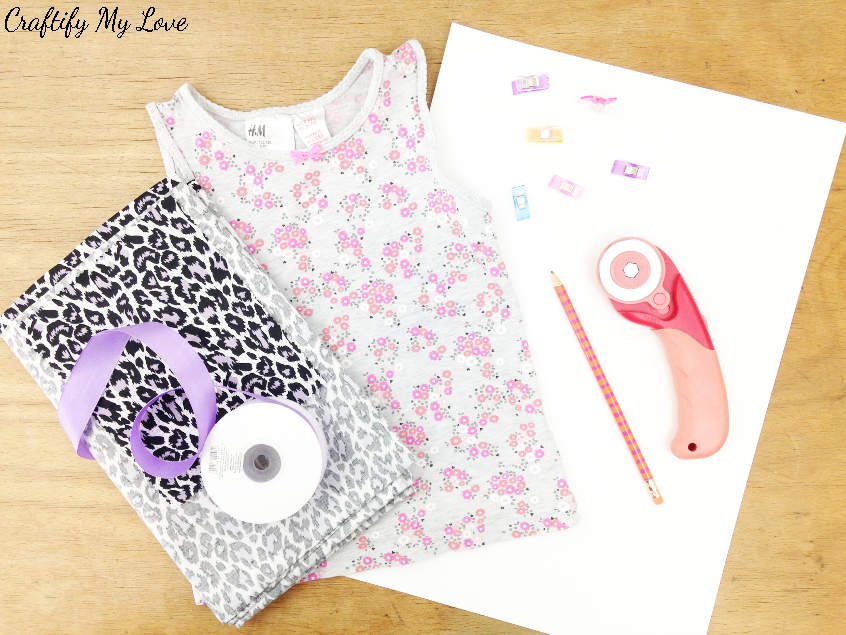
Pattern Making:
- Tank-top, shirt, or undershirt that fits your little girl at this moment
- 2 Sheets of paper + tape
- Pencil
- Scissors to cut paper
Dress Making:
- Fabric (buy some new one if your little girl request a special design like mine did, use left overs, or upcycle a pillowcase)
- Ribbon or lace
- Loop turner (best invention ever!! saves a lot of nerve), alternatively use a safety-pin
- Fabric scissors (never use these for paper!!) or
- Rotary cutter & self-healing cutting mat (here is a great value set!)
- Clips (it’s good to have them in different sizes) or pins
- Sewing machine (I love my Brother Anniversaire 300)
How to Make the Pattern and Sew a Simple Pillowcase Dress for Your Little Girl this Summer

Video Tutorial: Make the Pattern and Sew a Simple Pillowcase Dress
If you enjoy Video Tutorials, make sure to sign up to my YouTube channel HERE.
Step-by-Step Written Instructions for Quick & Easy Little Girls Summer Dress
How to Make the Pattern
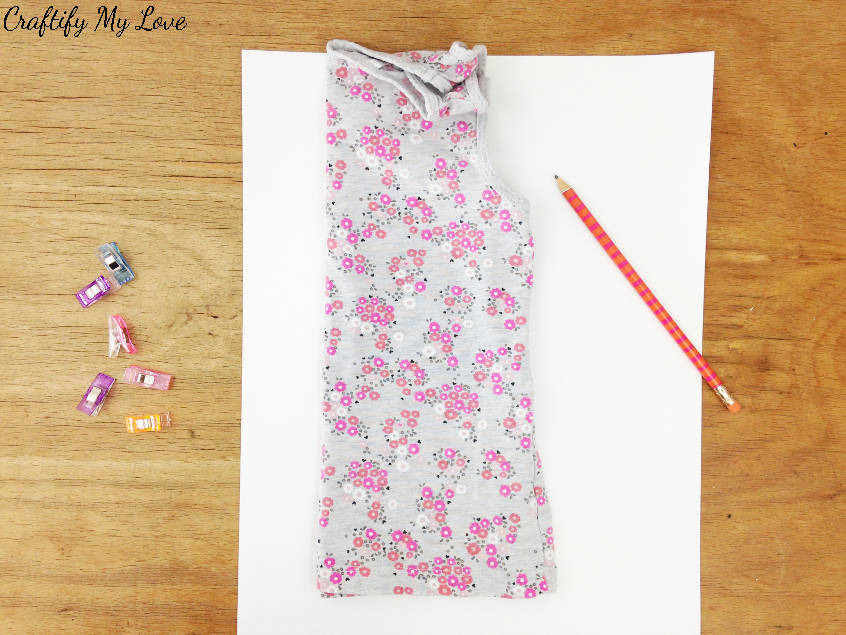
Use a shirt or undershirt from your little girls wardrobe. Fold the straps down and the shirt in half, place it on a sheet of paper. Leave 2 inches or 5 cm space to the left – this way the dress will be 4 inches or 10 cm wider than the shirt. Your little girl will want it to swing, right? Trace along the right side and keep going until you’ve reached the length you desire. You might need to add a second sheet of paper using some tape. Cut out your DIY pattern along your markings.
Preparing the Fabric
As this dress is very loose in fit, I didn’t bother to shrink the fabric before sewing. This way I didn’t have to iron it to work with a wrinkle free material. Fold your fabric right sides facing and place your pattern right next to the fold on wrong side of your fabric. Clip it in place. Trace the pattern and add 0,5 inches or 1 cm seam allowance. Cut out with seam allowance & repeat. I love to use my rotary cutter and self-healing cutting mat for that step (here is a great value set). It saves a lot of time and nerves, lol. You’ll end up with 1 front and 1 back.
How to Sew a Super Simple Pillowcase Summer Dress
What stitches to use?
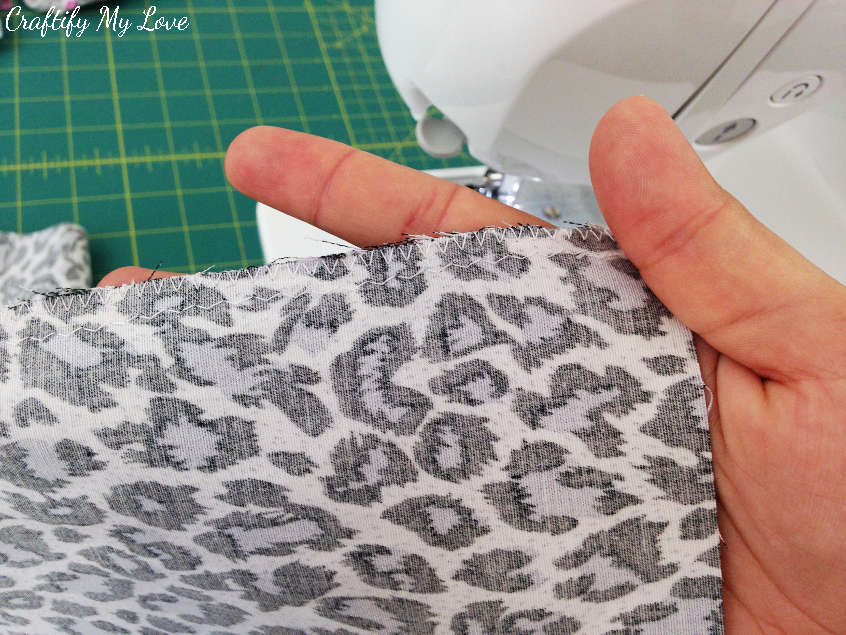
If you are using a slightly elastic fabric and a regular sewing machine rather than a serger you should use a zig zag stitch to make the side seams stretchable (you don’t want them to rip when your little girl is putting the dress on or off). If you choose a very short width and a very long stitch you’ll end up with an almost straight, slightly curvy stitch (see the lower seam in picture below) and that is perfect!
Closing the sides:
Place the front and back on top of each other with right sides facing. Clip or pin the sides together and sew your dress together on both sides.
Cleaning the edges:
If necessary trim edges to be even. Using a zig zag stitch you’ll make sure the edges won’t fringe (see top seam in pic above).
Related:
Sewing the top part:
See those flower pins next to my little girl? Learn what they are for and how to make them HERE.
Fold in the edges of the underarm section twice and clip or pin it. Sew along the line with a straight stitch.
Zig zag stitch both top edges of the dress. Fold it over once to create a tunnel. Clip or pin & sew with a straight stitch. Repeat on the other side.
Sewing the bottom seam:
Fold the bottom seam of your little girls pillowcase dress in twice, fix it with clip or pins, and sew around the cress with a straight stitch.
Creating the straps:
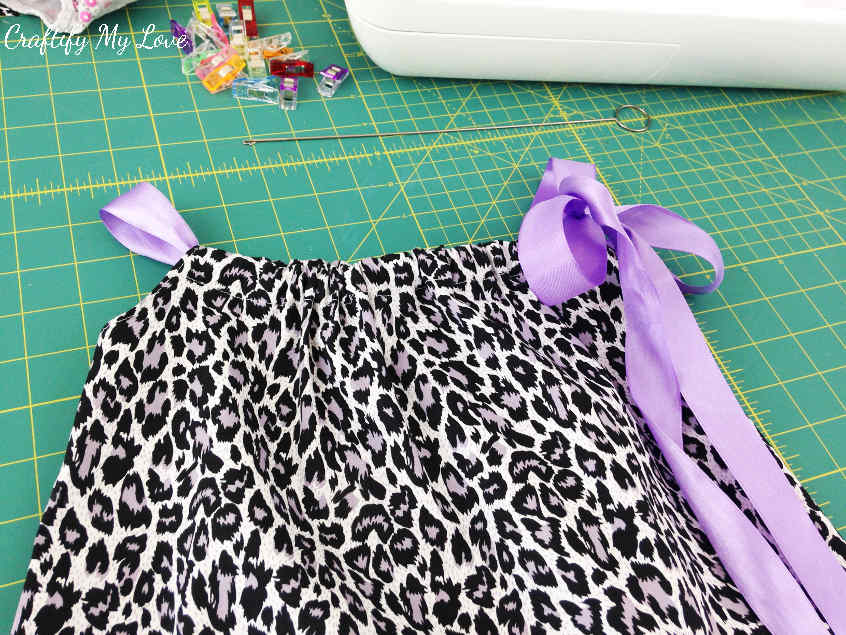
Using a loop turner (thank the lord someone invented that thing!!) you’ll be threading a length of ribbon through the entire tunnel in the top of the dress for one bow. In case you’d rather have two closing points (a bow on each shoulder) use two pieces of ribbon and thread one through the back and one through the front tunnel.
Cut pointy tails and seal the cut with a lighter.
Get your little girl to help:
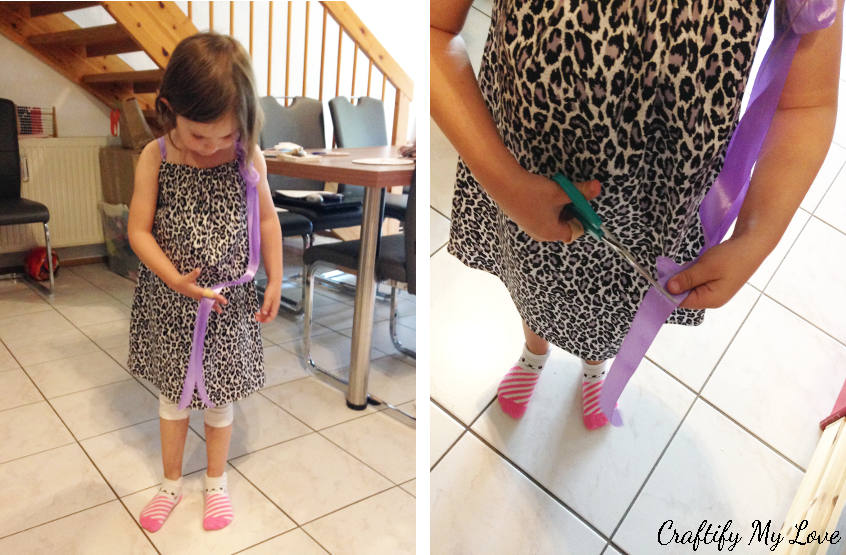
I asked my god-daughter how long she wants her ribbon to be and let her cut it off on her own. Of course we used children’s scissors for safety reasons!
Tip: Watch the Video Tutorial if you are a visual learner like me.
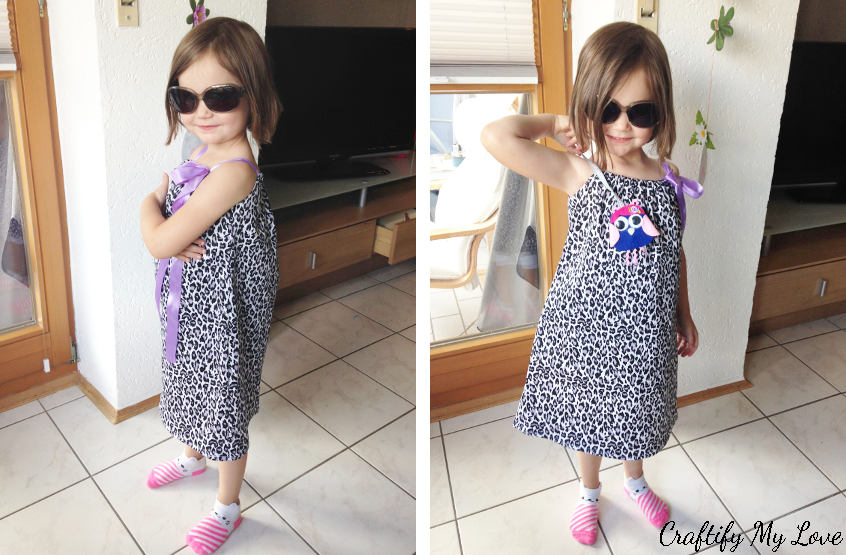
Time for a Little Photo Session
My god-daughter and I love to goof around with my phone. We took selfies together from day 1 of her being born. She knew which button to press to make a photo pretty early and still loves sitting on my lap going through the pics we’ve taken together.
I love documenting her growing up, what adventures we’ve taken together, what gifts I made for her (here is another one), and what gifts she made for me. See that cute little red dinosaur in the next photo?
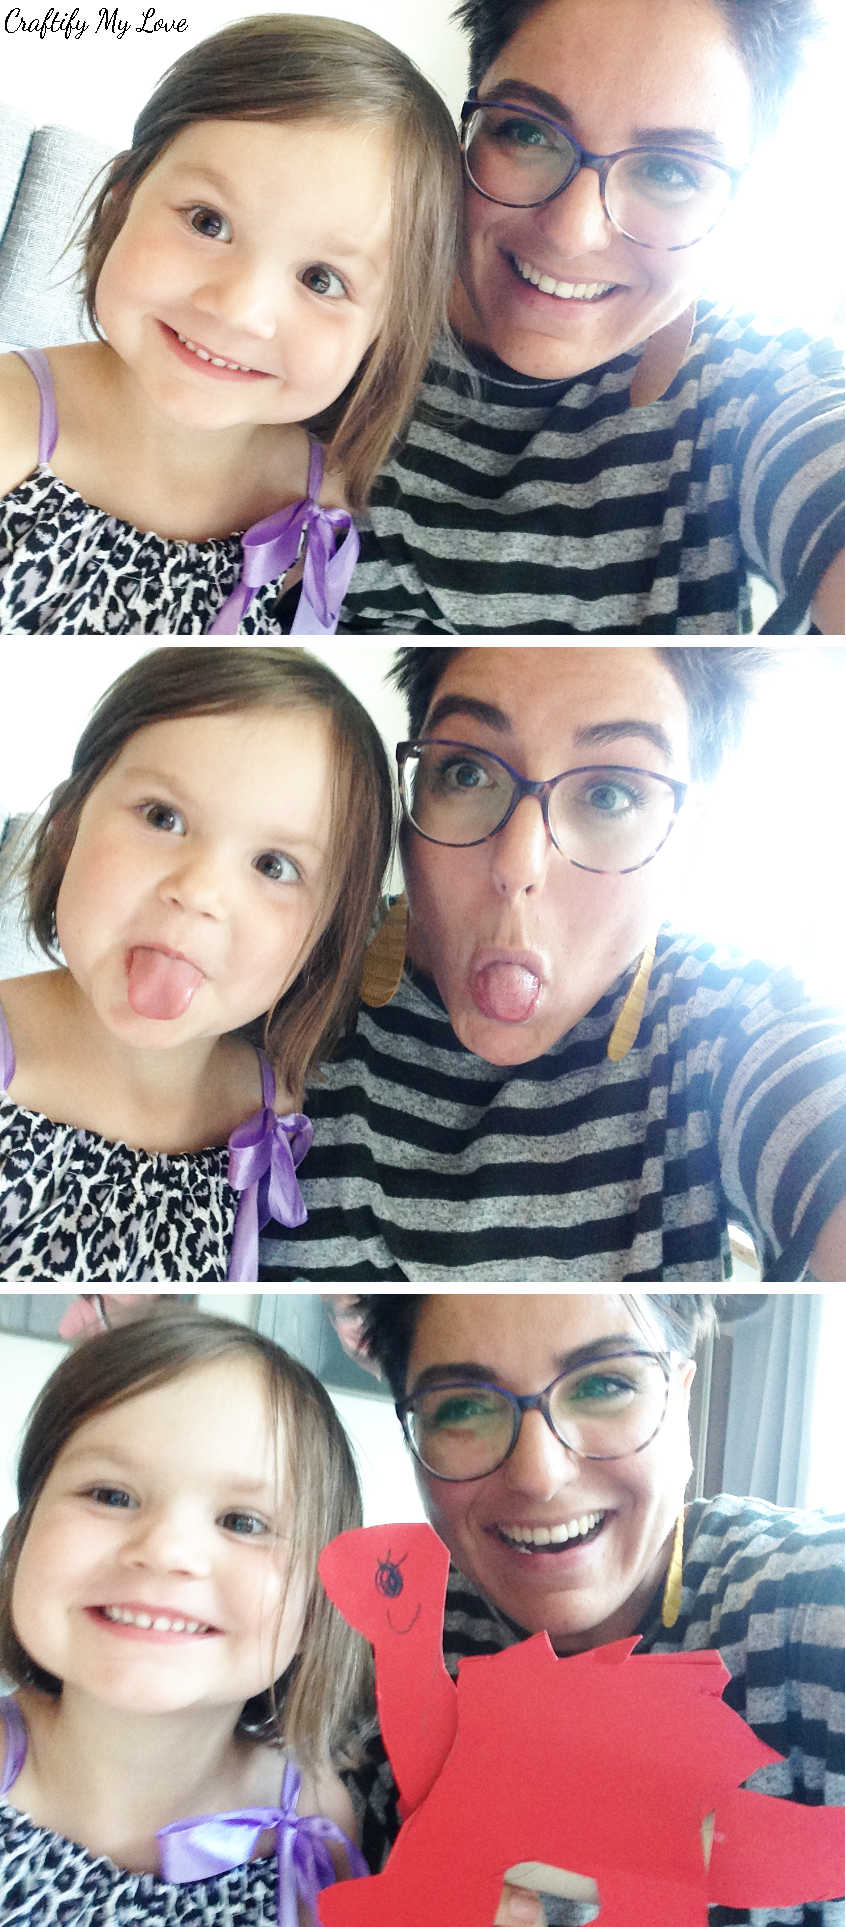
She told me it’s a good luck dragon and whenever I touch it I will be granted a wish. Awwwww! It was her thank you for me sewing her that leopard a-line dress with the pretty purple bow. Needless to say leopard (aren’t we both rocking that look? And here, too.) and purple are my god-daughter favourites!
#KindredSpiritsWeAre
Do you have a little girl in your life you will be sewing this simple pillowcase dress for?
Love,

PS: Make sure to PIN this for later!
PPS: Find even more fabric projects further down or sewing for kids inspiration over at FaveCrafts.com.

This is sweet as can be. Brings me back to making all my daughters clothes. Sharing to my FB peeps pinned to several boards.
Thank you, Michele, for all of your support. I really appreciate it! ?
You are so clever. I am no seamstress…and that is an understatement. I have to love a piece of clothing to sew a button back on. But this darling dress looks so doable. Thank you for inspiring me to want to try my hand at sewing again.
My dear Leslie, fixing clothes that have a ripped seam or a missing button is not my thing either. I have a full basket of pieces that I should either give some TLC or donate for them to have the chance for a second life ? I’m happy you like this dress and might give a sewing project a try.
I absolutely love this and it is so cute. Thank you so much for sharing with To Grandma’s House We Go – I’ll be featuring you next week – Pinned!
Thank you so much, Chas! I’m thrilled you like it.
Oh, I never got round to making one of these for my daughter when she was younger, and she’s too big for it now. Maybe a pillowcase top? That she can wear with shorts or leggings? I’ll have to think about it.
Thank you for sharing at The Really Crafty Link Party. Pinned!
A top would be great, too! I’m sure she’d love it! Thank you for your support.
What gorgeous photos! Such a sweet dress too.
Thank you, Julie. My little girl and I love to have little photo sessions ??????
What a cute sewing project for a beautiful little girl. The Blogger’s Pit Stop will feature your post on the next Pit Stop. Very nice.
Kathleen
Thank you, Kathleen. I’m very grateful for your support