Today, I am sharing a tutorial on how to make a DIY Felt Flower Anemone. It is my submission to this months floral themed Bring On The Crafts Blog Hop (but more on that further down). You will learn how to make these wonderful little felt blossoms using a cutting machine. But not only that. You’ll also be able to download and print the free template to make this beautiful felt anemone old school by hand.
This tutorial is part one out of a five piece felt flower series. I’ll be sharing the rest of the series over the next view months, so make sure to sign up to my newsletter if you don’t want to miss them.
But there is more: Ultimately, this felt flower tutorial series will lead into detailed step-by-step instructions on how to DIY Initial Wood Sign with Felt Flowers. I designed and made it for my friend Tobias’s wedding. Click HERE to see what DIY gift idea I gave the beautiful couple to their housewarming party last year.
But first, lets talk about something altogether different that might have happened to you before…
Crafty fails and how to deal with them!
This post contains affiliate links. That means if you make a purchase through these links, I may receive a small commission at no extra cost to you! You can click here to read my full disclosure.
For once, I didn’t start making the wedding gift for my friends super last-minute.
And I am sooooo very happy I didn’t. Why? Because I happened to experience a major craft fail. This happens only once in about a 100 projects, you guys, but it is the reason why I sometimes have difficulties starting a project. I am suffering from some sort of DIY anxiety at times…pretty stupid, I know. But maybe you can relate?
Markus gave me my Brother ScanNCut cutting machine for Christmas and I am still in the process of learning how to use it with all sorts of different materials. You are supposed to be able to cut not only paper and vinyl, but also cork, felt, yeah, even wood with it. Pretty awesome, right?
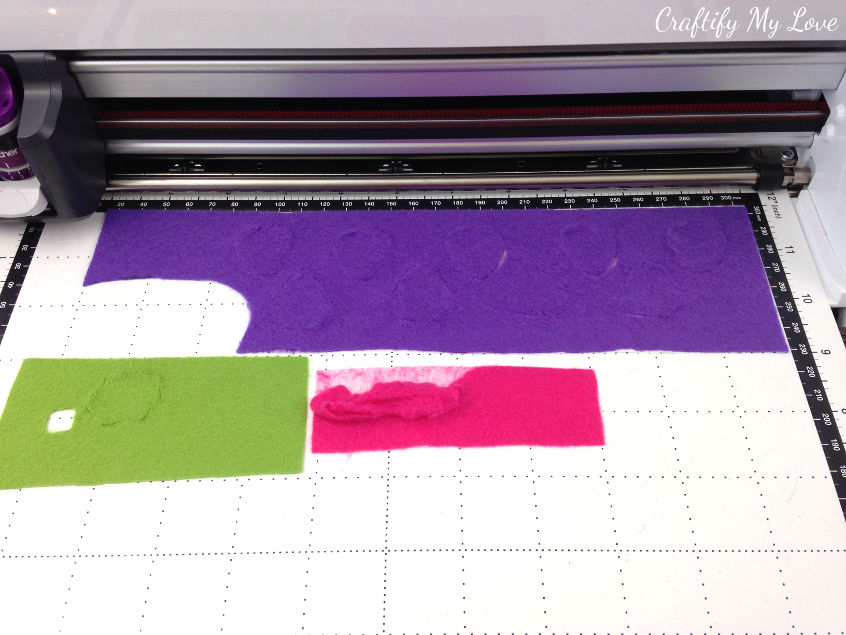
Only thing is, when I tried working with felt for the first time it wouldn’t let itself be cut nice and clean. The blade would dive into the felt alright, but then only shove it around the cutting matt rather than cutting precisely through it. Argh!
So what do you do in a crisis?
- You take a step back from your project.
- Maybe even leave the room, grab a refreshing drink or a cup of coffee, and take a deep breath.
- Think about WHY this annoying fail happened.
- And lastly, come up with a solution.
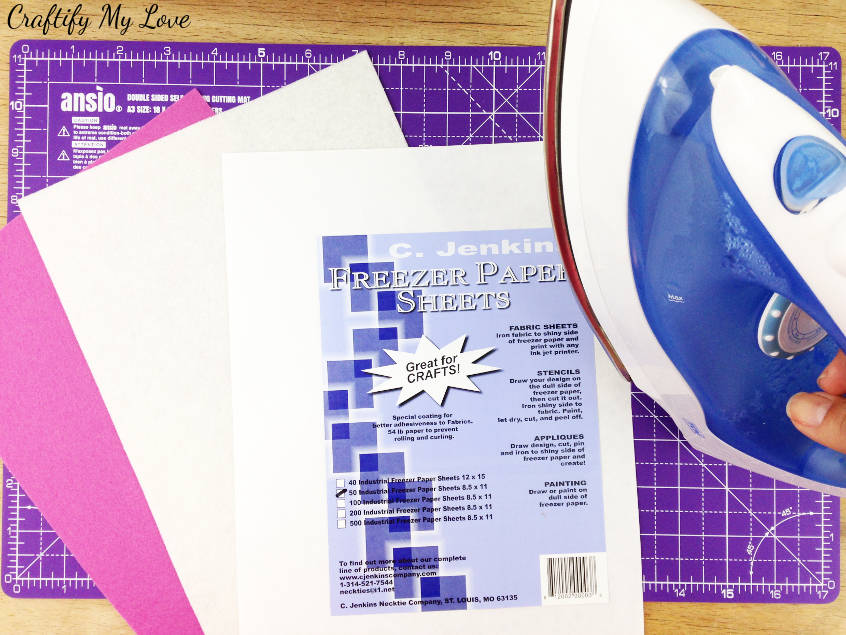
Freezer paper to the rescue!
I figured the felt (100 % wool) was too soft for the blade to cut it neatly. So I tried to come up with an idea on how to make the felt more sturdy.
I simply ironed freezer paper to the back of my sheet of felt and tried again. It worked!
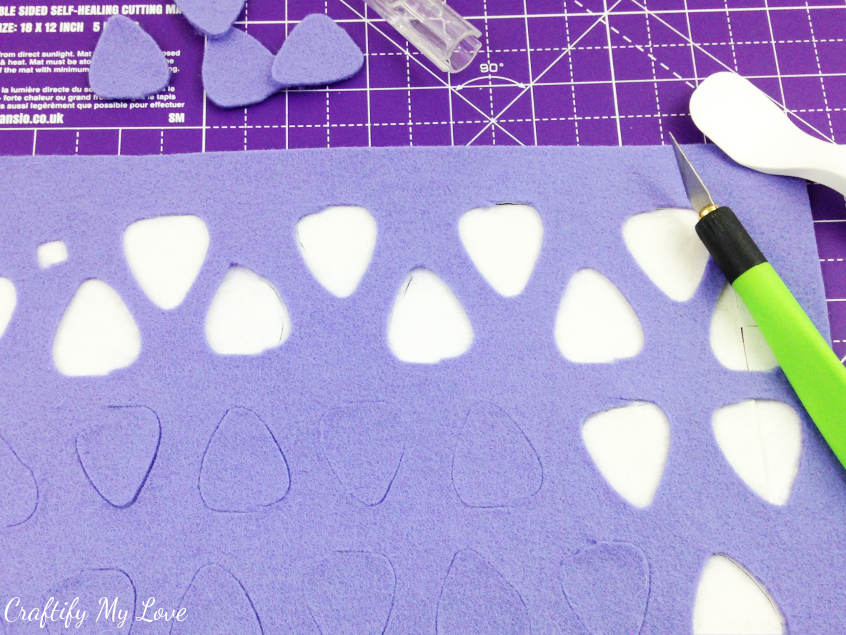
Mind you, there were still places where the knife of my cutting machine didn’t quite make it through. But that was easily fixed with my X-Acto Knife and my cute purple cutting mat.
There is always room to optimise!
Now, I wish I could get ahold of a Cricut Maker (but, living in Germany, sadly I can’t) as I think the rotary blade (imagine a tiny pizza cutter) that comes with it would actually do an even better job. Trying out a different kind of felt (an already stiff one that is) is on my list, too.
Dear friend, I truly hope…
…that whenever you hit one of those crafty fails, it won’t stop you creating, but rather push you to be even more creative!
How to make a DIY Felt Flower Anemone
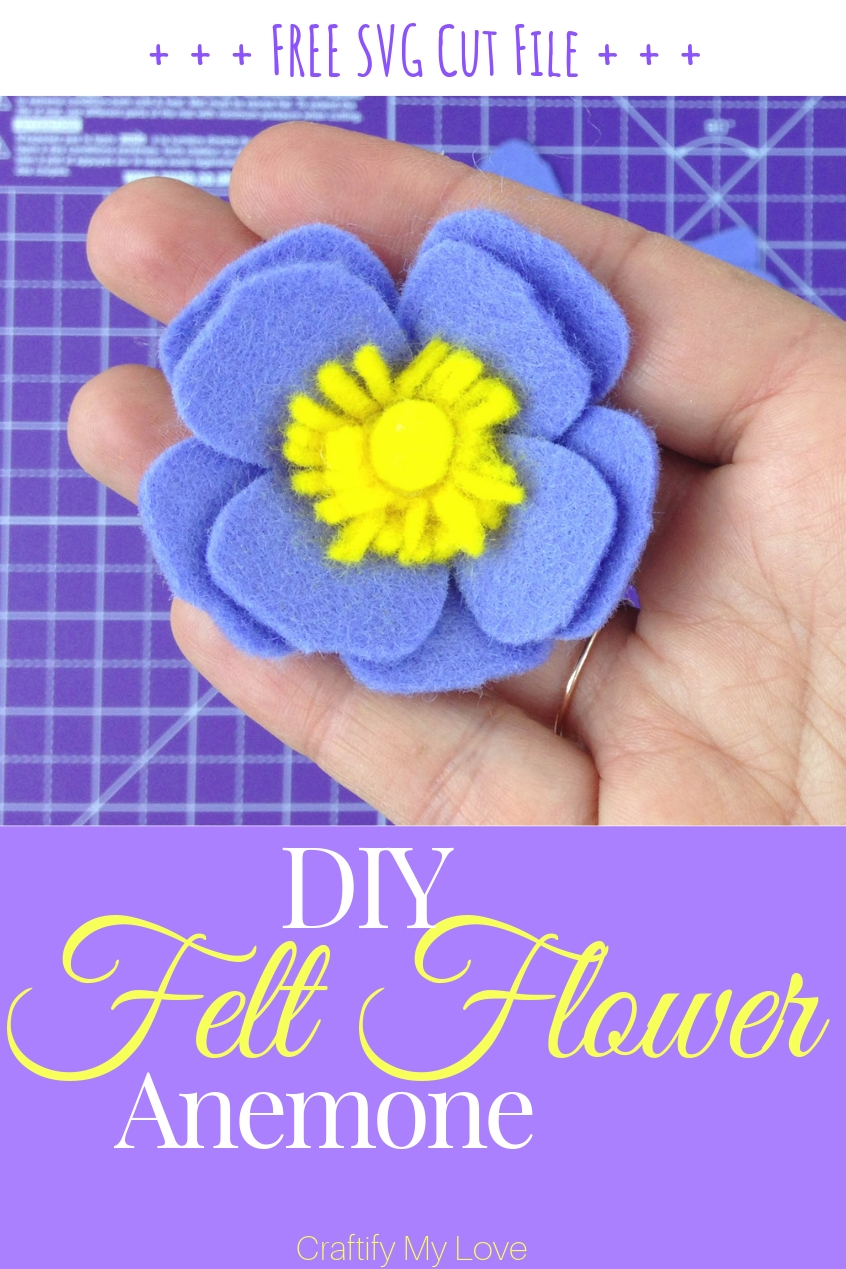
This is what you’ll need:
Supplies
- Template for the flowers petals and core (FREE download HERE)
- Felt in various colours (I used lavender & yellow by a German shop called Tolle und Wolle ? Thank you for your craft saving super quick delivery!!)
- Pom poms (I used yellow to match my flowers core)
- Freezer paper
Don’t forget to download your FREE SVG Cut File or FREE Template for Hand-Cutting your felt flower petals.
Tools
- Cutting machine >> like a Cricut Maker, Brother ScanNCut, or a Silhouette Cameo 3
- X-Acto Knife & Cutting Mat (here is a great value set you should check out)
- Scissors
- Hot glue gun & glue sticks
Video Tutorial: How to Make a Felt Anemone using a Cutting Machine
If you enjoy Video Tutorials, make sure to sign up to my YouTube channel HERE.
4 Simple Steps to DIY a Felt Flower Anemone by Hand
If you don’t own a cutting machine, that is no problem! You can totally make these darling anemone flowers by hand, too.
- Download and print your FREE Template HERE as a thank you for subscribing to my newsletter.
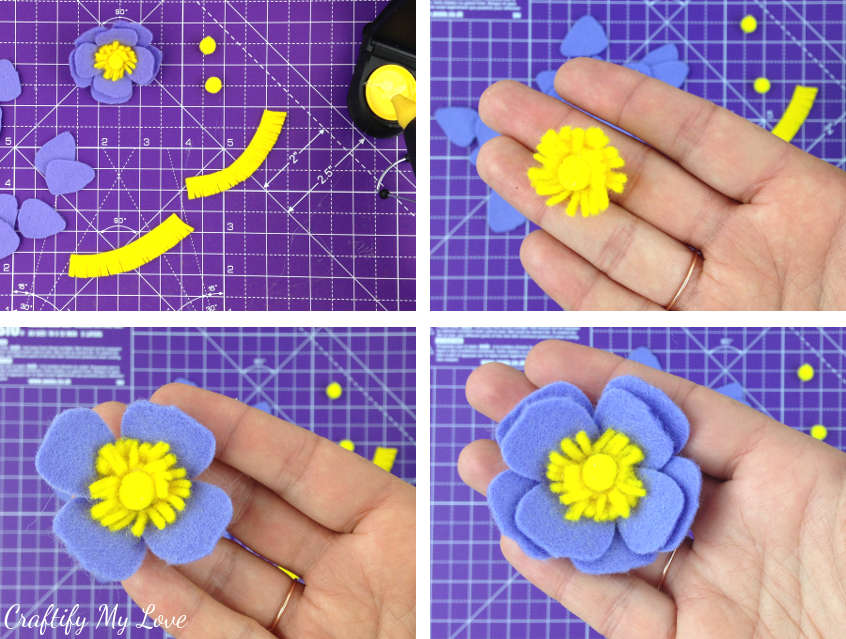
- Cut out 9 petals in your main colour (in my case lavender) and a rectangle stripe (2 inches wide and 0,5 inch tall or 5 cm wide and 1,3 cm tall) in your secondary colour (in my case yellow although I should have used black or dark grey for a super realistic anemone). Cut even little slits into the top 2/3 of that rectangle.
- To create your felt flowers center, you’ll roll the pre-cut yellow rectangle around the pom pom and fix it using your hot glue gun. Does that make any sense? If not, go watch this step in the Video Tutorial HERE.
- Now it is time to build up your flower. Start gluing the first 4 petals around the flowers base. Once finished, add a second layer of 5 petals.
And, you’re done!
They turned out super pretty, right?
I think you might like these Flower Crafts of mine, too. And if you need even more inspiration, why not hop on over to FaveCrafts.com and check out their flower section?
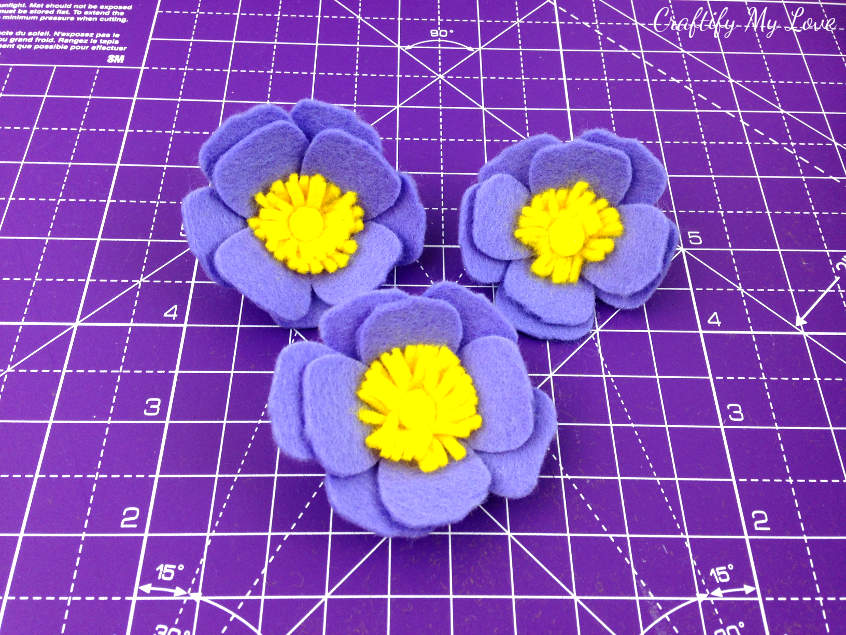
Tip: You could easily add some foliage by cutting out leaves from green felt and gluing them under the flower. If you also want to add a stem you could poke and glue a green sturdy craft wire into your pom pom right at the start of this project.
DIY Felt Flower – The Complete SERIES
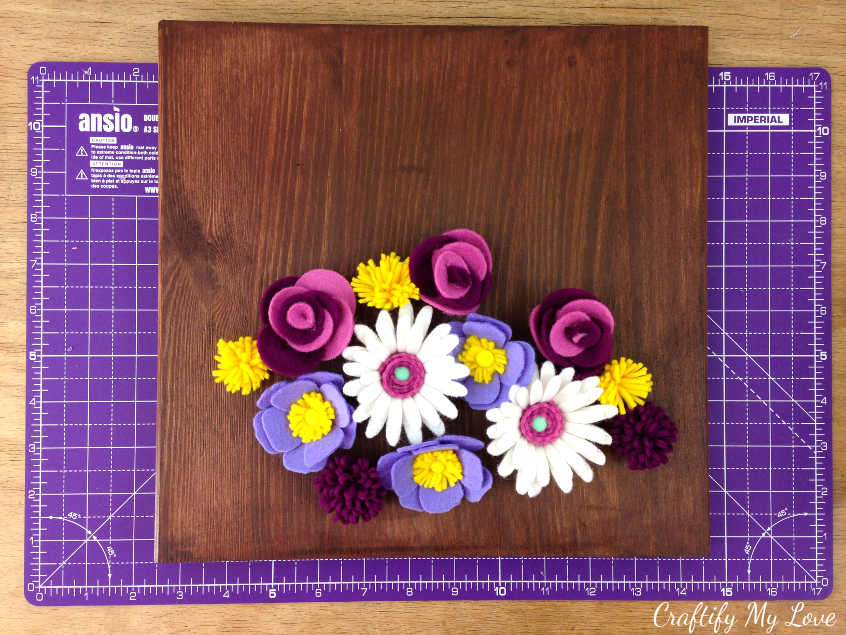
I am sure you’ll love to DIY other types of felt flowers, too. Everybody loves a little variation, right?
- Anemone (this post)
- Marguerite Daisy
- Dandelion
- Rose
- Aster
Are you a visual learner? Click HERE for the complete playlist.
Now, you could use all of these flowers to DIY an Initial Floral Wood Sign. CLICK for Tutorial (Link following soon).
Bring on the Crafts — A Craft & DIY Blog Hop
On the first Friday of each month, a group of DIY and crafty bloggers join forces. Together with Marie from The Inspiration Vault we invite you to join the #BringontheCrafts blog hop. Each blogger creates a fun craft or DIY project to share that follows a monthly materials theme. April’s theme is Florals! Each blogger chooses their own craft to make as long as they love it and it incorporates florals in the project.
Our April Co-hosts
Jenny at Cookies, Coffee and Crafts • Heather at Glitter on a Dime • Marie at DIY Adulation • Michele at Coastal Bohemian • Terri at Our Good Life • Gail at Purple Hues & Me • Kim at Day to Day Adventures
Join in on the fun!
If you’d like to participate next month, you can request to join our Bring on the Crafts Facebook Group.
Next month’s theme is Stamps!
Not a blogger, but a creative mind none the less!?
Don’t worry, share your awesome creations in our Craft Cult Facebook Group. This is also a great place to ask craft & DIY related questions and find inspiration for your next project.
Want to see what other projects I’ve made for this challenge?
- How To: Sparkly Spring Painted Flower Pot
- DIY sparkly butterfly or fairy wings
- Easy NO-SEW Butterfly Family Costume
- Floral Cardboard Cut-Out Sign: Be Happy
- How To Make A Fall Fairy Garland
- Butterfly Themed Couples Costume for Halloween
- Simple & Elegant Single Maple Leaves Fall Wreath
- DIY Hygge Mini Christmas Trees
- Hand-Printed Recyclable Gift Wrapping Paper
- DIY Mini Envelopes from Recycled Handlettering Practice Sheets
- DIY Jewelry – Dried Flowers Wood Pendants
Anything you like? I sure hope so…
Love,

PS: Don’t forget to PIN this for later.
Now let’s see all of those amazing Craft and DIY Projects by my Co-Hosts!

Your felt flowers are too cute! And of course I love the colors!
Thank you, Gail. I guess that was a given, lol. ???
These are super cute! A cutting machine is so much fun to make all this cool stuff. I agree during a crafting emergency just walk away and coffee always helps.
Glad I’m not alone in this, lol. I like your cutting machine projects. Especially the sparkly mooch t-shirts
So cute! Love that periwinkle blue with the yellow. These remind me of flowers my daughter would make and then attached to barrettes for my granddaughter. Lovely.
That is exactly the color! I love that you always teach me new words in your comments. I love wearing barrettes myself but right now my hairstyle won’t match. But as I change my hairdo all the time I will soon be able to wear them again. Great idea to attach one or several of these beauties to it. Thanks for the inspiration, Leslie.