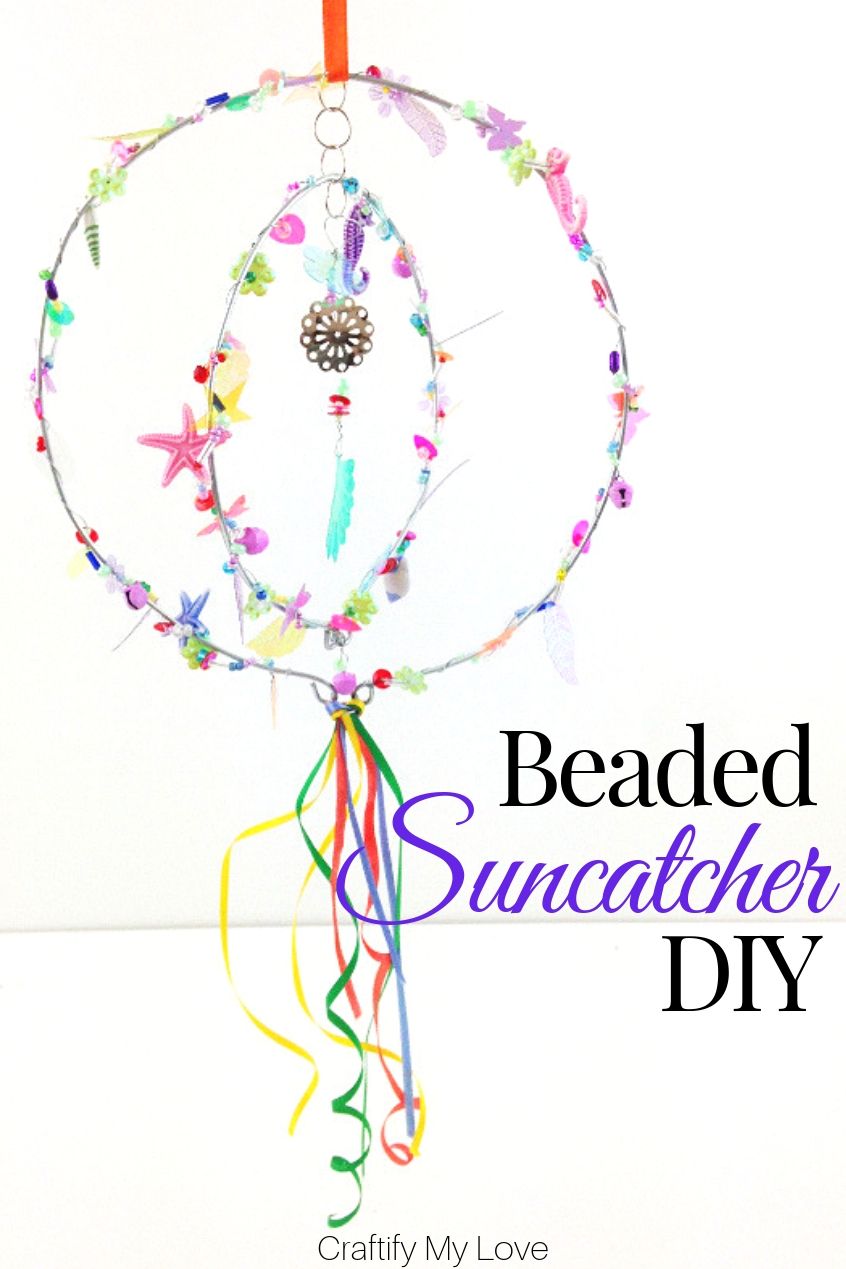
I don’t own a garden and yet I often make easy decor elements like this Beaded Suncatcher Mobile DIY to add a pop of colour and sparkle to a garden. I guess I am visualising this dream of mine so I’ll be ending up having the luxury of my very own garden soon, lol.
Next to this sequined wind spinner you might like to learn how to make these Heart Shaped Wooden Herb Markers or Sparkly Dragonfly Plant Sticks to decorate your home or garden with.
If you’re interested to find even more home decor inspiration simply click through.
Bring on the Crafts — A Craft & DIY Blog Hop

On the first Friday through Sunday of each month, a group of DIY and crafty bloggers join forces. Together Marie from The Inspiration Vault and Habiba from Craftify My Love they bring you the #BringontheCrafts blog hop. Each blogger creates a fun craft or DIY project to share that follows a monthly materials theme. July’s theme is Buttons & Beads! Each blogger chooses their own craft to make as long as they love it and it uses Buttons & Beads in the project.
Our July Co-hosts
Jenny at Cookies, Coffee and Crafts • Marie at DIY Adulation •
Beverly at Across the Blvd • Gail at Purple Hues & Me • Kim at Day To Day Adventures
Join in on the fun! If you’d like to participate next month, you can request to join our Bring on the Crafts Facebook Group. Next month’s theme is Cutting Machines!
Not a blogger, but a creative mind none the less!? Don’t worry, share your awesome creations in our Craft Cult Facebook Group. This is also a great place to ask craft & DIY related questions and find inspiration for your next project.
Want to see what other projects I’ve made for this challenge?
-
-
- How To: Sparkly Spring Painted Flower Pot
- DIY sparkly butterfly or fairy wings
- Easy NO-SEW Butterfly Family Costume
- Floral Cardboard Cut-Out Sign: Be Happy
- How To Make A Fall Fairy Garland
- Butterfly Themed Couples Costume for Halloween
- Simple & Elegant Single Maple Leaves Fall Wreath
- DIY Hygge Mini Christmas Trees
- Hand-Printed Recyclable Gift Wrapping Paper
- Mini Envelopes from Recycled Handlettering Practice Sheets
- DIY Jewelry – Dried Flowers Wood Pendants
- Felt Flower DIY – Anemone (1 of 5)
-
Supplies for Beaded Suncatcher Mobile DIY
This post contains affiliate links. That means if you make a purchase through these links, I may receive a small commission at no extra cost to you! You can click here to read my full disclosure.
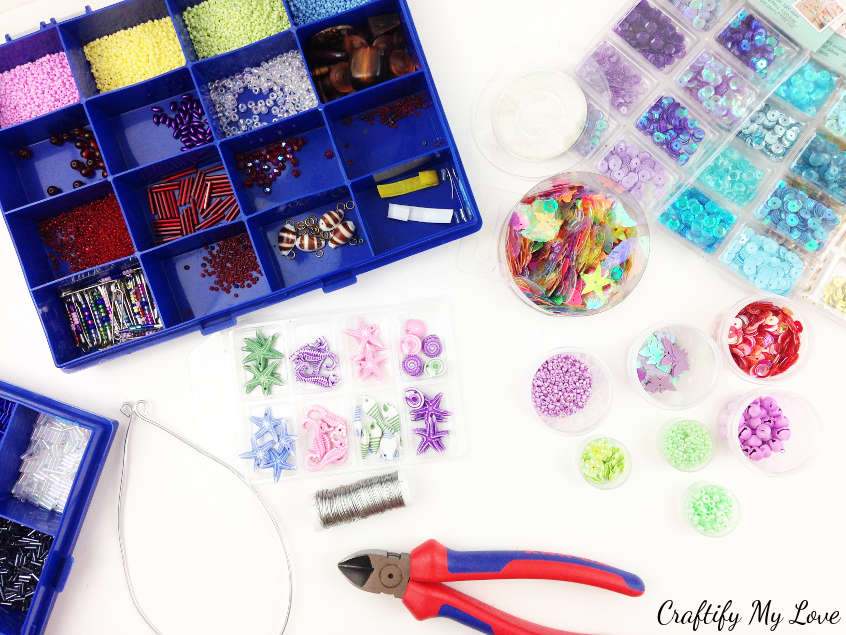
- Silver-plated copper jewelry or craft wire
- Galvanized steel wire (alternatively you could buy ready-made wire hoops – then you won’t need the pliers either)
- Diagonal cutting pliers and nose pliers (I use these two types of pliers pretty often in my crafts, it’s worth having them)
- Jump rings
- A variety of beads and sequins (I have two boxes from when I was a teenager – we used to make safety-pin bracelets – and I’ve picked up some new things at my local dollar store over time…who can resist all that sparkle, right?)
- 1/8 inch satin ribbon (Learn where I get my Ribbon for FREE >> Download my Guide to Craft Supplies for Low or No Money as a thank you for subscribing to my newsletter)
- Optional: Mod Podge + Pencil
How to make a Sparkly Beads & Sequins Hoop Wind Spinner

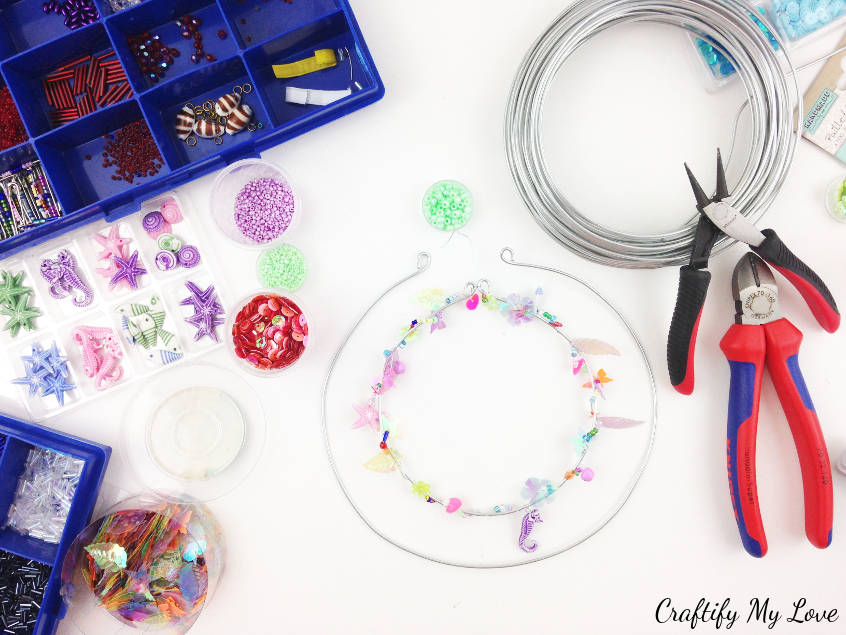
You could buy ready-made wire structures for your wind spinner or suncatcher. They come in many different shapes, too! However, I decided on bending the hoops from some left over galvanized steel wire I had from this super fun Sparkly Butterfly or Fairy Wings tutorial.
And although this months theme for the Bring on the Crafts Blog Hop is buttons & beads I used sequins & beads. I’m sure you won’t mind, right? I do have lots of buttons in my craft stash, but they are not very sparkly. And I felt this suncatcher needs all the shimmery and reflecting supplies I could find.
Tip: It’s worth investing in a view different plastic containers if you work with beads, sequins, or buttons. I have two of these biggish blue boxes with different compartments and lots of little round or containers. All goes in one big box dedicated for jewelry making.
6 Simple Steps to DIY your Beaded Suncatcher Mobile
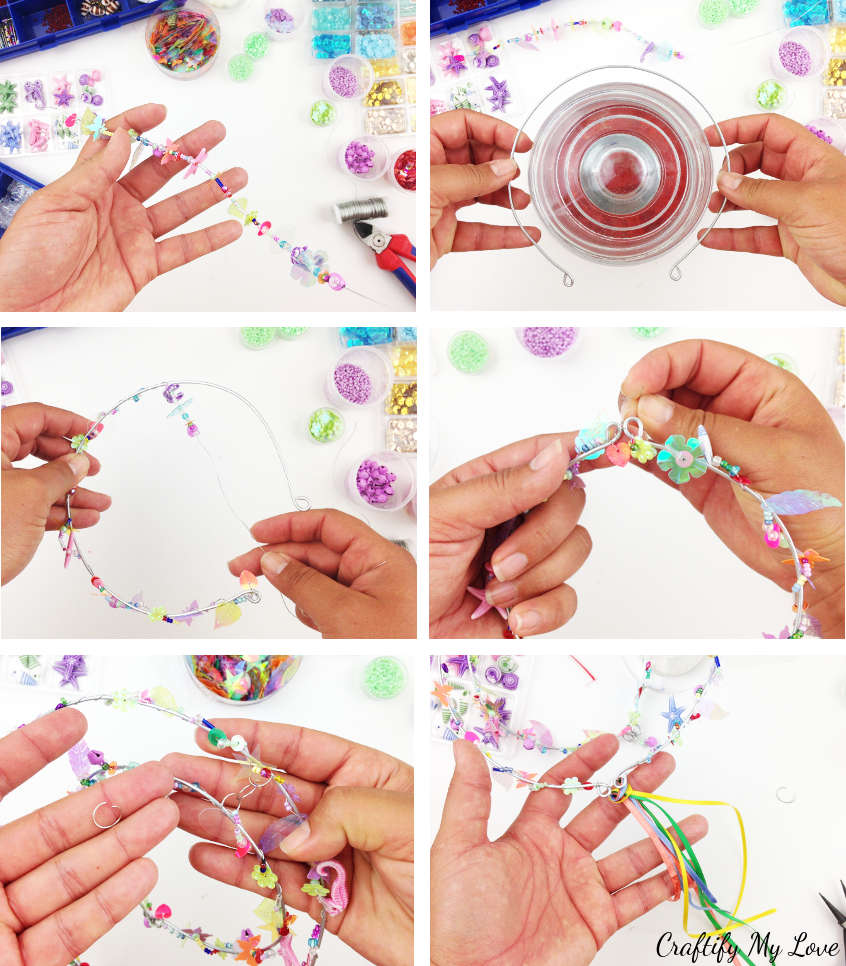
- Cut a length of jewelry or craft wire that is a little longer than the hoop you’ll be decorating it with. Start threading beads and sequins in no particular order.
- Use galvanized steel wire to bend your first hoop. You’ll need diagonal cutting pliers to cut the length you need. Tip: Find a round object to wrap your wire around. This way you’ll end up having an almost perfect circle or hoop. I found my gummy bear jar (only red ones in there, as they are my favourite) and munched some of them while crafting, too. Curl the ends outwards using some nose pliers.
- Once your beads & sequins string is done, attach one end around one curled in end of your DIY hoop. Now, start twisting your decorated craft wire loosely around the hoop.
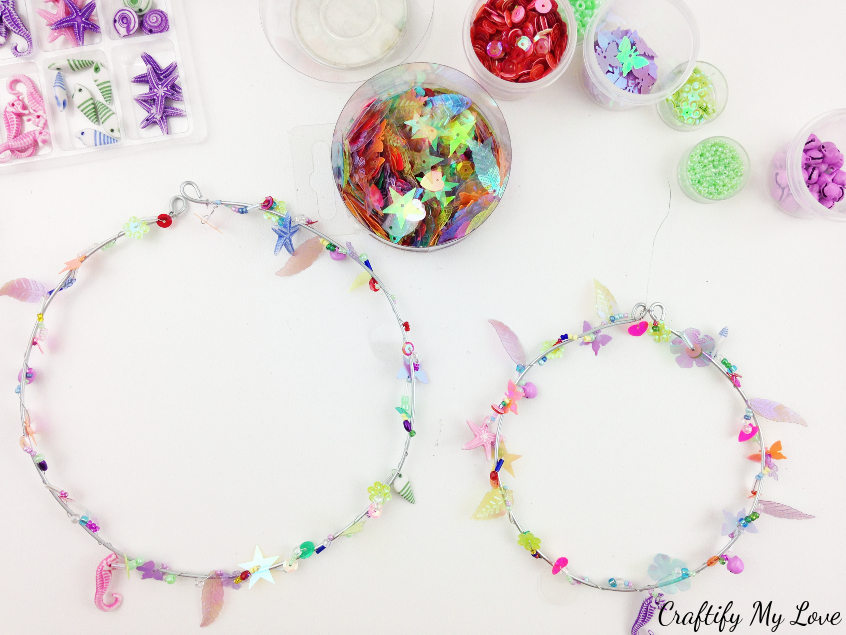
- Use the end of your craft or jewelry wire to tie both ends of your hoop together so you don’t have a kind of horse shoe shape but an actual hoop.
- Once you’ve finished your second hoop (or as many as you wish), use jump rings to join them together. This way the different elements will twist nicely when your mobile catches a soft breeze.
- For a little extra fun, add some satin ribbon to the very bottom of your wind chime. You’ll learn how to easily curl it further down in this tutorial.
Little Extras to Spruce up this Frugal DIY Garden Decor
I felt the space in the middle of my inner hoop needed a little extra
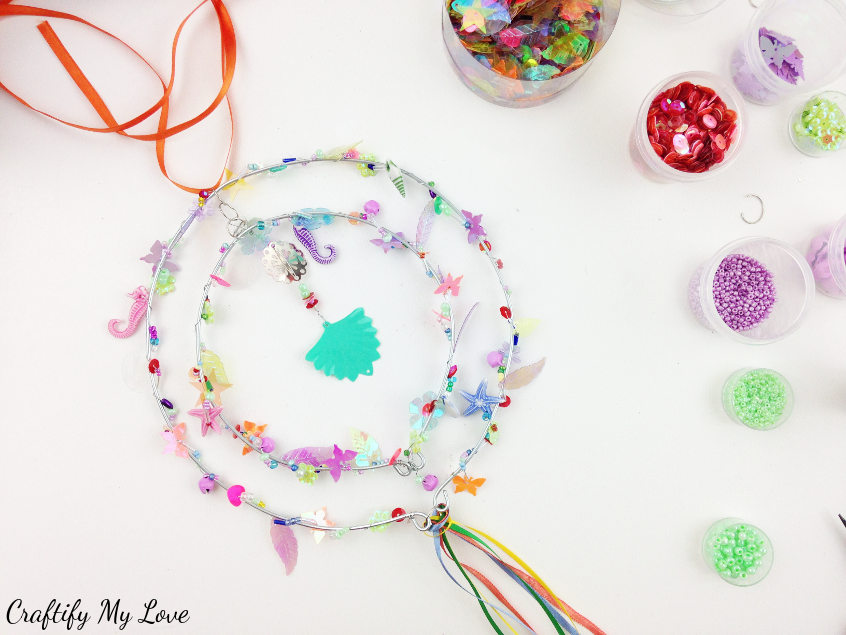
So I threaded some more sequins and pearls and hung that string in the centre.
Playful curls add even more charm to this cute wind spinner
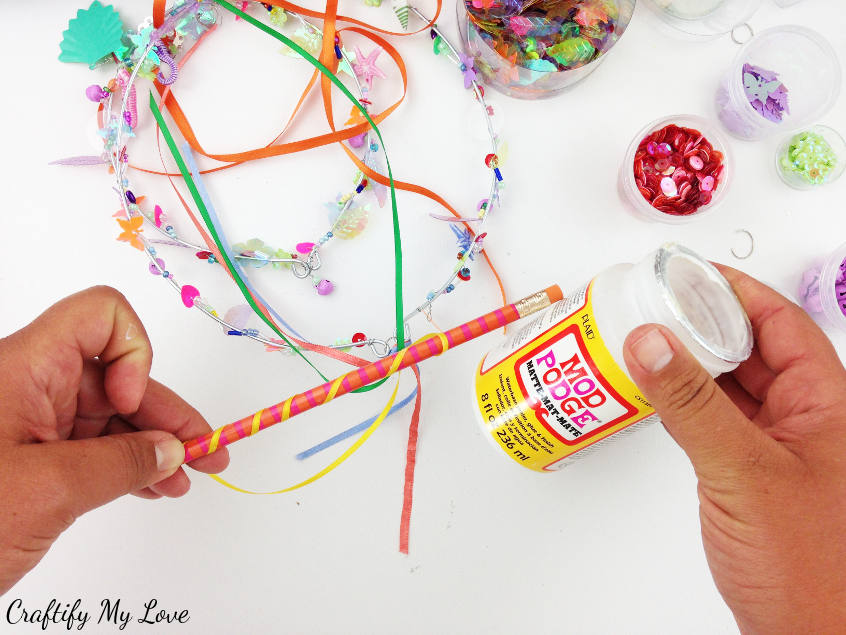
Simply apply some Mod Podge to the ribbon using your fingers and curl it around a pencil. Let dry for a view minutes and untwist.
If your suncatcher will live inside your home, hairspray will work, too!
Shiny pretty things & tiny bells
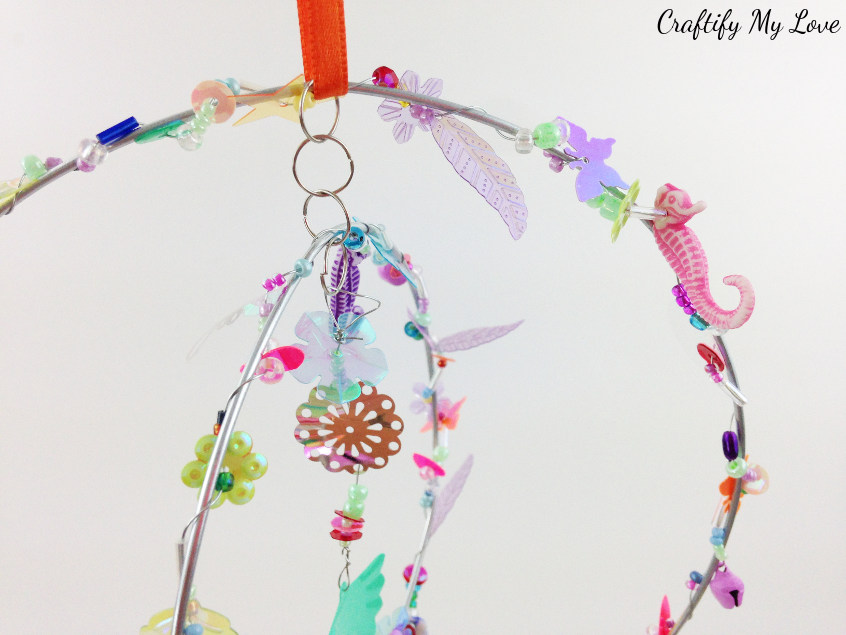
I could sit next to my little mobile for hours and marvel at the pretty colours of all those sequins and beads. Once the sun shines on them, they change colour, and when the wind catches the little mauve bells my sun catcher even turns into a playful wind chime.
Where would your little suncatcher live? On your porch? In your kitchen window, or in a lush green bush in your garden? If need be, you’ll find more garden & outdoor decor inspiration over at FaceCrafts.com.
Love,

PS: Don’t forget to PIN this to Pinterest.
PPS: And now let’s see what my co-hosts created this months using Beads & Buttons:

What a precious suncatcher. Love the whimsical beads and embellishments you used for it. So delicate and pretty.
Thank you, Leslie. I can’t wait to see it dangling from a lush green twig. Probably will need to gift it someone with a garden.