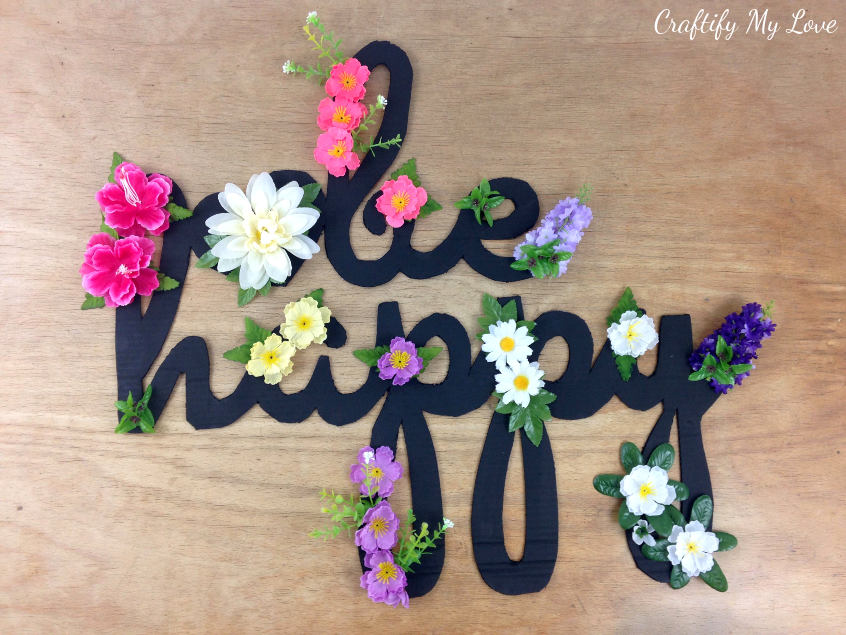
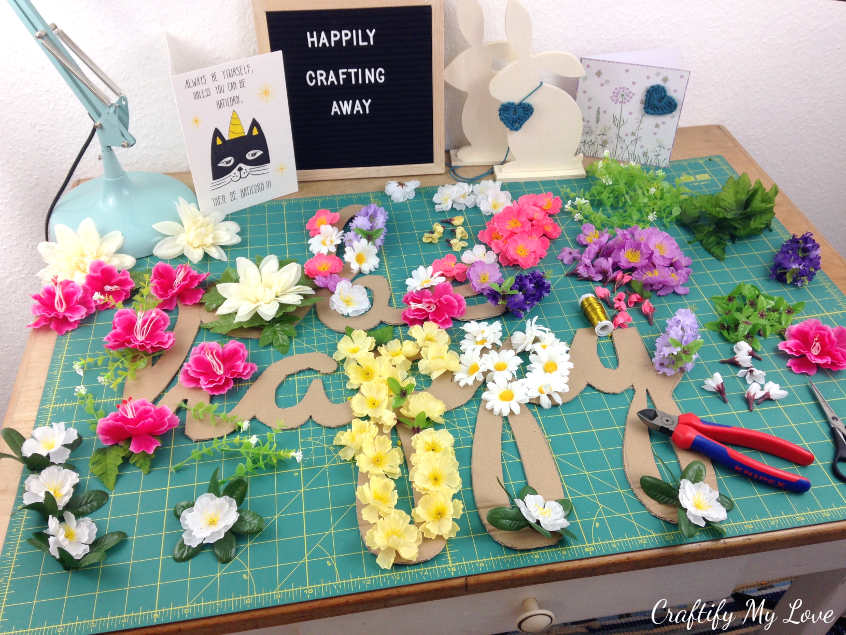
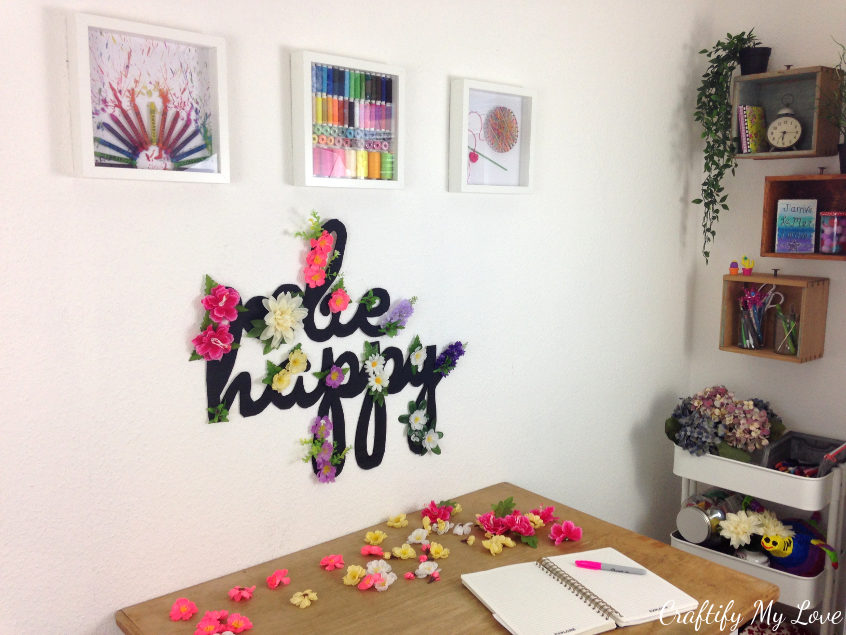
Say hello to my latest wall art in my home: A floral cardboard cut-out sign that reminds me to “be happy” every day!
I am a big fan of positive energy and years ago I started adding little reminders throughout my home: Whether it be postcards with a nice saying or a simple sticky note.
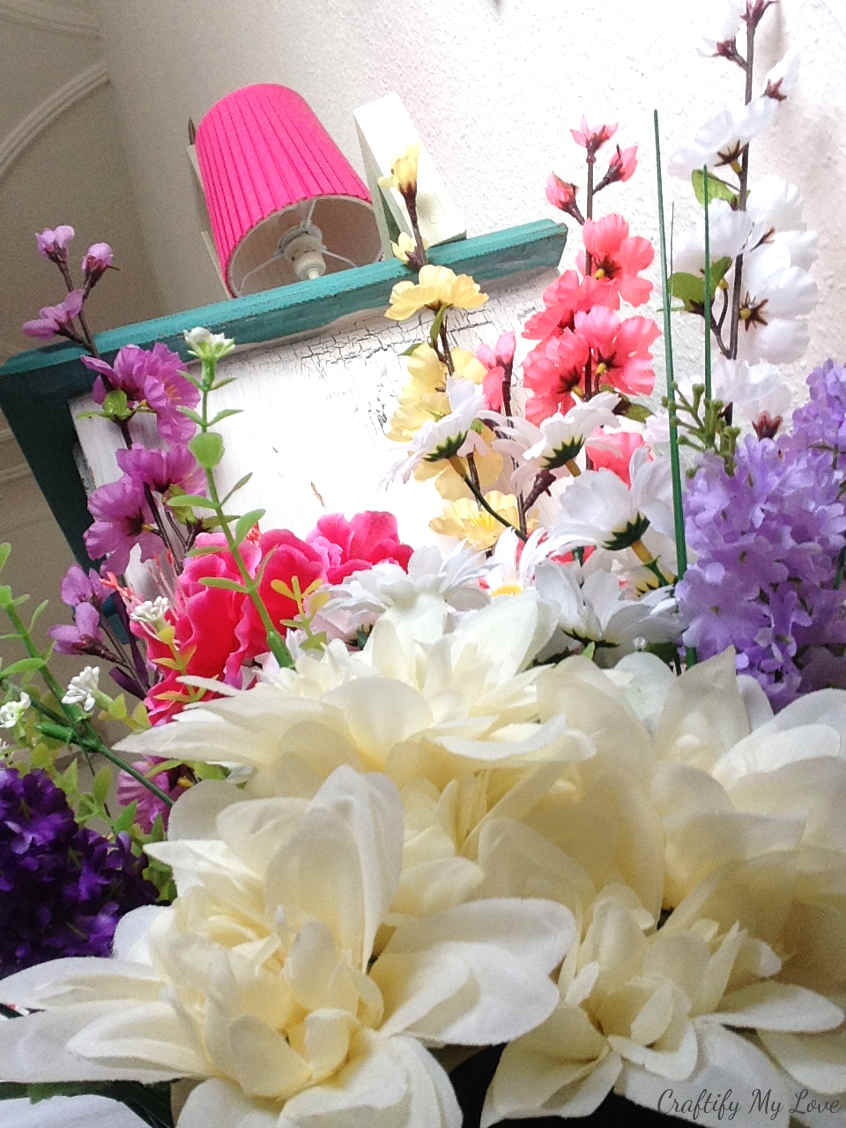
As I am sooooo ready for spring (it’s freezing cold here in Germany at the moment), I couldn’t resist to buy this giant bouquet of spring flowers in my local dollar store.
Spring flowers scream blue sky, sunshine and bumblebees to me!
I had such fun working with all these colourful blossoms and I actually might have taken a gazillion photos while doing so.
Please bear with me as I share a mere fraction of all the images I’ve taken during this happy spring crafts project.
Supplies for Cardboard Cut-Out Sign
- Cardboard
- “be happy” Template (you can download it for free here)
- Chalk Paint (Did you know you can DIY chalk paint super easy?!)
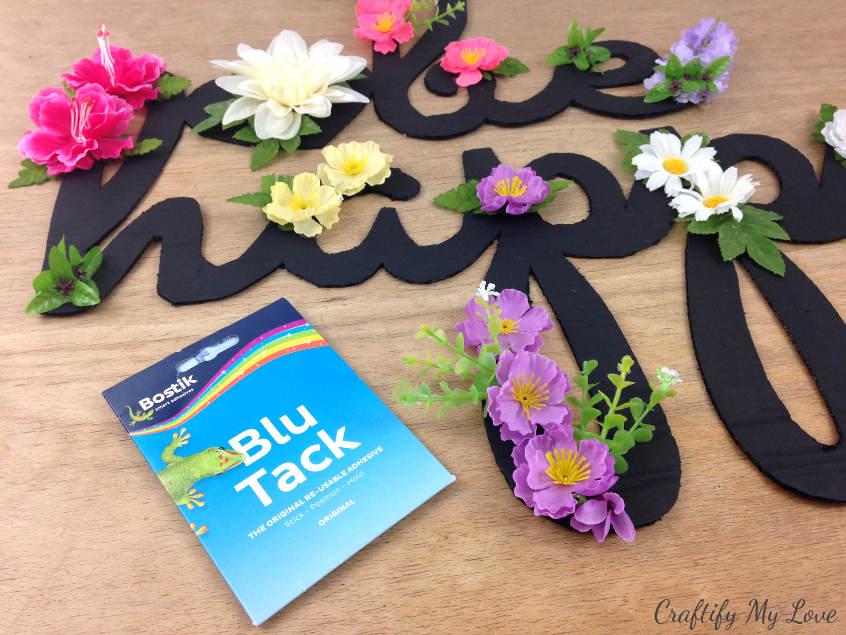
- Reusable Adhesive (I used BluTack)
- Various Silk Flowers (I bought mine cheap in the dollar store)
- Glitter Glue (optional)
Tools to make your Cardboard Cut-Out Sign
- Printer (to print out your free “be happy” template)
- Pencil
- Scissors
- Sharp Cutting Knife (I have this one and am very happy with it)
- Clear Tape (only if cardboard needs to be stabilised)
- Pliers
- Paint Brush
- Hot Glue Gun + Glue Sticks (My little sis gave me this cool one for Christmas – and yay, it doesn’t drip all the time,you guys!!!)
How To Make A Cardboard Cut-Out Sign
I haven’t read any tutorials about this project or ever made one before, so I might have gone a detour or two while being creative.
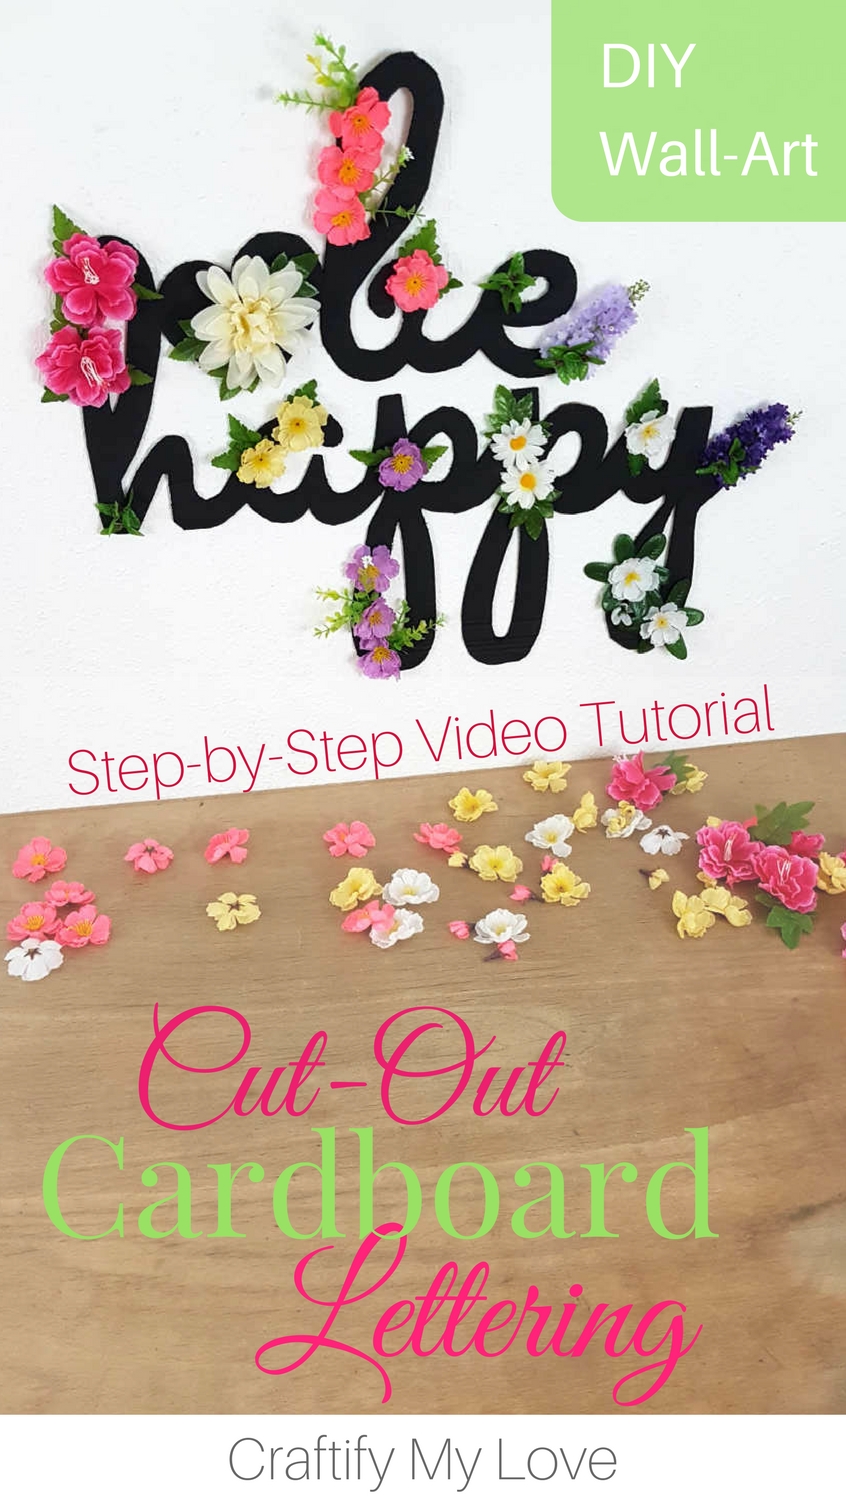
In this very detailed step-by-step tutorial I’ll be teaching you the most time efficient way to make your very own “be happy” cardboard cut-out sign. If you’d rather watch a video tutorial than the following screenshots, scroll way down or click here.
Video Tutorial at the bottom of this Post
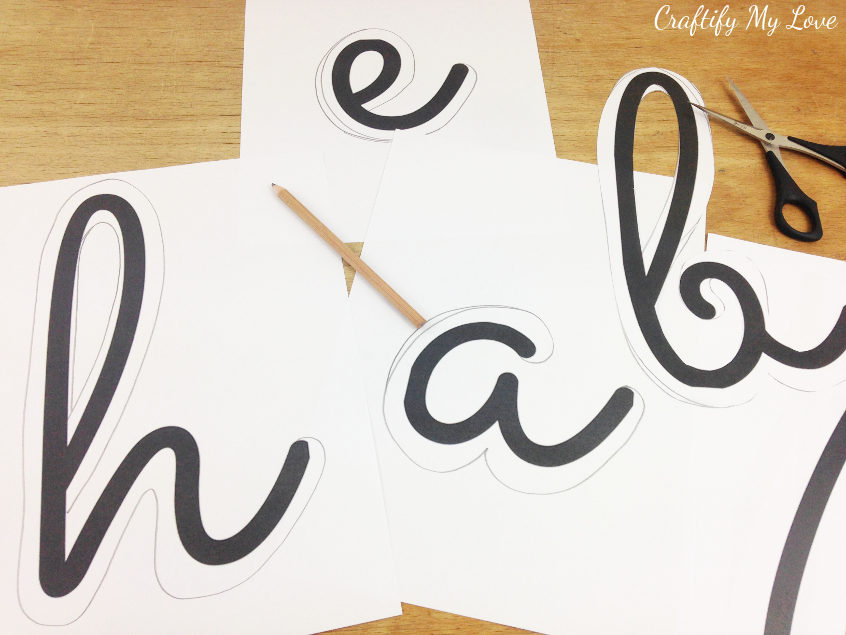
1 – Prepare the Template
If you like the font I chose and obviously the words “be happy”, too, then you can easily download the template for free in my freebie collection.
Print one letter per sheet of paper and scale them up so the big letters (b, h, p, y) cover the entire length of the paper. Remember to always use the same percentage (e. g. 130 %) for blowing the letters up, so when you put the letters together to the actual words, it won’t look off.
Using a pencil, trace around the letters so you’ll end up having even bolder letters after cutting them out. This way you will have plenty of room to add those gorgeous spring flowers later.
Lay your cut out letters + the heart on a piece of cardboard and trace the template using a pencil or pen.
Make sure that the heart is connected to the b and the h, so you’ll end up with a one-piece wall art.

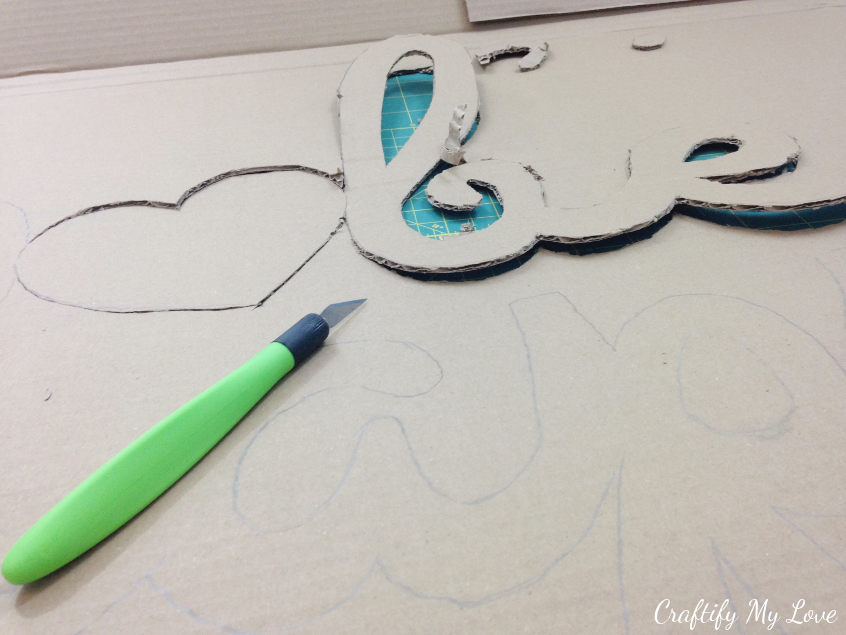
2 – Create Your Cut-Out Cardboard Sign
Using a sharp knife start cutting out your cardboard sign. Again, remember: Don’t separate the heart from the b and the h so you will have one sign instead of a set of three.
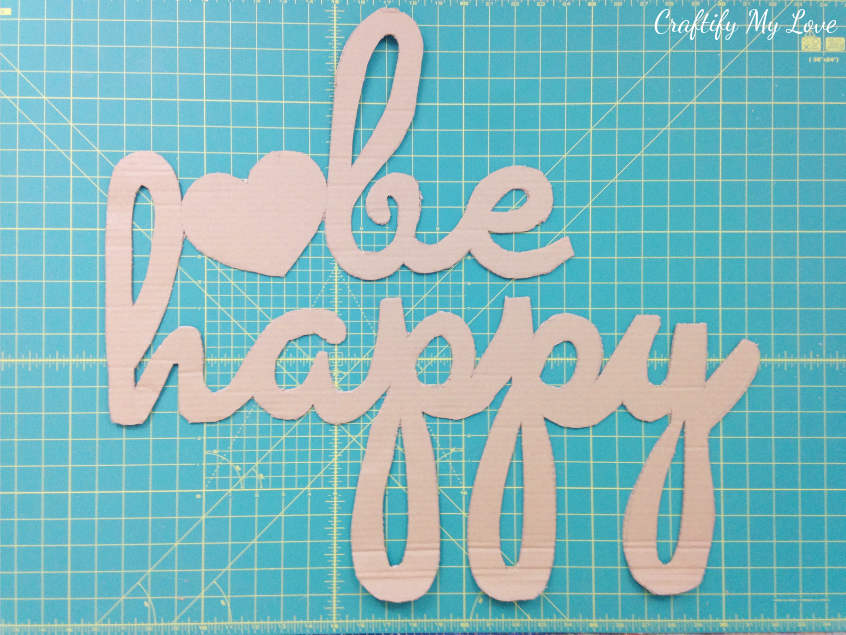
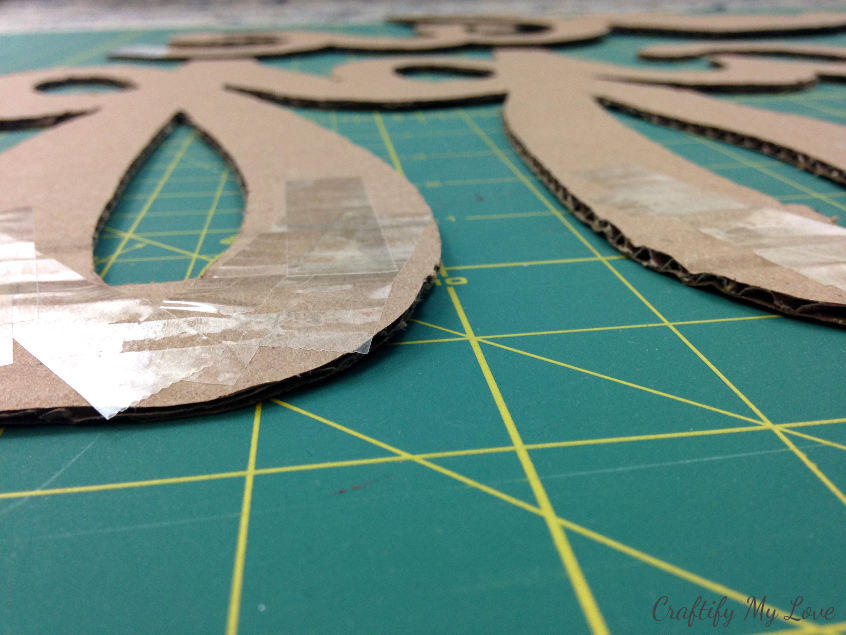
This is how your sign should look, once you’ve completely cut it from your large piece of cardboard. Don’t worry about frizzy edges, too much. I think it gives your motivational sign character.
If some bits of your cut-out cardboard sign happens to be bent up like mine was, you can easily fix that with a little clear tape.
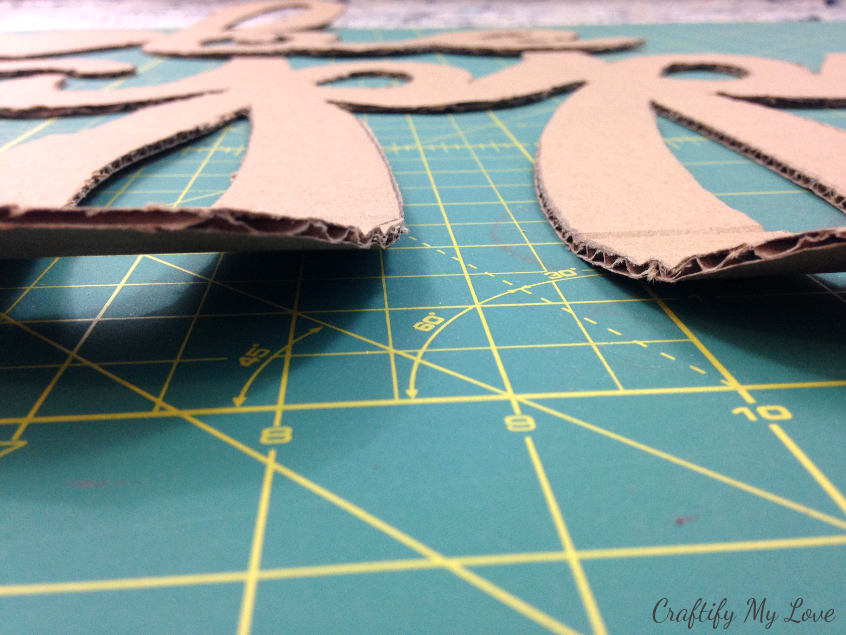
Make sure to lay your cut-out cardboard sign wrong side up and bend it slightly so it’s even. Then add strips of clear tape to stabilise it.
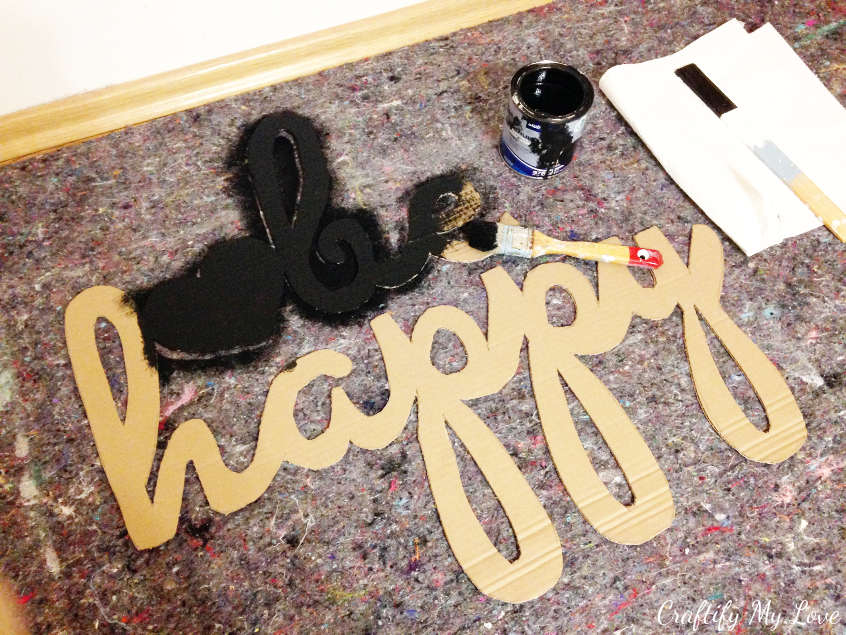
3 – Paint Your Cardboard Cut-Out Lettering
I used some left-over chalkboard paint. But you can use any paint you want and even create that matt look yourself by making DIY chalk paint yourself.
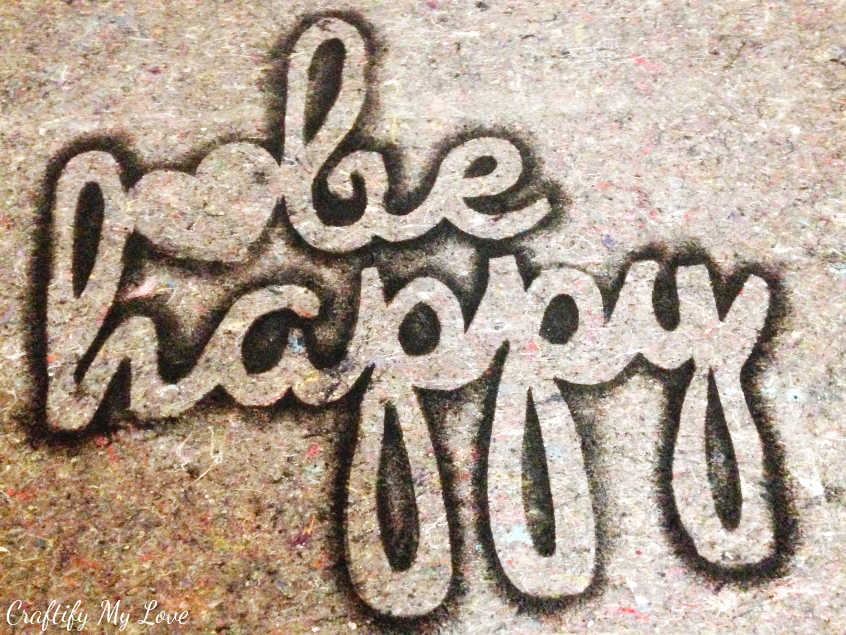
I like it when – while crafting – some accidental pieces of art come to life. Please, do tell me about your unintended creations in the comments.
5 – Prepare the Silk Flowers
…while your paint is drying. (I decided to paint my sign later in the creative process, that’s why you’ll be seeing the unpainted cardboard in the following pictures).
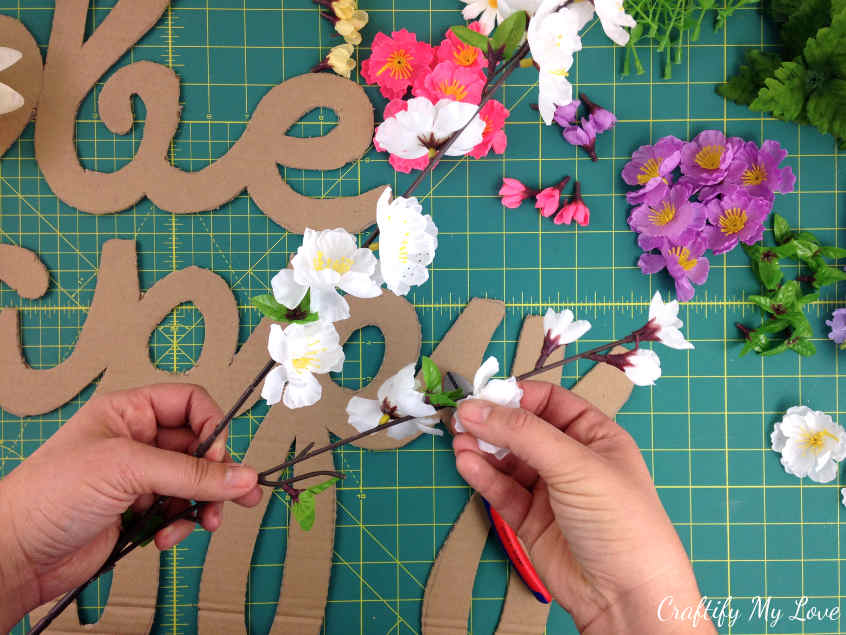
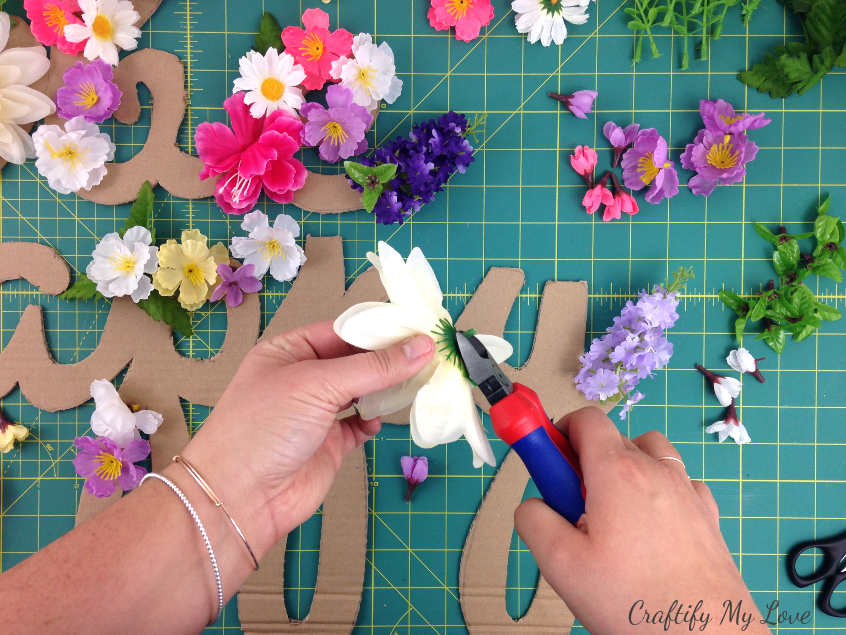
Check how your silk flowers are built. Sometimes you can simply plug the blossoms right off. If not, use pliers to clip them off.
Same with the leaves. Additionally you might want to cut some big foliage into smaller pieces. This way you can arrange them however you like in your flower design later on.
I just have an idea here: alternatively you could use handmade paper flowers instead, too. What do you think?
As I simply plugged the flowers from the stems I had to clip off those tiny plastic buds. I still find them eheeeeeverywhere in my craft room, lol.
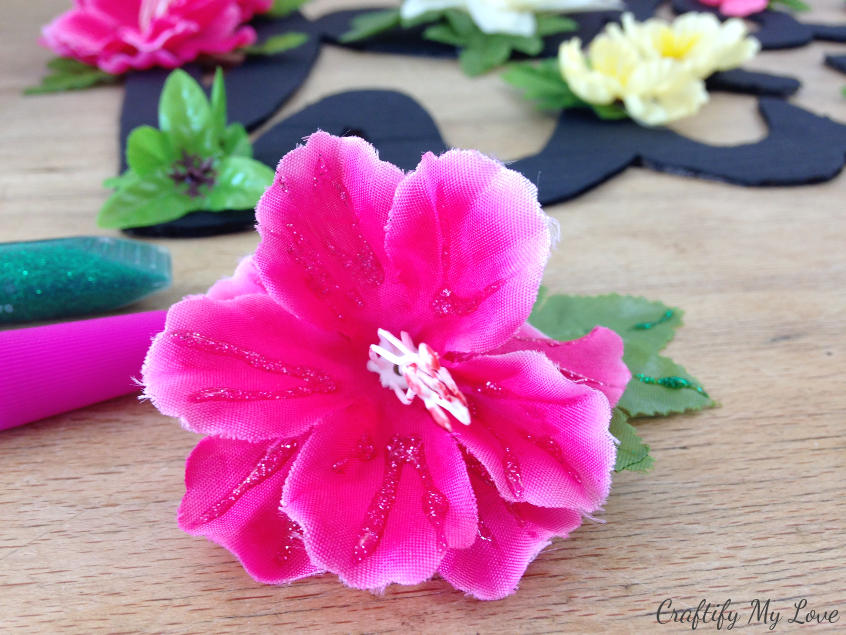
If you are into glitter and bling, why not use a little glitter glue on some or all of your spring flowers?
Also, make sure to check out other glittery spring crafts at the very end of this post. I teamed up with my sparkle-loving blogger friends in the monthly Bling On The Crafts Blog Hop.
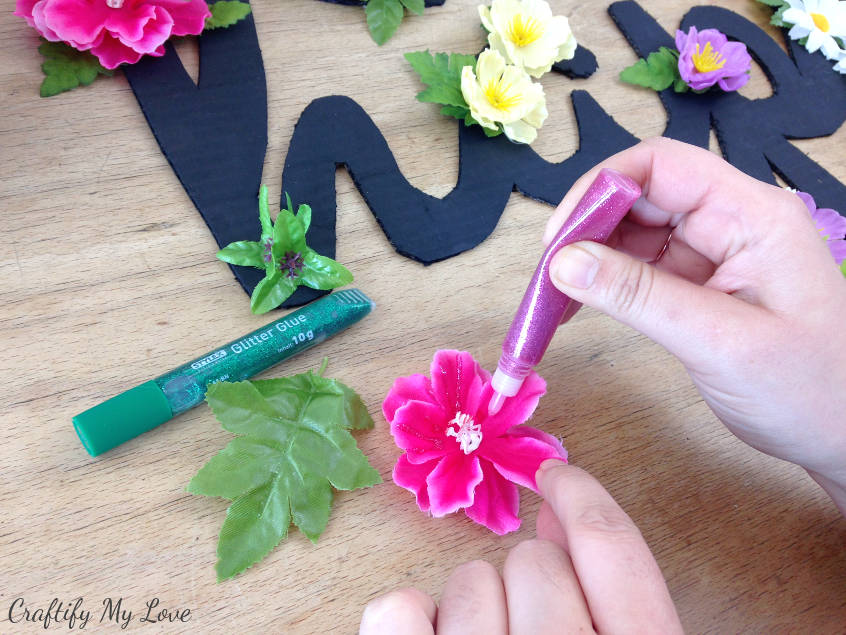
I used colour matching glitter glue for the blossoms and leaves.
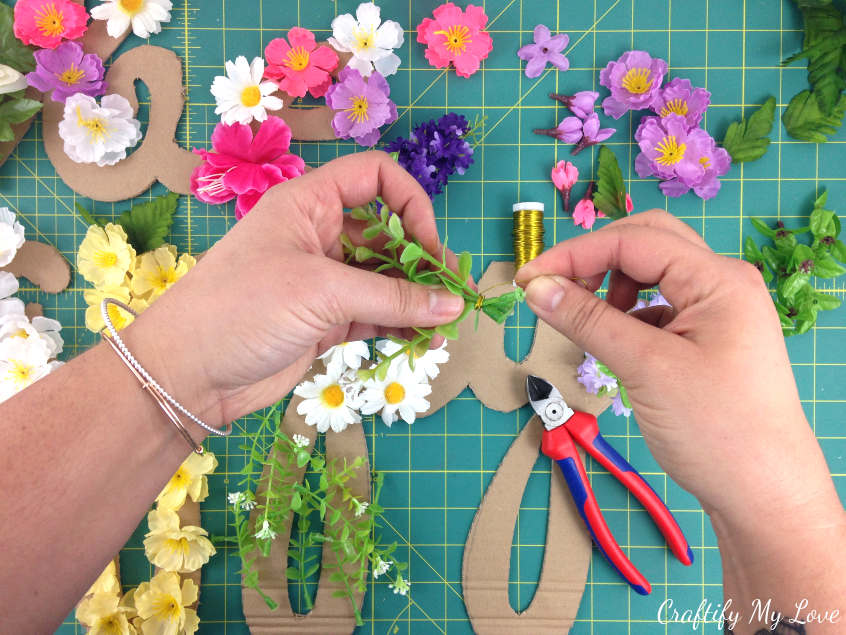
I had these tiny eucalyptus branches and made little bundles of three, using gold floristic wire.
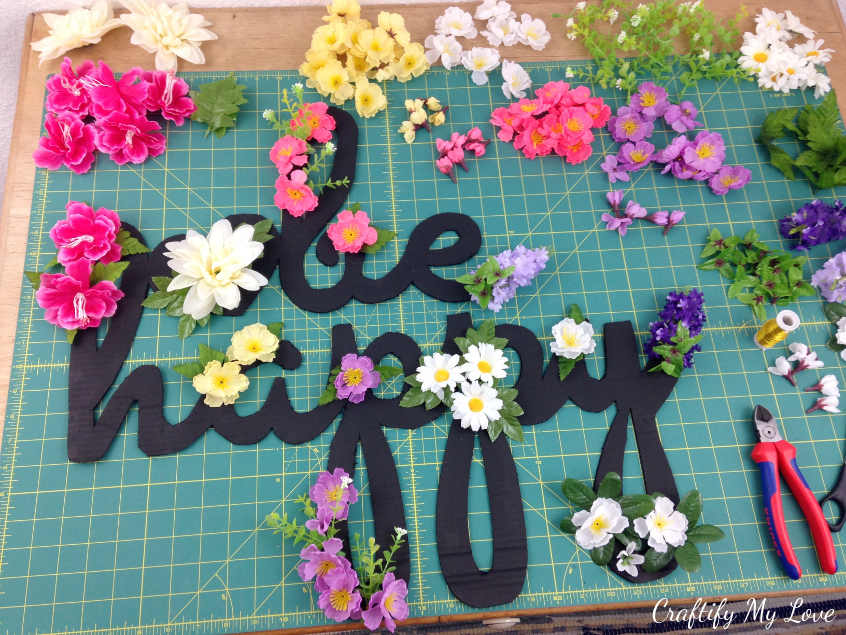
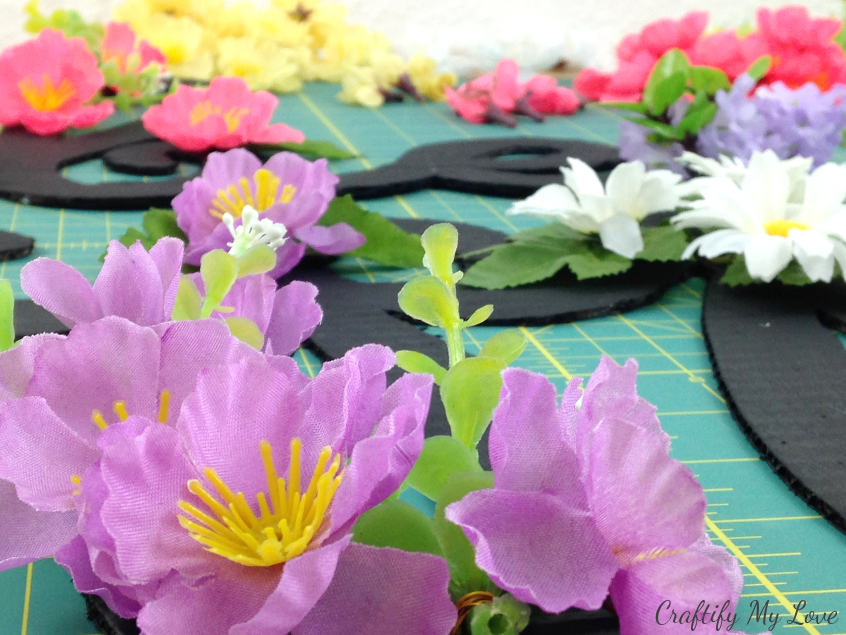
6 – Design Flower Arrangement
When you have prepared all of your silk flowers and leaves (weirdly enough I had fun sorting them by colour – which is something I DON’T DO usually), start placing those blossoms on your sign.
Mix and match, and change until you’re happy with the outcome.
In the beginning I wanted to cover the whole sign with flowers, hence the no painting beforehand. I realised quickly though, that this idea won’t work with a curly font. You wouldn’t have been able to read the words anymore. If you would love to make an all flowers sign, you’ll have to go for bold straight letters.
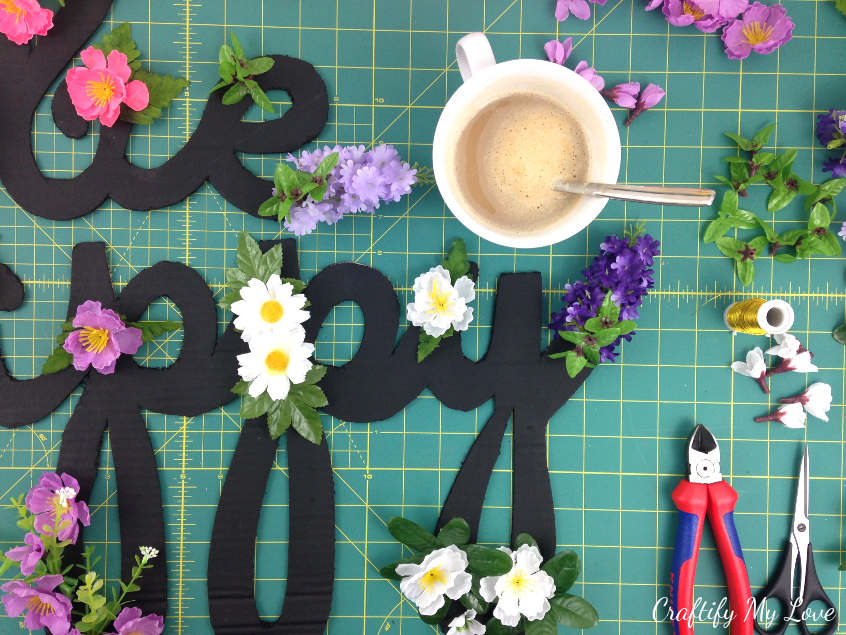
7 – Coffee Break
Plug in your hot glue gun and enjoy a cup of tea or coffee while it’s heating up 😉
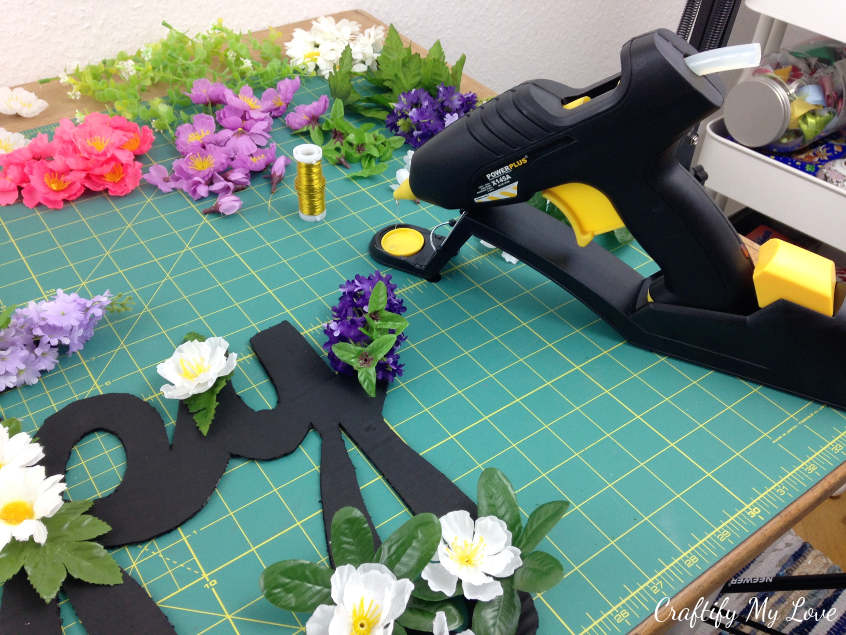
8 – Adhere Silk Flowers to the Sign
If you have a leaf/flower combo going on, I suggest you first glue the leaf to the flower. After that you’ll be gluing the combo to your cardboard cut-out sign.
I also recommend you pick up each flower element at a time and glue it on, so you don’t lose your previously designed layout.
Just another pretty picture I wanted to use in this post, lol 😉
I am currently taking a course in photography and I was taught to try out different angles. What do you say? Passed the class? Yay or Nay?
9 – Mount your HAPPY Sign to the Wall
As cardboard and silk flowers are super light-weight, you’ll be good using a removable adhesive of your choice. I used BluTack to fix “be happy” to its new home.
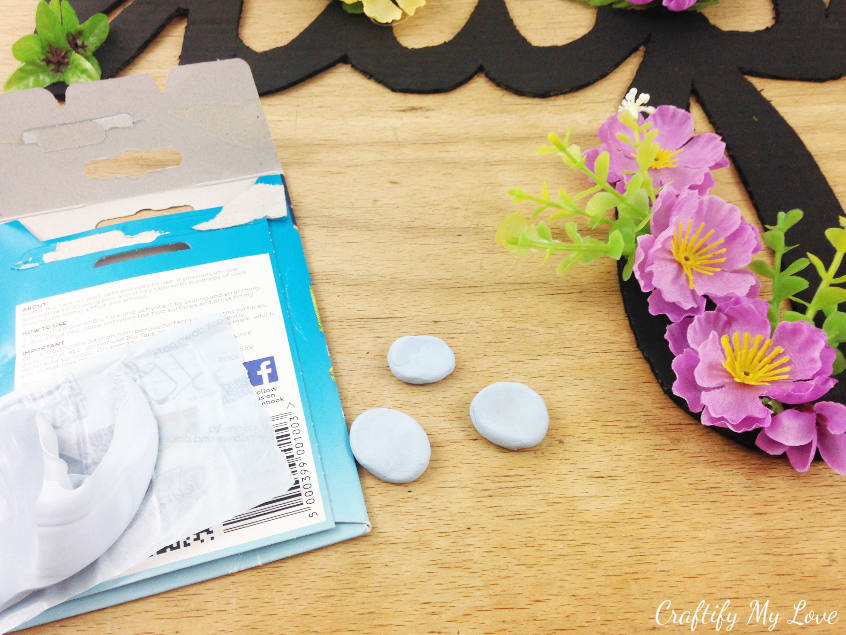
I started out with three blobs, but ended up adding one more, so the top of the b wouldn’t flop around.
I placed them at the top of the letters b, e, h, and y.
10 – And you’re done!
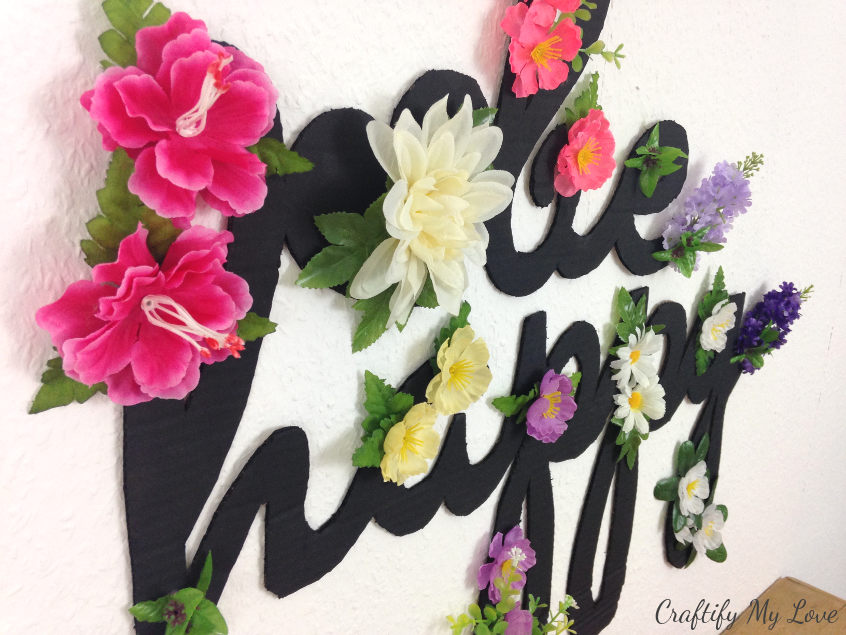
Doesn’t it look pretty in my freshly made over Craft Room?
If you like my set-of-three crafting inspired wall art you can learn how to make them here:
More Projects with Silk Flowers
Oh, and, I did invest $ 17 in silk flowers because I WANTED THEM ALL. The variety is what makes this project even more fun, is what I think. But I ended up using flowers for only about $ 3.
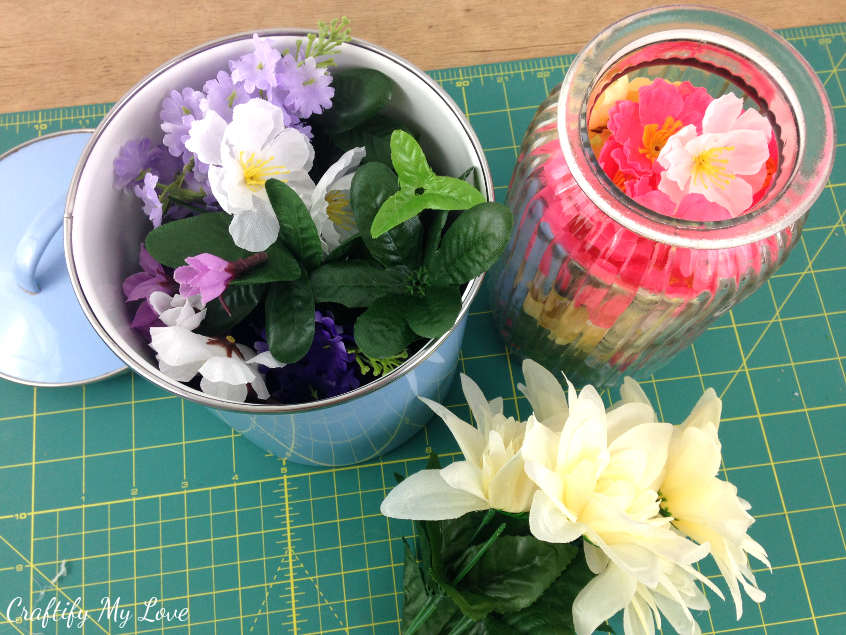
If you have left-over silk flowers, you can display them in a glass jar in your craft room. I bet that will look gorgeous!
You can be certain that those wonderful flowers will find their way into many of my future creative projects.
Do you want to get a heads-up whenever there’s a new tutorial up on the blog? Yes? Then make sure to subscribe to my weekly love letter and grab you’re free welcome gift while doing so 🙂
Video Tutorial: How to make a DIY cut-out cardboard sign
Love,
PS: Don’t forget to PIN this to Pinterest!
A Bling on the Crafts Blog Hop
On the first Monday of each month, a group of DIY and crafty bloggers join forces to bring you the #BlingontheCrafts blog hop. Each blogger creates a glittery, sparkly, shiny, shimmery, sequined, or “blingy” craft to share that goes with a monthly theme.
March’s theme is Spring. Each blogger chooses their own craft to make as long as it shines and is Spring themed.
If you’d like to participate next month, you can request to join our Bling on the Crafts Facebook group. Next month’s theme is Cinco de Mayo!
This is beautiful and what a wonderful idea to have inspirational quotes around your home. I have been thinking about making cardboard letters and your project is an inspiration to make them. The flowers are beautiful. Pinning!
Yay! I’m happy I could give you creative energy to get your project going. Thank you for your support.
So pretty and it definitely makes me think spring. I love the idea of adding glitter to the silk flowers.
Thank you, love! The added sparkles were an afterthought and I’m so happy this thought popped into my mind.
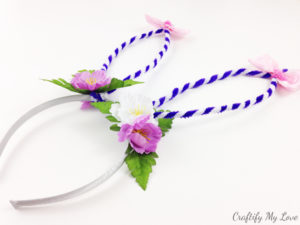
I love this Habiba…..you were right you knew I would!! Beautiful!!!
Thank you Shauna. But I meant another little crafts project – bunny ears headband. So far only on you tube
When I first looked at this, I didn’t realize it was cardboard. Love how pretty this is and light too.
Yeah, after I painted it you could hardly tell what material the base is. I’m glad you like it.
Cute sign! What a fun way to use flowers indoors all year around!
Thank you Kim. It really is a fun project and a happy one at that, too.
This is absolutley gorgeous! I love that font!
Thank you Heather, I had fun making it and I see it every day when waking up.
Every time I see this sigh, it makes me happy. The flowers look so pretty on the dark color. Thanks for sharing at the welcome spring link party, I’ll be featuring this today in my features post.
That was the goal of this crafty project, Jenny. And it works for me, too. Thank you for the share! I really am grateful for your support.