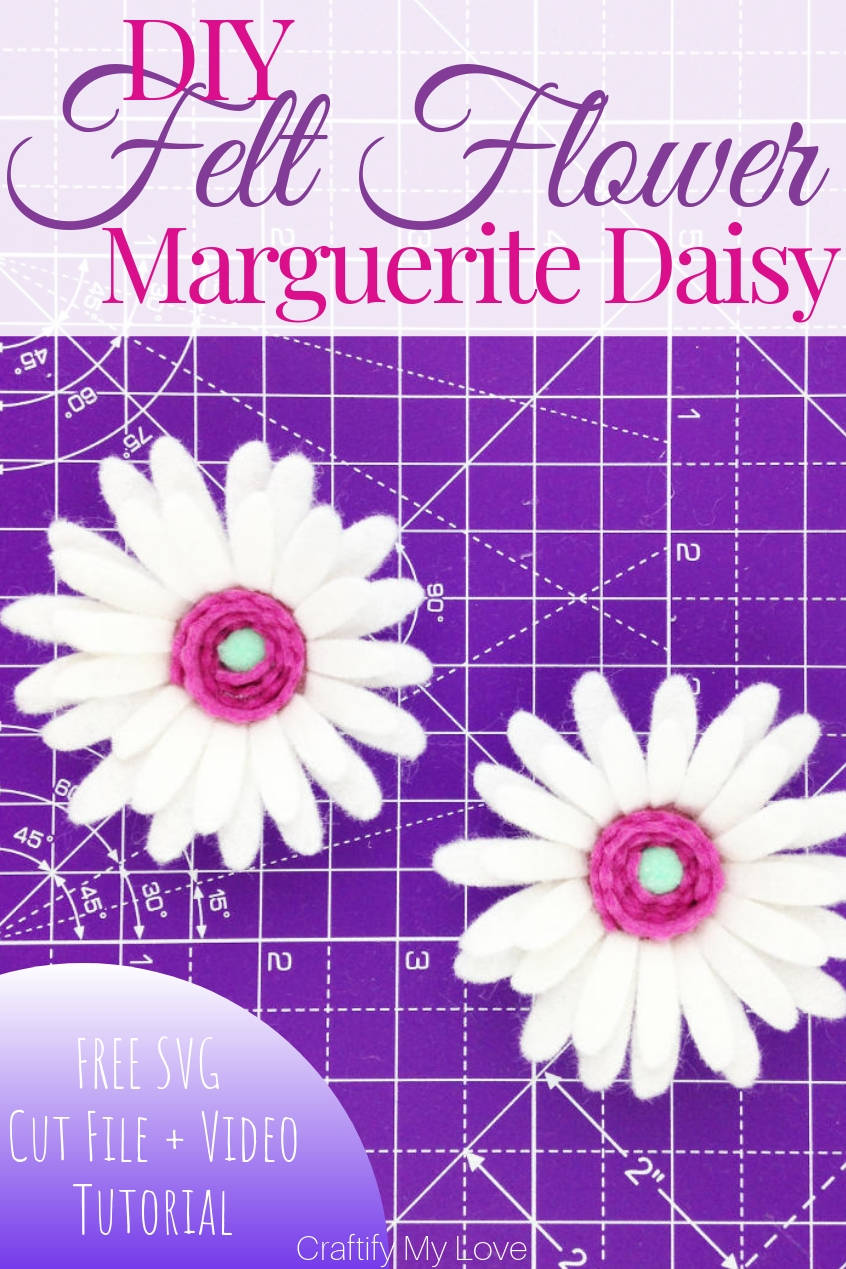
Welcome back to part two of my little Felt Flower Series: Today you’ll learn how to make a DIY Felt Flower Marguerite Daisy. I’ll be sharing the rest of the series over the next view months, so make sure to sign up to my newsletter if you don’t want to miss them.
As I managed to use up at least a little of my craft stash, I’ll be sharing this tutorial in this months Crafty De-Stash Challenge by my friend Megan from C’mon Get Crafty (but more on that further down).
Same as the Anemone felt flowers we did last time, you’ll be able to make these wonderful little felt blossoms
- using a cutting machine with my Free SVG Cut File or
- by hand downloading and using the free template to make this beautiful felt Marguerite or Daisy.
Ultimately, this felt flower tutorial series will lead into detailed step-by-step instructions on how to DIY Monogram Wood Sign with Felt Flowers. It was a wedding gift for my friend Tobias. Click HERE to see what DIY gift idea I gave the beautiful couple to their housewarming party last year.
How to make a DIY Felt Flower Marguerite Daisy

This is what you’ll need:
This post contains affiliate links. That means if you make a purchase through these links, I may receive a small commission at no extra cost to you! You can click here to read my full disclosure.
Supplies
- Template for the flowers petals and core (FREE download HERE)
- Felt in various colours (I used white & pink)
- Pom poms (I used a turquoise one)
- Freezer paper
Don’t forget to download your FREE SVG Cut File or FREE Template for Hand-Cutting your felt flower petals.
Tools
- Cutting machine >> like a Cricut Maker, Brother ScanNCut, or a Silhouette Cameo 3
- X-Acto Knife & Cutting Mat (here is a great value set you should check out)
- Scissors
- Hot glue gun & glue sticks
Video Tutorial: How to Make a Felt Marguerite Daisy using a Cutting Machine
If you enjoy Video Tutorials, make sure to sign up to my YouTube channel HERE.
4 Simple Steps to DIY a Felt Flower Marguerite Daisy by Hand
If you don’t own a cutting machine you can totally make these darling Marguerite or Daisies by hand, too. Although, I think it is going to take super long to cut all those thin petals by hand…
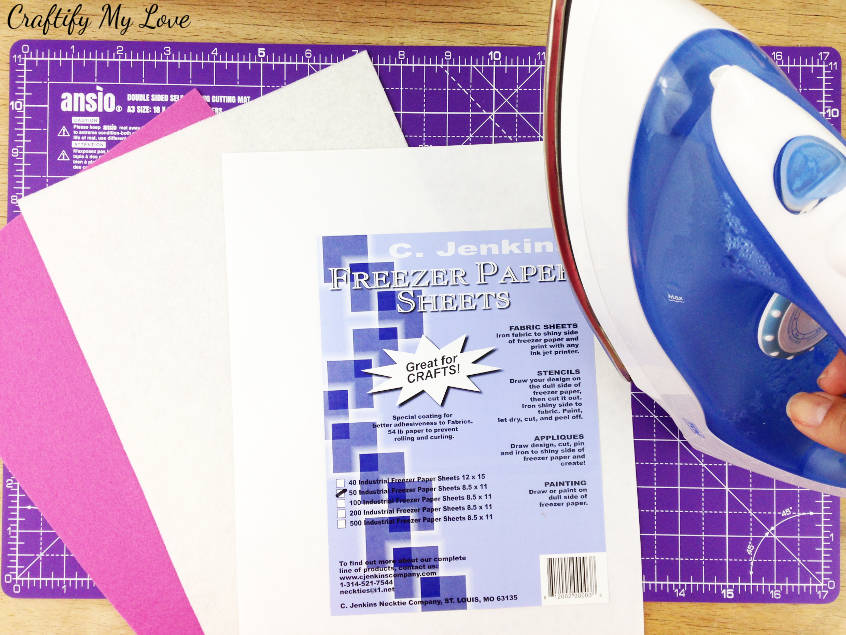
Efficiency Tip: You can download a FREE Template HERE to print on a sheet of freezer paper. Although I recommend cutting them out freestyle if you want to save a lot of time and dare to be brave, lol.
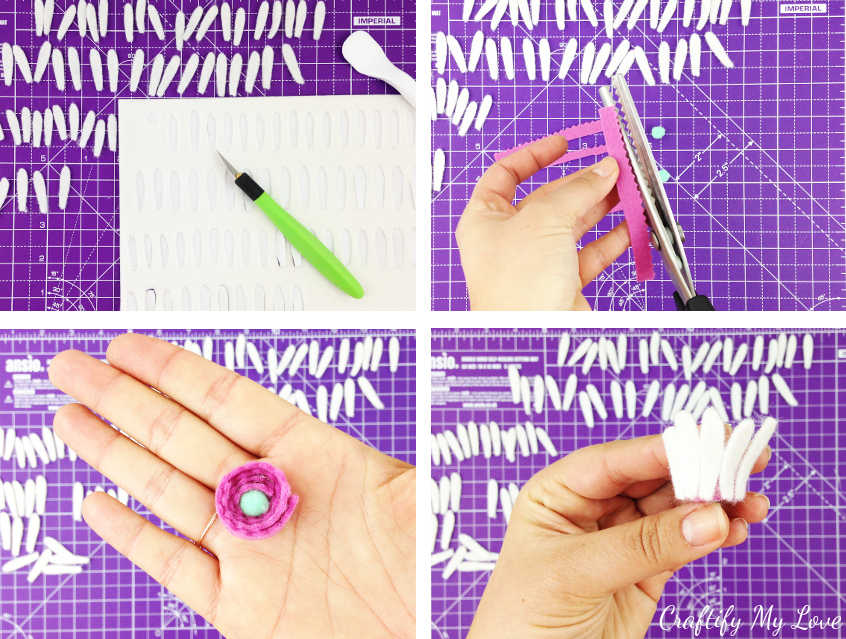
- Download and print your FREE Template HERE as a thank you for subscribing to my newsletter.
- Cut out 18 large (1,5 inches / 3,8 cm tall) and 18 smaller petals (1,3 inches / 3,4 cm tall) in your main colour and two rectangle stripes (4 inches wide and 0,4 / 0,2 inches tall or 5 cm wide and 1 / 0,5 cm tall) in your secondary colour. To give your Marguerite core more structure use zigzag scissors for one longe edge.
- To create your felt flowers center, you’ll roll the pre-cut pink rectangles (start with the smaller one) around the pom-pom and fix it using your hot glue gun. Go watch this step in the Video Tutorial HERE.
- Now it is time to build up your flower. Start gluing the first 18 small petals around the flowers base. Once finished, add a second round with the remaining 18 big petals. Don’t stress if you have left overs. Simply make a second flower 😉
And, you’re done!
Those are my favourite out of this series.
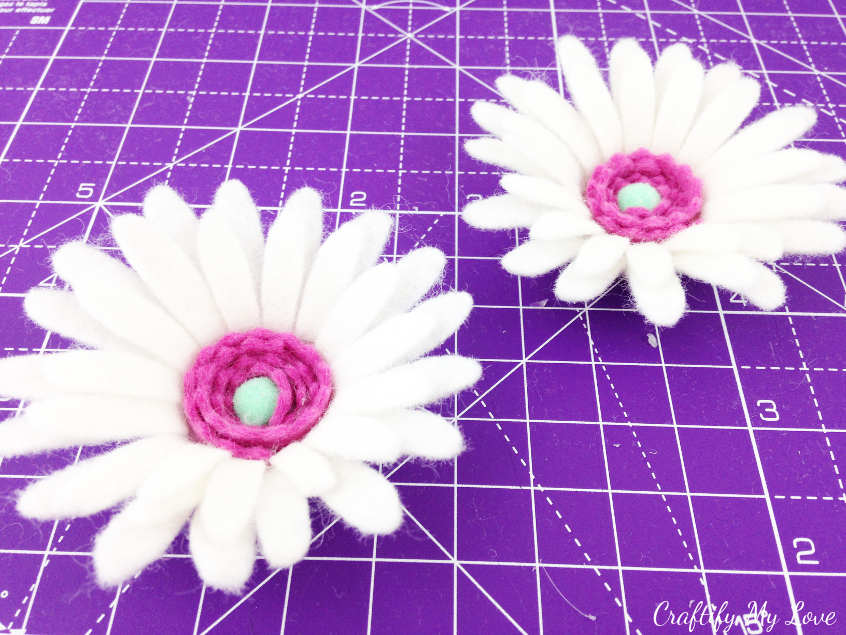
Tip: You could easily add some foliage by cutting out leaves from green felt and gluing them under the flower. If you also want to add a stem you could poke and glue a green sturdy craft wire into your pom-pom right at the start of this project.
DIY Felt Flowers – The Complete SERIES
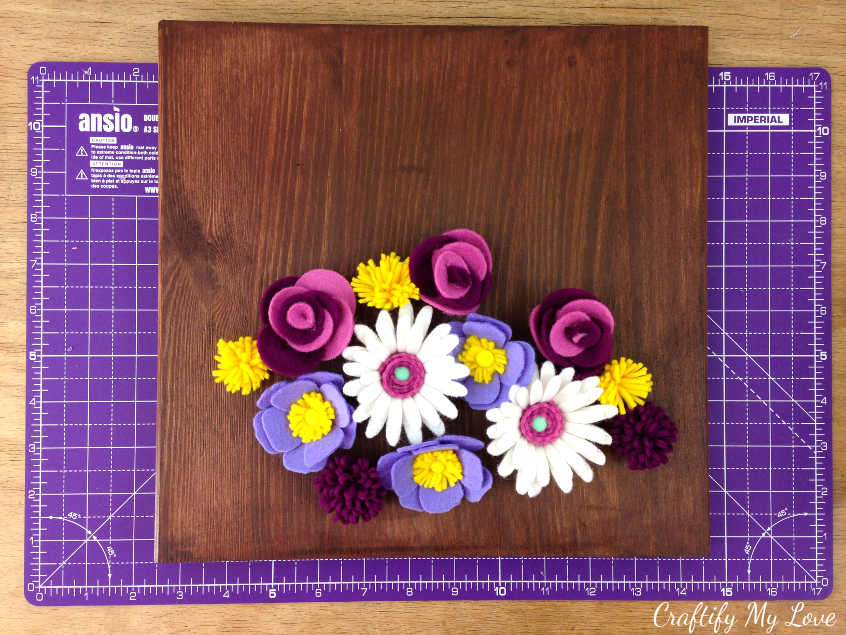
I am sure you’ll love to DIY other types of felt flowers, too. Everybody loves a little variation, right?
- Anemone
- Marguerite Daisy (this post)
- Dandelion
- Rose
- Aster
Are you a visual learner? Click HERE for the complete playlist.
Now, you could use all of these flowers to DIY a Monogram & Established Floral Wood Sign. CLICK for Tutorial (following soon – subscribe to my newsletter if you want to make sure you don’t miss it!).
I think you might like these Flower Crafts of mine, too. And if you need even more inspiration, why not hop on over to FaveCrafts.com and check out their flower section?
Monthly Crafty De-Stash Challenge

Let’s meet this month’s bloggers!!
C’mon Get Crafty | Purple Hues and Me | Love My Little Cottage
Eye Love Knots | Craftify My Love | Across the Blvd
If you’d like to join in the Craft Room De-Stash Challenge, you can request to join our Facebook group here!
Here are the creative projects I’ve put together for this frugal challenge so far:
-
- DIY Dragonflies: 3 Easy Steps
- Turn a Can into an Upcycled Vase in 10 Minutes
- 10-Minute-Craft: Birds Painted Rock Photo Holder
- DIY Tablet Sleeve with Felt Flowers
- Striped Men’s Hat – Free Crocheting Pattern
- Heather Fall Basket you’ll have all Winter long
- Magical Snowflake Candle Holders + FREE TEMPLATE
- 5-Minute-Craft: Tassel Flowers from Leftover Yarn
- Recycling Project: DIY Lace Candle Holders
- DIY Deer Winter Wreath (that screams Hygge)
- Upcycled Easter Gift Bags
- How to Ombré Stencil a Pillow Cover
Anything you like? I sure hope so…
Love,

PS: Don’t forget to PIN this for later.
PPS: And now let’s see what my fellow de-stashers created for this months challenge:

Love this – daisy’s are one of my favorite flowers!
I love them, too. But my favourite are tulips. Never tried making them from felt, though.
How cute! These could have so many uses.
Right? The options are endless.
I love making handcrafted flowers using all types of materials but I’ve never made them out of felt! This is a must try! Yours look so beautiful! Thanks for sharing!
Hi Gail, I’m super happy you like the idea. I know you’ll make beautiful felt flowers, too! You are a genius crafter!!
Those are so pretty and what a great tutorial!
Awwww…thank you so much Deborah ???
I love this pretty flowers. I pinned! My stash just keeps getting growing and it is time to craft it down.
Please share on You’re The Star Blog Hop on my site #kippiathome
Happy spring,
Kippi
I know exactly what you are talking about with that ever growing stash. Lol. Thank you for pointing out your blog hop. I participated and will make sure to stop by regularly!
Thank you for sharing on #YTS blog hop. I shared your post to my FB page!
Have a great weekend,
Kippi
You, too, Kippi. And thank you so much.
This is perfect for spring, although cutting all those petals looks like hard work.
Thank you for sharing at The Really Crafty Link Party. Pinned.
Teresa, thank you so much! Cutting them by hand will take quite a while. Using a cutting machine is more efficient.
I see in your video where you have a brother machine. My silhouette will not cut felt of any type. I wish it did because this looks wonderful
Hi Leanna, although I have never used one, I feel like the Cricut Maker is the best tool to cut felt. My brother has its limits, too.
These are so pretty. I am going to come back and check out the rest of the series. Great project this month!
Thank you so much, Donna! I’m excited you like them and are interested in the rest.