I have been meaning to share this DIY Pressed Flowers Pendant tutorial with you for a while now. Sadly I have never gotten round to do so up until now. In this months Bring on the Crafts Blog Hop we are sharing amazing crafty DIY’s using Mod Podge. As it is starting to get warmer and Spring is almost here…what prettier flower project that also uses Mod Podge could I have chosen than this one, right?
Bring on the Crafts — A Craft & DIY Blog Hop
On the first Friday of each month, a group of DIY and crafty bloggers join forces. Together with Marie from The Inspiration Vault we invite you to join the #BringontheCrafts blog hop. Each blogger creates a fun craft or DIY project to share that follows a monthly materials theme. March’s theme is Mod Podge! Each blogger chooses their own craft to make as long as they love it and it uses Mod Podge in the project.
Our March Co-hosts
Jenny at Cookies, Coffee and Crafts • Gail at Purple Hues and Me Heather at Glitter on a Dime • Marie at DIY Adulation • Janet at Try It – Like It
Join in on the fun! If you’d like to participate next month, you can request to join our Bring on the Crafts Facebook Group.
Next month’s theme is Flowers!
Not a blogger, but a creative mind none the less!? Don’t worry, Share your awesome creations in our Craft Cult Facebook Group. This is also a great place to ask craft & DIY related questions and find inspiration for your next project.
You’ll find all those amazing Craft and DIY projects by my fellow blogging friends at the end of this post!
Want to see what other projects I’ve made for this challenge?
- How To: Sparkly Spring Painted Flower Pot
- DIY sparkly butterfly or fairy wings
- Easy NO-SEW Butterfly Family Costume
- Floral Cardboard Cut-Out Sign: Be Happy
- How To Make A Fall Fairy Garland
- Butterfly Themed Couples Costume for Halloween
- Simple & Elegant Single Maple Leaves Fall Wreath
- DIY Hygge Mini Christmas Trees
- Hand-Printed Recyclable Gift Wrapping Paper
- DIY Mini Envelopes from Recycled Handlettering Practice Sheets
Supplies for a DIY Pressed Flowers Pendant
This post contains affiliate links. That means if you make a purchase through these links, I may receive a small commission at no extra cost to you! You can click here to read my full disclosure.
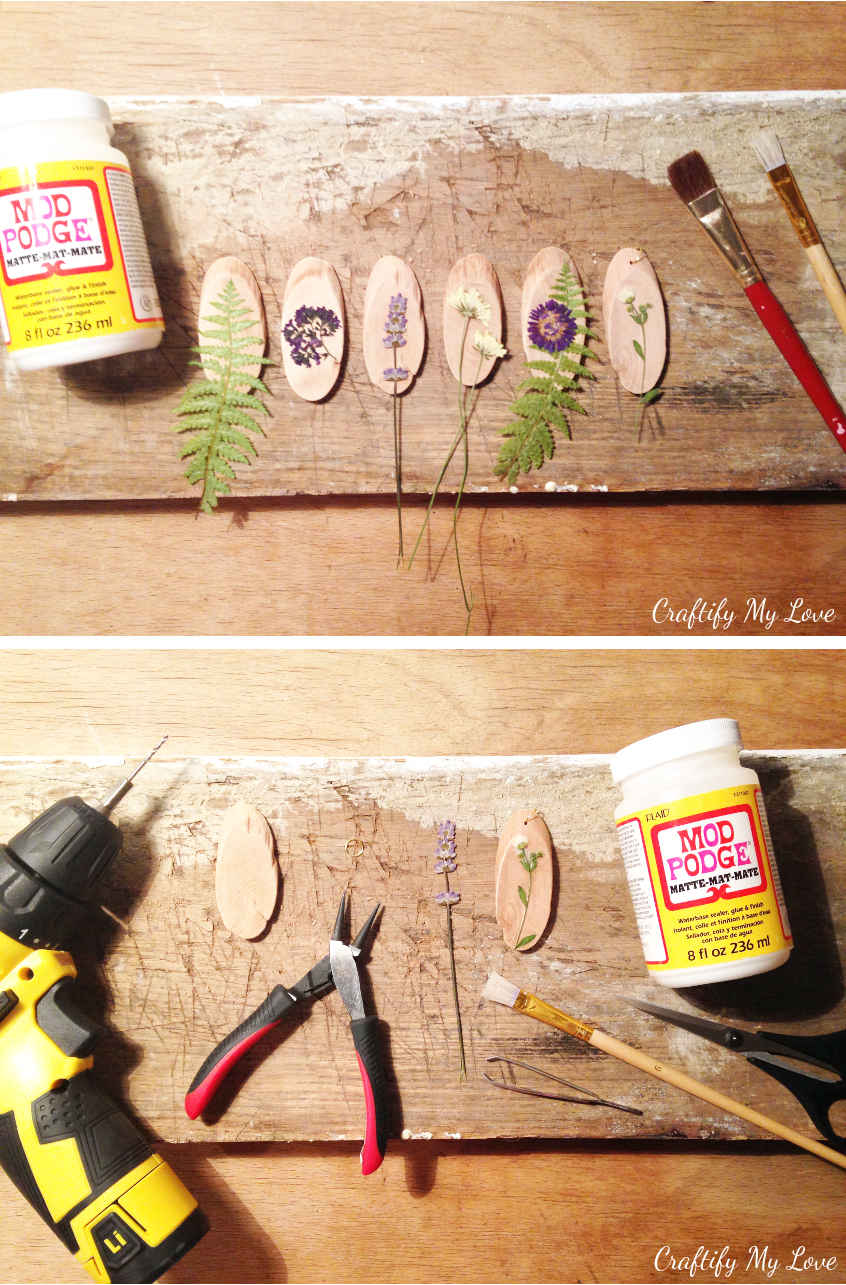
Materials:
- Oval driftwood discs (I found mine in the wedding decor section of my local dollar store)
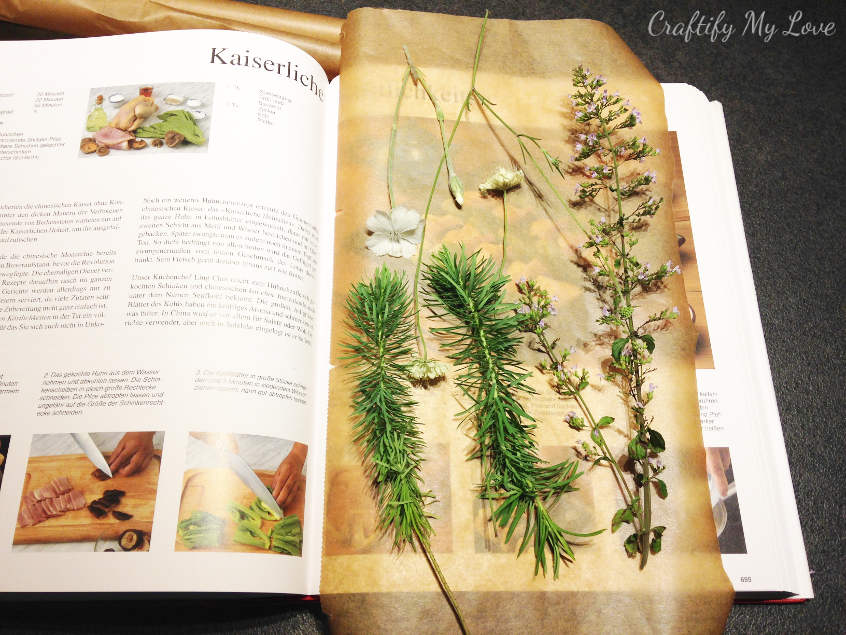
- Dried and pressed flowers (learn how to press flowers with a book HERE)
- Mod Podge
- Ball chain necklace (gold-plated). Brown leather or waxed cotton cord are a good alternative.
- Open jump rings
Tools:
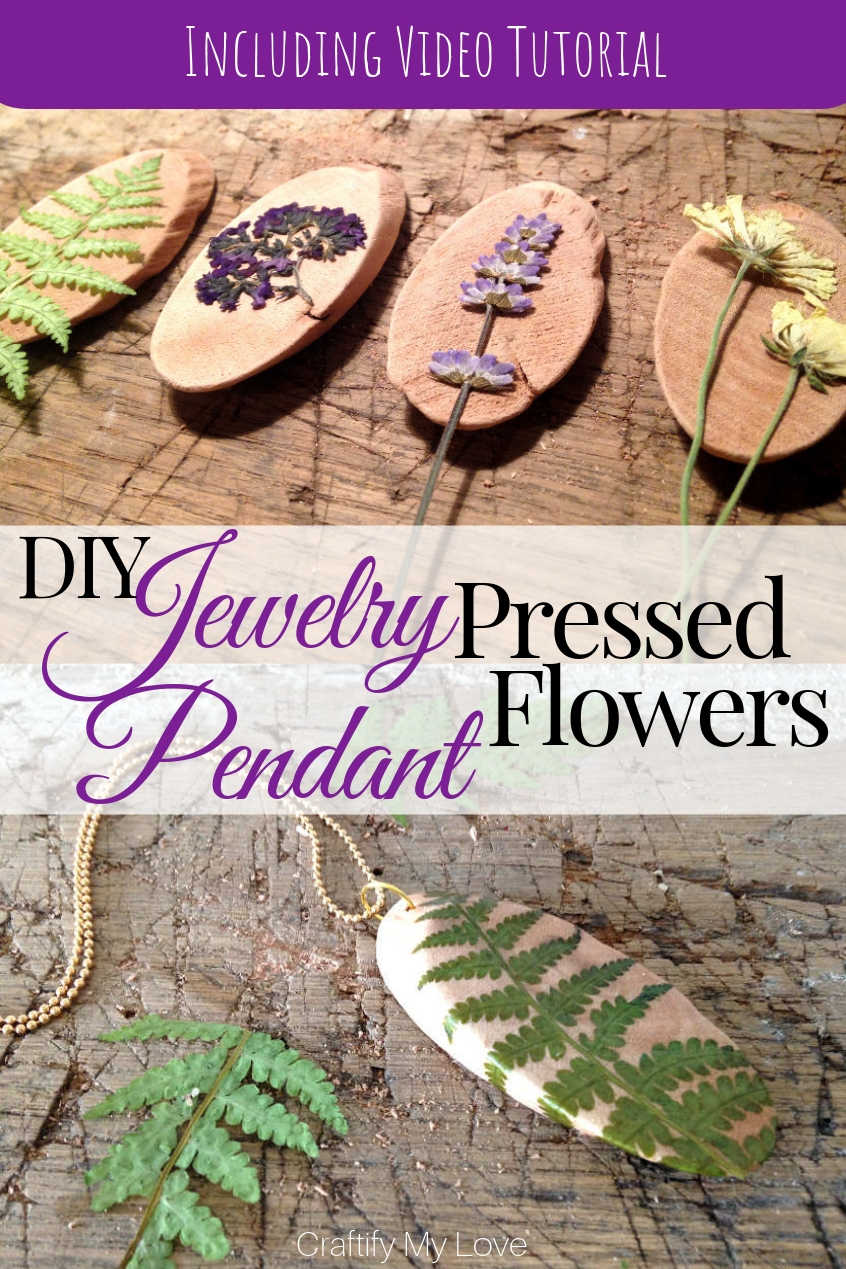
DIY Jewelry: Pressed Flowers Pendant Necklace
For my visual friends out there…I’ve filmed the process of making these darling pendants and put a video tutorial for you together. VIDEO coming soon If you enjoy Video Tutorials, make sure to sign up to my YouTube channel HERE. 
Related:
- Other Flower Crafts you might like.
- Felt Flowers (start here for a series of 5)
The Prep-Work
1 – Drying and Pressing Flowers and Leaves
I picked most of the flowers used in this project at my godmothers garden right before she moved houses. I wanted to make little keepsakes for all of us that we shared wonderful moments in her house and garden for years.
Related: My godmother also encouraged me to see if I’d like to rescue some of her treasures. While I rummaged through her entire house, attic, and basement, I found a wonderful old wicker basket, a cute little china cabinet I updated, three little old drawers I turned into shelves, and a very impressive but also sad picture frame that became a beautiful chalkboard.
Learn how to press flowers with a book HERE. If you are in a hurry, you can press flowers using a microwave, too. Yep, you’ve read that right! I haven’t done it so far, as I (or should I say Markus) just recently bought a microwave. I’ll make sure to give this a try asap.
2 – Making a DIY Wood Pendant from a Wood Slice
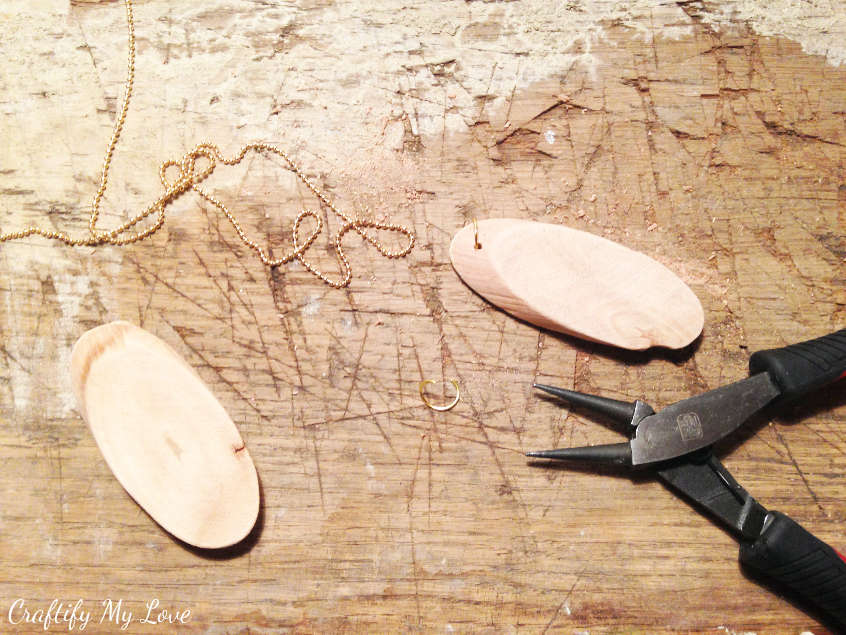
You’ll be drilling a tiny hole into the top of your wood slice. Make sure it is not too deep into the slice as the little open jump ring should still be able to wiggle around.
You’ll push the open jump ring through the drilled hole and will bend it shut using your round nose pliers.
3 – Choose the Flowers for your Wooden Pendants
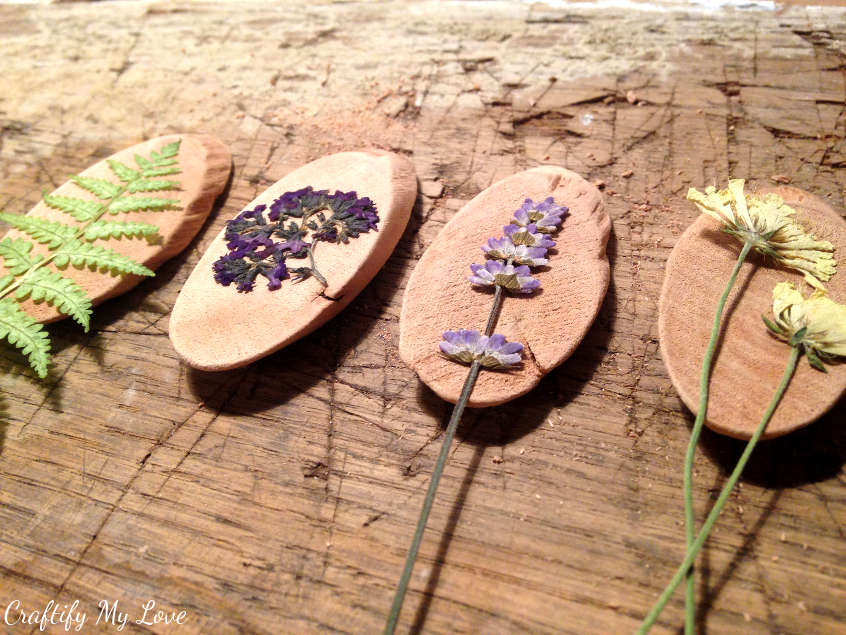
Go to your stash of dried flowers and decide which ones you want on your little DIY driftwood charms. Think about mixing & matching them. You are the designer and your creativity is key. It doesn’t matter if they don’t fit perfectly. We’ll be clipping excess parts off later on in the process.
How to Transfer Pressed Flowers on Wood in 5 Simples Steps
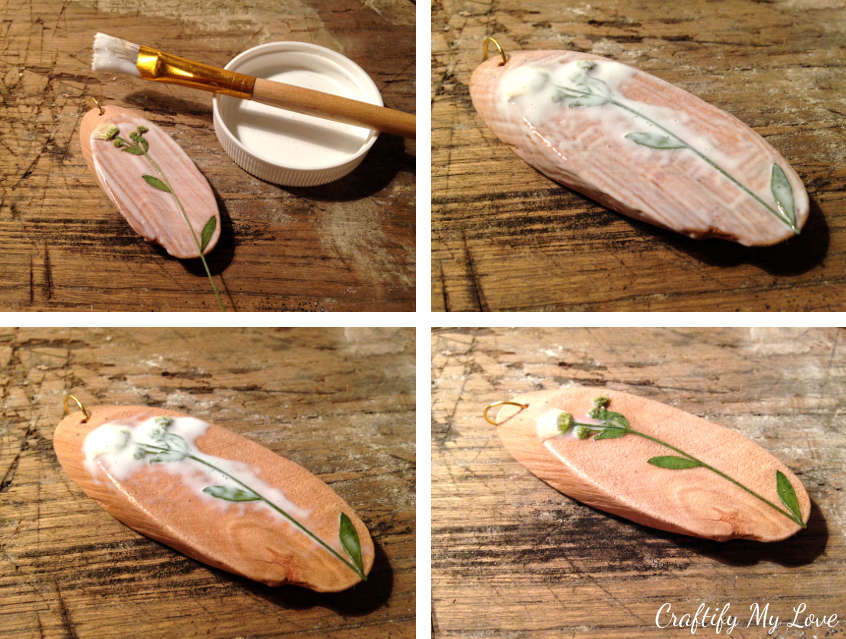
- Apply a layer of Mod Podge on your wooden disk.
- Add a dried flower and press it on tight. I used tweezers to do so.
- Cut any excess flower pieces e. g. the stem or petals & leaves that are too wide, using tiny scissors or a very sharp knife.
- Apply Mod Podge heavily on top. You’ll want all the flower parts completely covered. I found that dabbing is the way to go (you’ll see what I mean in the Video Tutorial HERE). If you are using a brushing motion you’ll only wipe the flower or leaf off of your oval driftwood discs.
- Let your nicely decorated pendant dry now. As you can see in the pictures above it’ll take a little while until the Mod Podge is see-through. Don’t stress…be patient!
And you’re almost done. All that’s left is adding a ball chain necklace or leather or waxed cotton cord to your DIY pendant and start wearing it day in and day out.
Pretty DIY Jewelry Nature Craft
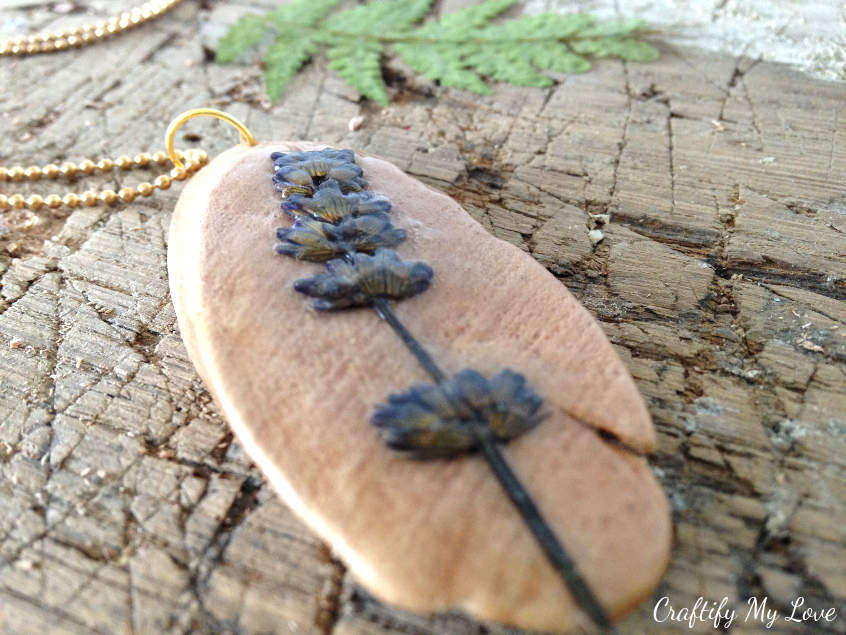
You’ll notice that the colors of your pressed flowers will deepen a little after the mod podge is dry. I still love the look of that dried lavender.
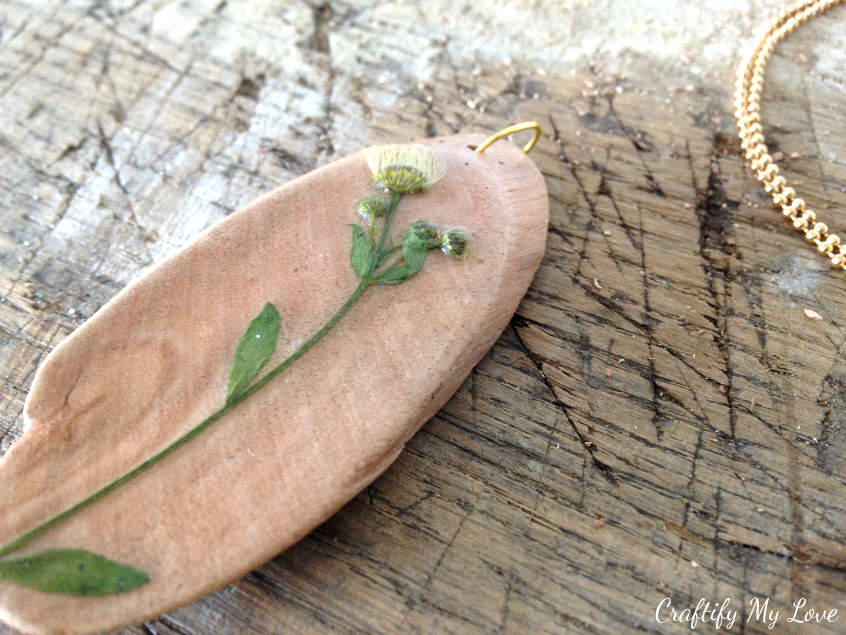
Here’s a little daisy.
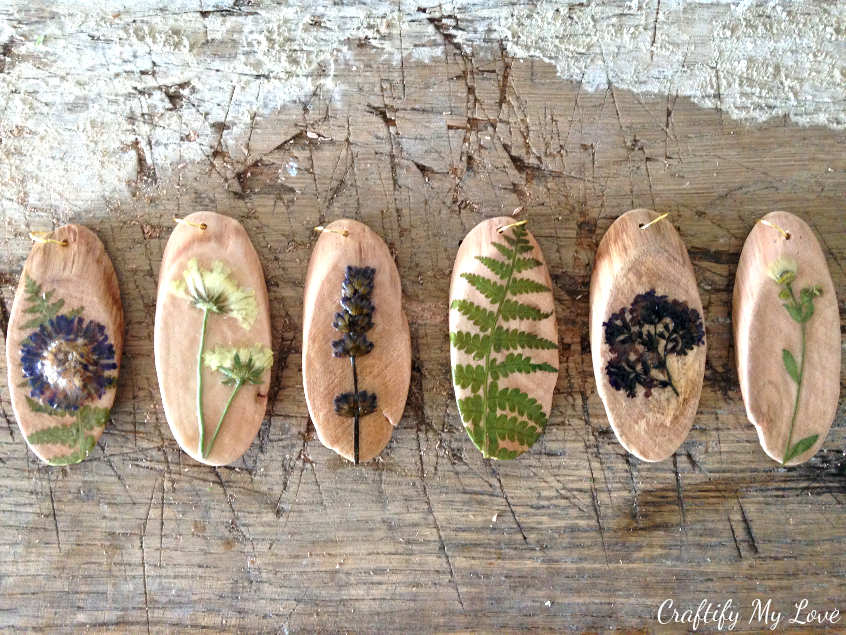
Which one do you like best?
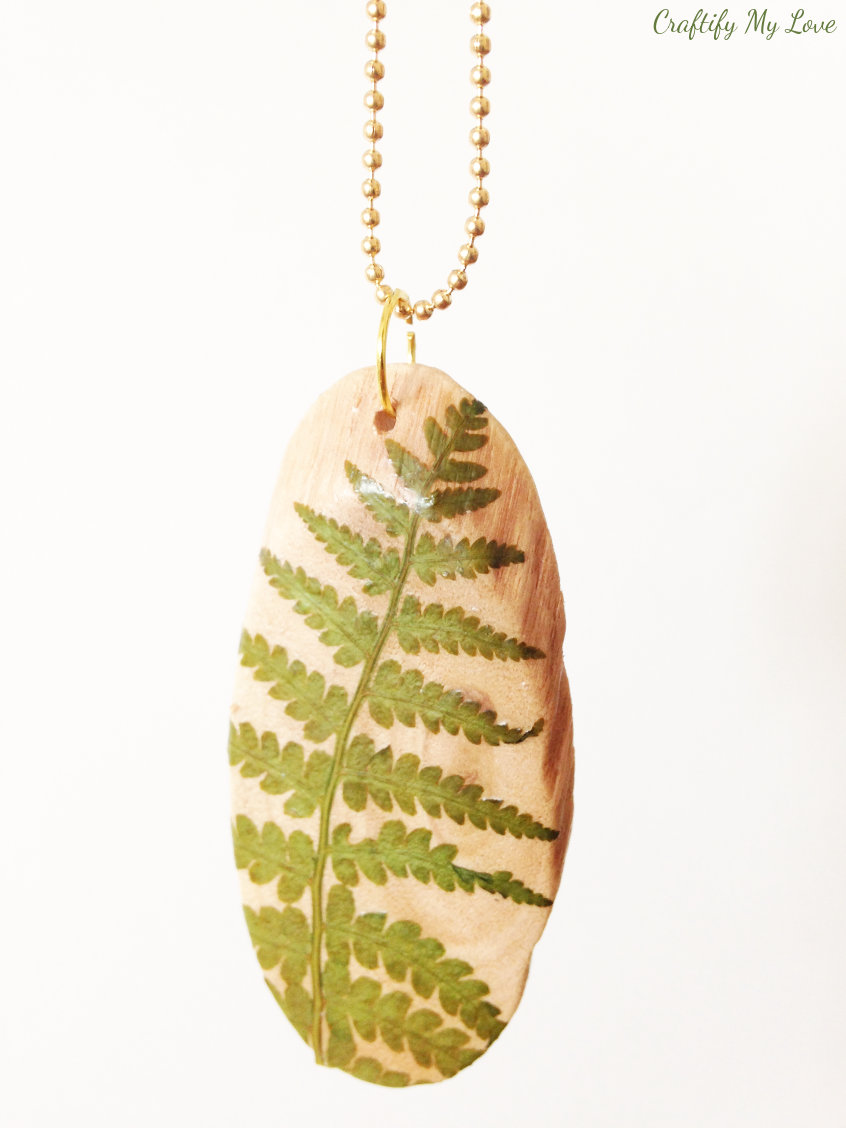
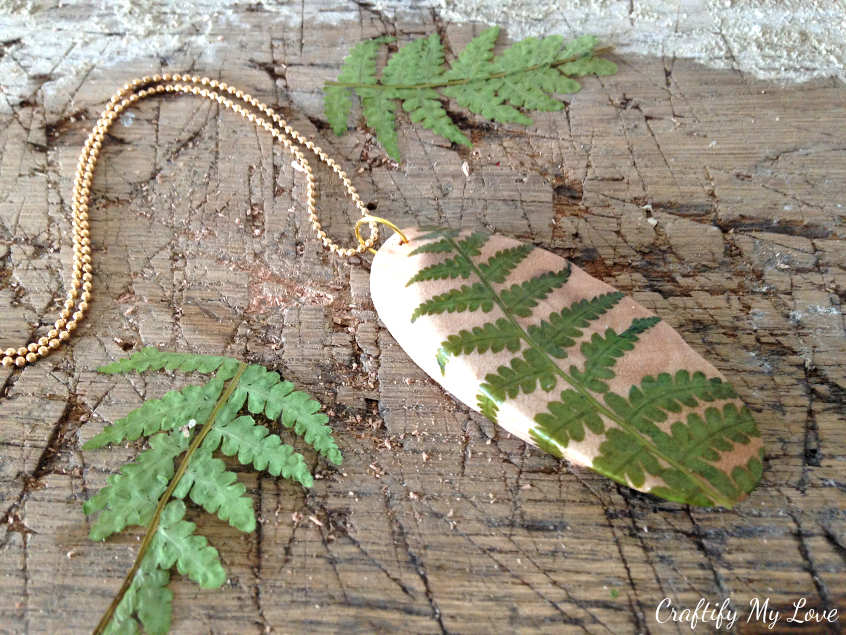
My favorite is the DIY pressed fern pendant. I wore it once and then gifted my mom with it for Christmas back in 2017. She asked me to change the gold necklace into a brown leather cord (a very nice alternative!) and is wearing it every day since.
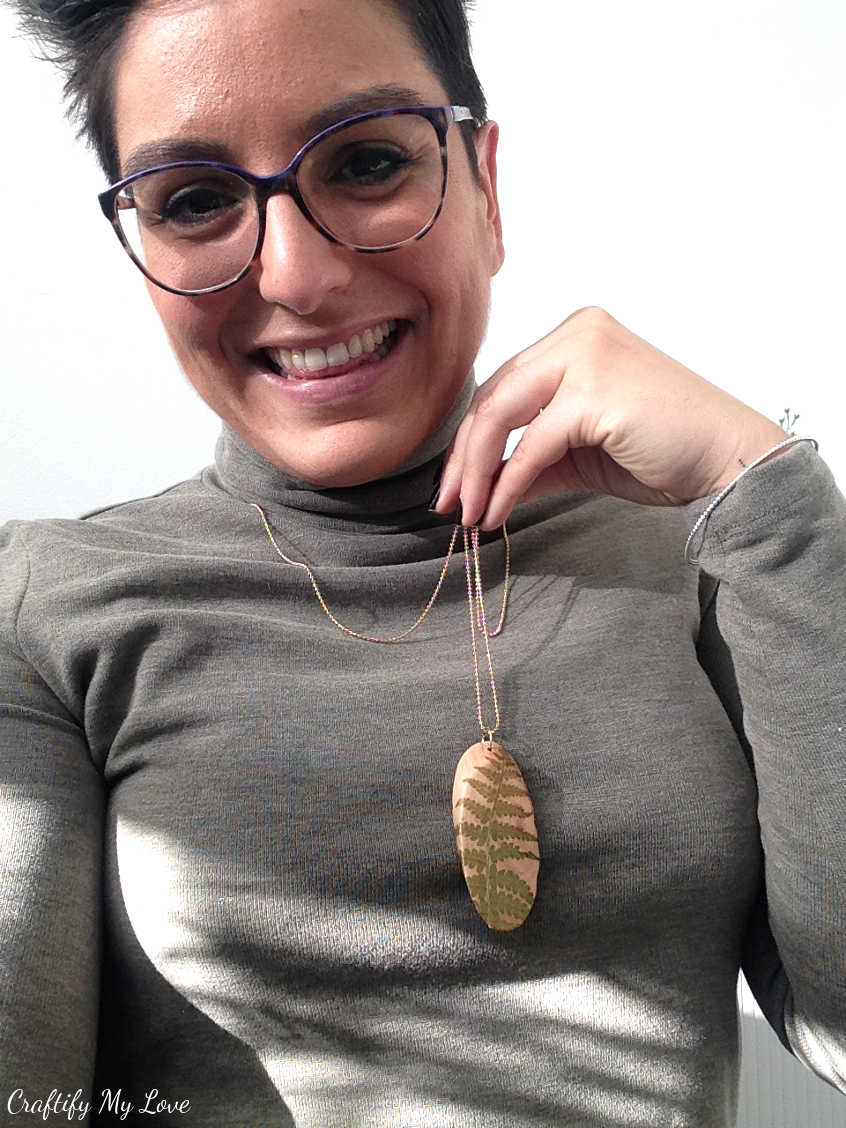
Would you make these DIY pressed flowers pendants for yourself or as a DIY gift idea
Love,

PS: Don’t forget to PIN this for later reference.
PPS: You’ll find More DIY Jewelry Inspiration HERE on Craftify My Love or over at FaveCrafts.com.

These are so cool, Habiba! I love your process of transferring flowers onto wood! What a great way to save beautiful flowers! I’ve tried preserving flowers using the microwave and it really works!
Thank you, Gail. I picked most of those flowers in my godmothers garden before she moved house. It’s a great memory.
Oh Habiba, those are soooo pretty! They’d make lovely gifts.
Thank you so much. I love everything flowers and they were born out of a whim. I love those creations the most.
I am in love with these, how gorgeous.
Thank you so very much, Maria.
Absolutely gorgeous what a great way to use natural ingredients to cerate a piece of art and beauty. Thanks for briging it to the Bloggers Pit Stop. xoxo
Julie Syl
Thank you, Julie. I really enjoy working with what nature provides.
Your pendants are very lovely. Our Julie has chosen your post to be featured on the next Blogger’s Pit Stop. Well done.
Kathleen
Wow! Thank you for letting me know, Kathleen. I’m flattered to be featured ?
Super pretty necklace from nature.
Happy Spring, Kippi #kippiathome
I’m glad you like it, Kippi.
This is AMAZING! I never know what to do with pressed flowers so I love this idea!
Right? I have many of them and actually several more ideas in my head what to do with them. Hopefully I’ll find the time soon, to sit down and get crafty…
That is a really neat idea. I really need to press more flowers and it’s a great keepsake.
It is, right? I still haven’t tried to dry flowers using the microwave.
Hi, I was wondering if you could cover this in resin after the modge podge is dry? I have a larger wooden piece i want to cover in fall leaves and flowers, then possibly resin it. I have been trying to figure out the best way to do it. It will be a home decoration.
Hi Evie, I’ve never worked with resin before but I know for sure that I’ve seen projects covering pressed flowers with resin. Either just give it a try or for more security try to find a similar project. Pinterest is a good database. Enjoy your project, it’ll be wonderful.