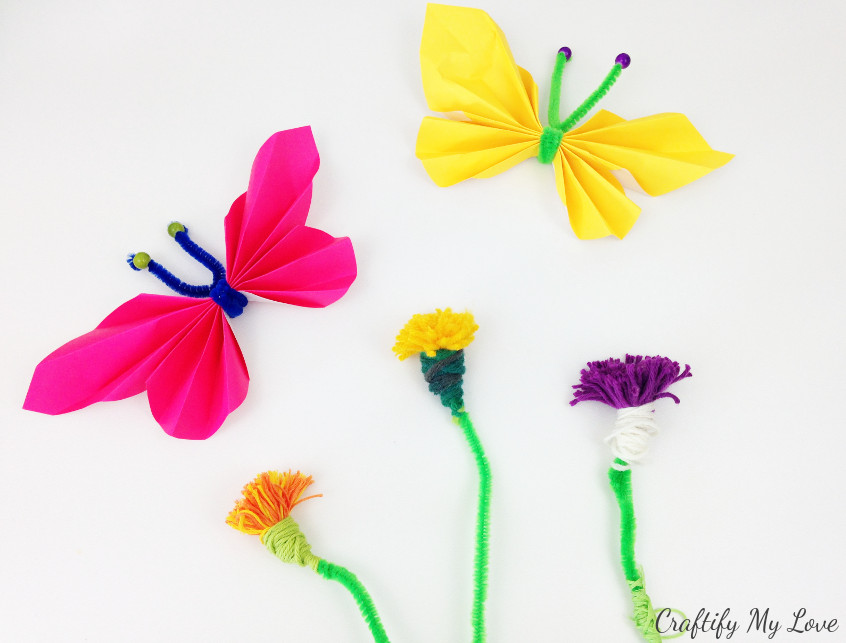
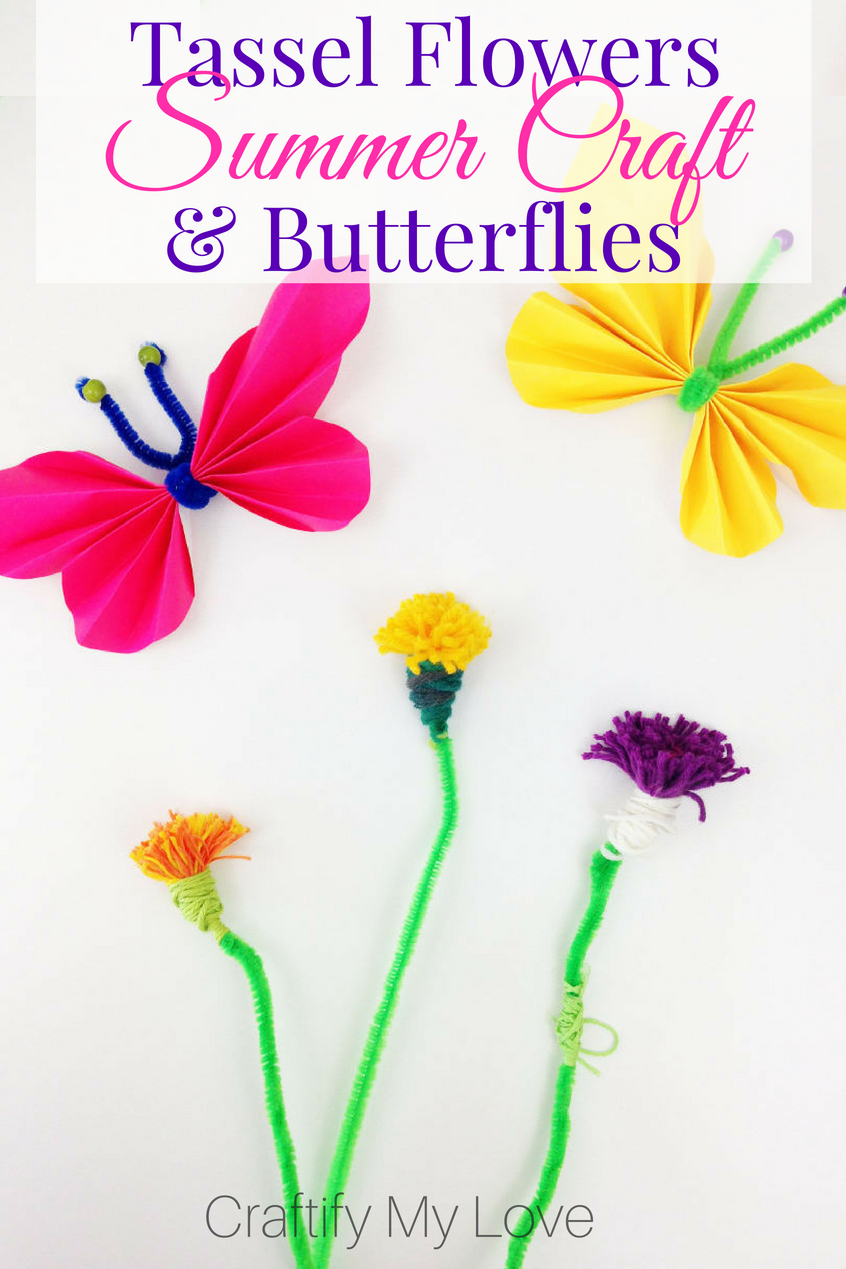
I’d love to show you today how to make these gorgeous tassel flowers from leftover yarn or wool. The prototype was a birthday present from my 4-year-old god-daughter. As were these butterflies.
I am absolutely convinced that you are having some yarn leftovers in your home. Come, on now. Admit it already! 😉
Don’t fret, you’re definitely not alone.
Not only do I have leftover yarn from previous crocheting projects like these most adorable baby flip flops or this newborn hat. No, I also have leftovers from other people, I’ve bought in the thrift store. I simply can’t resist when I stumble over a great color or fun texture. And they only cost a view Cents.
Also, being the crafty lady in my circle of friends means that whenever someone declutters their home and wants to get rid of craft supplies, they hand it over to me (as happened with the ball of green yarn in the picture below).
Related: Felt Flowers (start here for a series of 5)
Luckily there is the Craft Room De-Stash Challenge from my friend Megan from C’mon, Get Crafty that makes me regularly use up my treasures. As an extra BONUS I get to show you a new craft, too.
Supplies to make Tassel Flowers
This post contains affiliate links. That means if you make a purchase through these links, I may receive a small commission at no extra cost to you! You can click here to read my full disclosure.
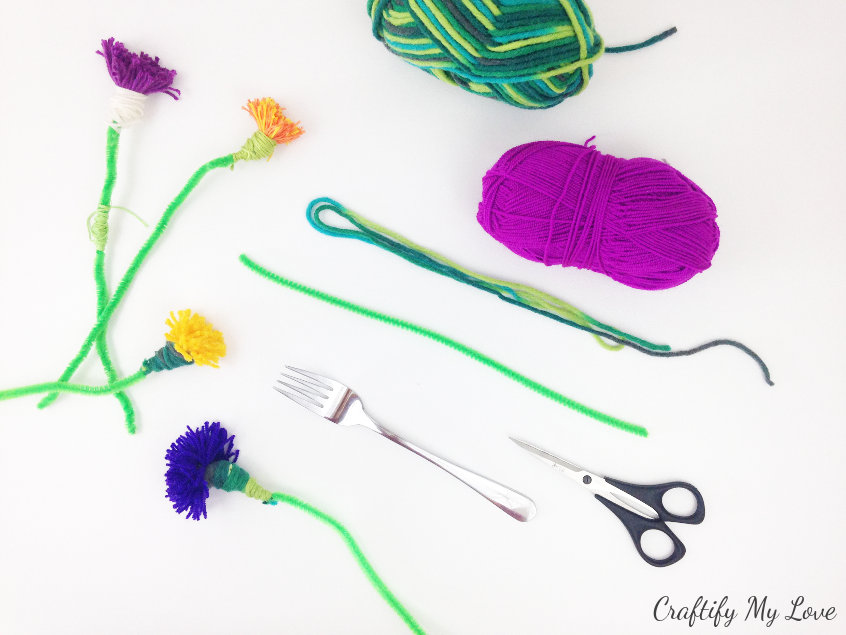
I am almost convinced that you have all of these “ingredients” in your home:
- Green Pipe Cleaners
- Green Yarn
- Various Colored Yarn for the Blossom
- Dinner Fork
- Scissors
But if you really don’t happen to have leftovers of yarn at home, consider getting this great deal for your future crafts projects!
Not only do I have a lot of wool at home, I also have several packs of pipe cleaners. As of after this craft, I’ve officially used up all the green ones. Ha! How’s that for a result of a de-stash challenge, eh?
Hot To Make Tassel Flowers
Video Tutorial
If you prefer watching a step by step video tutorial, scroll way down to the end of this post. Make sure to sign up to my YouTube channel HERE if you are a visual learner.
Related:
- Happy Paper Butterflies (see image below)
- Sparkly Wire Dragonflies
- How to Press Flowers With A Book
- Watercolour Flowers Card
Preparing your Tool
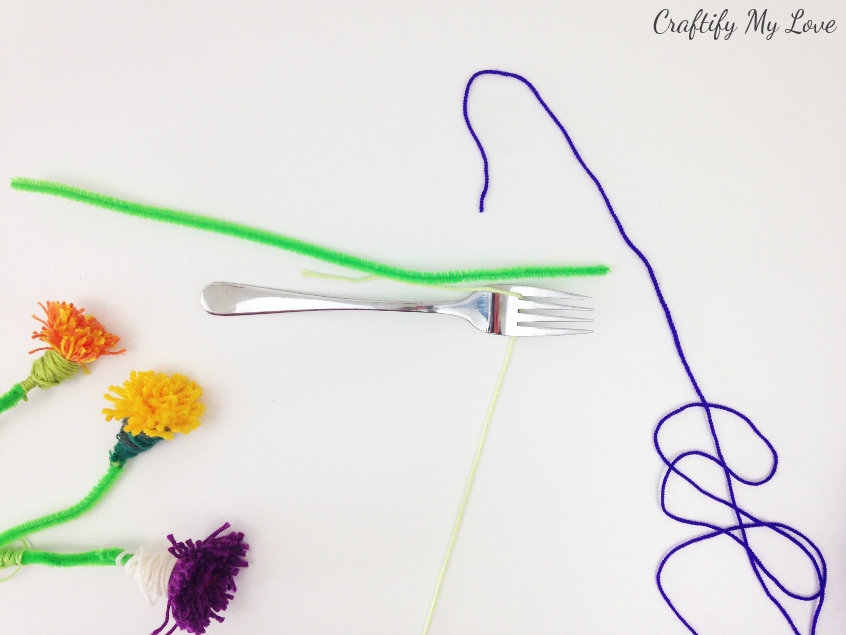
Thread a long piece of green yarn through the left tine of your fork. Place the pipe cleaner right next to that tine so that it is a little longer than the pointy part of your fork.
Making the Blossom for your Tassel Flower
Start wrapping the yarn you chose for the blossom around your fork. Make sure that both ends of your green yarn are pointing towards the handle of your fork.
If you are using an extra thin yarn like I did, I recommend wrapping the yarn around your fork around a 100 times. See the yellow dandelion tassel flower in the image below? That were around 30 or 40 loops.
Remember:
The more often you’ll wrap the yarn around the fork, the fuller your blossom.
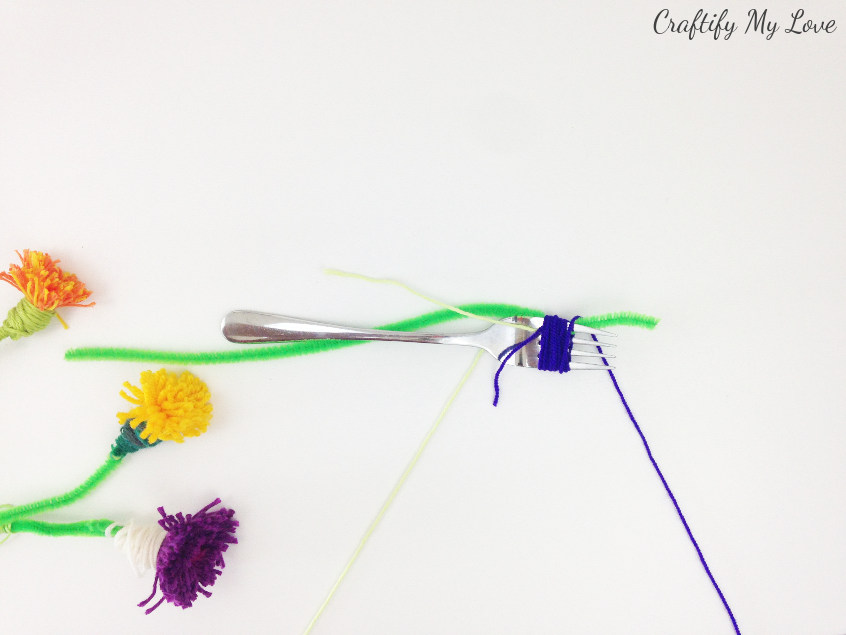
Twist the short end of your pipe cleaner around the long one. This way you are starting to create the stem.
Tip:
You can see these two steps very clearly in the video tutorial at the end of this post.
Bring one end of your green yarn around the blossom part and tie one knot.
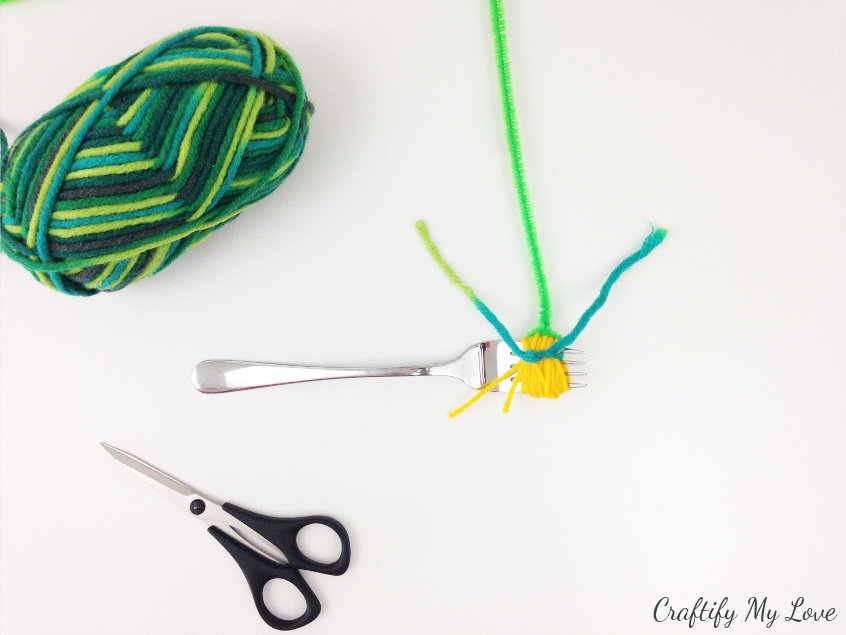
Pull your yarn blossom carefully from the fork.
Tighten your first knot and make a second one.
Note:
If you’ve made a very thick blossom, it’s best to squish the pipe cleaner together with two fingers at the very base of your blossom. Again, you can see this very clearly in the video at the end of this post.
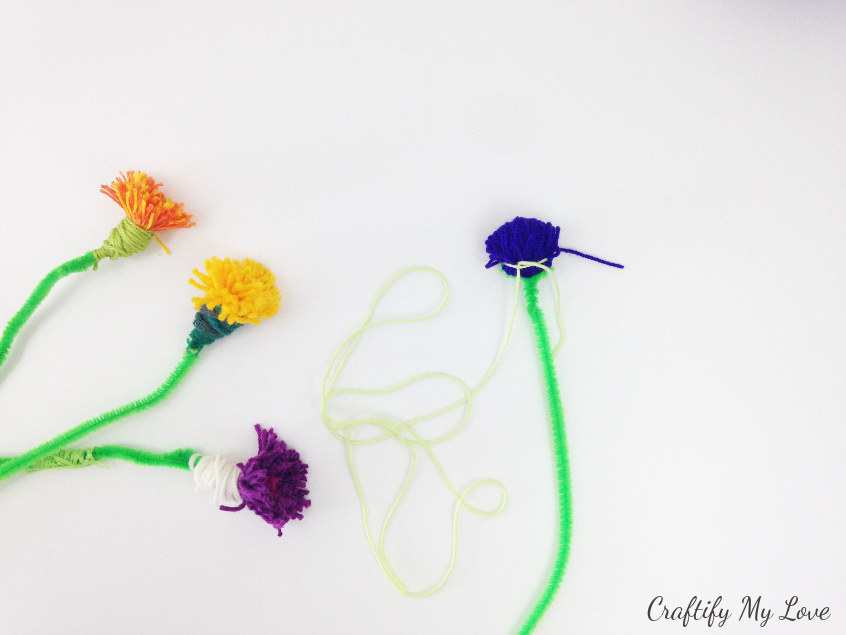
Making your Flower’s Base
Start wrapping the long end of your green yarn around the base of your flower going downwards. Fasten off with a knot and cut the ends close to the stem.
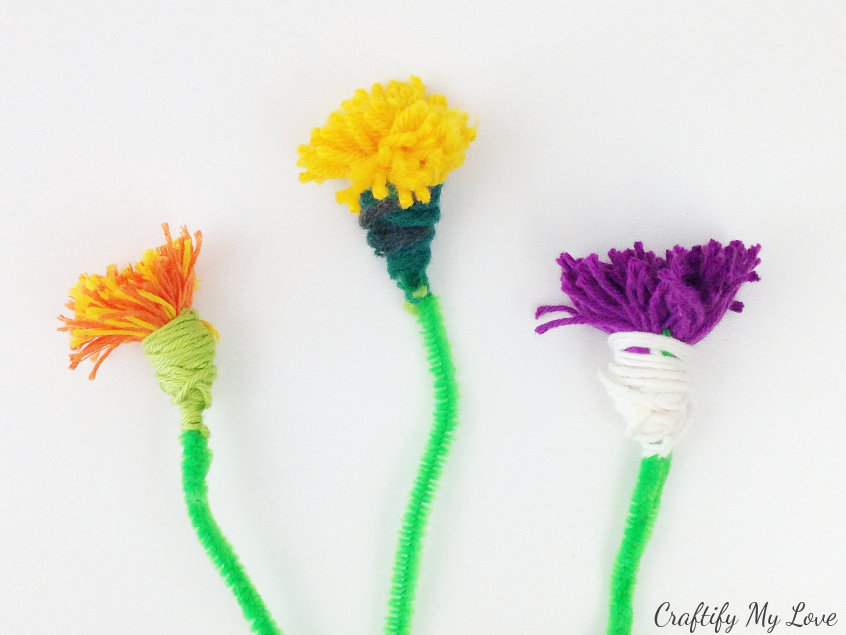
I think that the flower in the photo below looks like Mr. Dandelion, don’t you think?
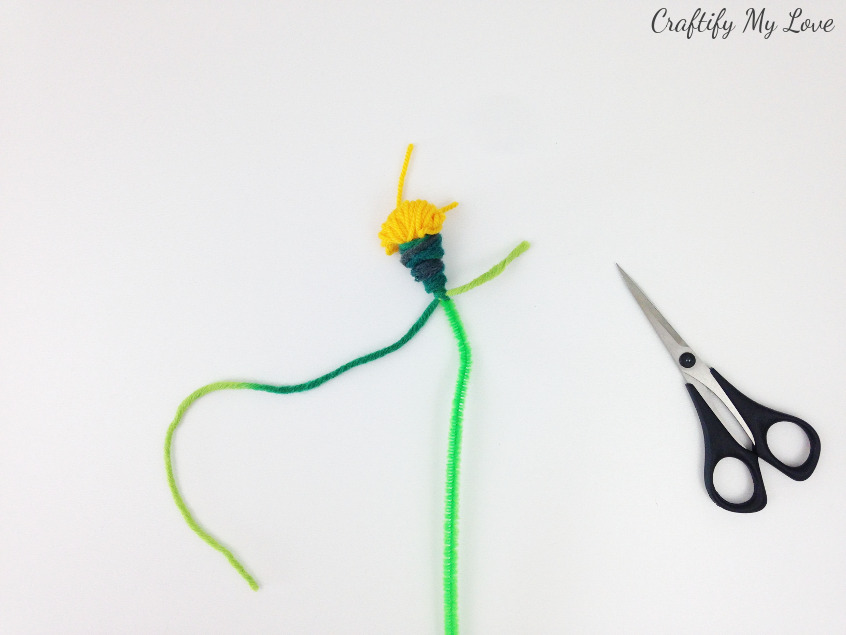
Using your scissors you’ll be cutting the blossom open now. Meaning that you insert the scissors between the loops and cut them open.
Related:
- How to DIY a Giant Paper Flower
- Mini Paper Roses for various crafts projects
- Even more Flower Crafts you’ll adore!
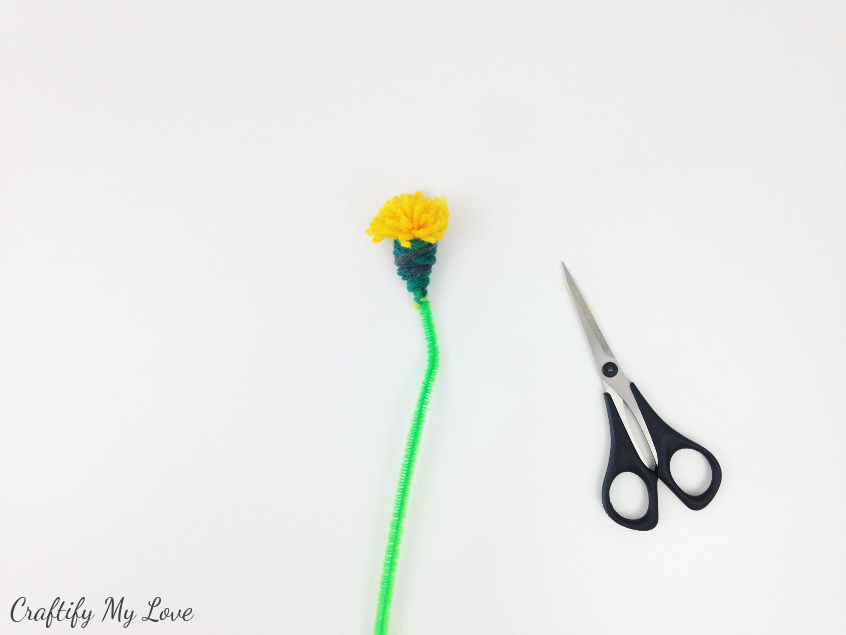
Finishing Off
Lastly, you can give your flowers a little haircut by trimming the strands of yarn that are slightly too long.
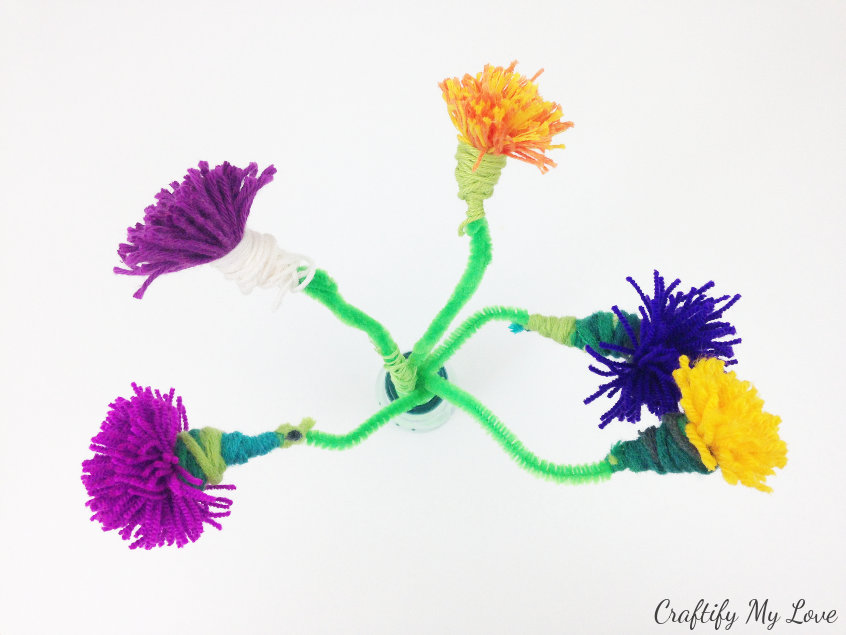
Using various colours makes for a fun little bouquet, don’t you think?
If you were to use only yellow and white, you’d end up having a bunch of Dandelions!
You can learn how to make these darling paper butterflies here.
Now go see if you can do even more crafts with what you already have at home. My blogging friends will provide you further down with some great inspiration!
Love,

PS: Don’t forget to PIN this for later.
More Summer Crafts
- Painted Rock Photo Holder
- Keepsake Bookmark from Admission Tickets
- Girly Shaker Bookmark with lots of Sparkles
- DIY Sharpie Shoes
- Vacation Memory Bookmark with your best Photos
- Kids Crafts over at Facecrafts.com
Meet Your Hosts of the June Crafty De-Stash Challenge
Shoppe No. 5 | Purple Hues and Me
Craftify My Love | My Family Thyme | Modern on Monticello
The Inspiration Vault | C’mon Get Crafty | Sew Crafty Crochet | | This Autoimmune Life
Life Beyond the Kitchen | Domestic Deadline | Winter and Sparrow
If you’d like to join in the Craft Room De-Stash Challenge, you can request to join our Facebook group here!
Video Tutorial: How to Make Tassel Flowers
Very cute! I think my girls would love to make this. Going to pin this as an idea for a summer craft to do with the kids
Thank you Jessica, you could find inspiration for flowers in your little wildflower meadow.
What a fun craft for fingers of all sizes! I really enjoyed your video and your charming manner. 🙂
Oh, Lydia, thank you for that nice comment. I really appreciate feedback on my videos as I am fairly new to this.
Oh, I love this tutorial :)) It is so easy, but has never come up to my mind 😀 Well done!
Thank you my dear! Same here. My goddaughter introduced me to these beauties
What an adorable craft project, Habiba! Just perfect for the kiddies!
Thank you so much, Gail.
Cute. Great way to use up yarn leftovers.
Thank you for sharing at The Really Crafty Link Party. Pinned.
The bouquet of flowers will look great. In my opinion the better the more colours you’re using up.