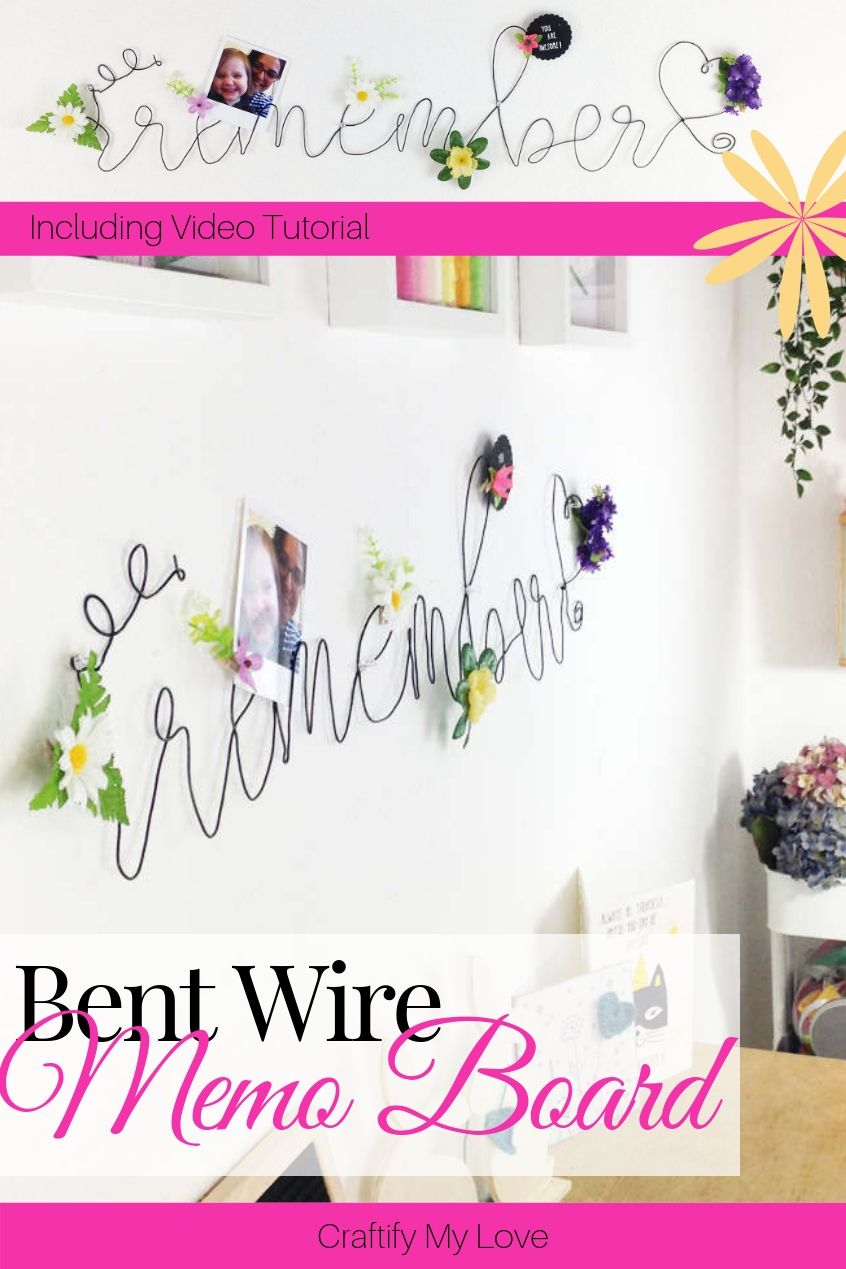
Today I rummaged in my crafty projects box that I haven’t shared with you yet. If you’re interested I’ll be showing you how to make a Bent Wire Memo Board.
I found inspiration for this little organisational DIY on Pinterest and made it as part of my Craft Room Re-Organization Challenge a year and a half ago. Originally, I shared it over at Sheri’s blog Hazel+Gold and had big plans on putting the tutorial out there for you, too, my lovely Crafty My Love reader!
But as happens quite often I craft things, take pretty pictures, sometimes even video footage, and then I never get round to sit down and type up the post. Sometimes that makes me sad. But then, on other occasions, such as today, it makes me real happy. Why? Because, I have awesome things to teach to you even though the time is tight. As is the case this week: I’m 36 weeks pregnant and had to stay in hospital for 24 hours because of high blood pressure. Needles to say there are many other things my mind is occupied with or things that still need to be prepped until my precious baby boy arrives in just a view weeks.
Pinterest Challenge
I really love this monthly challenge by Erlene from My Pinterventures. She challenges us to not just pin, pin, pin away on Pinterest but actually create something from all that wonderful inspiration.
Look what I’ve made so far:
- IKEA Hack: Wood Slice Side Table
- DIY Stencilled Anthropologie Dresser Knock-off
- Crocheted Boho Hoop Earrings
- A Traditional German Housewarming Gift | Wood Burning Art
- How To Make A Giant Paper Flower + Free Template
- Macramé Spiral Bracelet for Couples or BFF’s
- Messy Bun Hat
- Mandala Colouring T-Shirt – Summer Fun
Will you join in on the fun in next month’s #pinterestchallenge, click here to sign-up ⇒August Pinterest Challenge
Let’s meet this month’s Pinterest Challenge hosts!
My Pinterventures • Cookies Coffee and Crafts
Sew Crafty Crochet • Eye Love Knots • My Sweet Things
Across the Boulevard • Suzerspace • Purple Hues and Me
Decorate and More with Tip • Mom Home Guide
Our Unschooling Journey • Intelligent Domestications
Craftify My Love • Life Beyond the Kitchen • K’s Olympic Nest
Teadoddles • Farm Girl Reformed • Simple Nature Decor
Stone Cottage Adventures
Supplies & Tools for a Bent Wire Memo Board
This post contains affiliate links. That means if you make a purchase through these links, I may receive a small commission at no extra cost to you! You can click here to read my full disclosure.
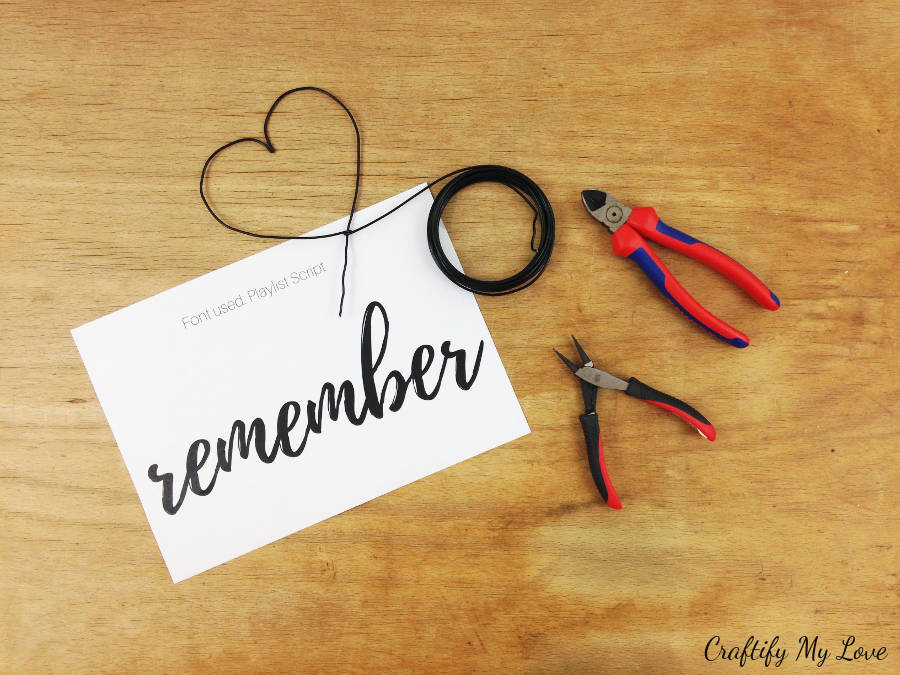
- Black crafting wire (2 mm wide = 12 gauge , you’ll be needing 5 meters if you make the memo board the same size as I did)
- “remember”-template (Download it for FREE as a thank you for subscribing to my newsletter HERE)
- Clear tape
- Diagonal Cutting Pliers
- Round-nose pliers (optional)
- Clear push pins
- Hammer
- Ruler, Cutting Knife & Cutting Mat or
- Scissors
Step-by-Step Tutorial: Hand-formed Wire Memo Board
1 – Creating a template
If you like the idea of your decorative memo board spelling the word remember, you can download a FREE template HERE (remember, it’s a thank you for subscribing to my newsletter). Or you can bend the wire in literally any shape you want. Simply type the word you desire in a pretty script font, scale it to the size you want your memo board to be, print your design and tape it together.
If need be you’ll find the photo tutorial for steps 1 – 3 over to Sheri’s blog Hazel+Gold.
2 – Hand bending the wire
This step might sound a little intimidating, but actually it’s pretty easy to be done. Watch the short video to see how to hand-shape the letters for your quote memo board made from wire.
Tip: Start by creating the entire word without worrying too much on looks. After you’ve spelled your desired word from wire, step back, look at it from a distance, and decide were you want to make adjustments.
3 – Installing your memo board
Naturally, you don’t want big ugly nails holding up your little piece of art, as you want your DIY bent wire memo board to look as pretty as can be, right? The solution is to use clear pins to install it to your wall. I suggest you use a hammer and start from the outside towards the inside. I used four pins in total to make sure that the word was smoothly attached to the wall and not parts of it standing out in awkward angles.
4 – Decorate & put to use
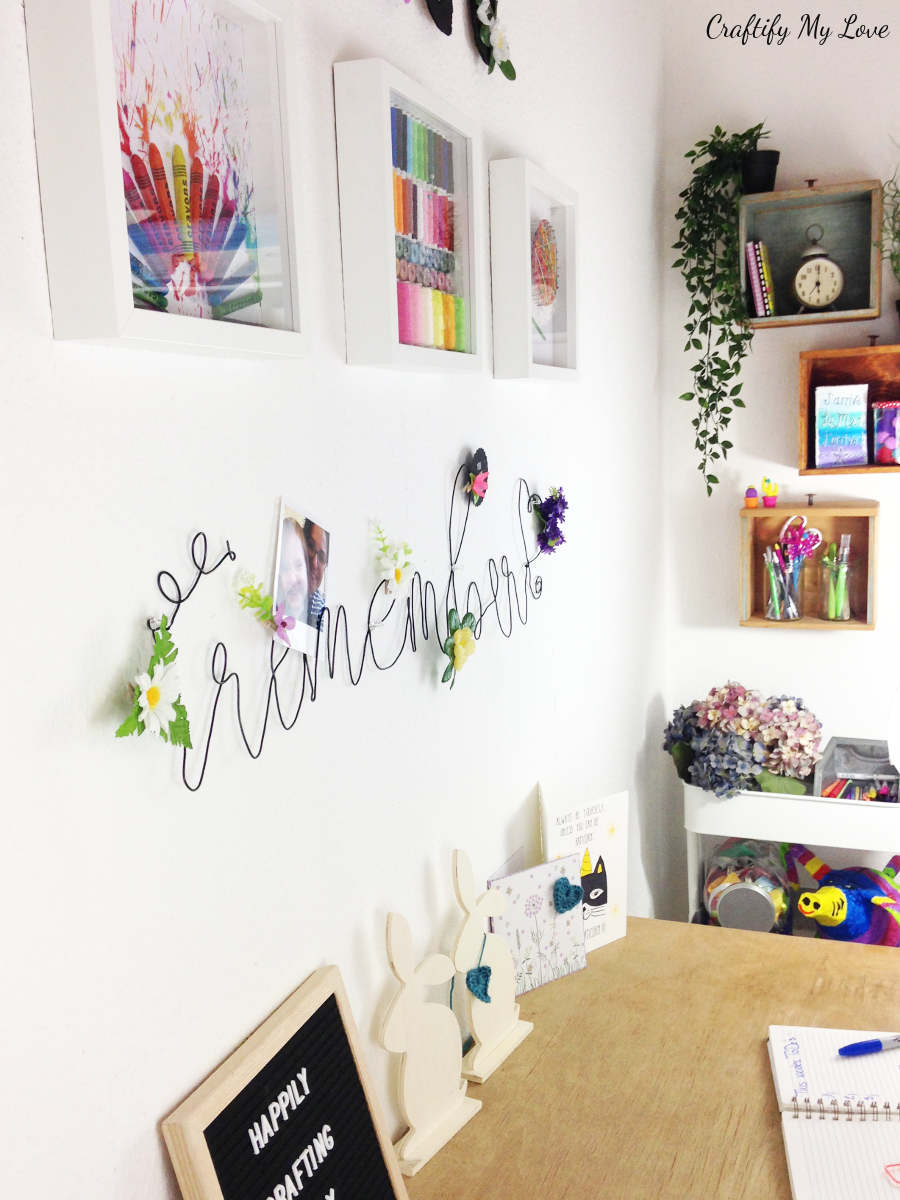
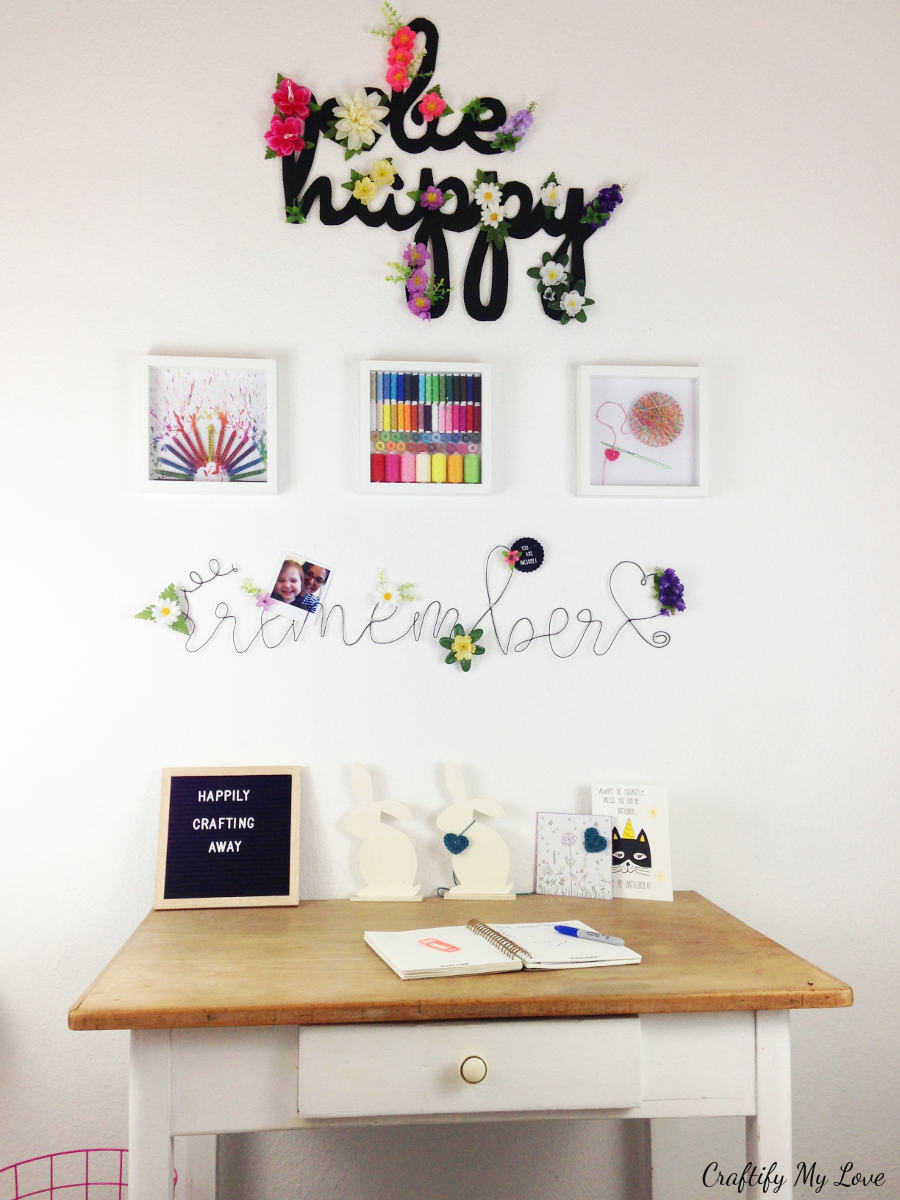
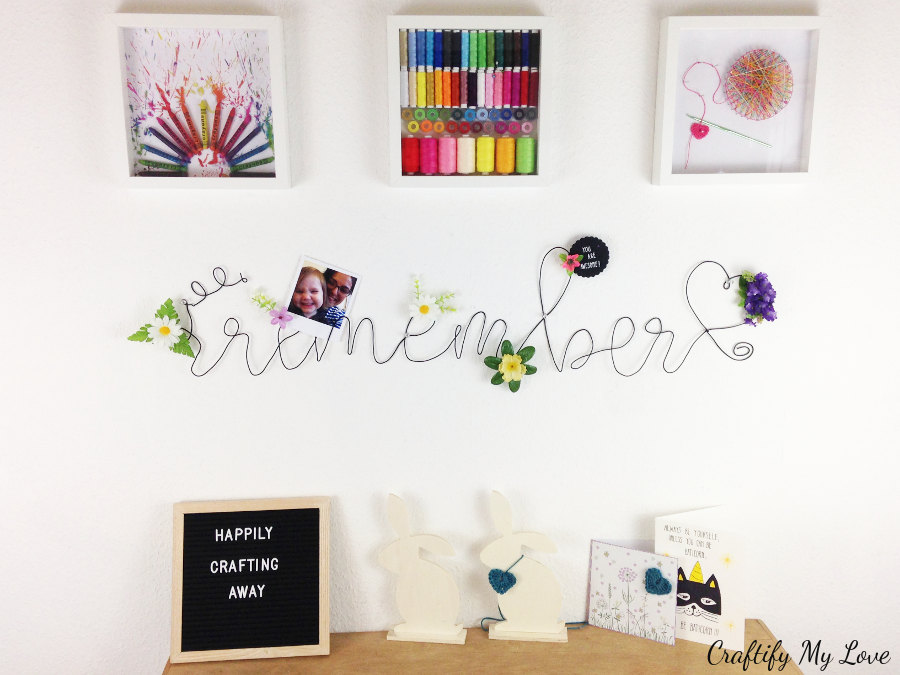
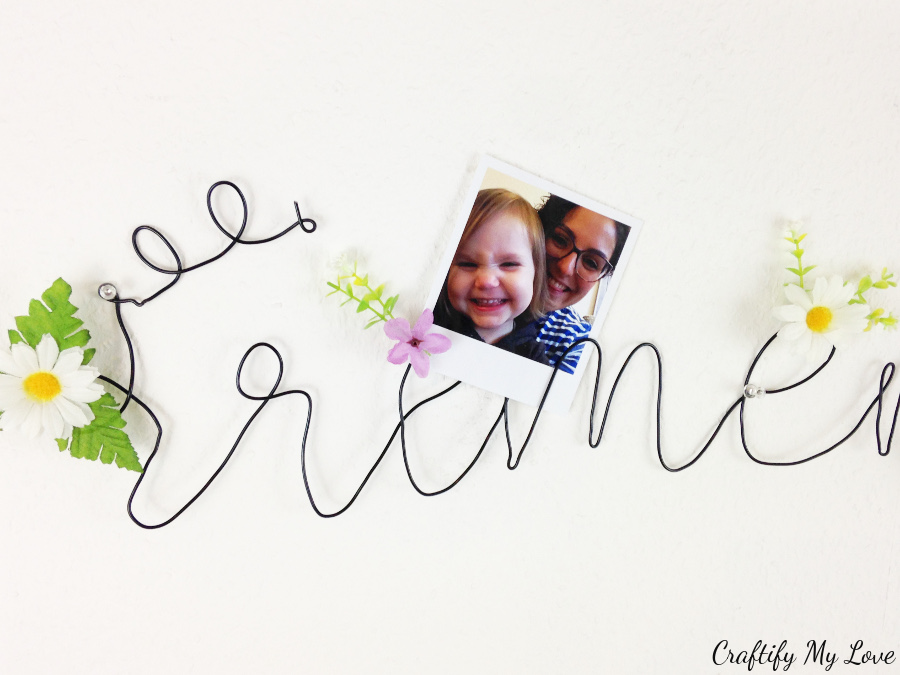
If you’re anything like me you’ll use your memo board not only for the odd shopping list or note. You’ll add photos, post cards with motivational quotes, and the likes, too. And maybe you’ll even dress up pegs to hold your notes with pretty silk flowers like I did.
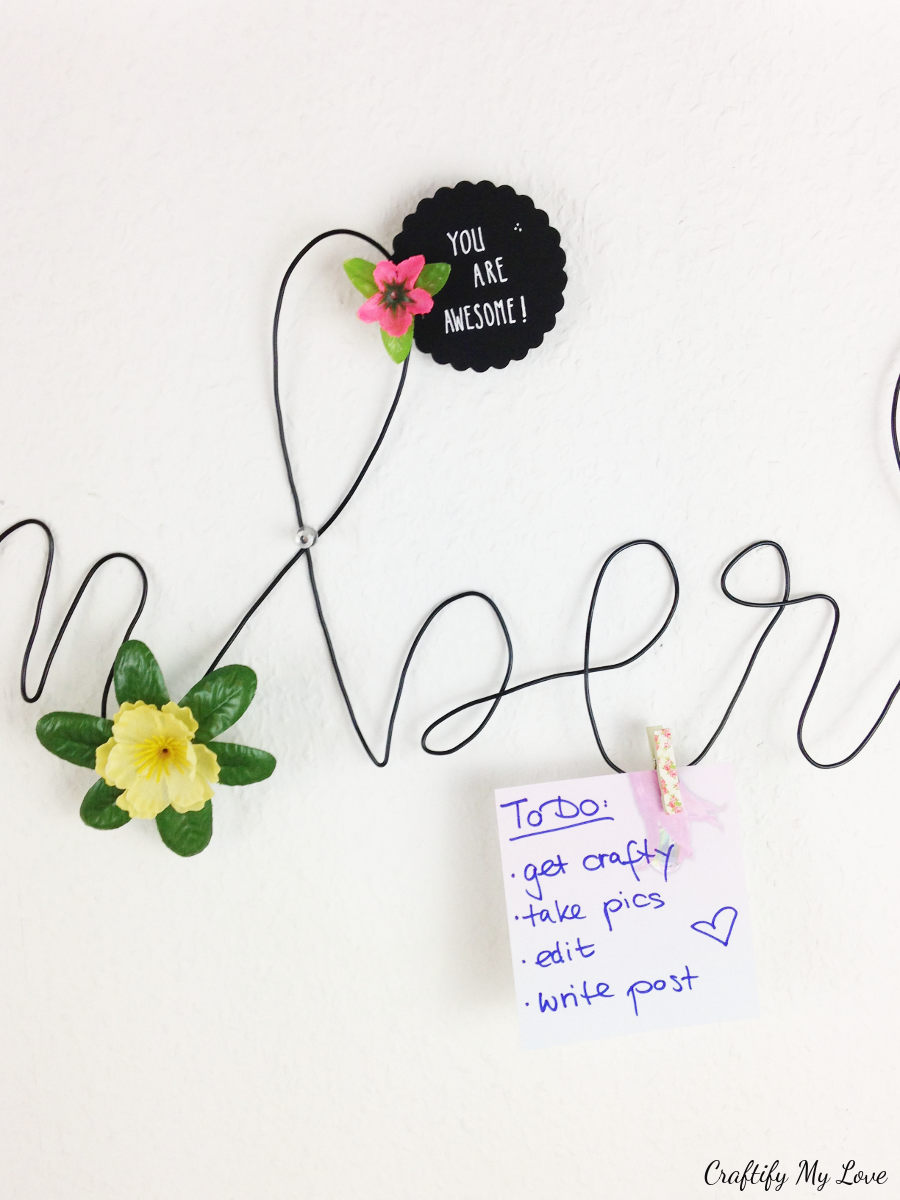
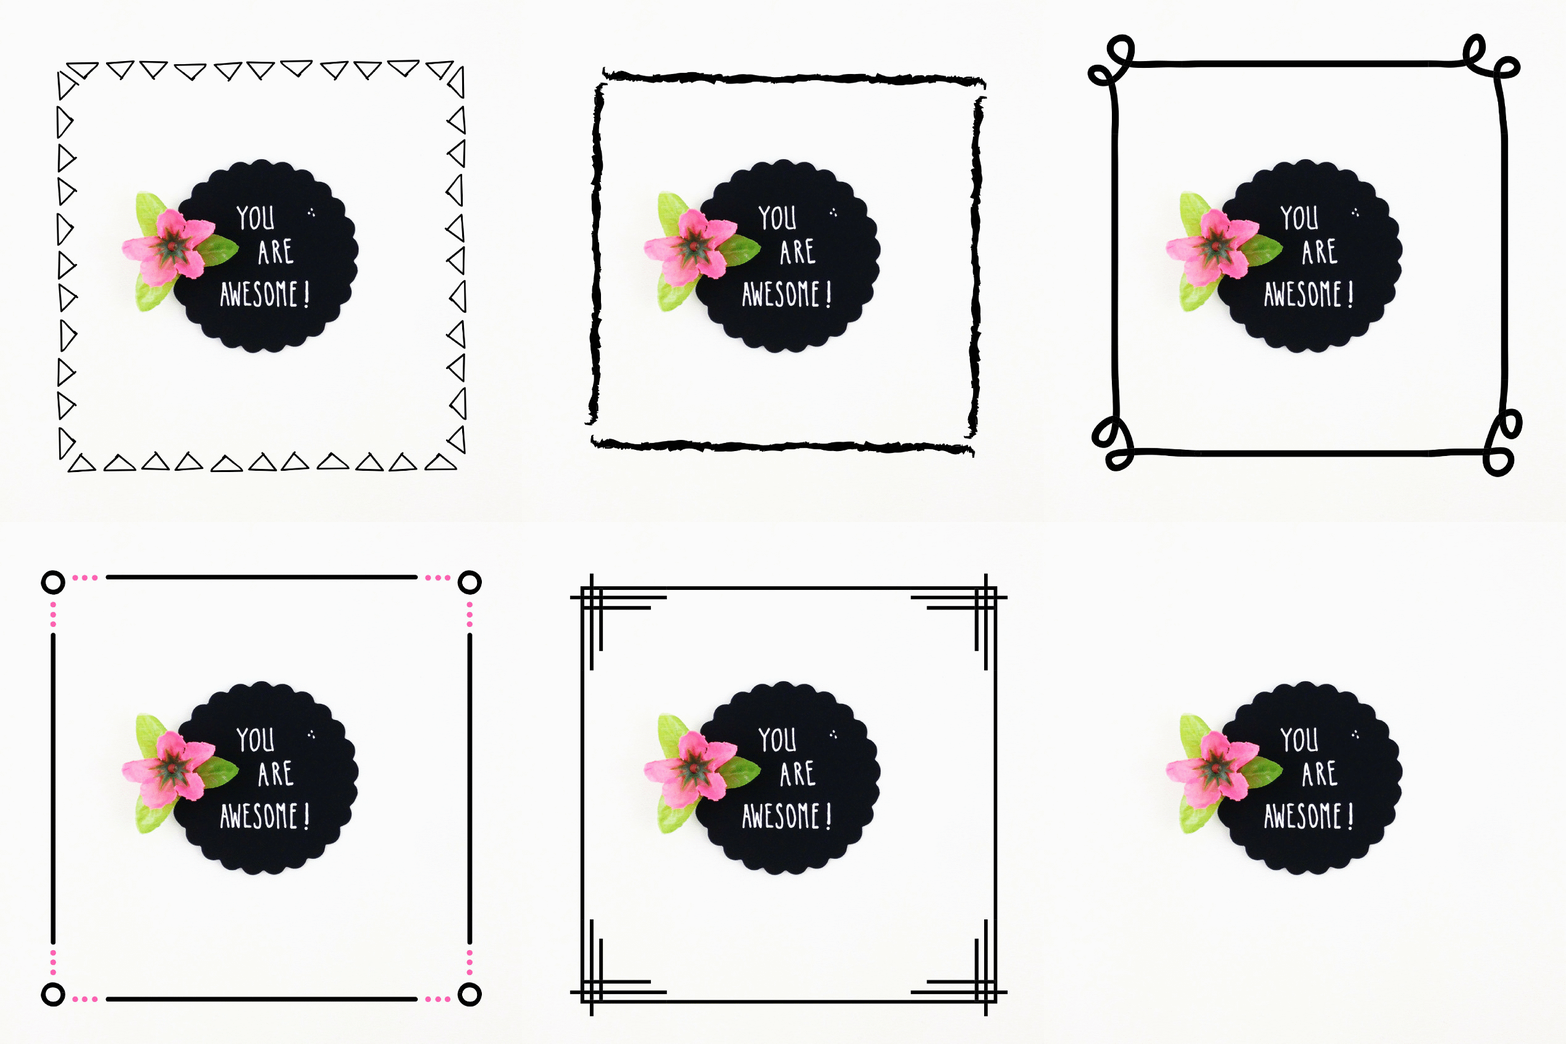
Free Printable: You are Awesome!
See the YOU ARE AWESOME! note in the image above?
I think you totally need this one, too! So I’ve created a FREE Printable for you to download as a thank you for subscribing to my newsletter.
More DIY Decor, Storage, and Organisation
Here are some of the other things I’ve created during my very own Craft Room Challenge.
Other decor and/or functional elements for your home or craft room you might like:
- Make Shelves from Drawers and other Furniture & Storage DIY’s
- Craft Related Wall Art – Set of 3
- Recycled Cardboard Cut-out Sign
- Find even more inspiration over at Favecrafts.com
What word would you like to read your DIY bent wire memo board? And where would you place it?
Love,

PS: Don’t forget to PIN this to Pinterest.
And now, let’s see what the other hosts have created ⇓⇓
What a great idea. I never would have thought of using a template – freeforming it sounds scary but following a pattern makes it sound possible.
Right? Why make your life and crafting difficult if you can follow a pattern. Thank you for taking the time to comment!
Looks so cute. I love the wording.
Thank you, Terrie.
This is adorable and so creative! I hope your blood pressure has come down. I can’t believe only a few more weeks and you get to meet your precious baby boy. I’m so excited for you! Good luck with everything.
Awww…Jenny, thank you for your kind words. We can’t believe it either and are super excited. The last several weeks simply flew by.
That is so cute; I just love all the flower accents. Wishing you and your baby a happy healthy delivery!
Thank you, dear! For all your kind words and wishes.
This looks great. I haven’t tried using wire for this, but now I want to!
There are so many materials out there I haven’t worked with just yet, either. It’s great to find inspiration and put a new project on the list.
I love this! It would be perfect over my sewing table to hold mementos from crafty friends. Congratulations on your new addition & I hope you get that blood pressure down!
Thank you, Kristie. It’s a lovely idea for it to hold mementos for you to see while crafting. I hope you’ll make yourself one and love it.
Adorable as usual. You are good at everything you create and I always look forward to your creativity! You best take care of yourself and your precious baby. It’s almost time! EEEEKkkkkk! Wish we were closer. I’m so excited for you and Markus.
Thank you so much, Shirley. I try to give my best with whatever I am doing. I wish we were closer, too! I’ll make sure to send you some pics once Baby boy arrived!
I absolutely love this. I probably say that about all of your great projects but this is my favorite. I am thinking maybe I could do the word ‘memories’ and put it in my guest bedrooms with pictures of my guests and me doing things together for their visits. Really, really want to do this. Pinning.
Also, drooling over your darling space where you have hung this memo board. Is that in your craft area? It is so neat and sweet and not messy at all. You should see mine. Looks like I took all of my supplies and threw them up in the air, letting them land wherever!!
What a wonderful idea, Leslie. I really hope you make a memories lettering for your guest room. And yes, that is my craft area that is also part of my bedroom. I have a video tour up on the blog, if you’re interested. It’ll be undergoing some changes, though, as I will have to bring new furniture in in order to give my baby boy a nursery. And of course my crafty area looks super messy at times, too!!!!
What a cute idea! It’s beautiful wall art as well as something useful!
Exactly, Cherryl. I love it for those reasons, too!
I remember when you were working on your craft room makeover. Those projects still look great and this bent wire board really complements the others.
Hi Lydia, funny enough I will have to make a re-makeover of my craft room soon as things will need to move with the arrival of my son. Can’t wait for both event as I have already new ideas and am looking forward to sharing them in an update.
Habiba, first, Congratulations! So excited for you. Second, you have inspired me to do something similar for our RV. Am thinking “adventure”. Can’t wait to try this! Hopping over to get my supplies and pinning for later. Side note…would it be weird to share a pin from our group for one of the challenges? LOL
Hey Kelli, I’m super excited you found inspiration in my tutorial and no it’s not weird to share a pin from our group for a future challenge. I’ve seen it done before! I love the idea of an adventure lettering in your RV where you can collect wonderful memories and snapshots, maybe a bucket list for the next trip or other things.
Congratulations on the new member of the family, you will have lots of memories to fill up that memo board with. Love it!
You’re right, Pili, I can’t wait to add new mementos to my home.
First, you’re almost there mama! Make sure you take care of yourself! Okay, beautiful way to create wall art and to display items. Pinned.
Thank you, dear! For both, your kind words and support.
Sorry it took so long to comment, my computer was in repair shop! I love this wall art, its so creative and makes me happy! I will be pinning this.
Hi Maria, no need to apologise. I’m not through either. So much to do before my new family member arrives. Thank you for pinning.