This DIY Deer Winter Wreath should have been made a year ago when I thrifted and bought all of the supplies. But you know how a crafters life is. Full. We tend to put too much on our plate sometimes and then things simply don’t happen.
I bet that if I had made this rustic Christmas wreath last year it would have looked completely different. Well not entirely as I would have used embellishments from the same batch, but I am positive that I would have designed a different composition. And both would have been wonderful!
Also, I scored Ikeas SMYCKA wreath for 5 Euro (instead of 10 Euro) in the after Christmas clearance. This prevented me from deconstructing a different wreath I have in my Christmas decor stash for more variety.
I decided to show you 2 different things today:
- How to come up with a wreath design using all sorts of supplies you already have at hand (documented with photos)
- and the actual making of this sparkly deer themed wreath (documented in the video HERE).
But first, let me welcome you to Day 1 of the 4th Annual 12 Days of Christmas Series I am participating in!

I have teamed up with 50 plus bloggers to bring you a fast goodness of DIY Ideas and Recipes to make your holiday season merrier. There are 12 different posts in the series (I only participate in 5 – I am learning from the past, lol) and we have spread them out over a four-week period with three posts per week. Now is the time to subscribe so you don’t miss out!
Check out my 5 Contributions:
- The Wreath (which you are currently reading)
- DIY Gift Ideas
- Christmas in a Jar
- Pretty Presents
- Sweet Treats
GO HERE for the complete list of Dates and Topics plus a collection of 50+ most popular holiday DIY ideas including ornaments, games, recipes and more from all of us talented bloggers!
It’s Day 1 and we are sharing DIY Wreath Ideas! Find the others at the end of this post…
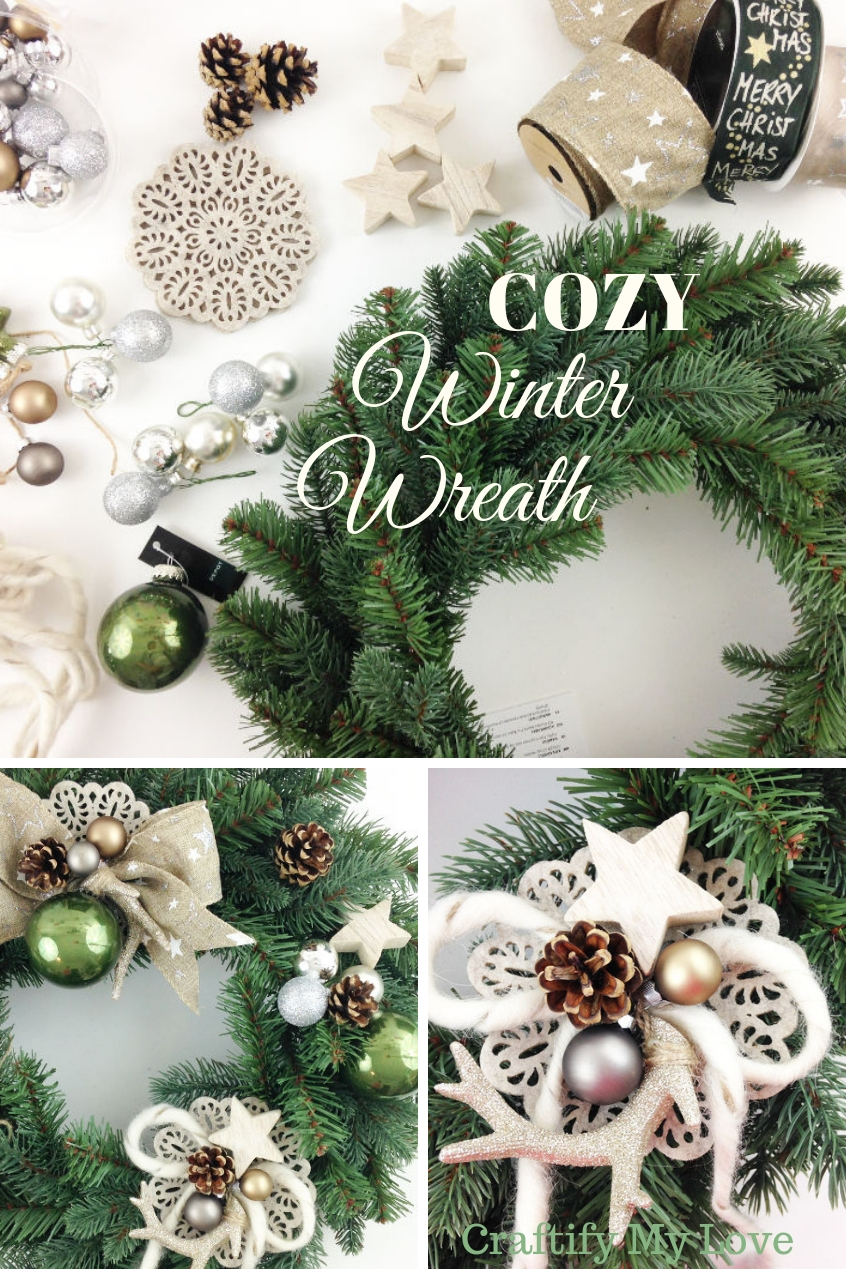
How to Make a Rustic yet Sparkly DIY Deer Winter Wreath

This post contains affiliate links. That means if you make a purchase through these links, I may receive a small commission at no extra cost to you! You can click here to read my full disclosure.
Monthly Craft Room De-Stash Challenge
As I am using only supplies I already had at hand, this post qualifies wonderfully for this monthly challenge. Originally, some were thrifted and some I found in my local dollar store (the deer wreath hanger + those wonderful golden sparkly antlers).
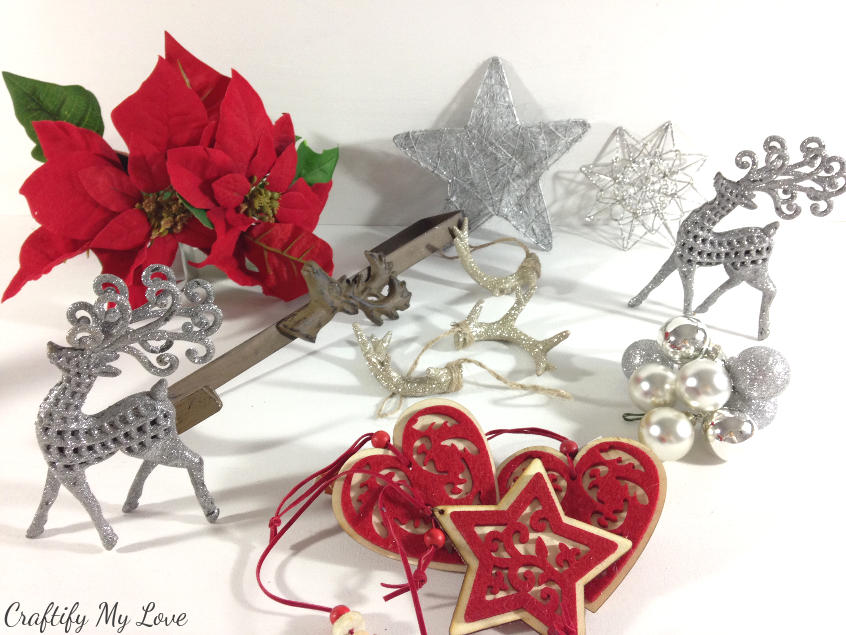
I used a silver deer, a star and those wood&felt ornaments to DIY my recycled Advent wreath I will definitely re-use this year. Only need to get new moss and candles.
MEET YOUR HOSTS!
C’mon Get Crafty | Domestic Deadline
Modern on Monticello | This Autoimmune Life | Stone Cottage Adventures
Across the Blvd | Craftify My Love
Sew Crafty Crochet | Home Crafts by Ali | Salvage Sister & Mister

Every month a group of bloggers is challenged by C’mon Get Crafty to create a new craft or project from their own stash of goodies! Everyone is allowed a $10 allowance for necessities to complete their project (i.e. paint brushes, glue, etc), but the bulk of it must be created from their own stash of goodies. Check out some awesome creations you might be able to make from your own stash! #CraftRoomDestashChallenge
If you’d like to join in the Craft Room De-Stash Challenge, you can request to join our Facebook group here!
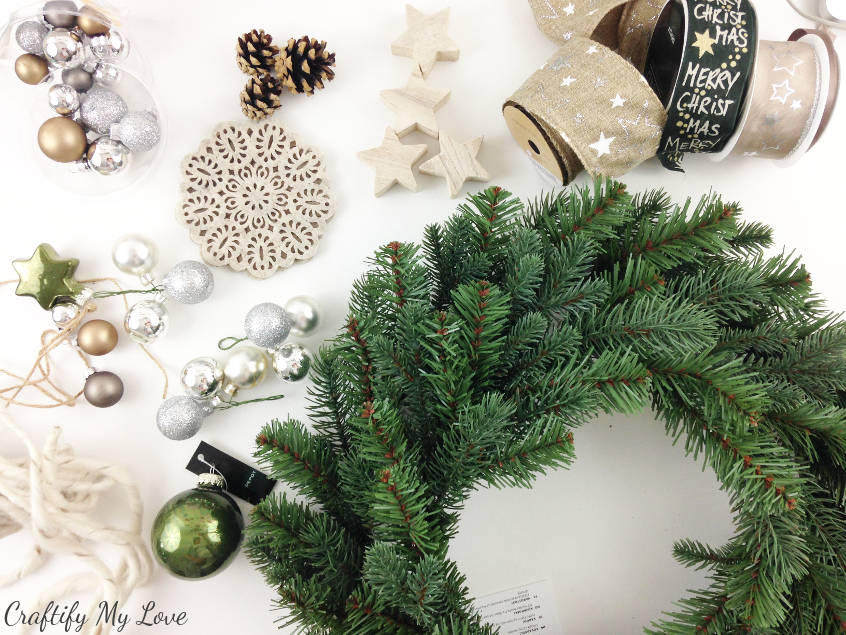
Supplies to DIY a Green & Beige Christmas Wreath
Wreath & Hanger
- Pine spruce wreath (I bought Ikeas SMYCKA on clearance last year. Here is a very similar one to buy on Amazon. And that is a lit one.)
- Deer wreath hanger (I found this steal of a 4 in 1 wreath hanger for several holiday occasions)
Ornaments & Embellishments
I tried to find the same exact things I used or at least similar ones. Not an easy task as I used only things I had at home, some of them even thrifted. Please remember, you don’t need to buy new elements if you have a ton at home that works together colorwise. I’ll be showing you how to make a cohesive design happen none the less.
- Gold glitter deer antler Christmas ornaments
- Tiny Christmas balls ornaments
- Green glass star ornaments
- Pine cones (consider collecting them on a walk for $0)
- Wooden stars
- Felt coasters (those are very similar to mine)
Ribbon, String & Wire
- Snowflake ribbon or consider getting a Christmas set
- Raw wool string (this is the closest I could find on Amazon.com)
- Jute Twine
- Craft wire
Tools
How to Come Up With the Design?
Given, this can be a little stressful. But really, it shouldn’t. I’d love for you to enjoy the process of creation and as long as you are liking the look of your design in the end, then it’s a total success!
So, here goes…
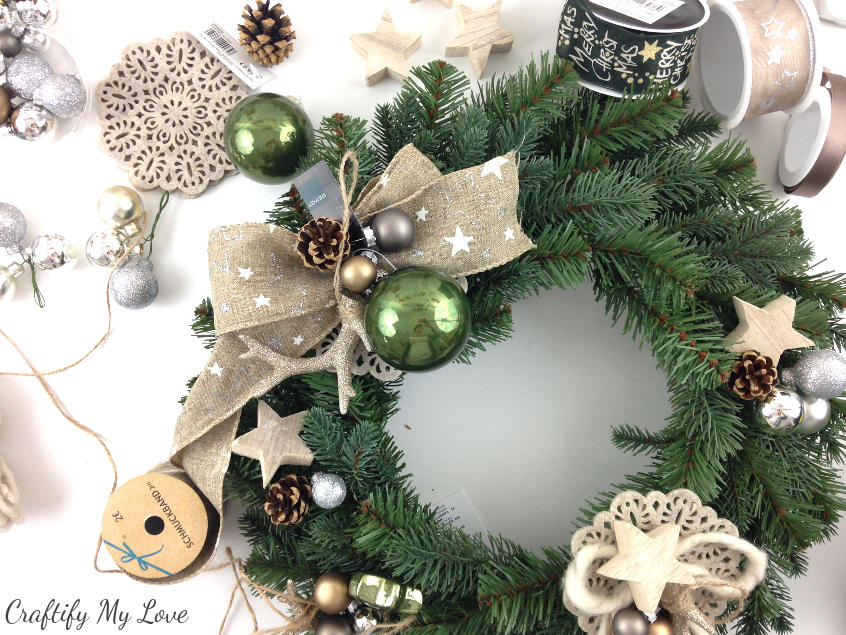
Bring out all the different Christmas ornaments, ribbons, and other decor elements like felt coasters, wooden stars and pine cones that are in the color range you are envisioning your wreath to be.
Then start pre-arranging them on the wreath by simply placing them on top of each other. You probably won’t be using everything, but it helps the creative process to see all possibilities. I didn’t even bother to get rid of the tags before this step.
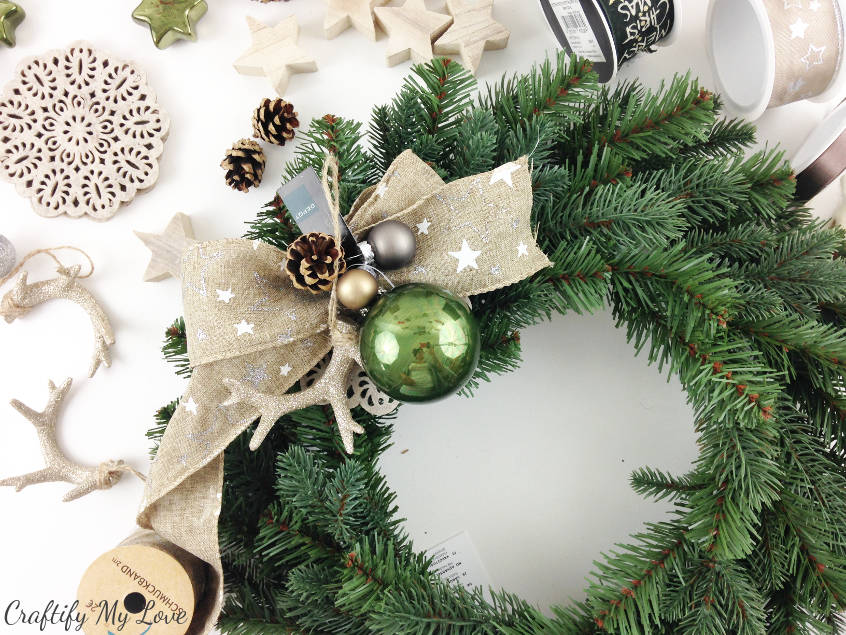
Continue staging the wreath.
How? By adding elements, taking them off again, moving them to another place, until you like what you see.
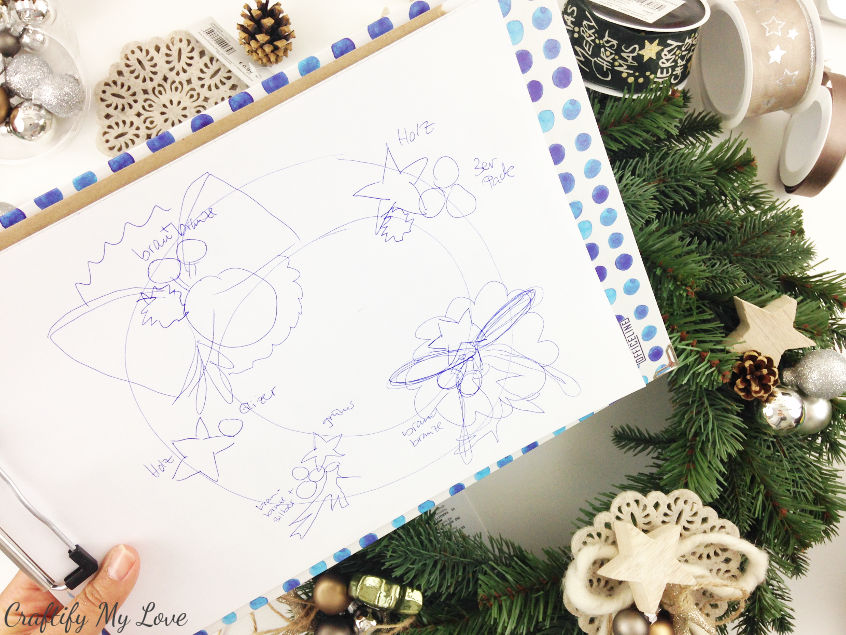
You don’t want to lose your design while starting to prep those different elements for the assembly. So simply grab a pen & paper and make a quick sketch and some notes (mainly for color references).
It doesn’t need to be a good quality drawing, it only needs to serve the purpose of you remembering where goes what, lol.
Start Creating the Individual Design Elements
Now you will clear your workspace and start assembling the individual design elements for your rustic wreath.
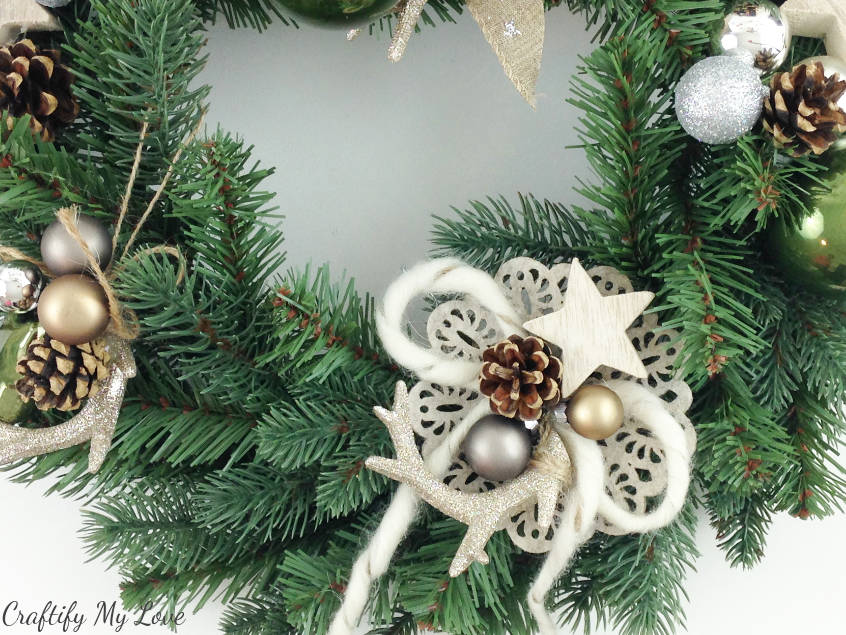
The supplies for this wreath are mainly natural. I used felt, raw wool, wood, pine cones, and mainly natural colors ornaments in beige, copper, and olive-green. All this screams Hygge to me. Are you familiar with that term? If not, learn more about Hygge HERE.
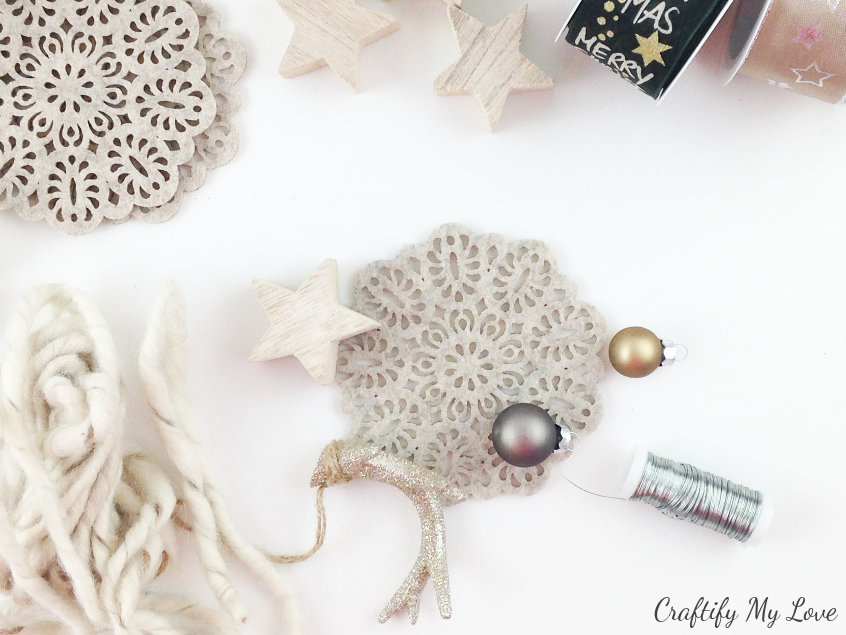
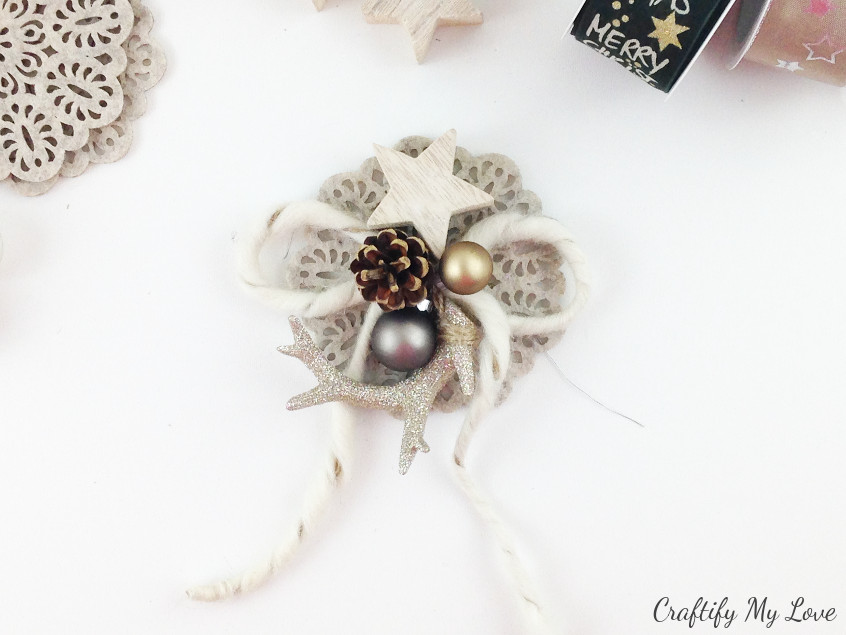
See, how I’ve put together this first element in the video HERE.
Related – Christmas Tree Crafts:
- Christmas Trees from Recycled Gift Wrap Paper
- Upcycled Book Pages Christmas Tree
- Hygge Christmas Trees
- Mixed-Media Christmas Trees
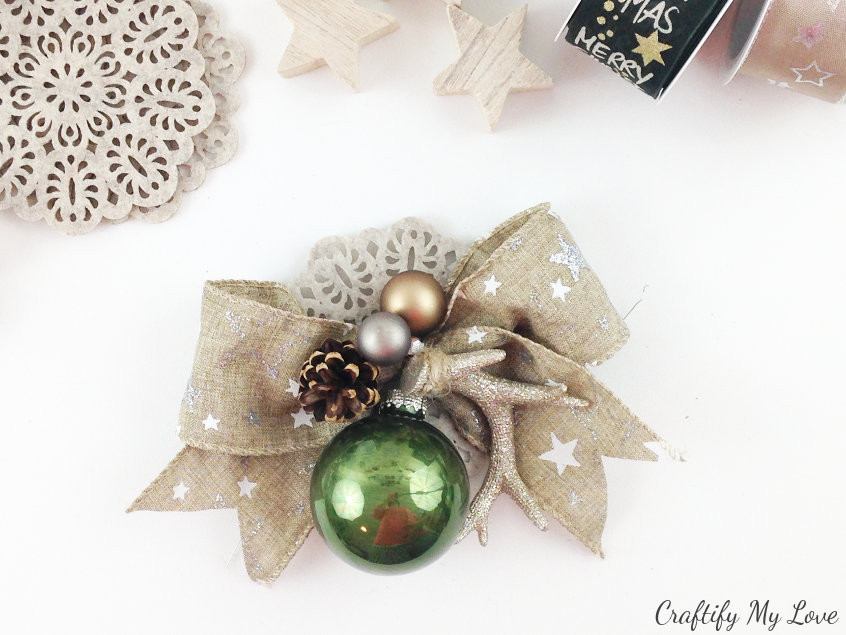
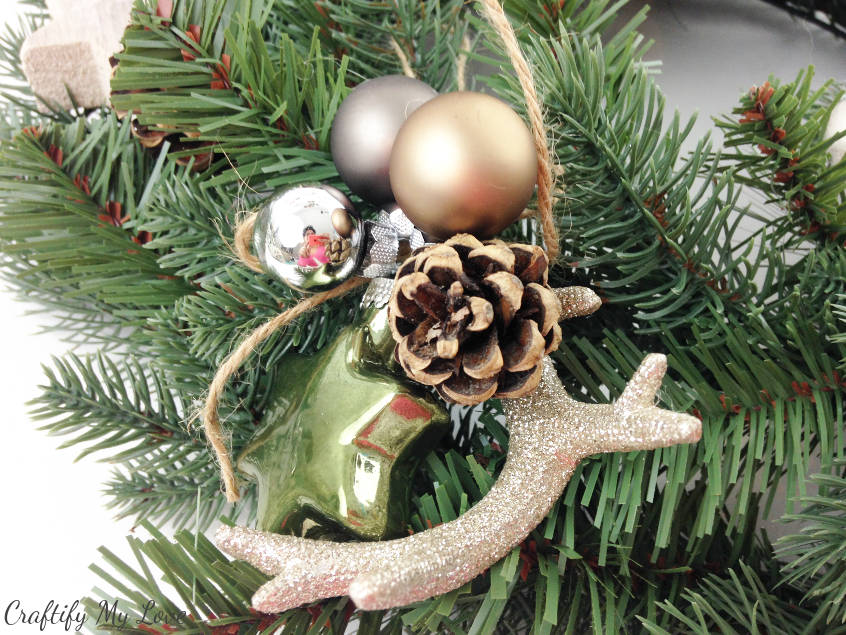
Using a little length of jute twine to create a cluster of Christmas ornaments works great, too. I tried to glue as little as possible directly to the wreath as I want to be able to reuse it if I want to.
Video Tutorial: How to Put Your Unique DIY Wreath Together
In this video, you will see exactly how to make all those different design elements for this cozy and rustic winter wreath. Furthermore, you will learn how to secure them to the wreath so they will stay put.
Related:
- Magical Snowflakes Candle Holders
- Upcycled Tin Can Advent Wreath
- More creative Christmas Crafts: AllFreeChristmasCrafts.com
- How to Wrap a Gift, Make a Bow, and Store Giftwrapping Supplies
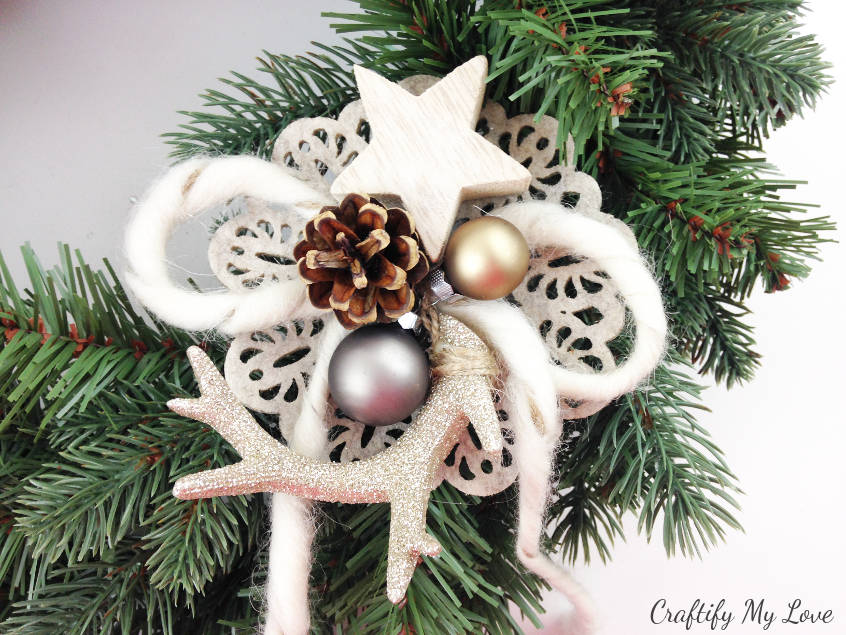

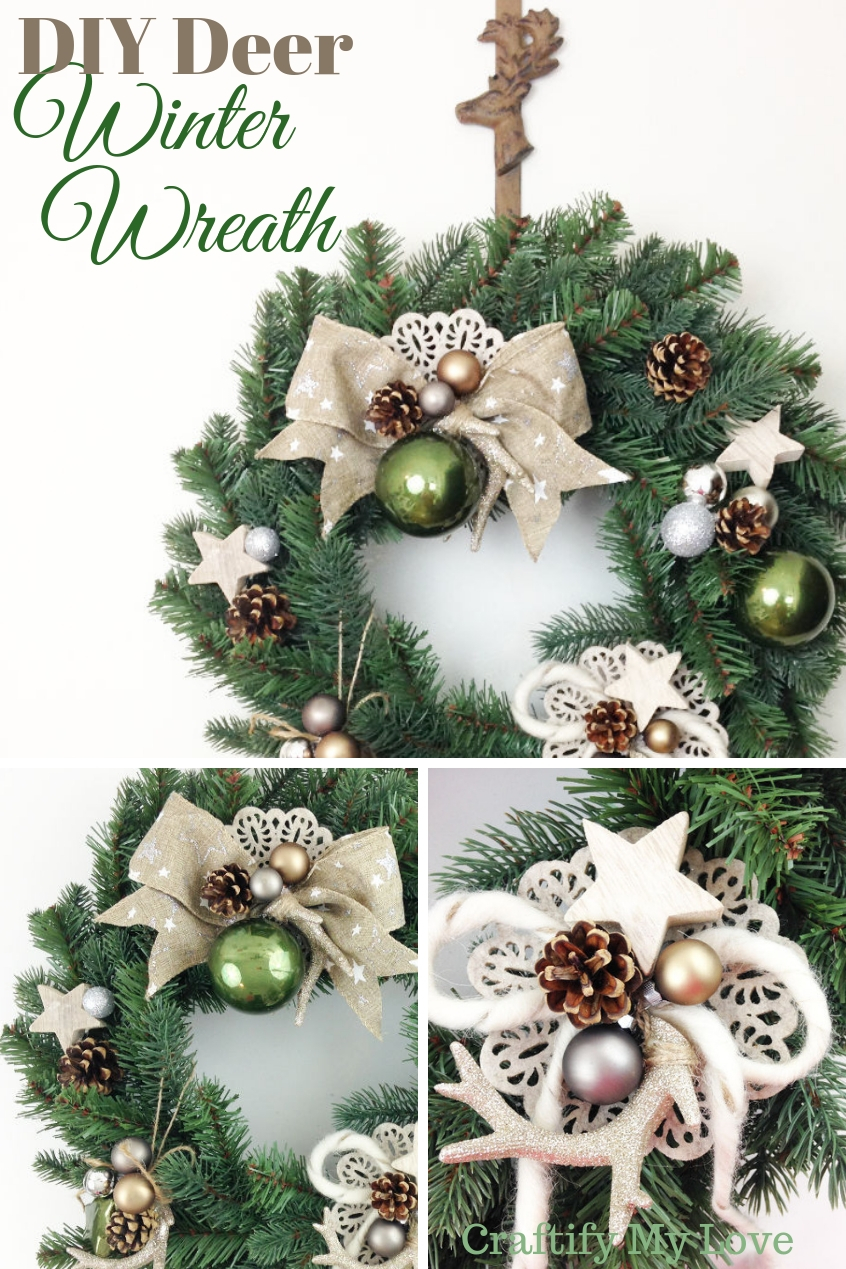
I live in an apartment building in Germany, that is actually an old castle. Sadly, I am the only one decorating my front door. If this festive holidays wreath makes just one of my neighbors’ smile, it was worth my time & effort.
Are you planning on DIY-ing a wreath this year? Do you have a set color scheme in mind?
Love,

PS: Don’t forget to PIN this to Pinterest.
Scroll down for many more DIY Wreath Ideas and De-Stash Projects for your holiday season!

Super cozy and cute! I like the combination of ornaments, antlers, ribbon, and pine cones. It works perfectly, very pretty color combination. #12daysofchristmas
Thank you, Jenny! It’s still inside my home and makes me smile whenever I walk by.
Your wreath is lovely and all of the embellishments are great. It looks wonderful.
Thank you so much for the compliment, Beverly!
I haven’t even thought about my Christmas wreath yet! ‘Better get busy, huh? 😉 Your combination of mostly neutrals has inspired me, but then the cookie cutter one is super cute, too! Pinning -Marci @ Stone Cottage Adventures
Hi Marci, why not make a combination? I still need to go take a look at what the others came up with. I’m a little behind because, well, life happened.
Your wreath is beautiful. I’m trying to rock my stash for the 12 Days of Christmas challenge too! Since I joined the craft room destash challenge, it’s kinda become a regular goal for me
And it’s so very interesting to see what all we can accomplish with the things we already own and a little creativity.
Such pretty colors! Love your design!
I love the colours, too, even though they are not typically Christmassy
This is so pretty! What a great idea!
Thank you, Deborah! I had fun making it.
Such a lovely wreath! I love the embellishments you put together. Pinning!
Thank you for your support! I am very grateful.
Beautiful wreath! I am considering repurposing one of my former wreaths as well this year so thanks for the inspiration. You just might see it next month if there is a challenge. Love seeing your projects every month.
Hey, Donna. Now, that would be awesome. Thank you for your lovely comment, too.
The wreath is so lovely. I love how organic it looks with the sparkle.
I feel like sparkle is my middle name, lol. Glad you like it.
How pretty! I love that you used things you already had and some of it was thrifted. I love picking up things at thrift stores that then find their way into future projects.
Hi Susan, thank you for your lovely comment. Sometimes i buy things without knowing what they will turn into. Those are the most fun.