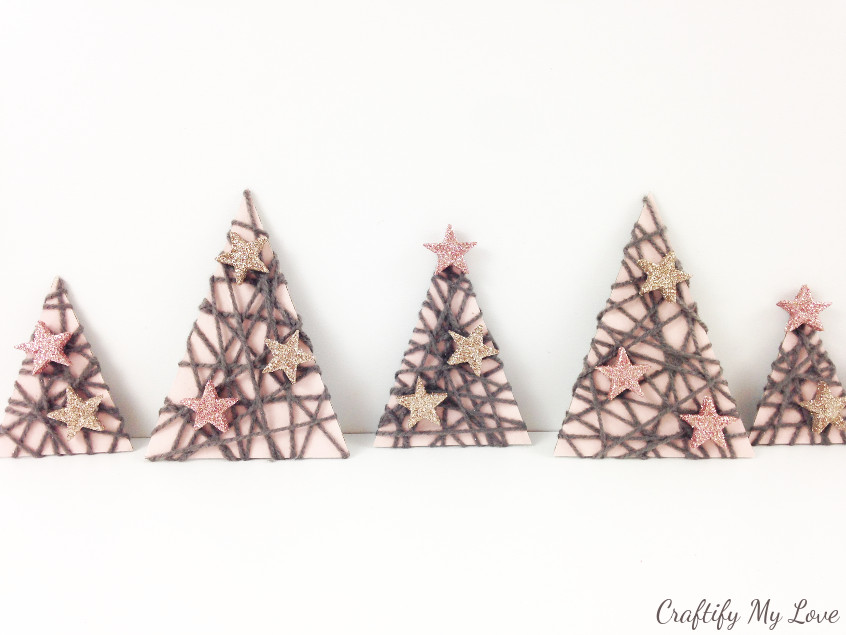
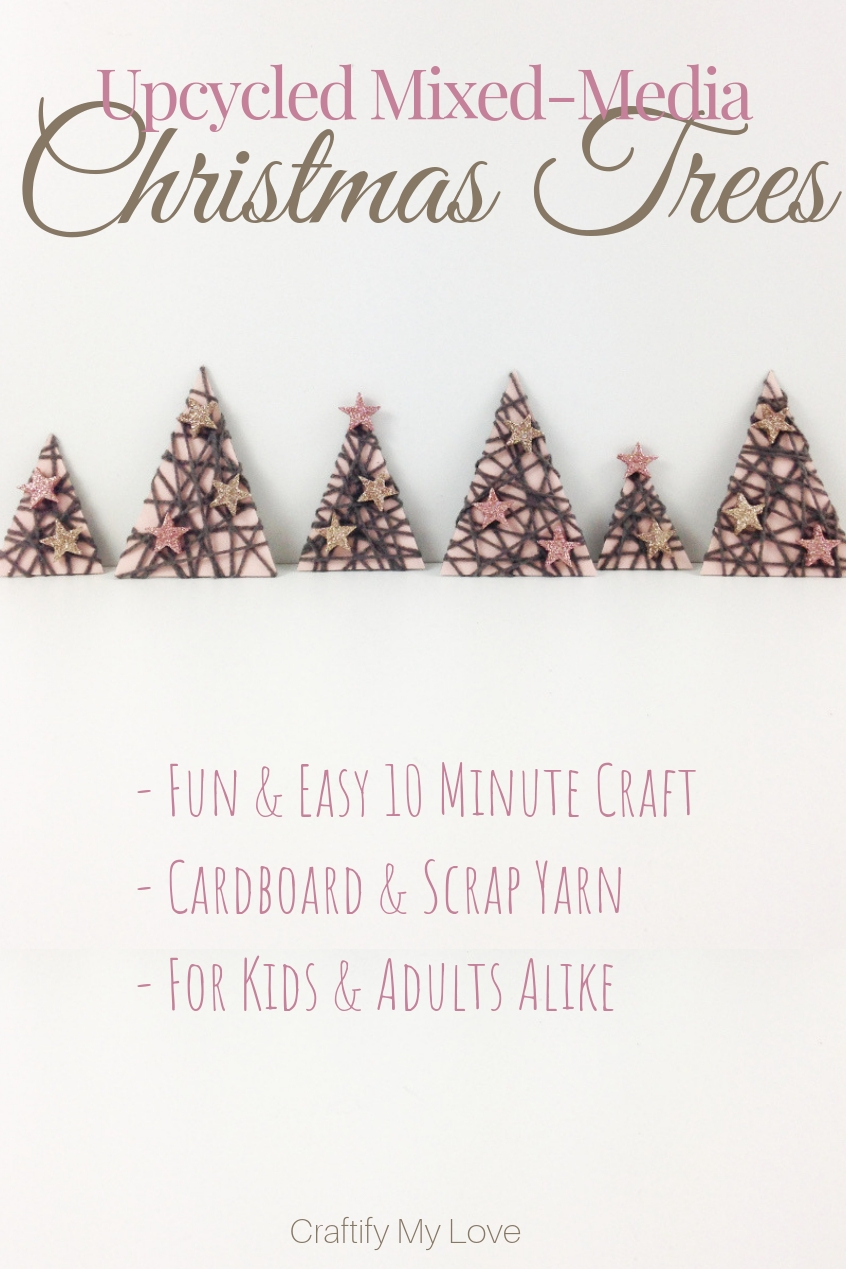
Hey guys, I am super happy I get to share with you yet another frugal Christmas craft with these mixed-media Christmas trees. So far they are darling sparkly home decor elements for the Holidays but I have even bigger plans for them…
Don’t you think they would look stunning on a Christmas card, too?
In order to make these 6 paper Christmas trees, I didn’t need to leave the house to get new supplies. This is my favorite kind of craft. The frugal one that can be done whenever creativity hits me.
As I am not the most patient person on this planet, it’s always a plus when those DIY projects are done in a jiffy. Ok, I have to admit, that sometimes I have to go look for certain things in my giant stash for a little while until I find them. BUT I don’t count that time into the crafty time, lol. Simple as that!
How to Make Mixed-Media Christmas Trees from a Shoe Box
Yes, that’s exactly what the rose cardboard was, a shoe box! And I caught Markus just in time when he was starting to rip it apart. He is a very tidy man contrary to my unruly upcycling soul that wants to keep & store everything that slightly seems reusable, lol.
This post contains affiliate links. That means if you make a purchase through these links, I may receive a small commission at no extra cost to you! You can click here to read my full disclosure.
Supplies to Make an Upcycled Cardboard Christmas Tree Decor
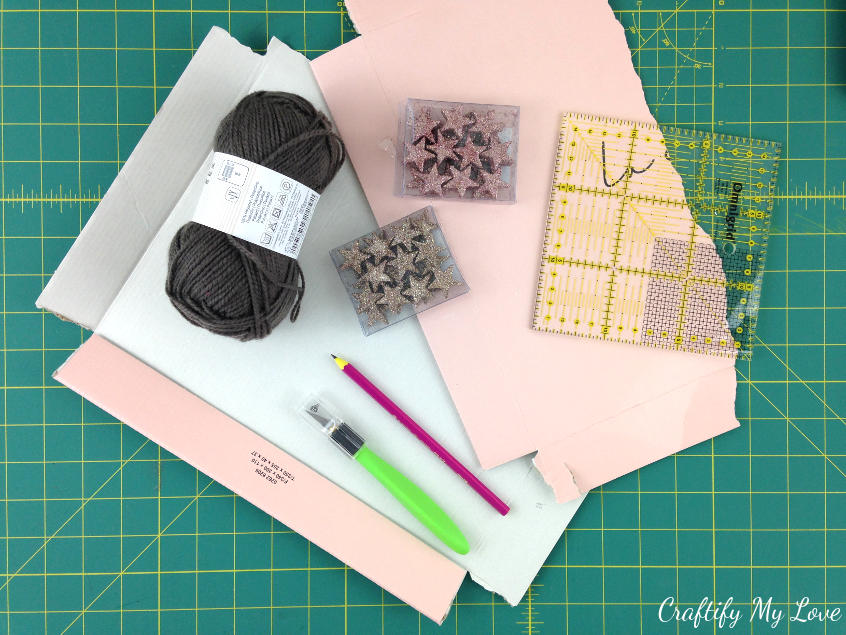
- Cardboard (I saved this lovely rose shoe box from the trash. Alternately, use any style cardboard and paint it in the color you want or layer it with cardstock, scrapbook paper, newspaper or whatever comes to mind – be creative!)
- Yarn (This one is similar to what I used. But I guess you could achieve fun effects with other types of yarn, too.)
- Glitter stars (I can’t find the same exact ones, but those will work, too! And they give you more flexibility colorwise)
- Double-sided tape (this one is actually meant for crafting and hence not a troublemaker like the carpet tape I used, lol)
- Hot glue gun
- Ruler
- X-Acto Knife + cutting mat to protect your work surface
- Pencil
Triangle Template For You to Download for FREE
If you want, you can download a FREE template for this project HERE (+ lots more) as a thank you for subscribing to my newsletter.
And, speaking of printables. Did you know that AllFreeChristmasCrafts.com has a big variety of free Christmas printables?

Prepare the Base of your Frugal Christmas Craft
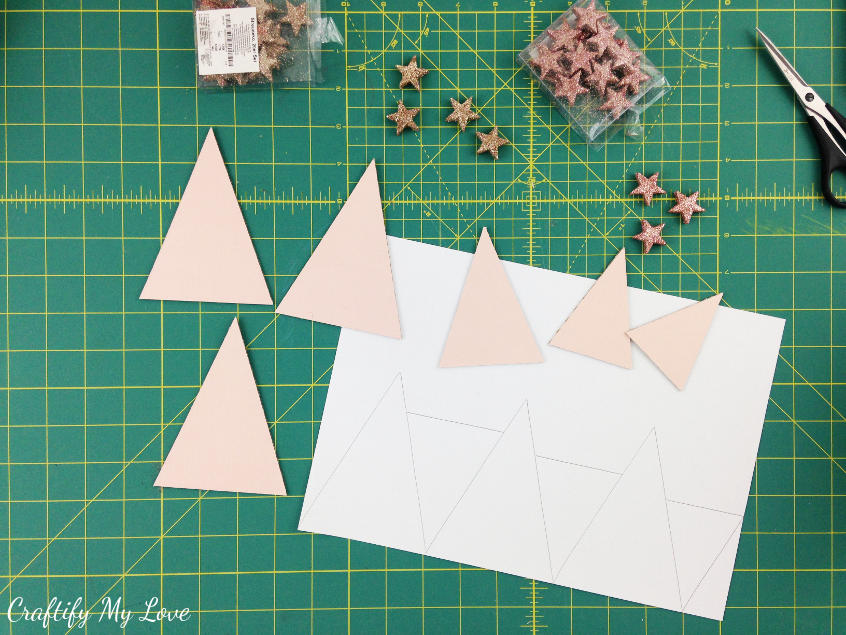
Either using the FREE template or a ruler & pencil, trace the shape of six triangles on the wrong side (if your cardboard has a front & back side) of your cardboard.
Tip: Same as I did you could trace three equal triangles across your paper and combine them with a line in between in different heights. This way you will create three smaller triangles without wasting cardboard.
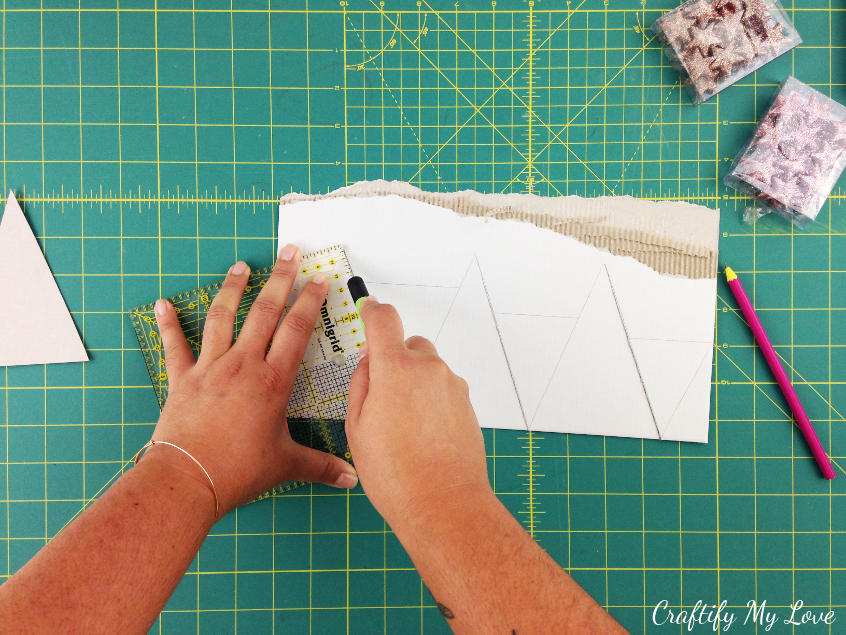
Using a sharp blade and a ruler you’ll cut out the base of your Christmas tree Holiday decor.
Related:
- DIY Deer Winter Wreath – How to come up with a design using only supplies you have already at home
- 50+ DIY Christmas Ideas you’ll want to recreate asap
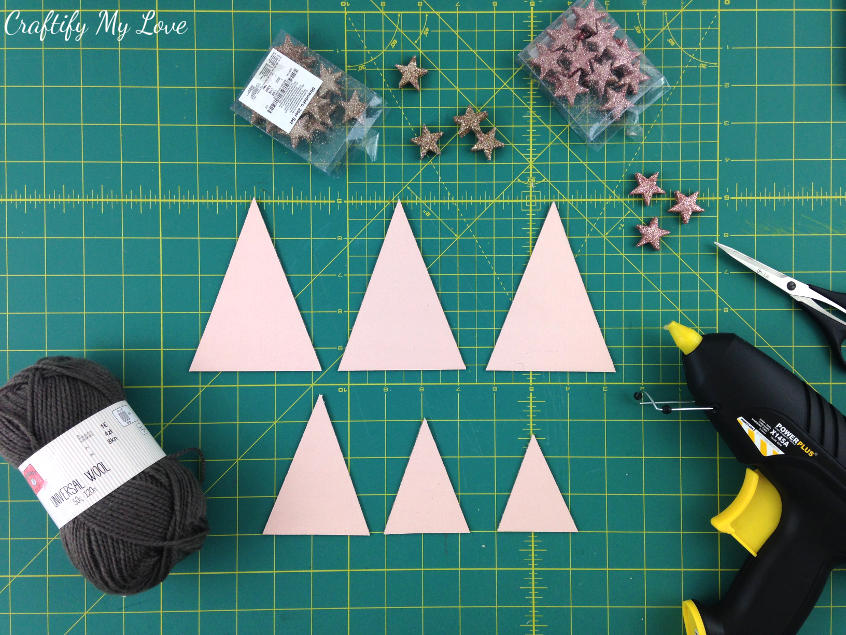
I feel like mixing things up with different sizes makes for an even better end result. Come to think of it, the very smallest one would look neat on a brown paper wrapped gift, don’t you think?
Related:
7 Easy Steps to DIY Multi-Purpose Holiday Decor
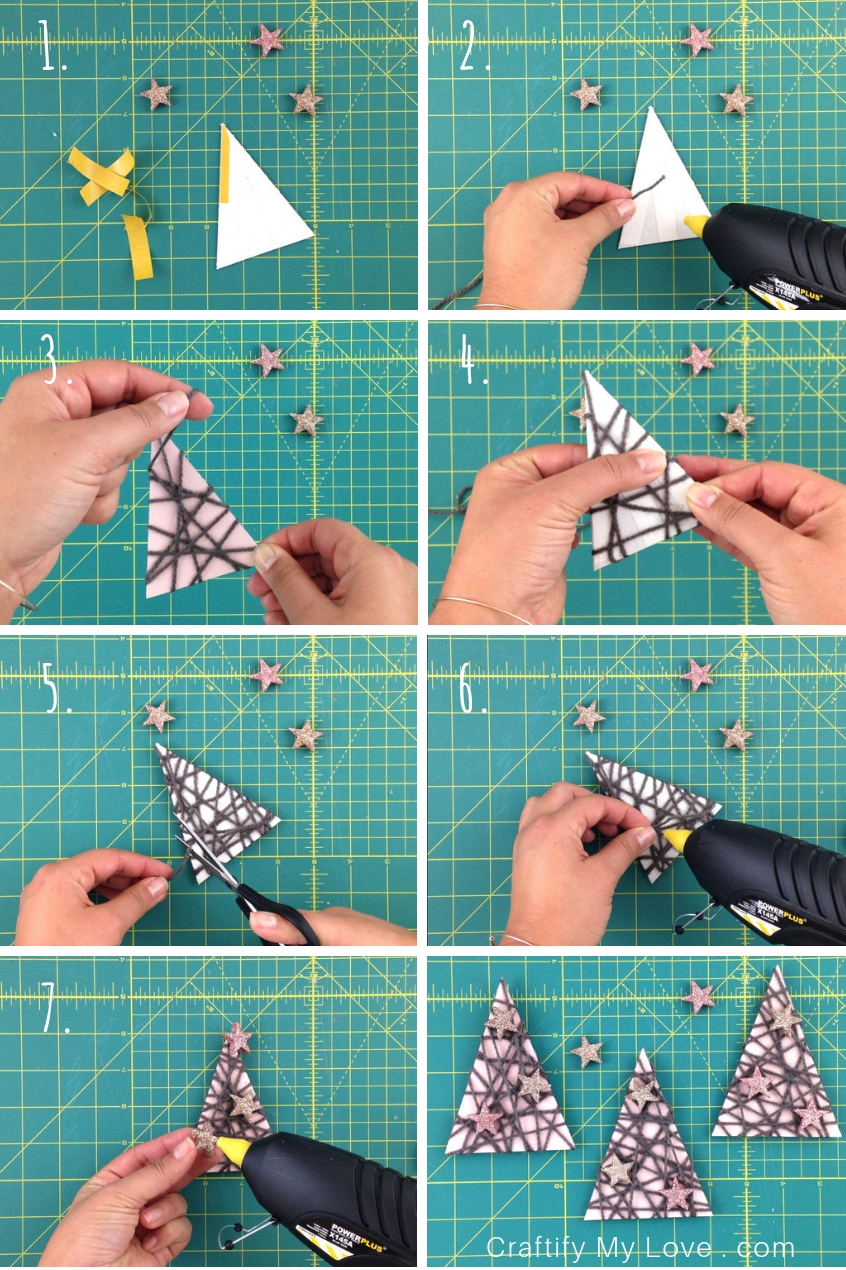
- Cut several pieces of double-sided tape and stick them to the back of your tree base. Make sure to go as close to the edges as possible. (You might see this better in the video HERE) This will prevent the yarn from slipping around later on.
- Add a blob of hot glue and stick the beginning of your yarn to it.
- Start wrapping the yarn around your little tree. You don’t need to follow any specific pattern. They will be unique and wonderful!
- Every now and then press the yarn to the double-sided tape in the back.
- Once you’re happy with coverage and pattern, cut off your yarn.
- And secure the tail of your yarn with yet another blob of hot glue.
- Decide on a pattern for the stars (I suggest an uneven number) and glue them on with your hot glue gun.
And there you have it! Aren’t they pretty?
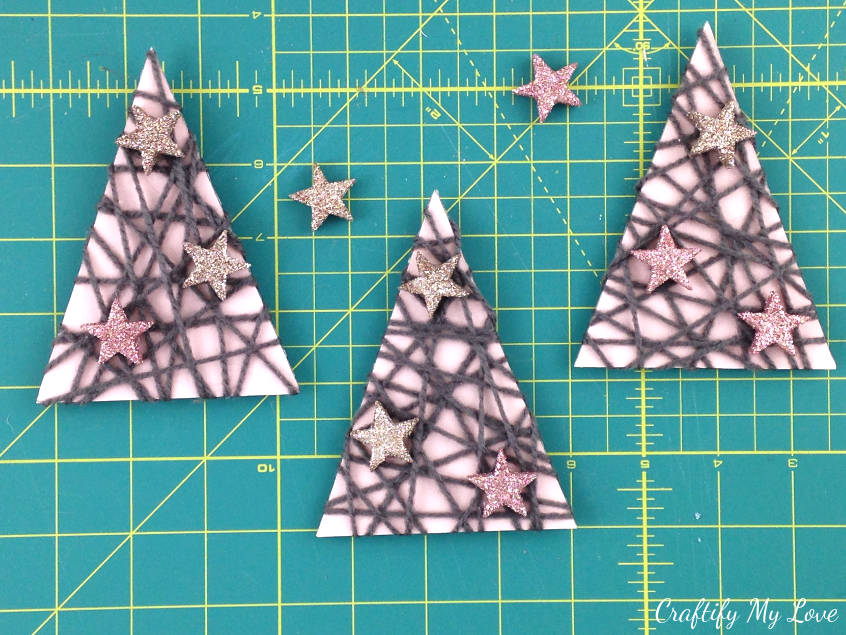
How would you make use of these little Christmas tree ornaments? I have a feeling there are many more possibilities to use them for, as I can think of right now…
Related:
- Christmas Trees from Recycled Gift Wrap Paper
- Upcycled Book Pages Christmas Tree
- Hygge Christmas Trees
Love,

PS: Don’t forget to PIN this to Pinterest.
Oh, I couldn’t pin this fast enough. These would be adorable tags on holiday gifts or embellishments to plain brown paper wrapping. I put trees on my mantel and a few of these little dolls would be adorable mixed in. I could add an L shaped piece of heavy cardboard to help them stand up. Really cute!! Thank you.
I really love it when creative people take my ideas and add there personal note to them. The l shaped legs sound awesome! The embellishment idea already crossed my mind, too. Thank you, Leslie!