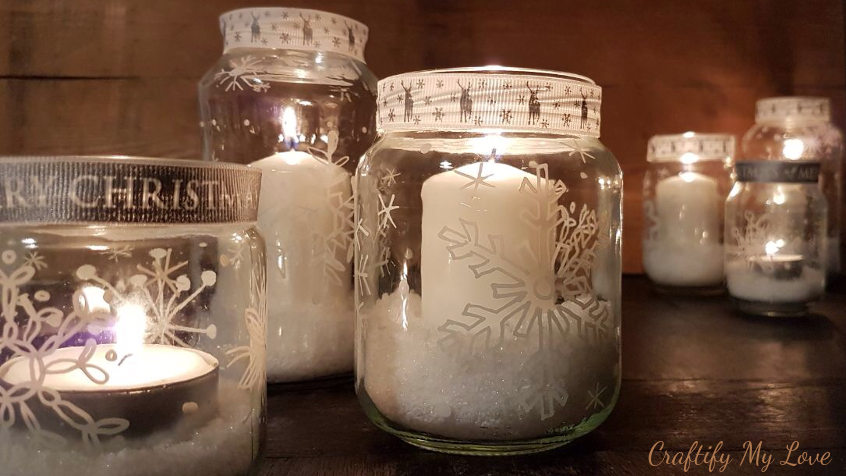
I came up with an idea to bring some wonderful snowflakes into my cozy warm home simply by making Snowflake Candle Holders for my window sill.
Also, I like myself some easy projects that can be done in an afternoon or evening. And I like snow. I still can remember the masses we’ve had in Germany when I was a little girl. Today not so much.
Not only did I paint all sorts of snowflakes on empty jars, but I bedded the candles in fake snow, too.
#WinterWonderlandGalore
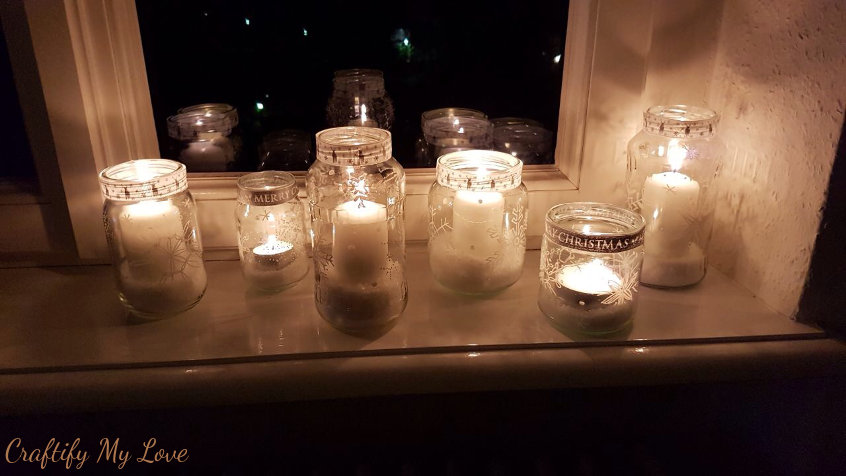
It looks awesome by day and breathtakingly stunning by night. My opinion, though. What do you say?
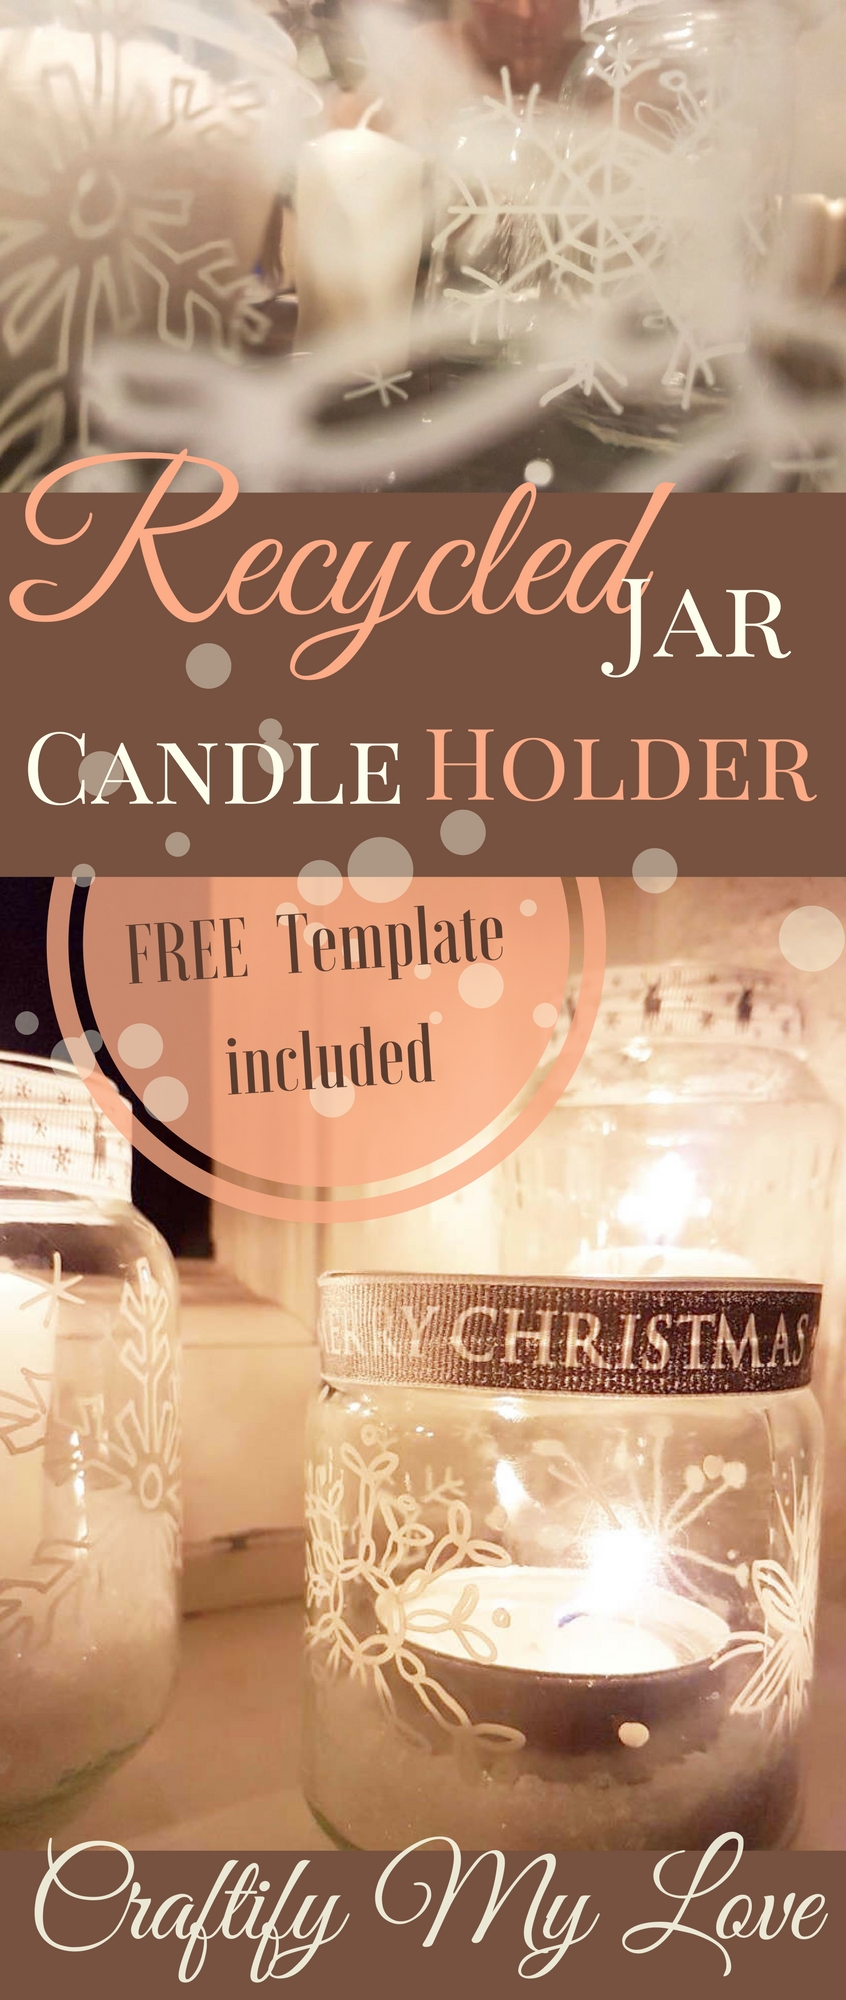
How To: Winter Wonderland Snowflake Candle Holders from Recycled Jars.
Now come along and learn how to make those snowflake candle holders yourself. They are pretty easy to make. Pinky promise!
This post contains affiliate links. That means if you make a purchase through these links, I may receive a small commission at no extra cost to you! You can click here to read my full disclosure.
Supplies you’ll need to make Snowflake Candle Holders
I’ve added some links for your convenience. But probably – like myself – you have most of the things you need at home, already.
As I only had to get the candles and fake snow (which was together under $10), I joined Megans monthly De-Stash Challenge with this crafts project.
If you want to learn more about this challenge & see what my friends came up with this December, scroll down to the end of the post and please say HI to them 😉
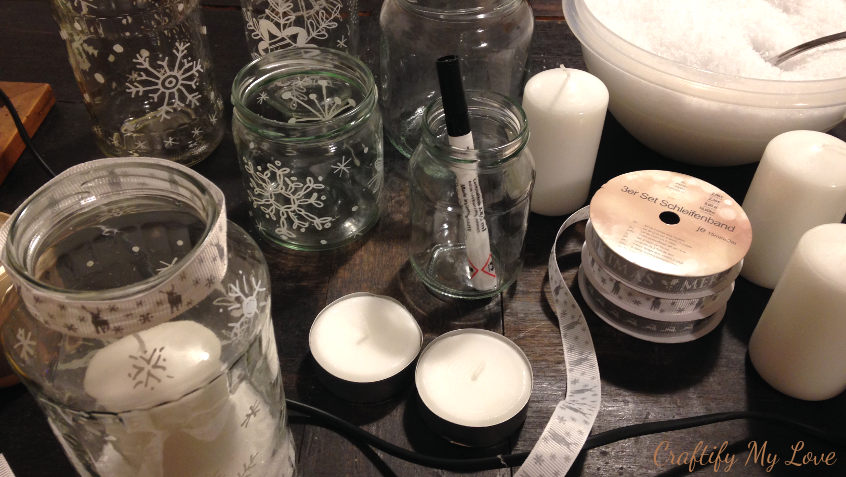
- Empty jars in various sizes (I recycled applesauce, honey, and jam jars, but you could also buy them)
- Christmas or winter themed ribbon in white and silver snowflakes
- White permanent marker
- Faux Snow
- Candles in various sizes (last year I’ve used giant tea lights but the heat of the candles and the wax spillover would cause a hole lot of cleaning so this year I’ve invested in LED votives and LED tea lights – and I just only found out that they even exist!!! 😉 )
- Scissors
- FREE snowflake template (as a thank you for subscribing to my newsletter)
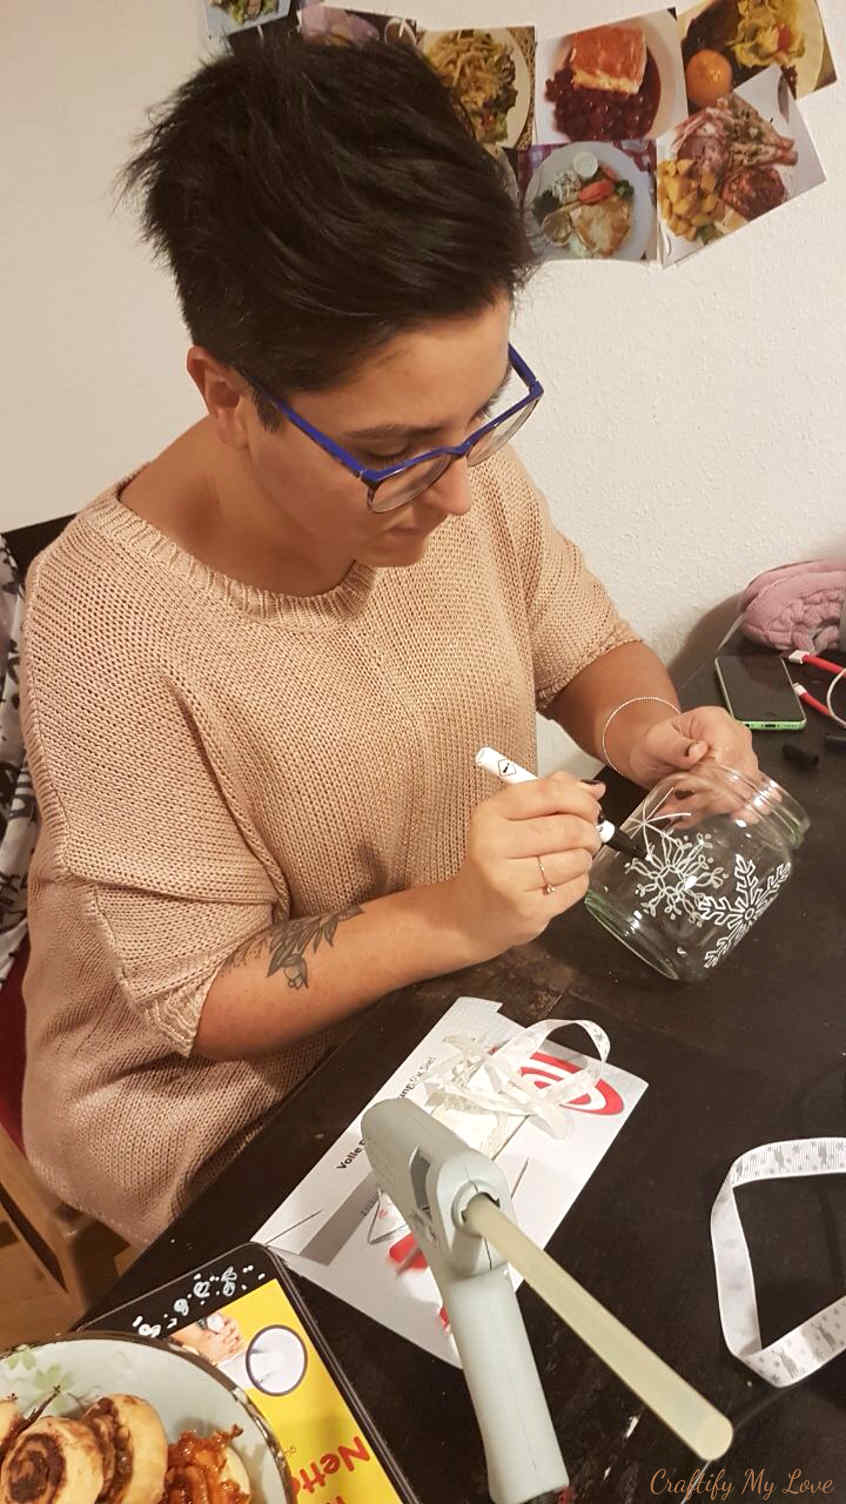
Step 1 – Drawing snowflakes
Clean the jars thoroughly so the permanent marker will stick to them. The glasses will need to be grease free. You can use dishwasher liquid or grain alcohol.
Subscribe, & Get your FREE TEMPLATE of snowflakes, now!
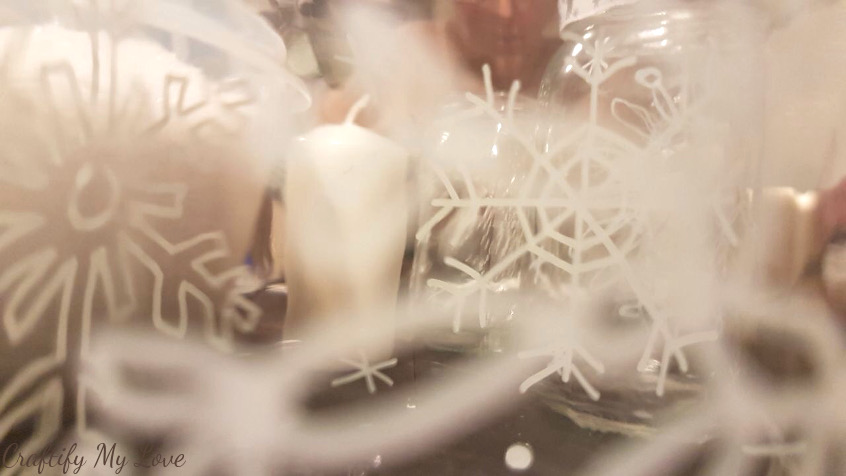
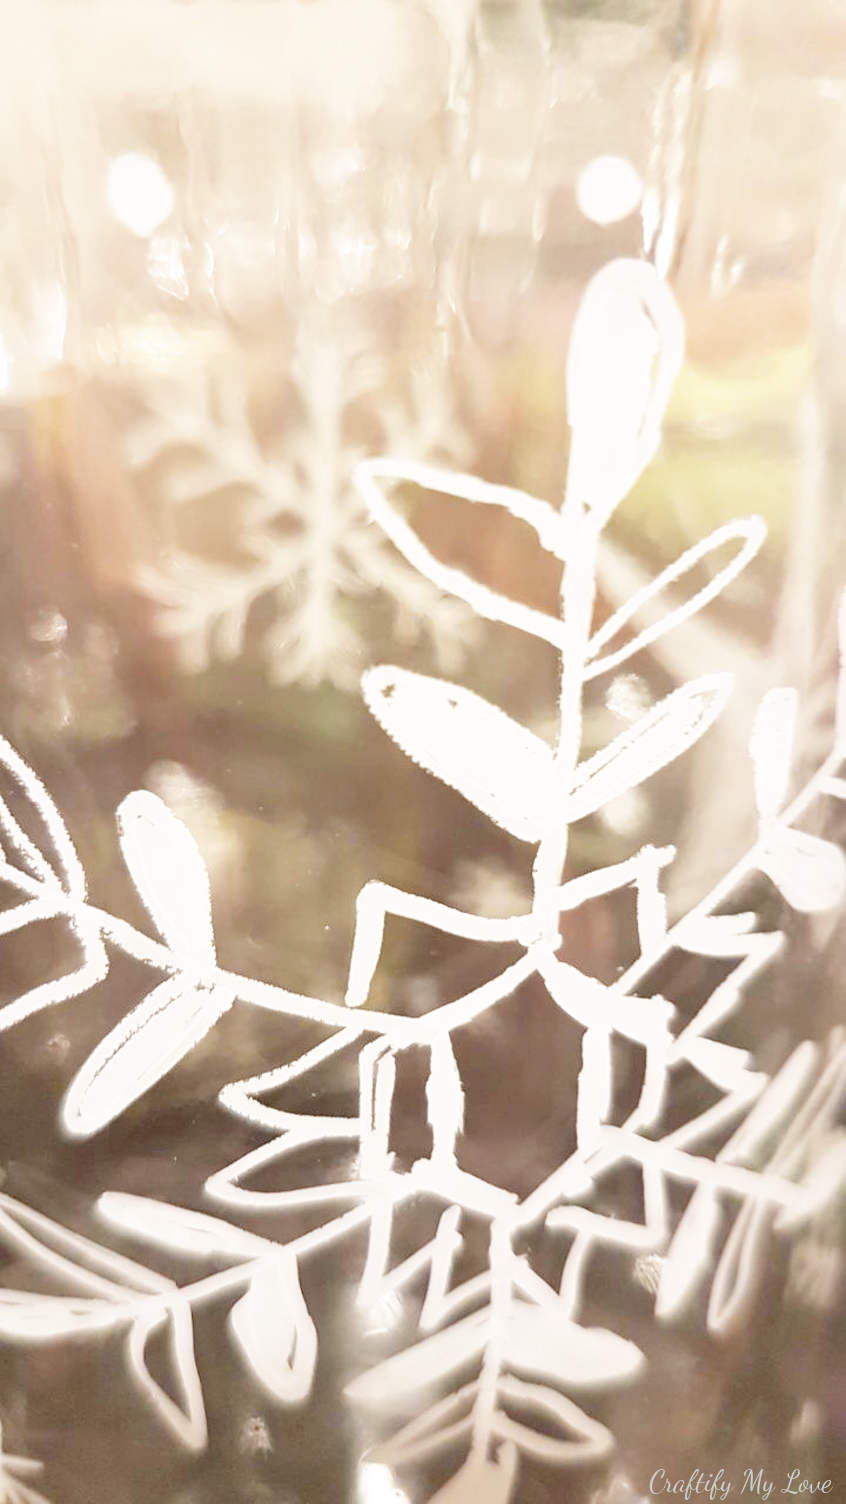
Start drawing all kinds of snowflakes on your jars. I recommend you start with the big ones. Two to three on each glass and fill it up with small snowflakes.
You can either copy the snowflakes you find in the free template or simply get creative.
In nature, there is no snowflake like the other.
Did you know that?
Time-Saving Tip:
If you don’t want to wait until your snowflake is dry before starting to paint the next one, hold the jar at the top and let the bottom rest on your working surface. This way you won’t smudge the previously drawn snowflakes.
For a steady hand, you can rest your little finger on the jar.

De-Stress Tip:
For those perfectionists out there: See the image below? The lines are not even, and not all leafy parts are symmetrical or even. And guess what? It doesn’t matter. Scroll further down to see the stunning outcome of this project.
#LoveThoseImperfections
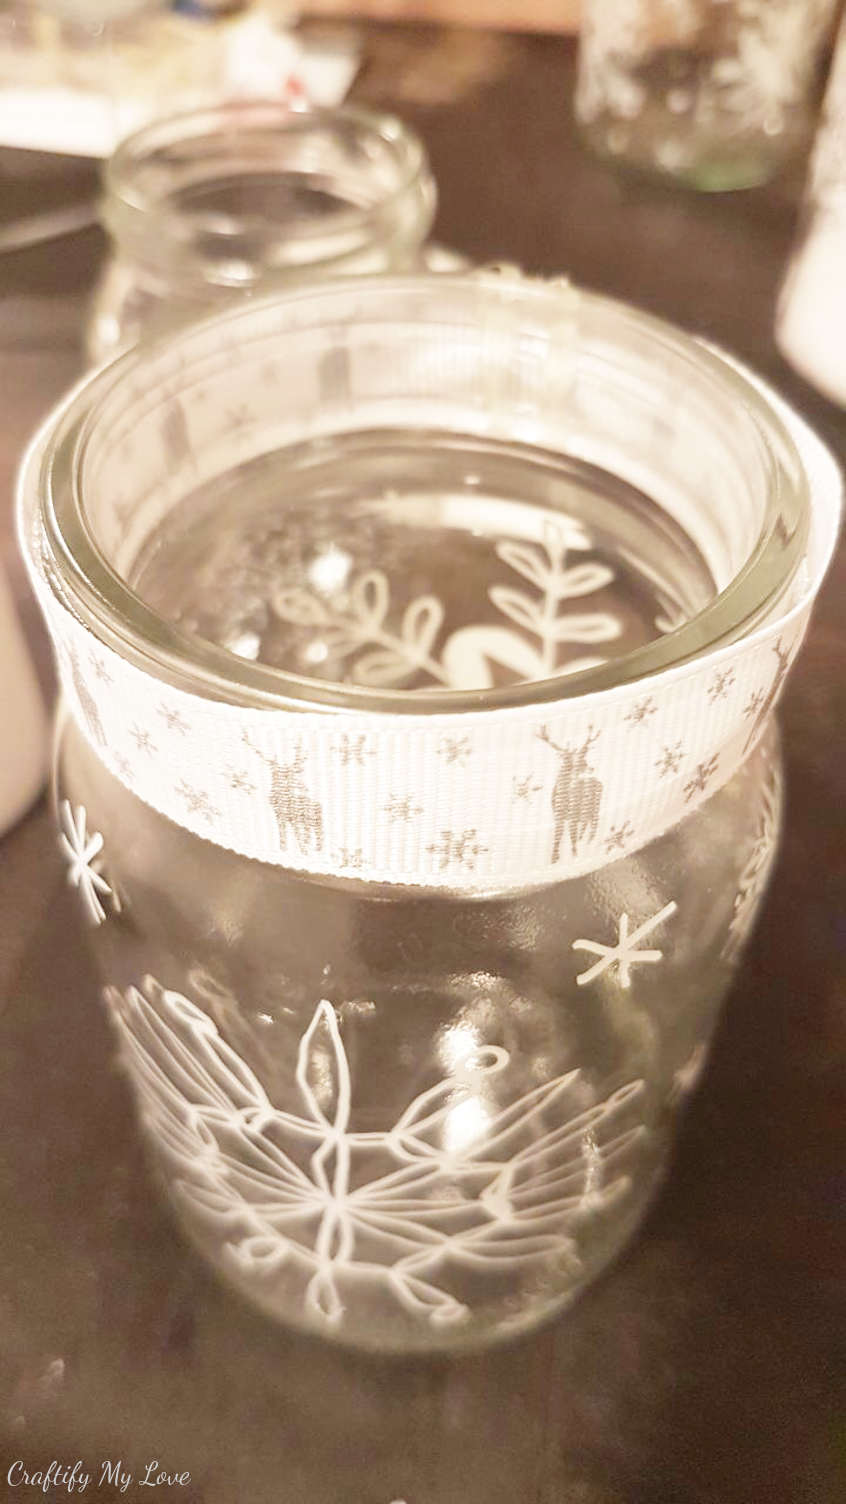
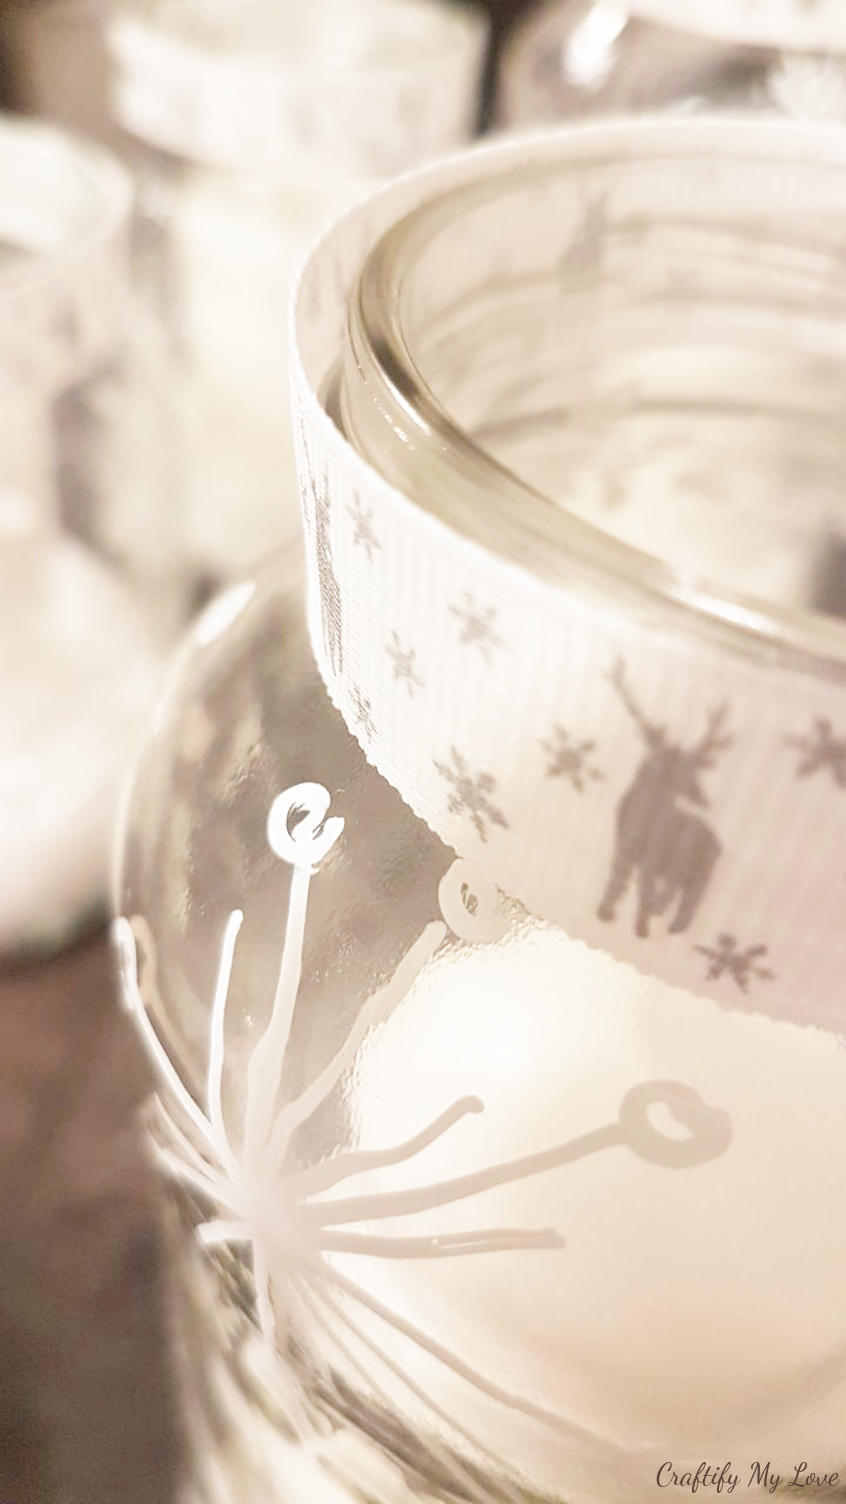
Step 2 – Adding some ribbon
Measure the circumference of the top and cut your ribbon to length – let it slightly overlap.
Add one blob of hot glue and press down one end of that ribbon. Wrap it around the jar and, with another blob of glue stick it to it.
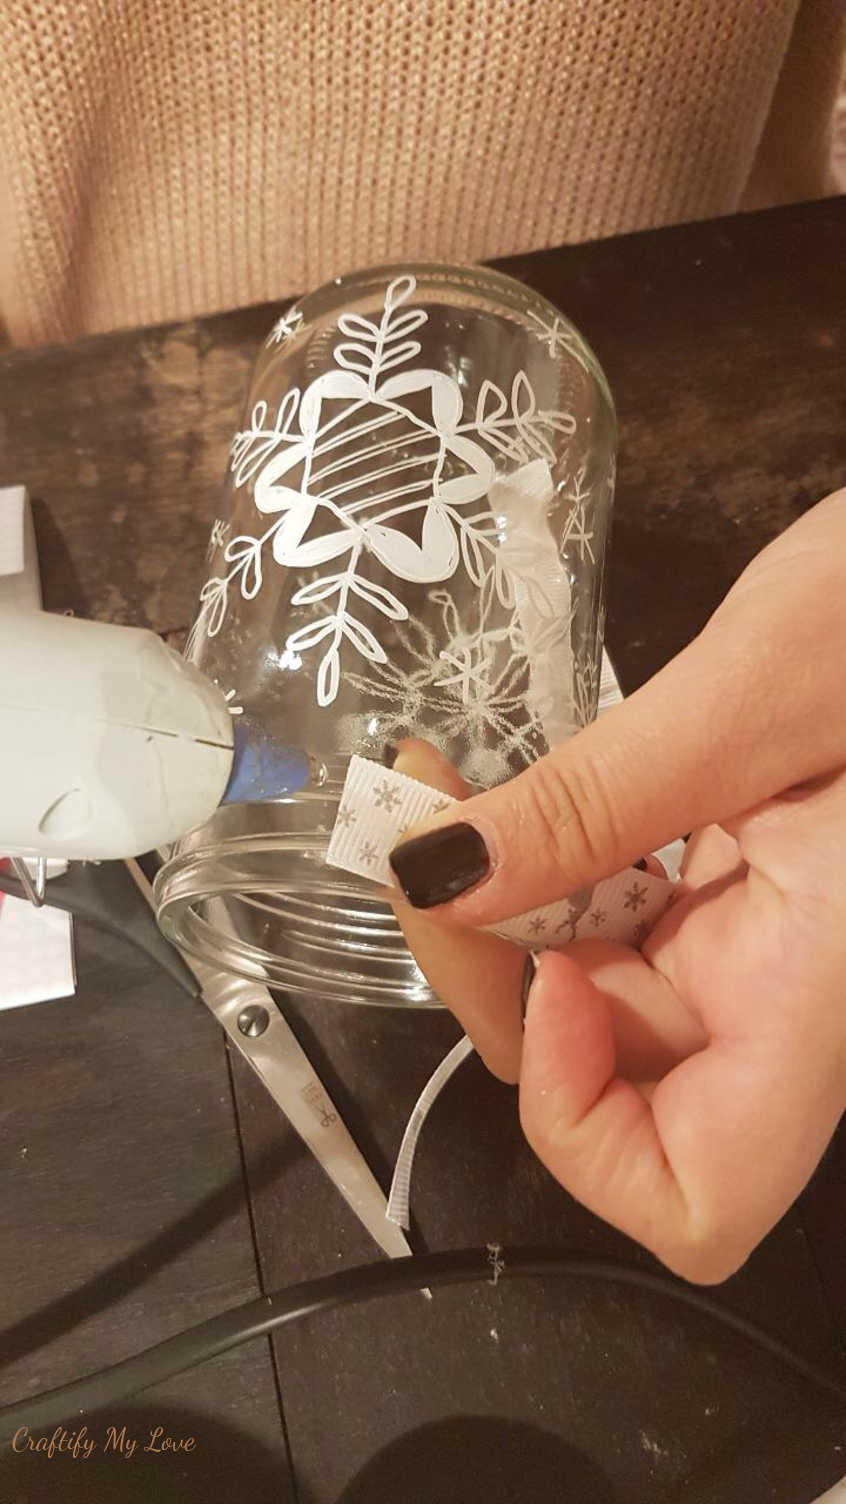
Pro-Tip:
So, at first, I tried to add glue all around the opening of the jars and applied the ribbon. But that didn’t look so good. You could see the shape of the hot glue through the ribbon and it looked all wonky.
If you use the one-blob-fixation-technique (ha, I just made up that term, lol, and I kinda like it) the ribbon will be somewhat loose (see picture below) but will be looking so much better.
Related:
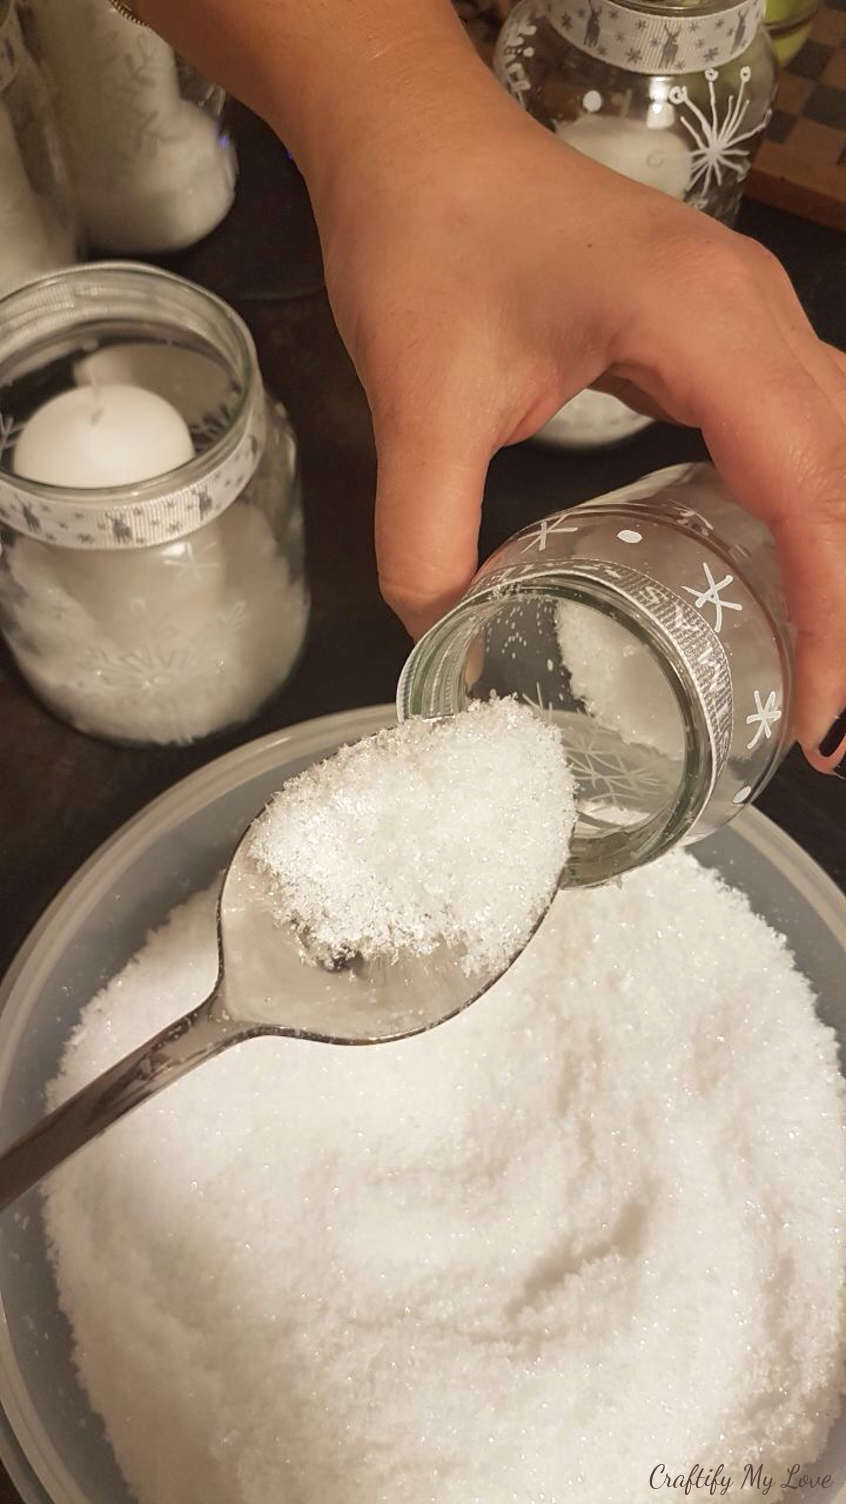
Step 3 – Adding faux snow
This part can either be very fun or very nerve-wracking. It really depends if you enjoy having sparkly snow all over your place, and yourself or not, lol.
After opening the package of faux snow, it quadrupled in size. I swear!!! I had two empty jars with a lid at the ready to store the leftover but ermmm, nope. That was not gonna fit. So now it is happily stored away in a trash bag and an extra shopping bag for safety reasons, lol.
Add snow to your jars. Remember that, after adding the candles the snow will come up a little higher, so don’t go overboard here.
Step 4 – Adding candles
Find a matching candle for each jar. I used pillar candles, maxi tea lights, and regular tea lights. As the pillar candles dripping wax messed up all the snow and caused a lot of jar cleaning from the inside, I invested in these awesome LED votive candles and LED tea lights for this winter.
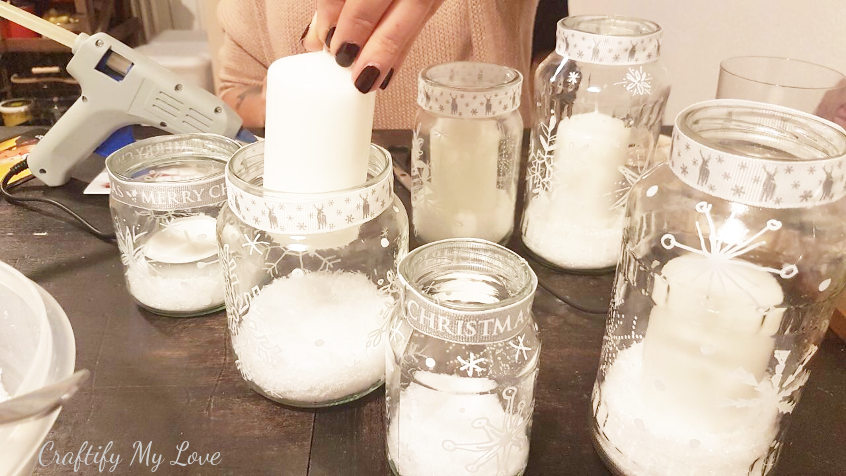
And, you’re done!
Related:
- 50+ DIY Christmas Ideas to recreate this season.
- DIY Gift Ideas – Did you know, that the most wonderful present you can make is giving your time?
Now, go find a lovely place for your new winter snowflake decor and enjoy the warmth it gives to your home!
Related:
If you liked this crafting idea, I’d love for you to share it with your friends.

Love,
PS: Don’t forget to PIN this to Pinterest.
If you are into Seasonal Decorating you will also enjoy…
Gift Guide for Creatives & Makers
Recycled Wrapping Paper Christmas Tree
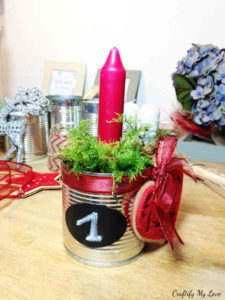
Upcycled Tin Cans Advent Wreath
Monthly Craft Room De-Stash Challenge
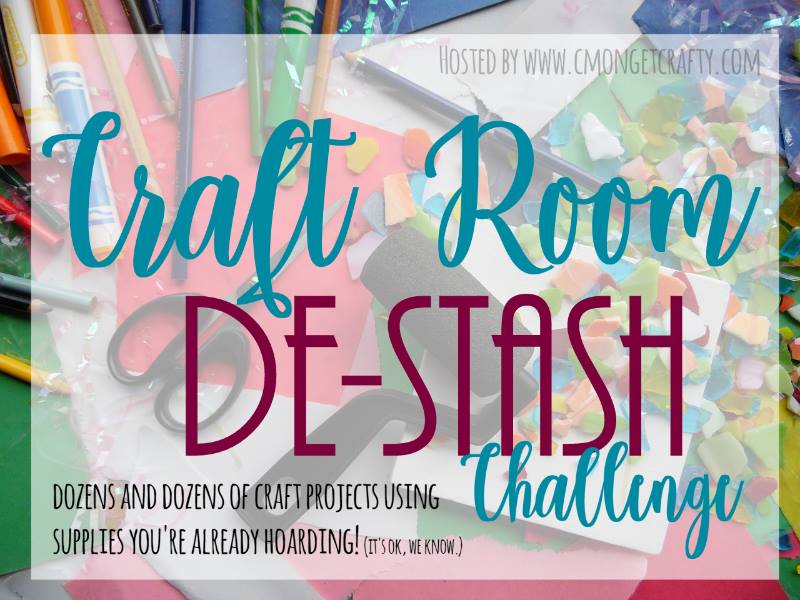
If you’d like to join in the Craft Room De-Stash Challenge, you can request to join our Facebook group here!
These are really pretty! FYI – when I click on your link from the de-stash challenge it says “site can’t be reached”
Thank you Roseann and oh noooo! I need to see how I can fix that! Thanks for letting me know.
How pretty! I love your magical snowflake vignette! -Marci @ Stone Cottage Adventures
Marci, with English not being my first language I had to look up the word “Vignette”. Learned something new today 😉 Thanks a ton!
Your snowflakes certainly do look magical! I love the designs you created!
Thank you so much Megan. I tried to come up with various different snowflake ideas.
These are soooo pretty! Thanks for sharing how to make them.
It’s awesome that you like them. Thanks for letting me know. Also, happy New Years!
Just found your website. Love these! I particularly love that you are saying wonky is ok!
Hi Alison. I’m so glad you’ve found me! And yes, I am a big believer that things don’t need to be perfect to be wonderful! So wonky is fabulous.
Super cute idea and so easy peasy too – love it!
Thank you, Marie. Yeah, those are easy peasy, super cheap to recreate and make for wonderful lighting.
Those are so beautiful!! Thank you so much for sharing with us at the Happy Holidays link party. Pinned.
I’m glad you like them. I love that they are made from old jars. They are a craft that is almost for free and they are good for our planet.
[…] Magical Snowflake Candle Holders (Free Template) @Craftify My Love […]