Stenciling is so much fun and a great way to create unique artwork. Either for yourself or as a wonderful handmade gift! Read up about the must-have supplies for stenciling to rock your next creation!
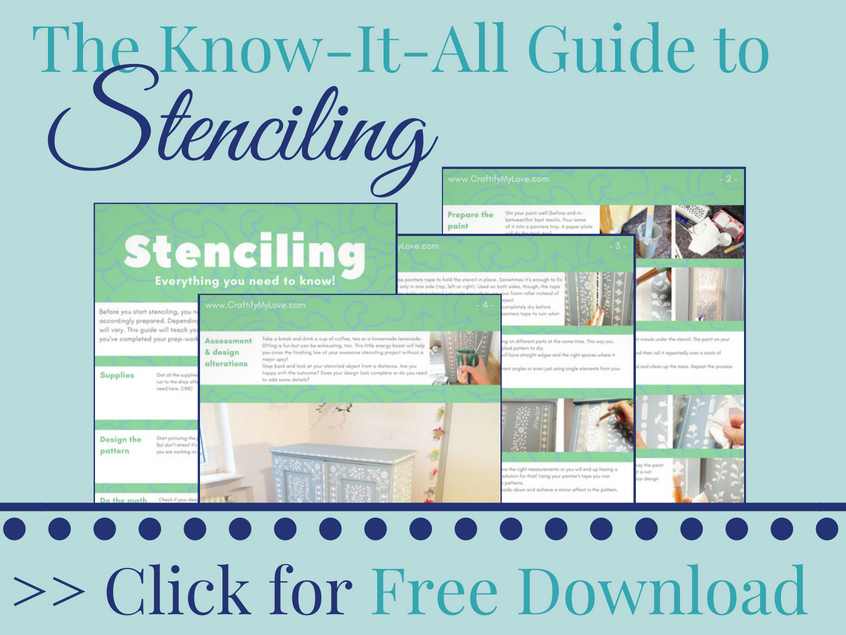
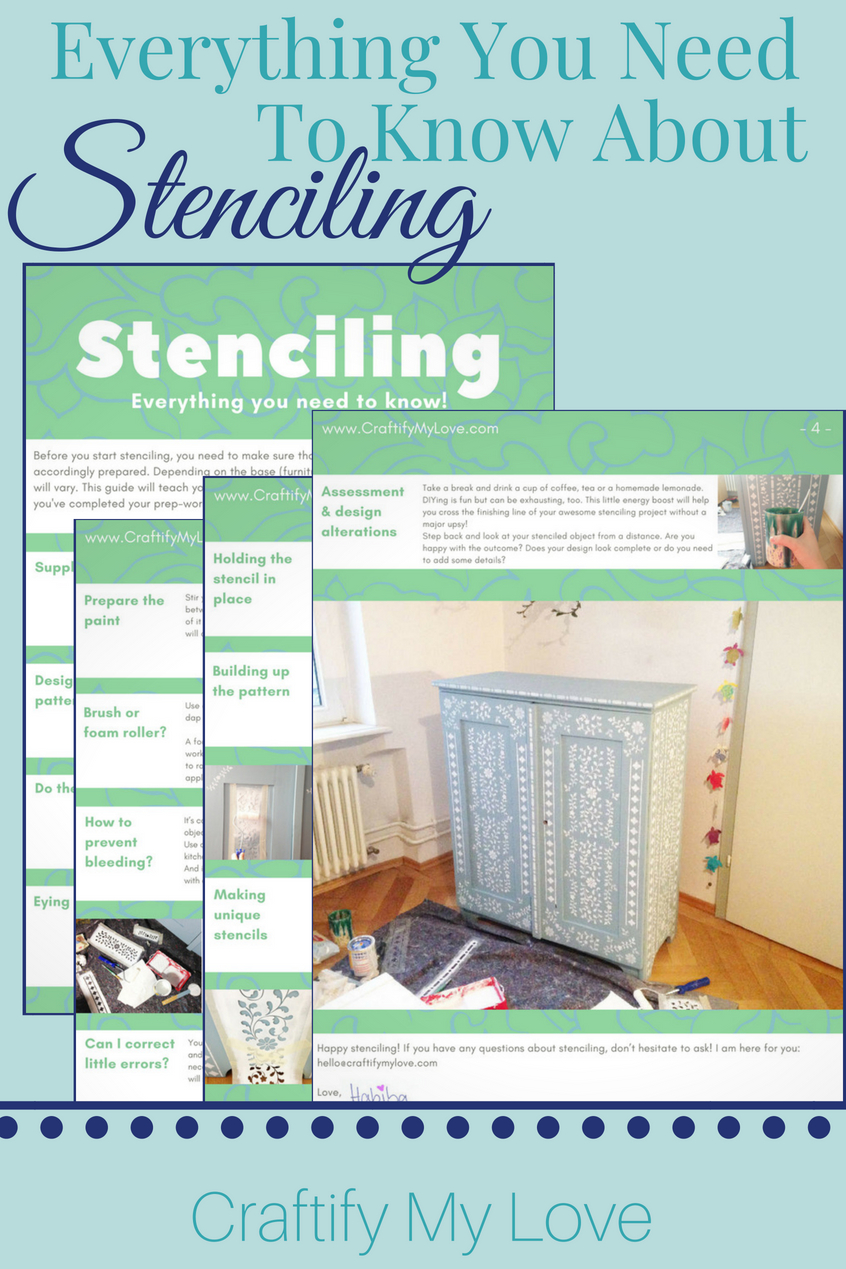
“But I’ve never stenciled before!” you say? Don’t fret, I’ve got you covered! I’ve put together a super detailed guide with all the info you need to know about stenciling. I have stenciled quite a bit and learned a lot during my projects.
My honest advice:
Yes, stenciling can be tricky at times! But, if you learn from my mistakes rather than making them yourself you’ll master the art of stenciling with your very first stenciling project!
Download your FREE “All You Need To Know About Stenciling”-Guide now!
Once you’ve mastered the art of stenciling (and you will during your first project!!) you can DIY home decor by
- giving your walls or floors (like my friend Yami, the Latina Next Door did) a new look,
- or upcycle an old piece of furniture (here is another one) or a tray.
- You could even make a stunning vase or holder for kitchen utensils from an empty pickles jar.
By stenciling fabric, you can create wonderful home accessories such as pillow covers (find a tutorial by me HERE + more ideas over at favecrafts.com), area rugs, dish towels, or curtains. Or you could even design your own clothes!

See?! The possibilities are endless!
Investing in good supplies is definitely worth it as you will re-use them over and over again!
Related: How to take good care of your stencils.
This post contains affiliate links. That means if you make a purchase through these links, I may receive a small commission at no extra cost to you! You can click here to read my full disclosure.
Must-Have Supplies For Stenciling
1. Duh, Stencils!

Where to BUY Stencils?
OMG, there are soooo many options out there, ready for you to fall in love with and buy (trust me when I say: even without a project in mind, lol). You can shop online for stencils for example on Amazon or Etsy or you go to your local craft store or Home Depot.
I personally love the quality, designs, and patterns from Cutting Edge Stencils, Stencil Revolution, and Dizzy Duck DesignsUK.
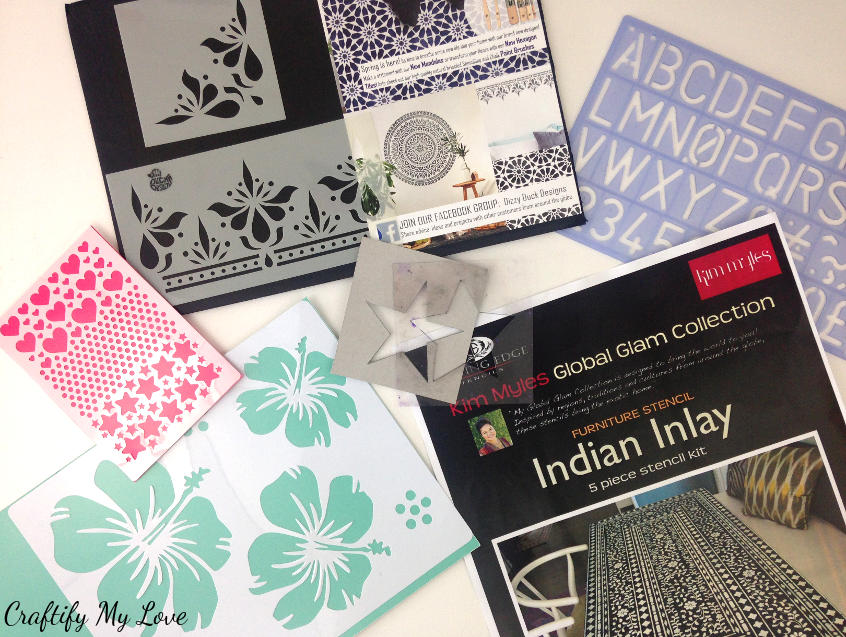
So far I have the following stencils in my stash:
- Indian Inlay Stencil (This one is so versatile! See for yourself: Project 1 VS. Project 2)
- Spectrum STENCIL DECOR – Marrakesh (I swapped this one with my friend Debbie from the UK to decorate this wooden box but and can’t find it for you online, sorry)
- MZOURA Moroccan Hexagon Tile Stencil in XS
- KARIM Indian Furniture Wall Craft Stencil in Furniture Medium
- SAGAR Indian Border Stencil in XS
- Cacao Payroud French Vintage Label Stencil in XS
- Crab and Coral Stencil by Stencil Revolution (find the frugal home decor project HERE)
- Basic stencils from my local Dollar Store, craft store, or Home Depot (e.g. hearts, flowers, shells, stars, …)
What’s your favourite stencil and where have you got it from?
Frugal Tip:
Admittedly, stencils can be a bit pricey at times. That’s why I always love to browse the SALE section of a shop first! Why not check now if Cutting Edge Stencils has a sale at the ready.
And I just saw that they offer a FREE SURPRISE STENCIL with every order of $4.95 value and more. I don’t know how long this offer will stand! So better hurry…
How To MAKE Your Own Stencils?
Of course, you can create or DIY your own stencils, too! Either by hand or by using a vinyl cutting machine.
A. Supplies for Handmade / Hand-cut Stencils
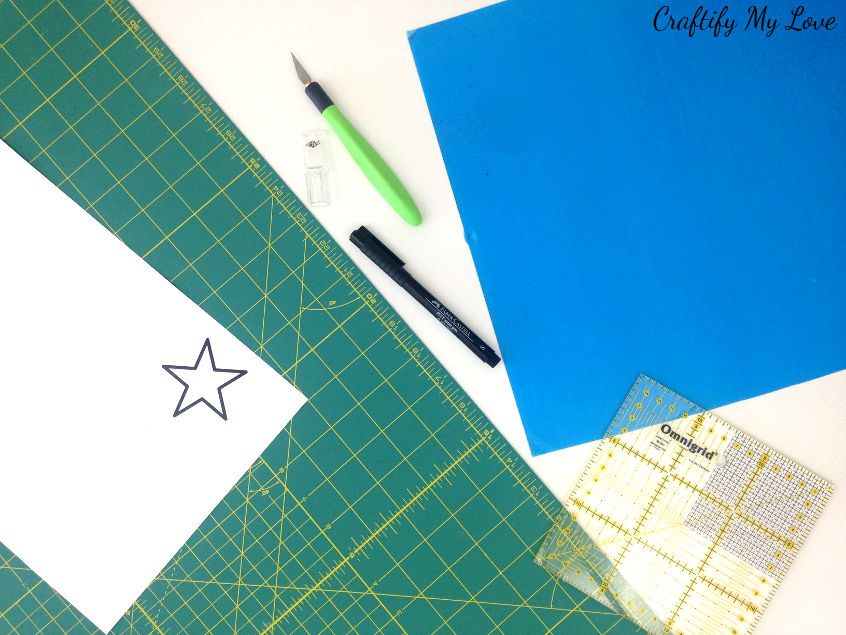
- Mylar or any transparent plastic sheet
- Cutting matt (here is a great offer of cutting mat + knife)
- X-Acto Knife
- Sharpie marker or fine tip marker
- Ruler
- Low tack tape (optional, but a big helper in holding down your pattern)
- And of course a stencil design or pattern:
You can find patterns for free
- by simply googling the design you have in mind. Many Bloggers offer them as a free download for your convenience.
- Or trace the design from something you love – e.g. I’ve photographed so many wonderful tile and Woodwork patterns when visiting my family in Morocco.
- Drawing something yourself is an option, too. Geometric designs are actually pretty simple to make.
I am currently working on a short video that will explain the process for you in detail. Make sure to subscribe to my YouTube Channel so you’ll get notified once it’s published.
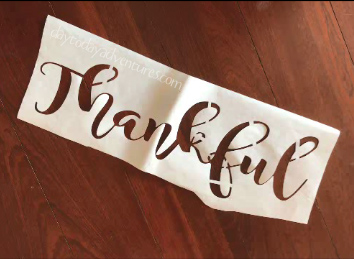
B. Supplies for Vinyl Stencils using a Vinyl Cutting Machine
- Such as a Cricut Maker, Brother or Silhouette Cameo
- Vinyl (such as Oracle 631 vinyl)
- Vinyl weeding tool (sometimes it’ worth to buy a set for a better price) or something other with a pointy end
- Transfer tape (such as Oratape HT55)
- Transfer tape roller (optional)
- Vinyl Squeegee or old credit card
- Printable cut file:
The file type can vary depending on the vinyl cutter you use! They can be found all over the internet for free or little money or you create a stencil design yourself! The cutting machines by Brother have this amazing scanning feature where you simply hand-draw your design. Scan it. Cut it. Done!
In this great tutorial by my friend Kim from Day To Day Adventures on how to personalize a coir rug, you’ll see how to make your own stencils using a Silhouette Cameo. In fact, she is using freezer paper as an alternative to the Vinyl.
C. Creative Stencils
Have you ever thought about using unconventional materials as a stencil?
- A thrifted crochet doily, lace, or a paper doily
- Washi-Tape or low tack tape for geometric patterns
- Fish-net stockings or those styrofoam fish-net thingies that protect precious fruit
- Rough cut-outs from cardboard
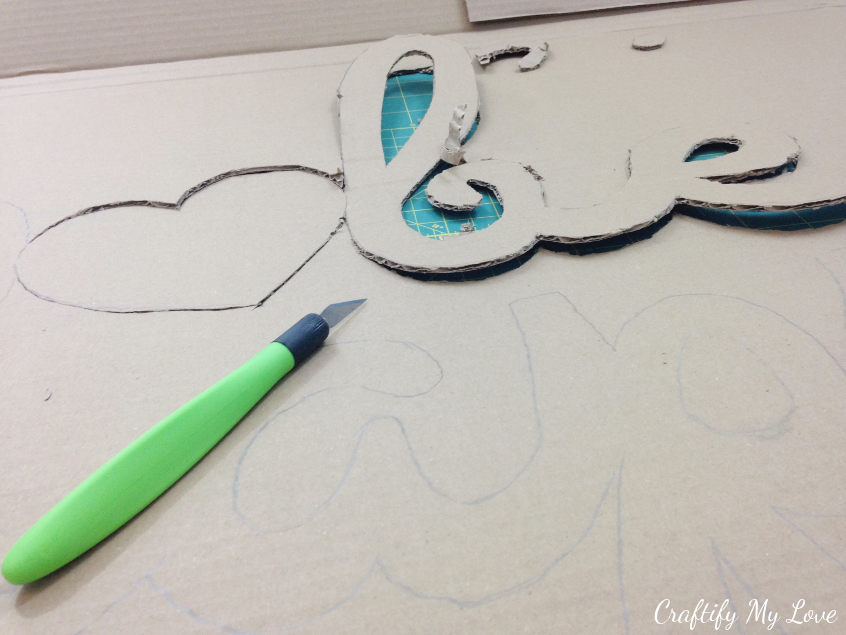
Can you come up with even more ideas? Let me know in the comments.
2. Paint
You have many options and can make your decision based on the nature of your project, the type of surface you are stenciling on, and even the stencil itself.
I have worked with and achieved great results using stained varnish, acrylic craft paint, and even spray paint. Interior latex paint and fabric paint are other options.
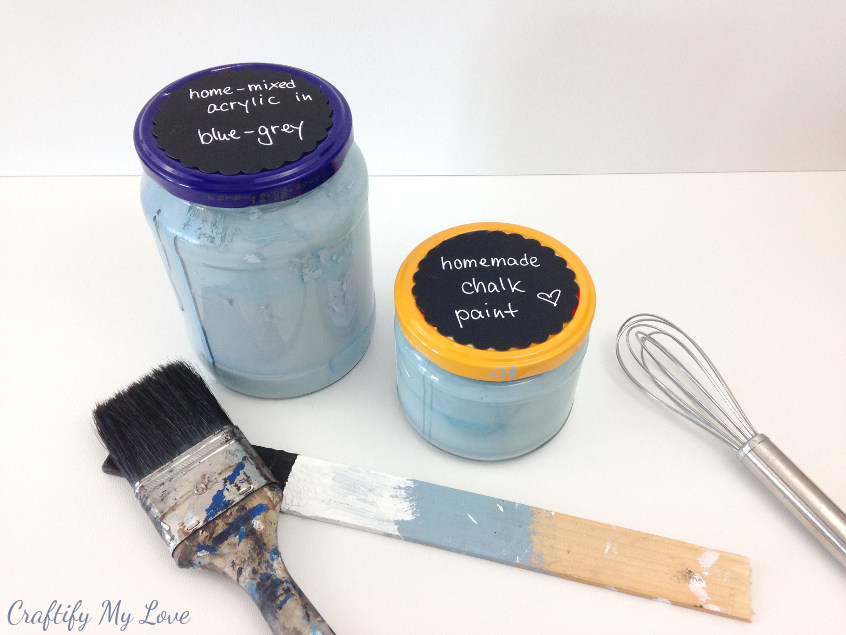
A Bonus for Uniqueness!
If you have a special colour in mind, why not mix your paint yourself? Here is my go-to recipe for homemade DIY chalk paint. The options aren’t that big here in Germany just yet, so I figured I try my hand at homemade chalk paint. And you know what? Full coverage with one coat!!
In this video tutorial I will show you how to mix your desired colour using the primary colours and a colour wheel.
Frugal Tip:
Also, mixing up your own chalk paint is way cheaper than buying special brand ones.
3. Brushes

Again, depending on the project, I use up to three different brushes:
- 1 brush for painting the base of say, a piece of furniture,
- one brush for the actual stenciling part (2 if you work with two different colors!)
–> Stenciling Brushes (here is a link to a value pack for you) come in a funny shape to work their magic the best way, and - another one to apply a coat of wax to protect your piece of art (read up on how I clean & store the brush I use to apply furniture wax).
Foam stencil brushes or pouncers can be a good alternative, too. Basically, you need to see what works best for you and your project at hand!
And if you really need to do any touch-ups after the stenciling, a very thin liner brush is your go to choice.
My Advice:
Say goodbye to perfectionism when DIY-ing!
I very rarely go the extra mile and make corrections in my projects. And so should you 😉
4. Foam Roller and Painters Tray
A dense foam roller is speeding up your stenciling process. A. Lot! If the surface you are working on allows it, I’d definitely go for a foam roller!
- Decide on the width you need (4″, 6″). A mini foam roller can come in handy for delicate designs or multi-color projects.
- I would also suggest you use a separate roller for each color for faster stenciling. You don’t want to have to rinse paint and wait until it’s completely dry again, as residual water in your roller will create seepage under the stencil.
- You can reuse a painters tray a gazillion times. So it would definitely be the green option! But a paper plate will do the trick, too.
Frugal Tip:
I bought the stenciling essentials set by Cutting Edge Stencils and I love it. You can save a little if you buy the set rather than the items each on their own. My opinion? I don’t use the level super often, but it’s nice to have it at hand. You can easily slide it onto the stencil. Very nifty!
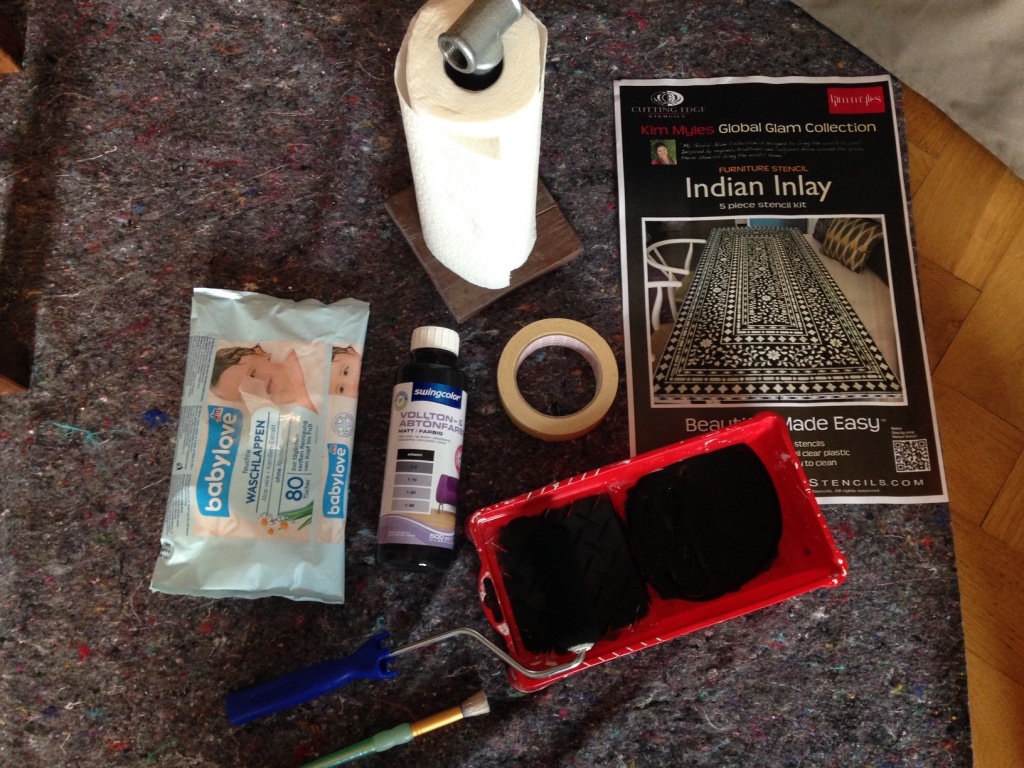
5. Additional Supplies
- Painters tape to fix your stencil to the surface you are working on.
- Sander & Sanding Paper to prepare your surface if it is wood.
- Furniture wax to protect your finished design.
- Kitchen towels & wet wipes (Read up in my Stenciling Guide what you need those for!)
- Cardboard, protective cover sheet, or something similar to protect your work space.
You know what? I bet you already might have some of those must-have supplies for stenciling in your crafting stash! Shop what’s missing now to start your stenciling project right away.
Have fun!
Love,

PS: Don’t forget to master the art of stenciling by downloading your FREE Know-It-All Guide, now.
I haven’t stenciled in years but did stencil quite a few accents onto our walls when we moved into our house. These are great tips. Pinned.
Thank you, my dear, for the support! I haven’t stencilled on my walls as we are renting and have popcorn walls everywhere.
Great guide, thank you for sharing it at The Really Crafty Link Party this week.
I rarely stencil, but lately I’ve been thinking about using my Sizzix to created stencils, so this may be the push I needed to give it a try.
Pinned!
Thank you so much for your feedback. This is exactly why I blog: To inspire other people to start or re-start crafting or using a certain technique again. Let me know if you have any questions about stenciling. I am more than happy to help!
Thank you for the tips, just started stenciling and this will help.
You’re welcome, Denise?. What will be your first project? I’m super curious ?