I have been wanting to make DIY shelves from old drawers in forever!!! But all dressers I’ve found in thrift stores or on the side of the road were too good, to just use the drawers.
Until one day last summer, when I went to visit my godmother. She was the housekeeper of a pastor and they both retired and were to leave the big vicarage they lived in over the past 40+ years.
They needed to get rid of things and gave away a lot of their furniture to people in need. I was thrilled, as I got to go through all the rooms, too, and see if I could use things for my DIY projects.
I took home a many pieces. One of them an old wicker basket I turned into a darling fall front porch decor. Several fully intact dressers and cupboards (HERE is the china cabinet makeover), an empty golden frame (see what I did to it HERE), cushion covers, you name it. While there I picked some flowers in her garden to make these darling keepsake wooden pendants.
In her basement my eyes fell on a very old and brittle hanging shelf that had three drawers. It was obvious that the shelf couldn’t be saved, but the drawers were in a rather good shape. And here I was, all of a sudden gifted with the main ingredient for an awesome upcycling project that was high on my wish list for a long time.
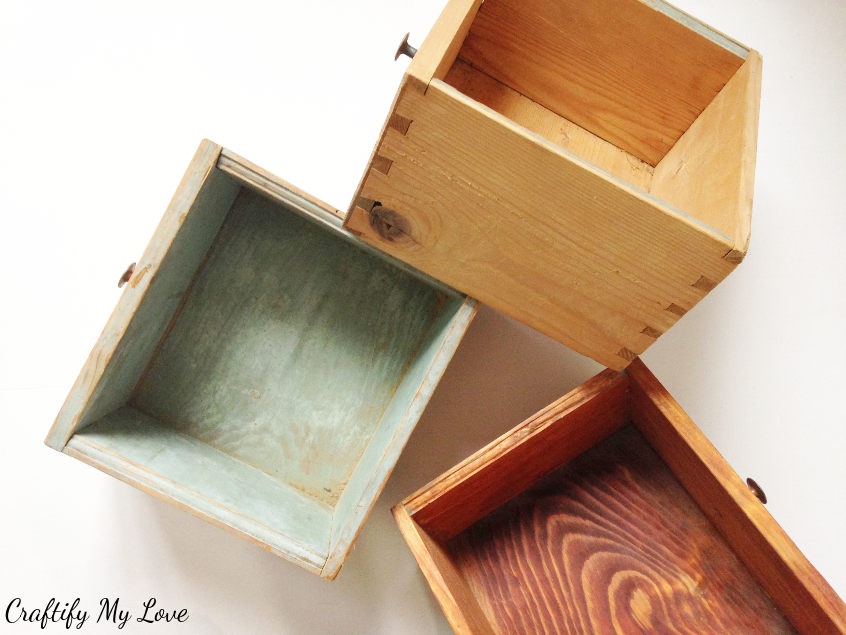
Supplies
Obviously you need old drawers to make shelves from old drawers, lol. But you also need a view other things in order to fix them to the wall.
I’ve made a list for you, so that you don’t have to figure all those bits and pieces out on your own:
- sawtooth hangers (two for each drawer)
- screws to fix the sawtooth hangers to the drawer (usually they come with nails, but they just won’t do! Trust me.)
- anchor bolts (two for each drawer)
- slotted screw hooks (two for each drawer)
Or buy a set! Just now I stumbled over this amazing set, that contains everything you need <3. You could use the included long screws, but I’d feel better if you used those slotted screw hooks (link see above) for more safety.
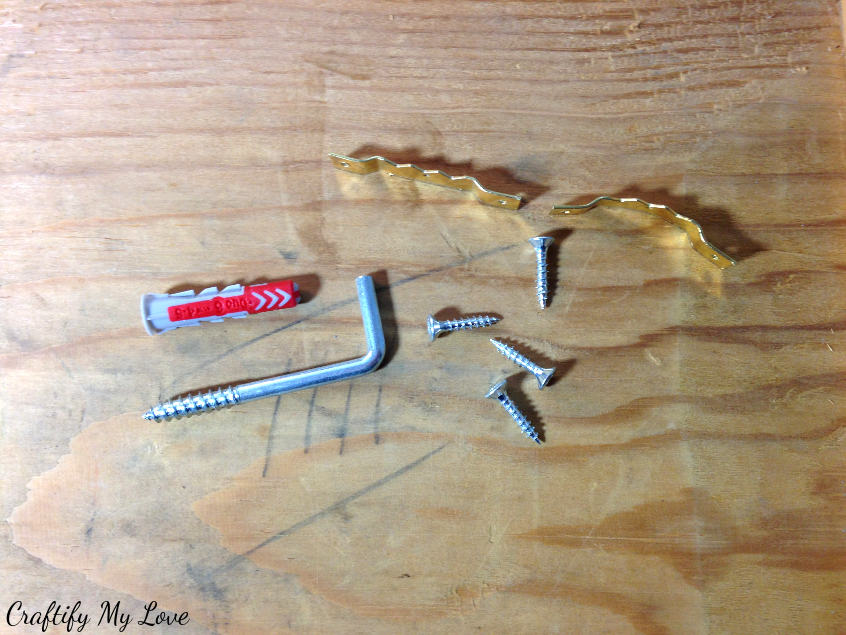
Tools
I recommend using these tools to upcycle your old drawers into pretty and unique shelves:
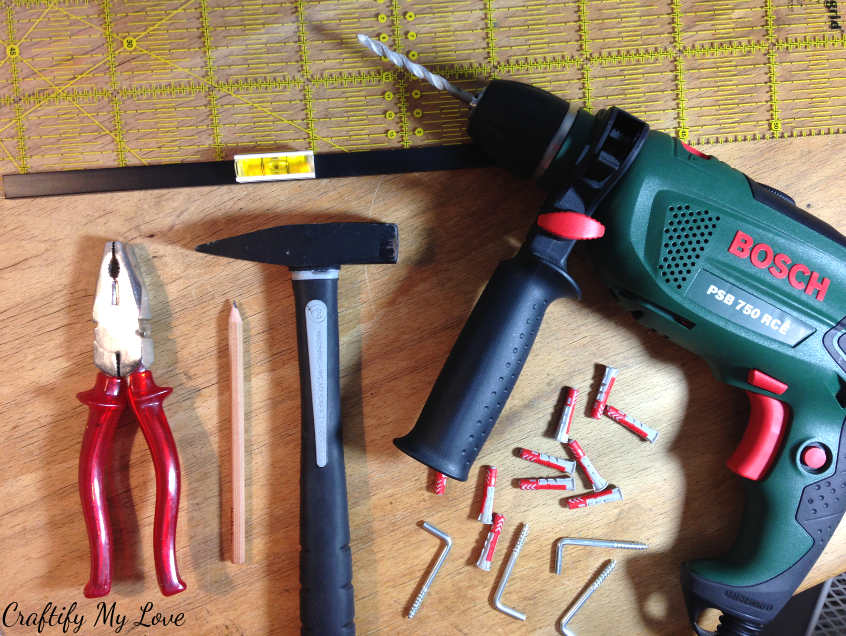
- DIY Hammer Drill (This drill has power, yet it’s not too big for a girl like me to handle myself!)
- Cordless rechargeable screw driver (I got this one as the first Valentine’s gift from my love Markus)
- hammer
- pliers
- pencil
- level (I used this clip on stencil level I bought from Cutting Edge Stencils when I painted my IKEA Hack Tarva)
- ruler (I love to use my sewing ruler for almost all my creative projects)
Thrift Store Challenge
I got invited by Amanda from Domestically Creative to participate in her monthly Thrift Store Challenge and I hope that this little upcycling project of mine will meet the criteria, even though those drawers are not thrifted but gifted.
You’ll find many more super creative thrifted DIY projects at the end of this post and I encourage you to check them out!
How To Create Shelves With Old Drawers – 4 Simple Steps
Do you prefer to watch a video instead of a step-by-step photo documentary? No problem! You’ll find the video tutorial further down in the post.

1 – Clean old drawers
These drawers have been in my godmothers basement for over 40 years and they held I don’t know what. As you can see, they were really dusty and I gave them a good clean with vinegar and water.
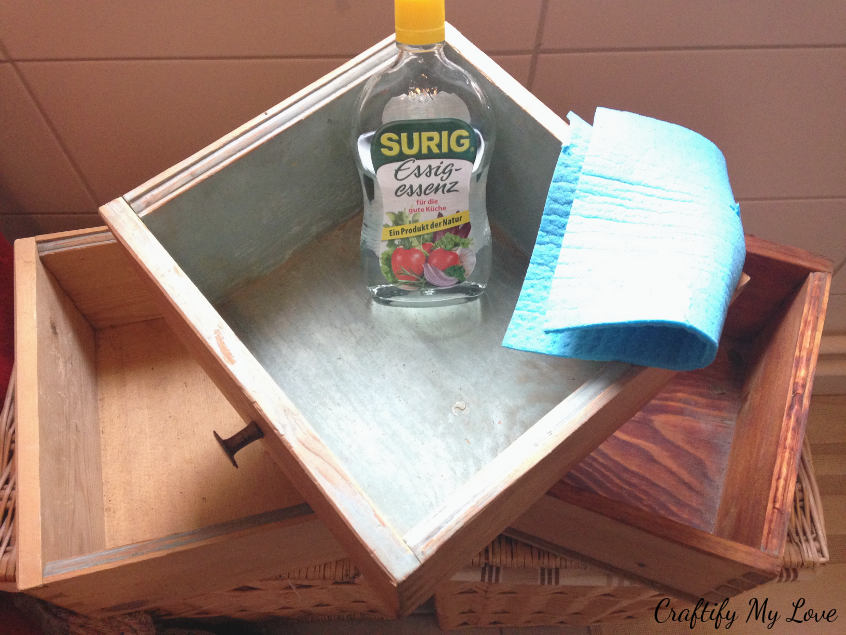
2 – Install sawtooth hangers
I’d recommend you use two sawtooth hangers for each drawer. This way you can be sure that they will be tightly hung to the walls.
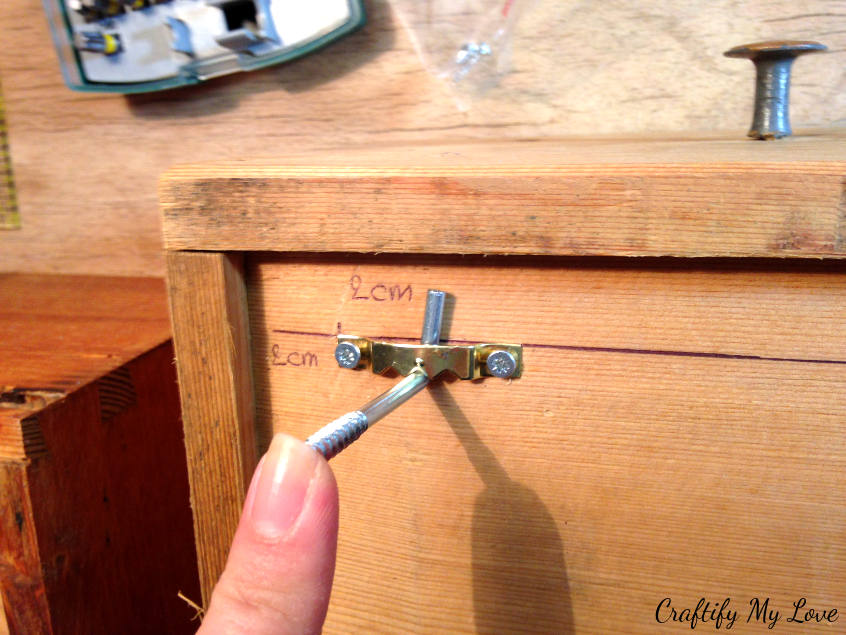
Measure and mark where you want the sawtooth hanger to go. I set a mark at 2 cm to place the left side of the tooth hanger.
Repeat this step on the right side as well and on all the drawers you want to convert into shelves.
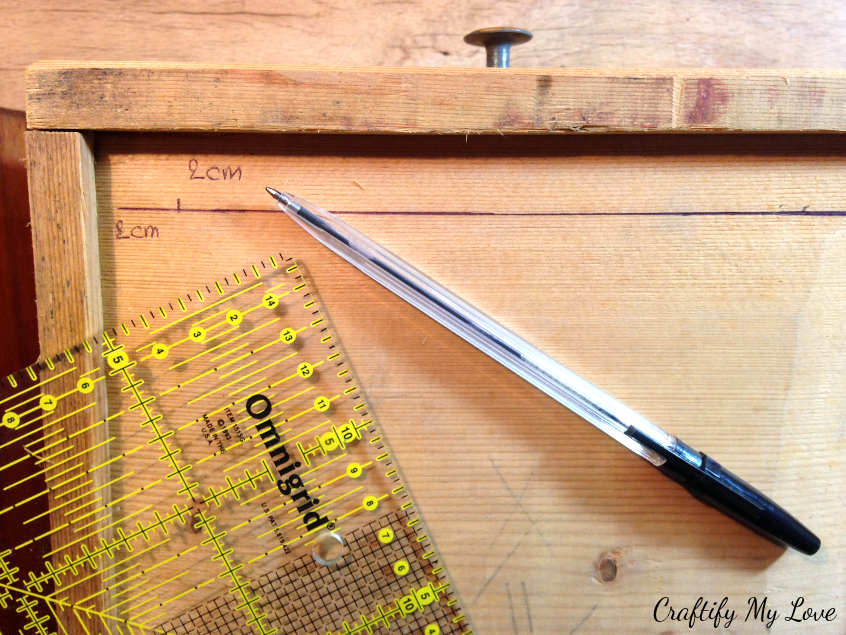
Place the hanger next to the previously measured mark, and, using a pen, make a dot to where the screws will need to go.
Using a drill slightly thinner than your screws, pre-drill holes. This will prevent the wood from splintering and will make it easier for you to screw on the hangers later.
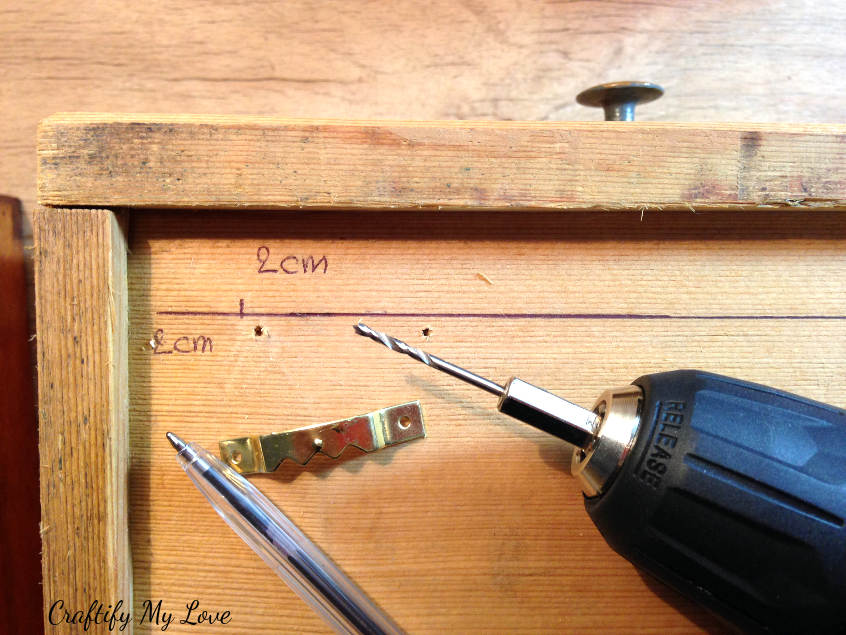
You could use a regular screwdriver to fix the sawtooth hangers to your drawers or, use an electrical one, like I did. Soooooo much easier, you guys!!! And can I just say: Best. Valentine’s Gift. EVER!!!
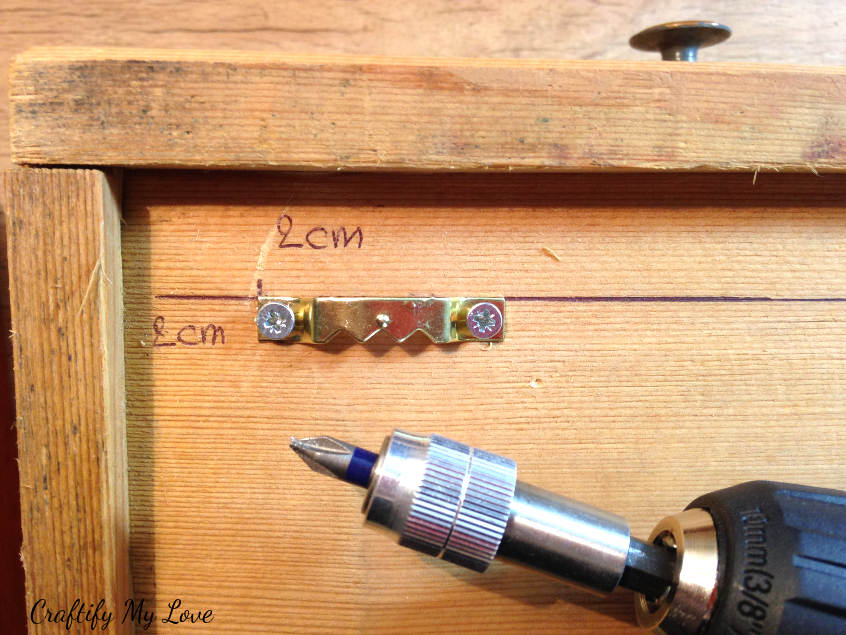
Mishaps do happen! And that’s ok.
Whooopsies happen to every DIYer and they happen a lot! But no need for you to repeat my whoopsies, right?
So pay attention to
- not screw your screw in too deep (I kinda measured the thickness of the wood and the length of the screws, but obviously I didn’t do a very good job, lol)
- adjust the sawtooth hangers saw-side down. This way the hook won’t slide left and right once you hang the old drawer onto it.
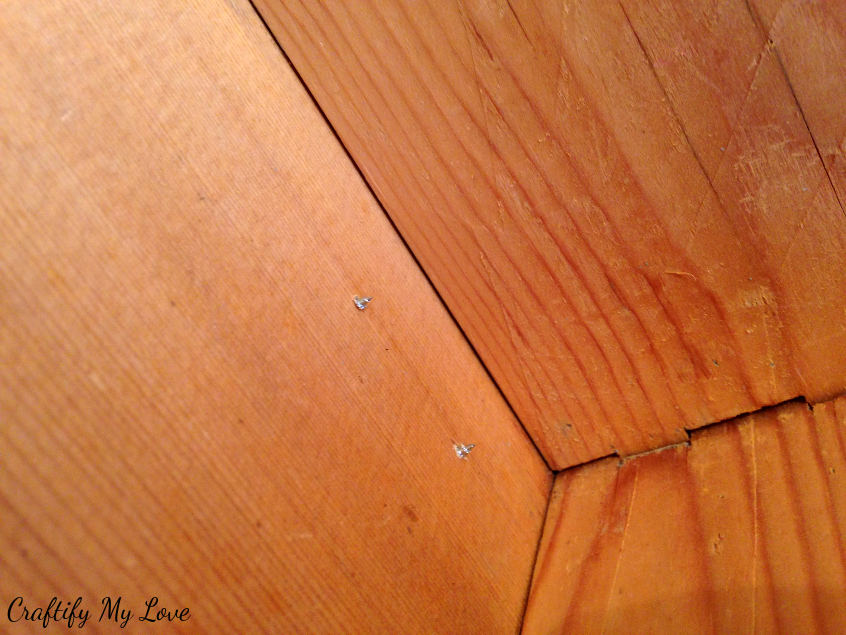
Find the mistake:
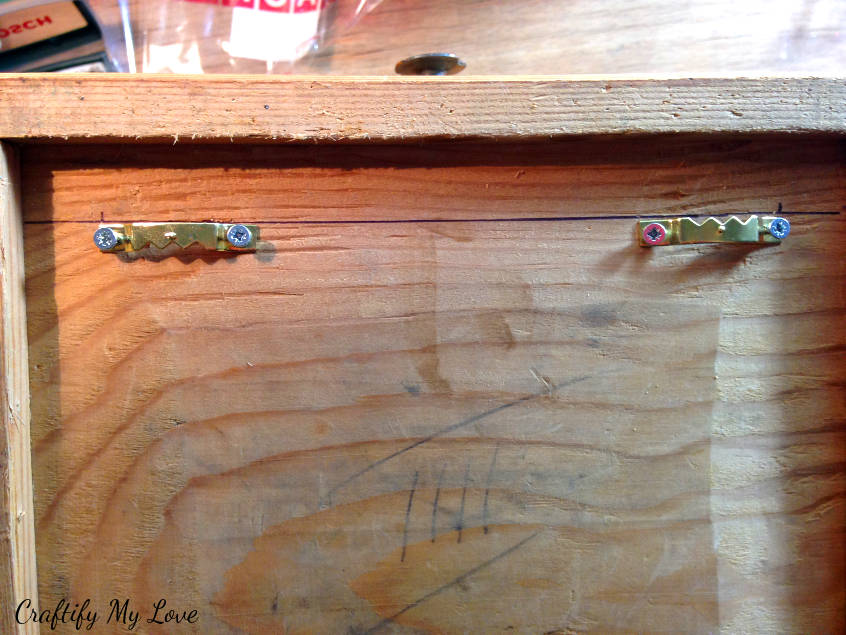
Using a screwdriver or some other tool, bend the hanger slightly upward. Why?
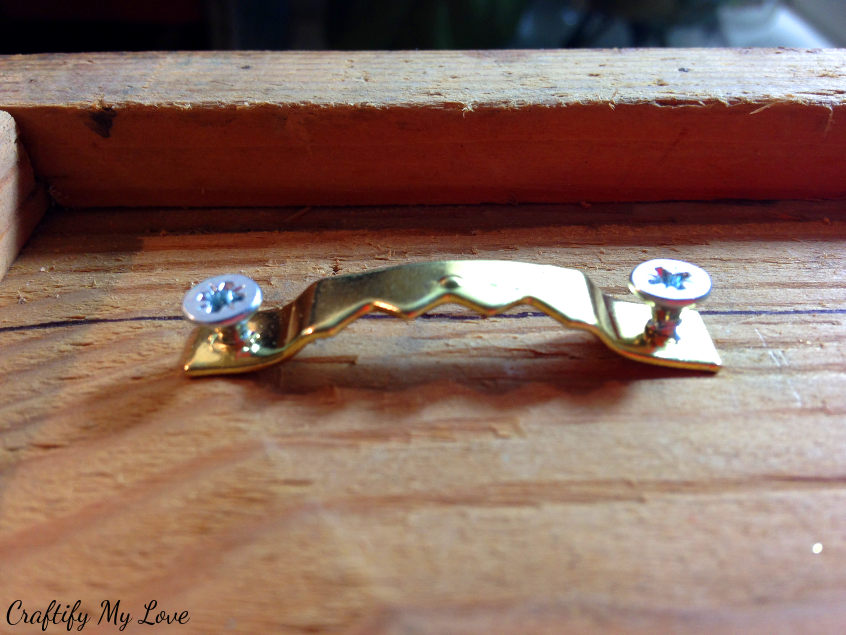
Because you want there to be enough room for your slotted screw hooks, so attaching your shelves to the wall will be an easy task.
3 – Decide on Hanging Arrangement for Shelves
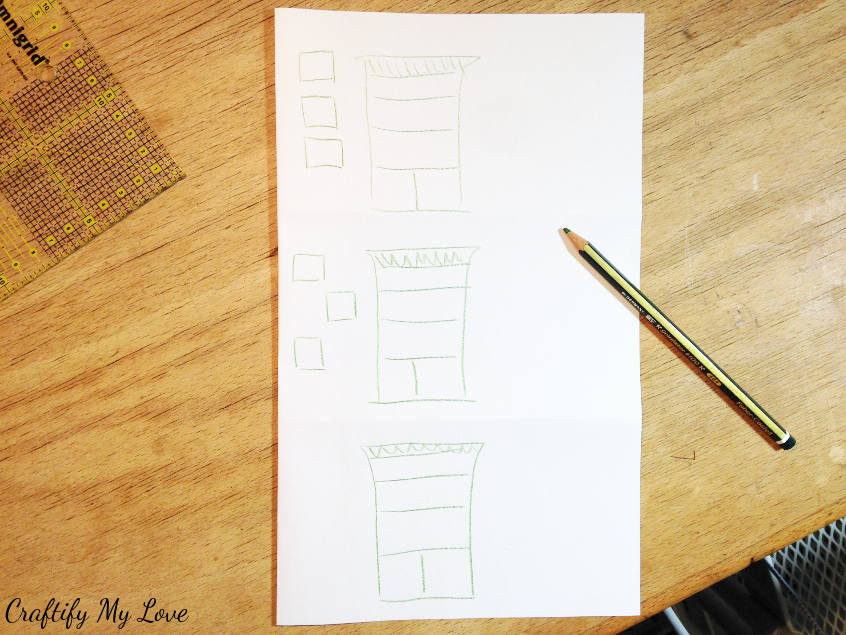
I am a very visual person, so it’s always easier for me to decide on a design when I make a little sketch. Does your brain work like that, too?
After the second sketch I had already made up my mind on the placement of the drawer shelves and didn’t need to continue doodling.
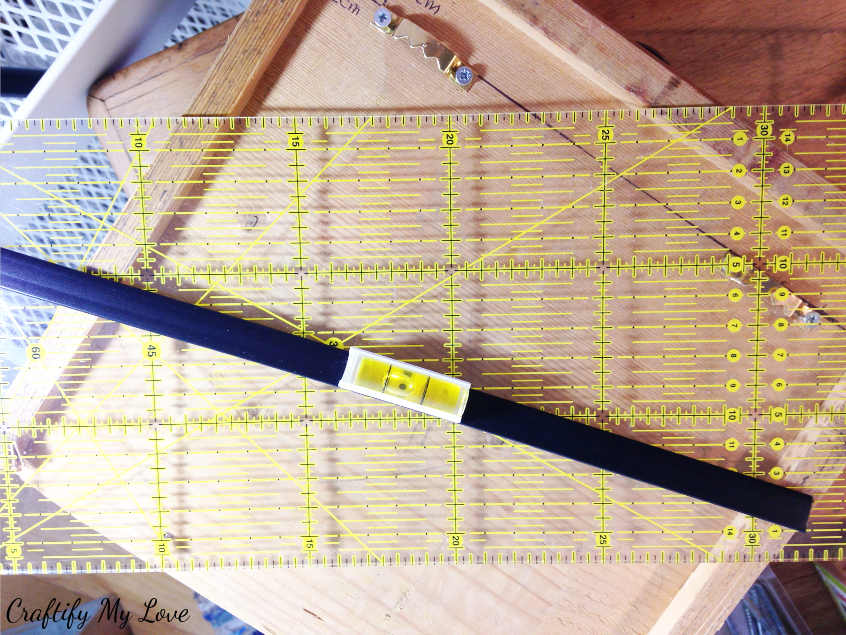
I knew that I wanted the top hanging shelf to be even with the top of my bookcase. So I got my ruler and clip on level out and got to work marking the holes on the wall.
4 – Hang Drawer Shelves to the Wall
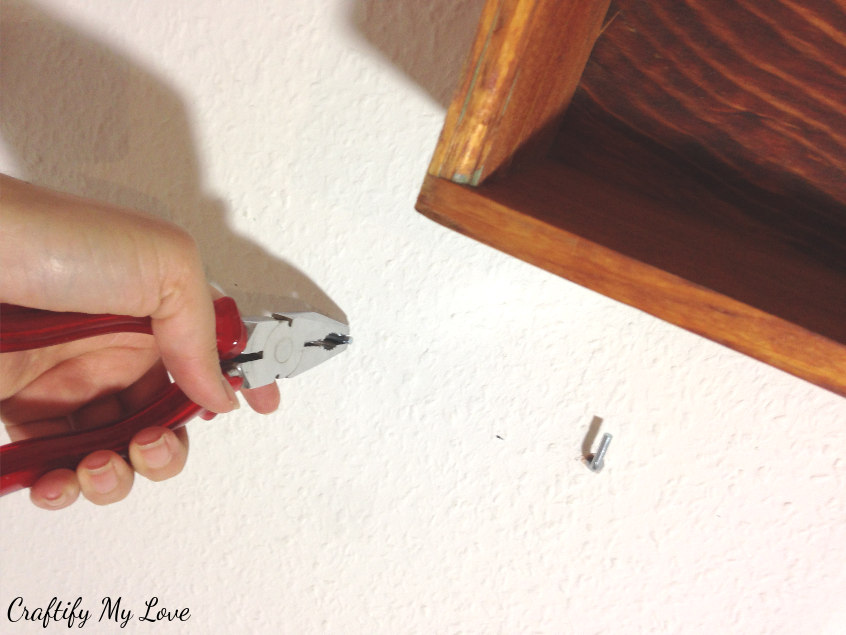
Into the holes go the anchors. Make sure they are level with the wall. In order to do so you can use a hammer to aid you.
I used my pliers to screw the hooks into the wall.
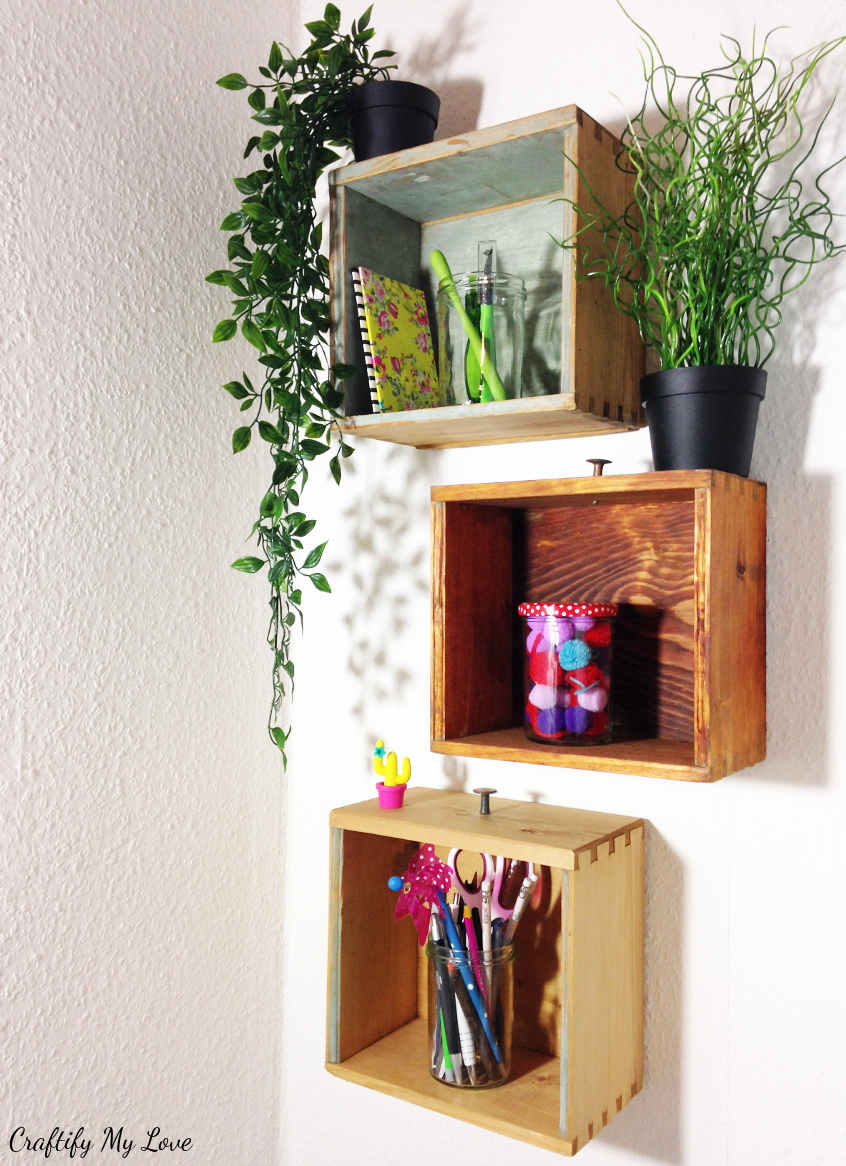
And you’re done! Place your old drawers to the wall and start decorating.
Other Wall Art Projects You Might Like
Check out these simple DIY projects you could decorate your home with.
BE HAPPY cardboard cut-out sign
Set of 3 Crafting Inspired Shadow Boxes
Video Tutorial: How To Transform Old Drawers Into Shelves
As promised, here is the video tutorial I’ve made for you.
Click on the video and let’s meet in person!
If you like my work, make sure to give it a thumbs up and subscribe to my channel.
Love,

PS: Oh and, don’t forget to PIN this to Pinterest.
Thrift Store Challenge
Here is the promised info about this new challenge I joined. Let’s grab a cup of tea or coffee and get inspired together by the work of my crafty friends:
The Rules:
- Upcycle an item(s) from a thrift store, resale store, or garage sale into a new piece of decor.
- There’s no monthly theme.
- There’s no budget to stick to.
Meet the Hosts
Amanda | Domestically Creative – Kathleen | Our Hopeful Home
Angela | Simply Beautiful by Angela – Jeanie | Create and Babble
Molly | Just a Little Creativity – Victoria | Dazzle While Frazzled
Marie | The Inspiration Vault – Michelle | Michelle James Designs
Shirley | Intelligent Domestications – Gail | Purple Hues and Me
Jennifer | Cookies Coffee and Crafts – Ann | Duct Tape and Denim
Michelle | Our Crafty Mom – Debra | Shoppe No. 5
Denise | My Thrifty House – Chelsea | Making Manzanita
Deborah | Salvage Sister & Mister – Habiba | Craftify My Love
Make sure you follow our board on Pinterest for more upcycled decor inspiration!
And now for more thrifty goodness!
Check out what my fellow upcyclers created below!
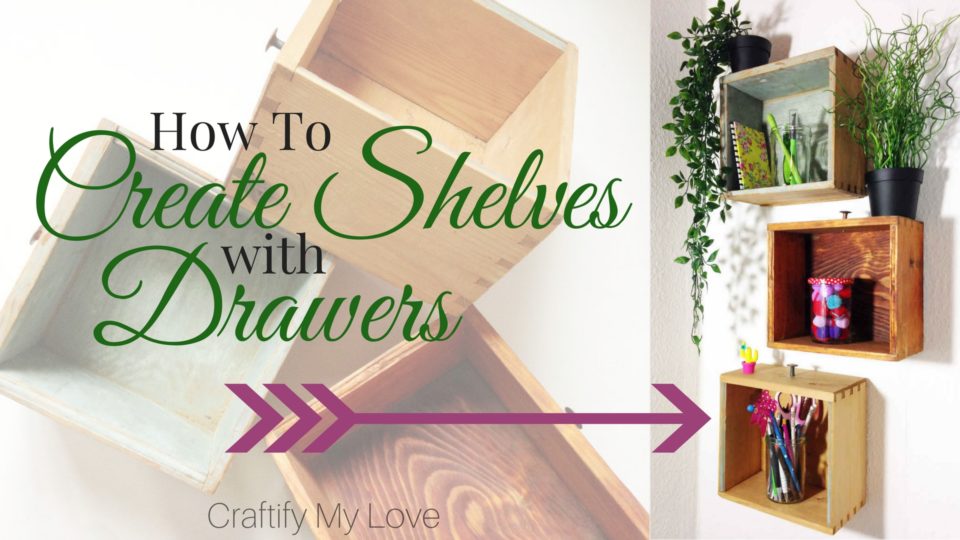
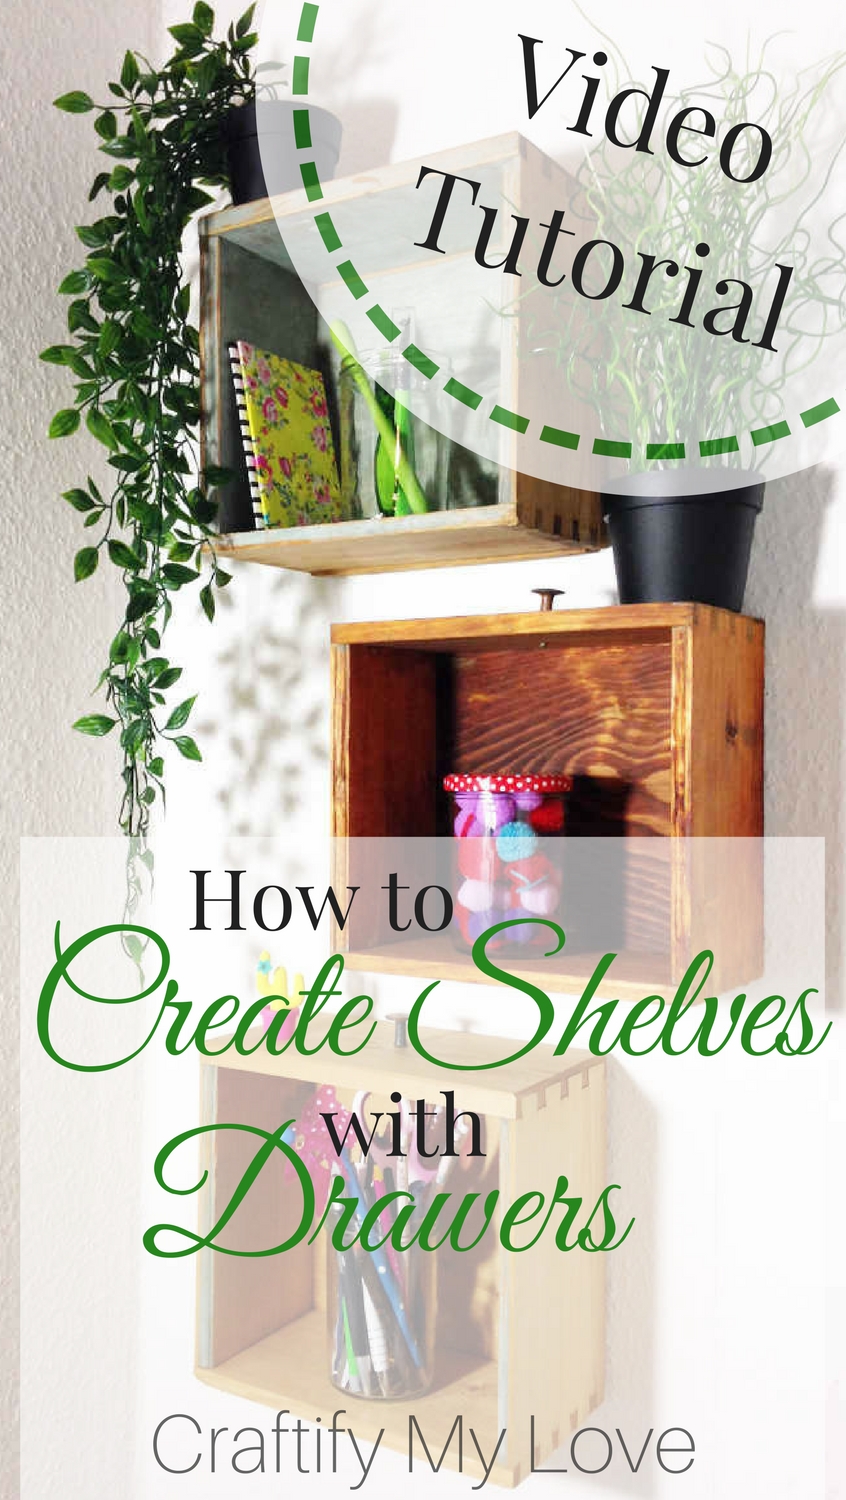


These are so cool and I love how you decorated them! Great project!
Thank you, Michelle. They look nice in my craft room and I have my pens and pencils within reach.
I love this project. The shelves are so darn cute. And I am glad to know I am in good company with the whoopsies.
Thank you Debra. I thought I share my talent for those mishaps, as I guess some people don’t get creative because of fear of messing up.
These turned out so cute!! I love how they look all decorated on your walls!
Thank you Chelsea. Seeing them everyday makes me really happy.
I have tried this many times, but couldn’t come up with something creative. Making shelves from old drawers is always in mind. You made it loo easier. I will try it once again, following your route.
I am happy you found my tutorial, Liz. Let me know if you have any more questions.
How creative is THIS! I’m definitely going to look for a place to use this. Thanks Habiba!
Yay!!! I’m happy you like it and will try to work this idea your very own way. Can’t wait what you do.
Oh, that blue-green drawer would be so perfect in my bedroom. Your DIYs are always so thorough and easy to follow. I think I can do this. Now to find the perfect drawer!
I like to make my tutorials very detailed as I hope to help others get rid of their creating anxiety, lol. A project can look really intimidating, I know. But once you break it down into all those tiny steps it turns out really simple. I have a list on my phone for things to look out when I go to thrift stores and such. This way I remember and don’t walk past a wonderful treasure. Good luck shelf hunting!