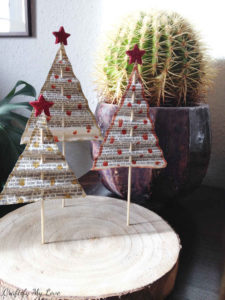
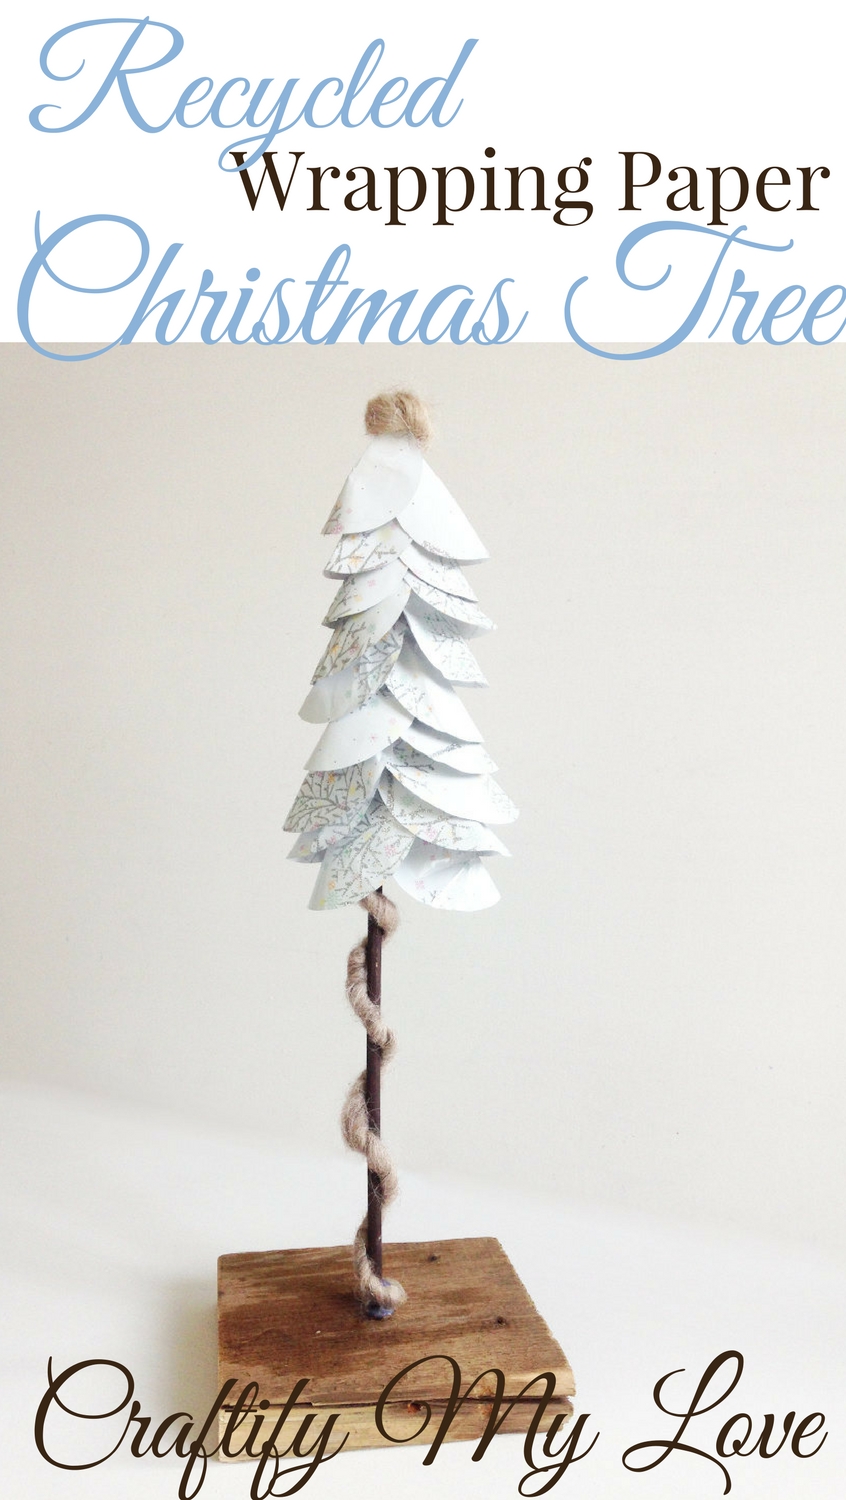
I’d love to teach you today how to make this Wrapping Paper Christmas Tree out of mainly recycled materials. I know for sure that you’d pay 30 Euro plus for a tree like that! Want to know how I came up with the idea?
I love browsing through interior catalogs and finding absolute gems for my home. Do you, too? I am a huge fan of Impressionen. I don’t really know if they ship internationally or not. But I’ve bought my fair share of decor and clothes with them for sure.
Last weekend I enjoyed a “window” shopping spree while having my Sunday breakfast and stumbled over this absolutely lovely woolen Christmas decoration.

What do you say? Do you like it, too?
As money is a little tight right now and my creative juices are flowing on an unknown high I started thinking about how to use this inspiring image for a Christmas themed DIY project instead of simply buying a set.
It’s like there was planted a tiny seed in my mind: The wish to have an adorable Christmas tree like the one in the catalog in my home. I visited this tiny seed over and over again throughout the week. Thought about which materials to use: felt, fabric, cotton balls? And where to get a wooden base? Arrgggghhh, do I really need to leave the house in this dull weather? Again?
Related:
I hoard, therefore I craft
When I remembered a Christmas wrapping paper, I received a present from my lovely friend Debbie in, I knew I was set on the material for the foliage.
Yes, I really saved used wrapping paper for several years.
And just recently I brought home three pieces of reclaimed wood, I found on the side of the road after work.
My unique little Christmas trees started to take form in my head. I found those orchids plant supports I saved and a darling uneven woolen thread I bought once just because it was so darn lovely. And then I started making in the middle of the night 😉
Supplies to make an upcycled Wrapping Paper Christmas Tree
This post contains affiliate links. That means if you make a purchase through these links, I may receive a small commission at no extra cost to you! You can click here to read my full disclosure.
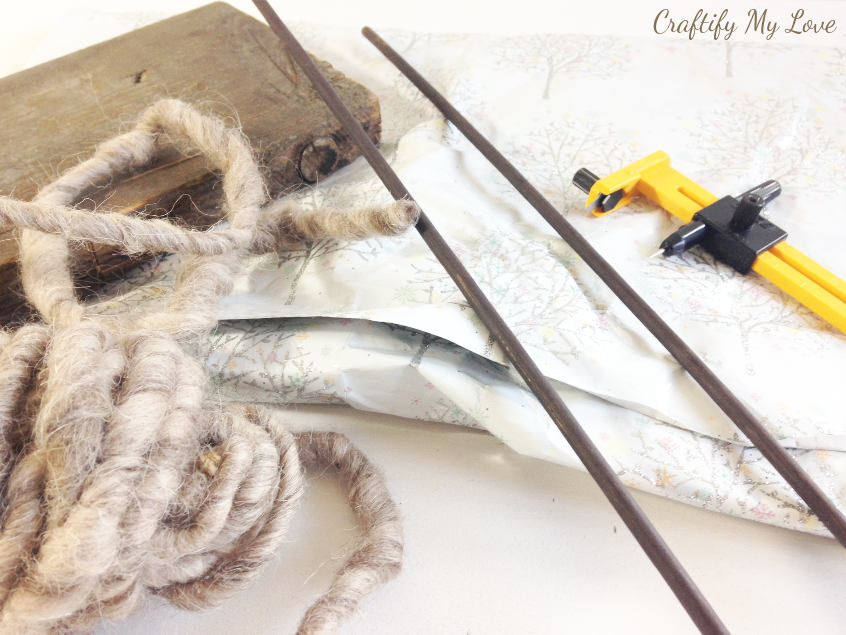
- (recycled) Wrapping Paper
- compass circle cutter
- plant supports (from Orchids) – if you don’t happen to have them at home, you could buy these
- reclaimed wood – again, if you don’t have a piece of wood at home, I think these would look great, too
- woolen thread (same one here on Amazon.de and similar one here on Amazon.com)
- hot glue gun + sticks
- scissors
- drilling machine + wood drill
Step by Step:
Make your own Wrapping Paper Christmas Tree
This post contains a detailed written tutorial accompanied by photos AND a video tutorial to guide you through the crafty process.

Making the foliage for your paper Christmas tree
Using the compass circle cutter you’ll be cutting circles in three different sizes from your recycled wrapping paper.
Small Tree:
- out 36 cm tall.
- The leavy part is about 16 cm tall.
- Cut circles from each size 6 times.
- 5 cm, 6 cm, 7 cm diameter.
Large Tree:
- Abot 44 cm tall.
- The leavy part is about 21 cm tall.
- Cut circles from each size 8 times.
- 5 cm, 6 cm, 7 cm diameter.
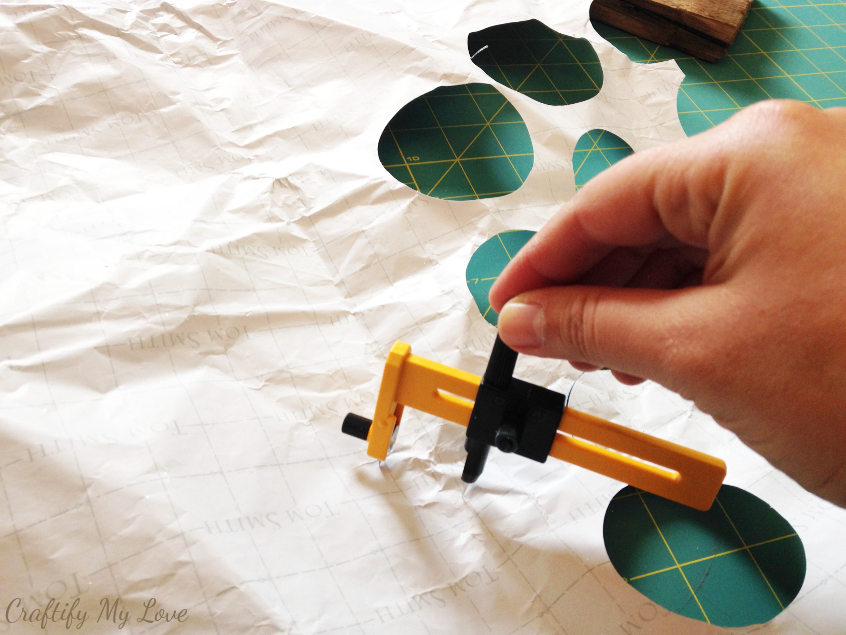
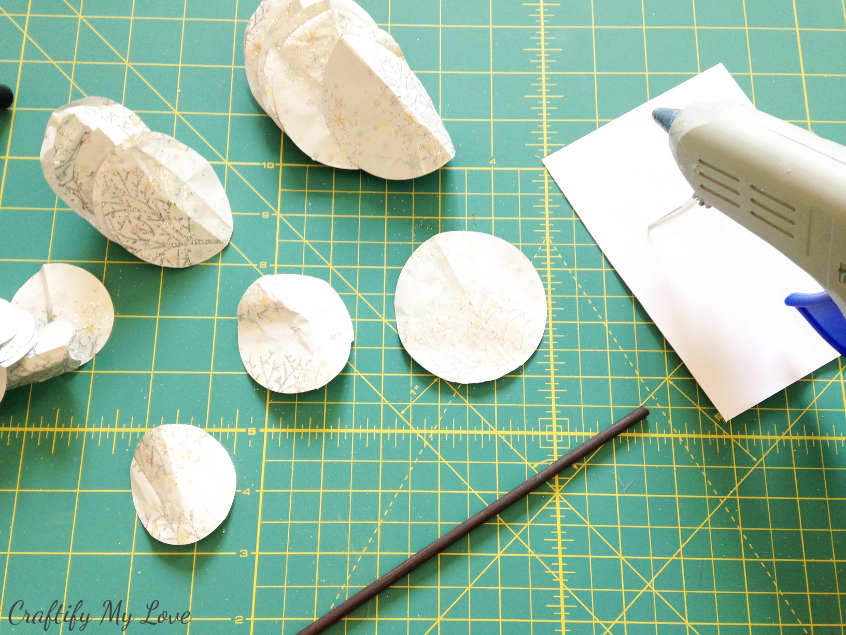
Give them some shape by pinching one third to a half using your thumb and index finger.
In this crease, you’ll add a blob of hot glue, starting with the biggest circles. Glue your leaves to the wooden stick at about the middle and work your way up. Try to aim for about 1 cm distance between each circle.
A little unevenness will totally add to the charm factor!!
ProTip:
I found it best to prepare, say 5 or 6 circles in advance. This way, when sticking the paper circle to the stem, the hot glue wouldn’t be too hot anymore (your fingers will thank you 😉 ) and the glue would work it’s magic quicker = you’ll be able to work faster.
Related:
-
- Gift Guide for Creators & Makers + $360 Giveaway
- Recycled Tin Can Advent Wreath
- Magical Snowflake Candle Holders
- How to wrap a gift + tips on supply storage, bow making & DIY gift tags
Once you’ve reached the top, clip off the excess plant support. I used my garden ratchet and I wish I had this gorgeous pink one.
See Video Tutorial further down.
Why don’t you watch the video tutorial at the end of this post, to see better what I am trying to explain, lol.
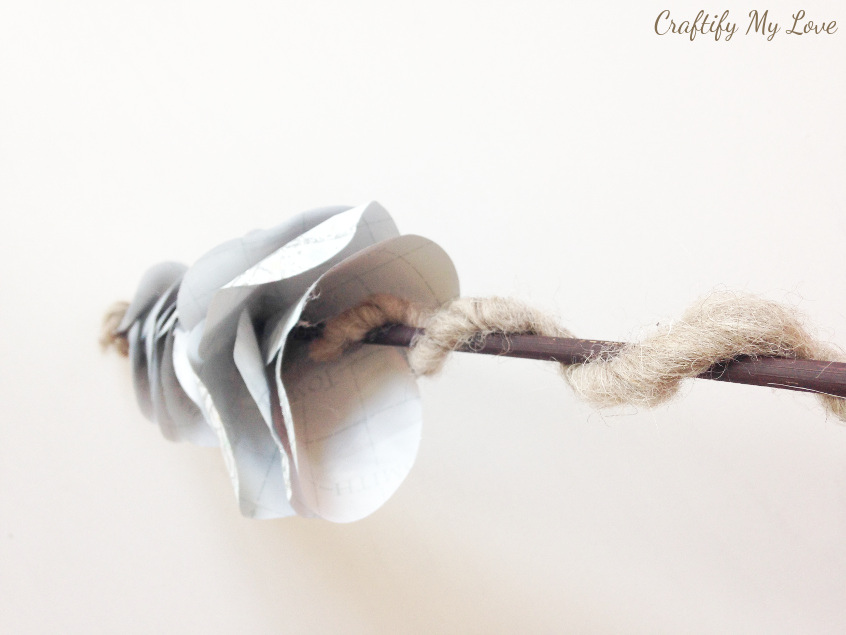
Giving the stem some texture
If you turn your leavy part upside down, the first two paper circles you’ve added will look like a funnel. Add a blob of hot glue right in the base and press the woolen thread to it.
Twist the thread around the tree stem to give it some structure. Cut off the thread at the end and fix it to the stem with hot glue.
Related:
- DIY Deer Winter Wreath – How to come up with a design using only supplies you have already at home
- 50+ DIY Christmas Ideas you’ll want to recreate asap
Applying the base
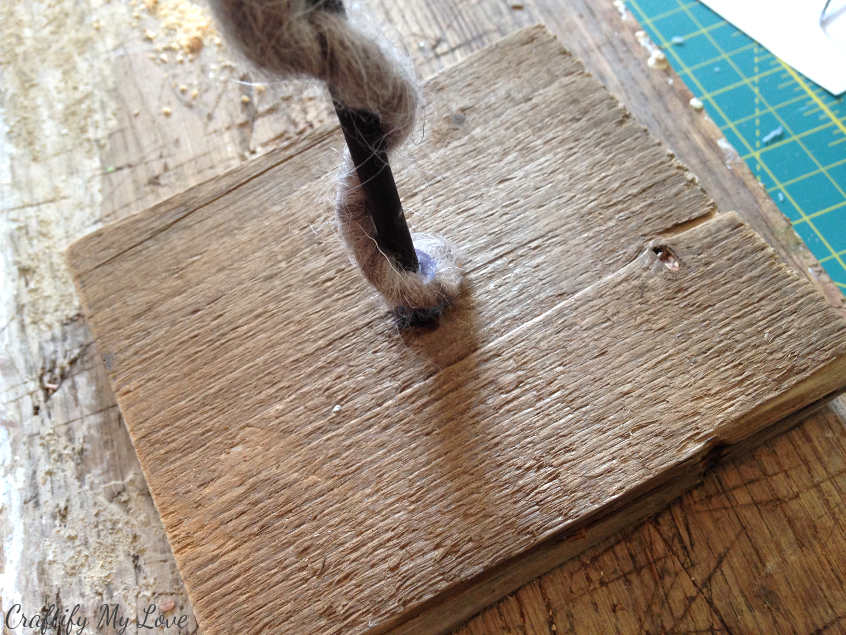
Find your drilling machine and a drill that is slightly wider than the plant stick you’ve used. Drill a hole into the center of your wooden base.
Add yet another blob of hot glue and stick your handmade Christmas tree into the hole.
And, you’re done!
What do you say? Didn’t they turn out absolutely wonderful!!! I think it is amazing what you can create out of trash, really.
One man’s trash, is a crafty chick’s treasure.
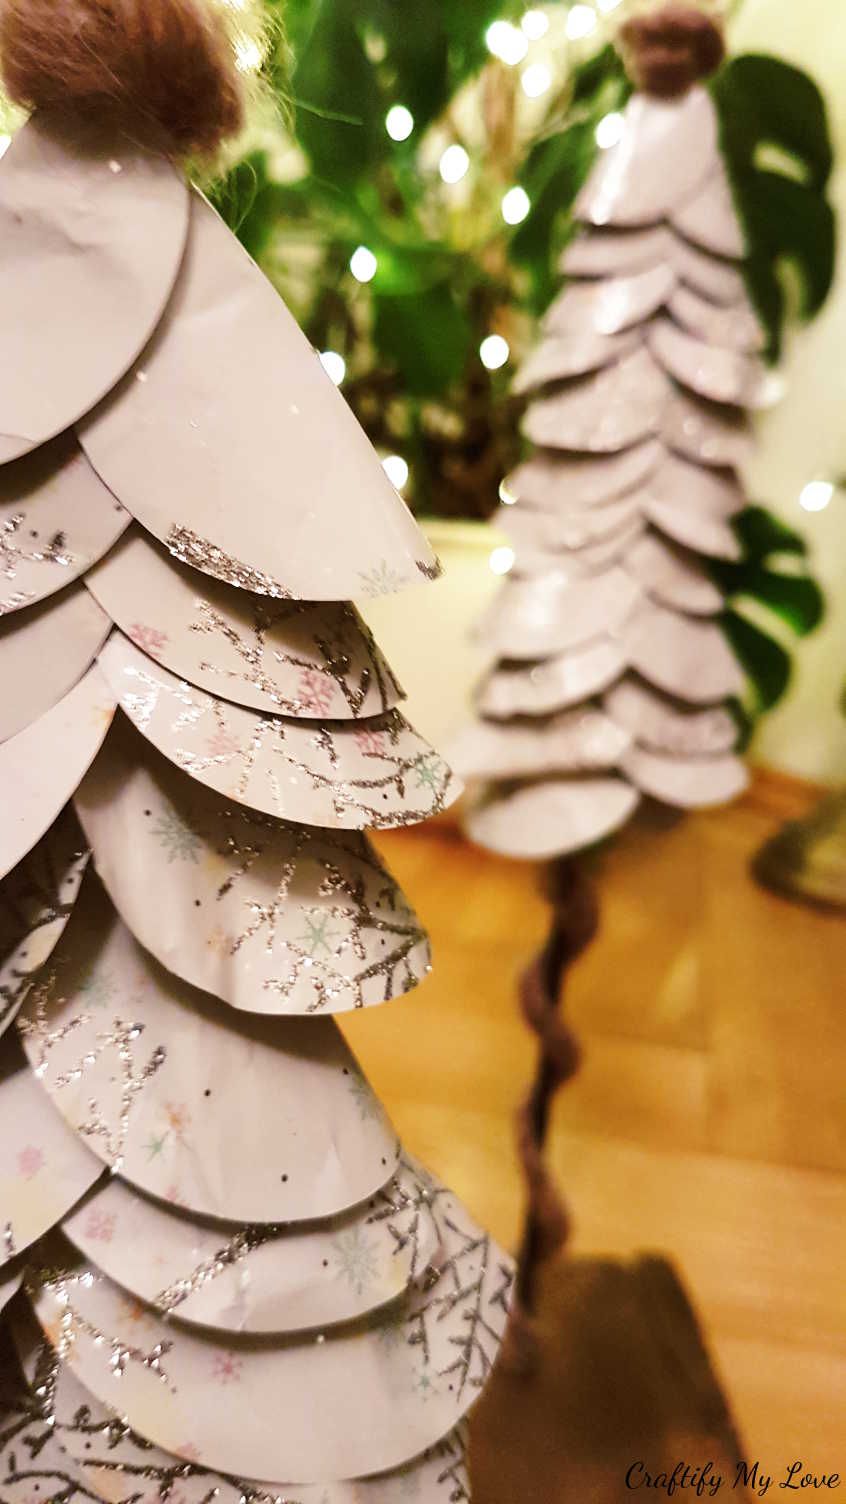
I found a lovely home for my two recycled wrapping paper Christmas trees. And I think I make some more as they make a very upscale present.

Video tutorial: How to make a recycled wrapping paper Christmas tree
I just recently started making these video tutorials, so any constructive feedback is welcome. #LearnSomethingNewEveryDay
Love,

PS: Don’t forget to PIN this to Pinterest.
You might also like:
Gift Guide for Creatives & Makers
Recycled Tin Cans Advent Wreath
Vintage Book Pages Christmas Tree
Recycle Empty Jars into Snowflake Candle Holders

