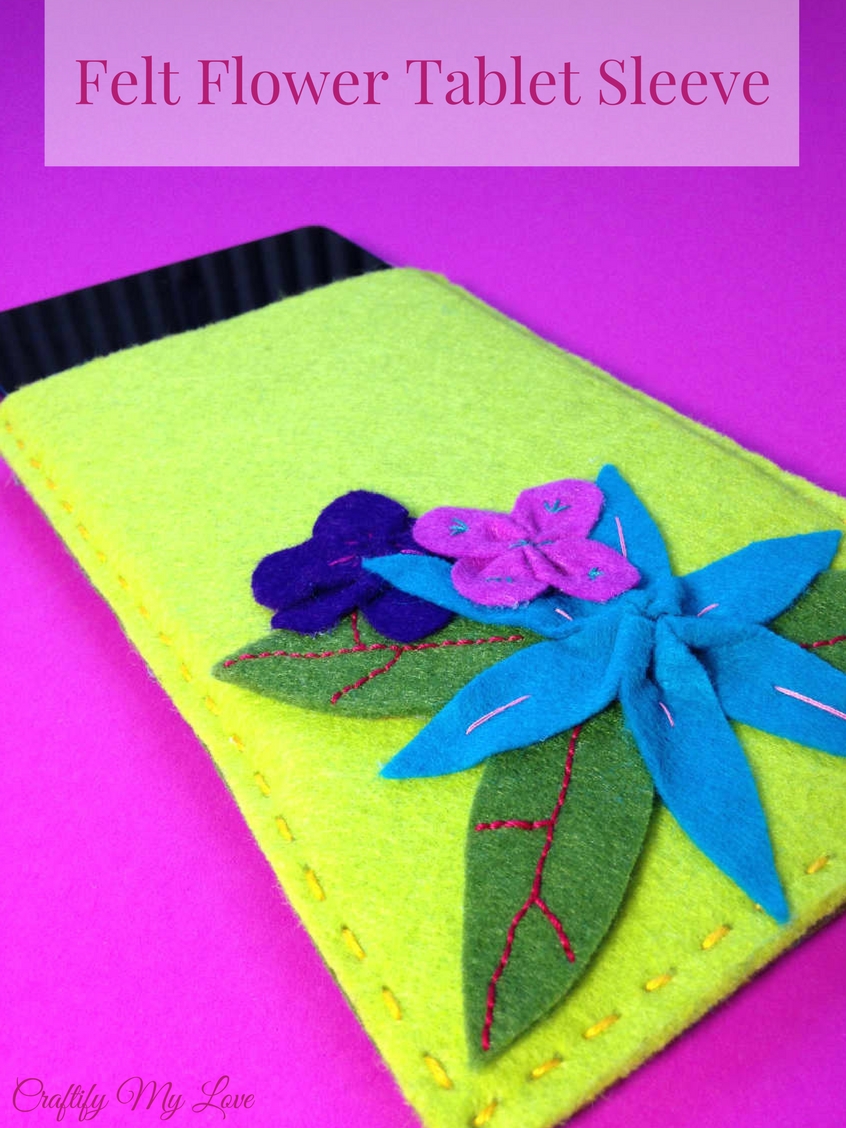
I recently bought myself an Amazon Fire Tablet (sans a tablet sleeve – frugal and creative me wanted to make my own), so I can entertain myself while traveling. I love to knit or crochet, too, while on the train but sometimes I just need the company of some zombies or pirates, lol. Can you guess which are my favourite TV series?
So when I packed for my latest trip to London with my Love, I realised last-minute that my tablet wouldn’t be protected from all the junk that is flying around in my handbag. Even though I bought this tablet second-hand, I don’t want it to get all scratched up in no time, right? So it was time to get to it… Related: Felt Flowers (start here for a series of 5)
Did I mention that I seem to work best under pressure? I made the tablet sleeve on the day of our flight, actually I finished it in the car to the airport. That’s how “last-minute” this project was, lol.

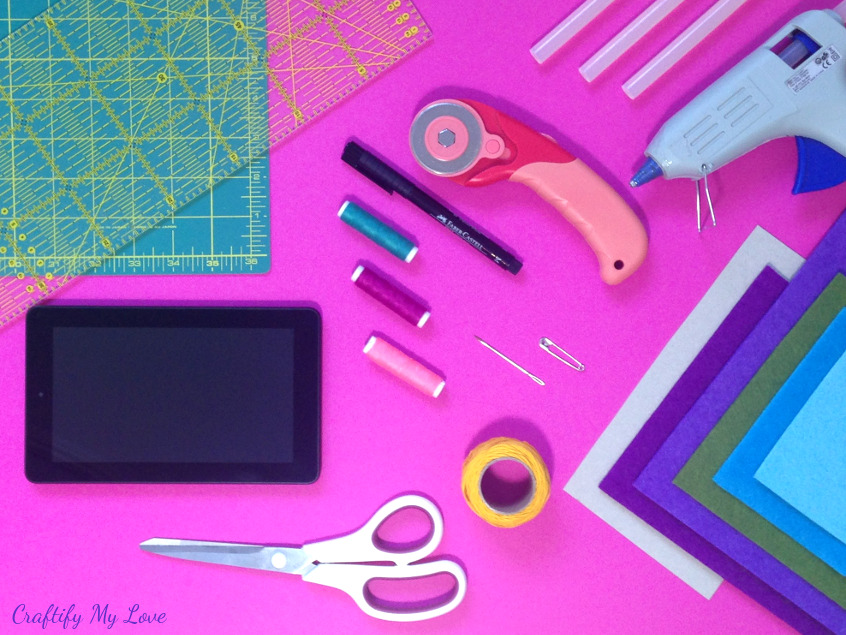
Supplies – Felt Flower Tablet Sleeve
We had a flight in the afternoon and first thing I did when I woke up was hop out of bed, find my stash of felt and sewing tools and get to work. My Love prepared breakfast for us while I was in crafty mode…isn’t he perfect?!
Luckily I’ve had everything at home. But I guess that’s not because of luck, but because I am a craft supply hoarder, lol. This is very handy, though. When in a crafty mood, I simply start crafting. And I get to participate in the monthly Crafty Destash Challenge from my friend Megan. Further down you can check out what the other ladies created while trying to reduce their craft supply stash…
Because of lack of time I traveled with the plain tablet sleeve to London. But I had big plans for decorating it and that’s what I did the day we returned. In case you are interested in making the tablet sleeve sans floral decorations, I split the supply list up for you, k?
Supplies for plain tablet sleeve
- Your tablet for measurements
- cutting mat
- rotary cutter
- cutting ruler
- pen
- needle
- safety-pins
- felt (I chose a thicker felt for better protection)
- embroidery thread
- scissors
Supplies for felt flower decoration
- thread in various colors
- felt in various colors
- scissors
- needle
- cardboard
- hot glue gun
Step 1 – How to make the tablet sleeve
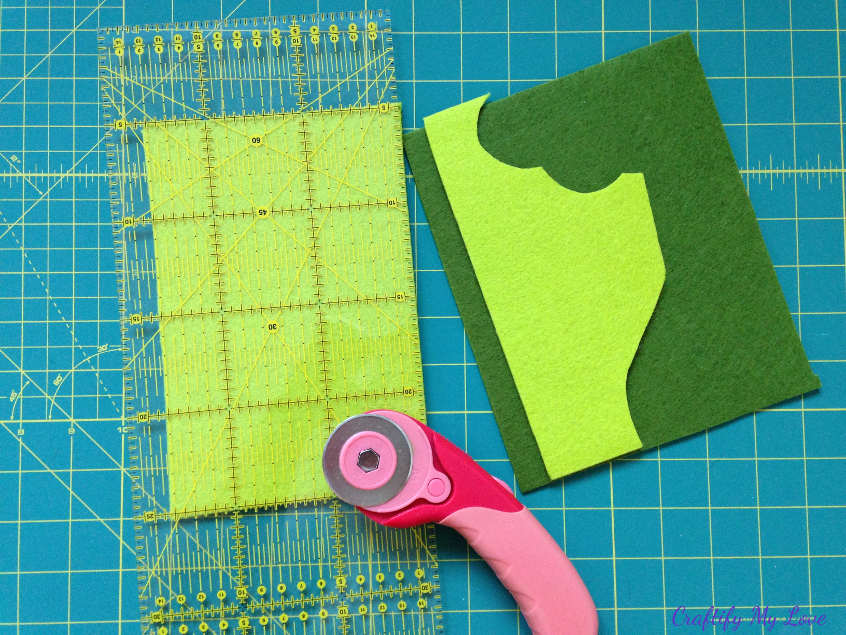
Take the measurements of your tablet and cut your felt to size. I did it the simple way:
- Lay tablet on top of your two layers of felt.
- Check that you have at least 0,25 inch seam allowance on three sides.
- Mark the width necessary.
- Cut felt with rotary cutter and cutting ruler.
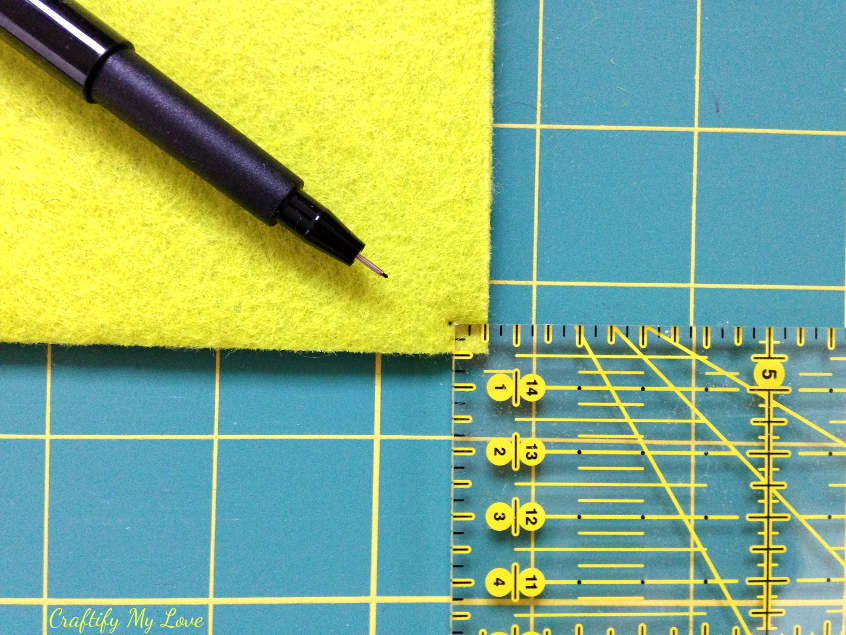
My piece of felt was a tad bit small so I could only work with a 0,20 inches seam allowance. As I chose a thicker felt, I didn’t worry about the stitches ripping out when under pressure. And it worked fine.
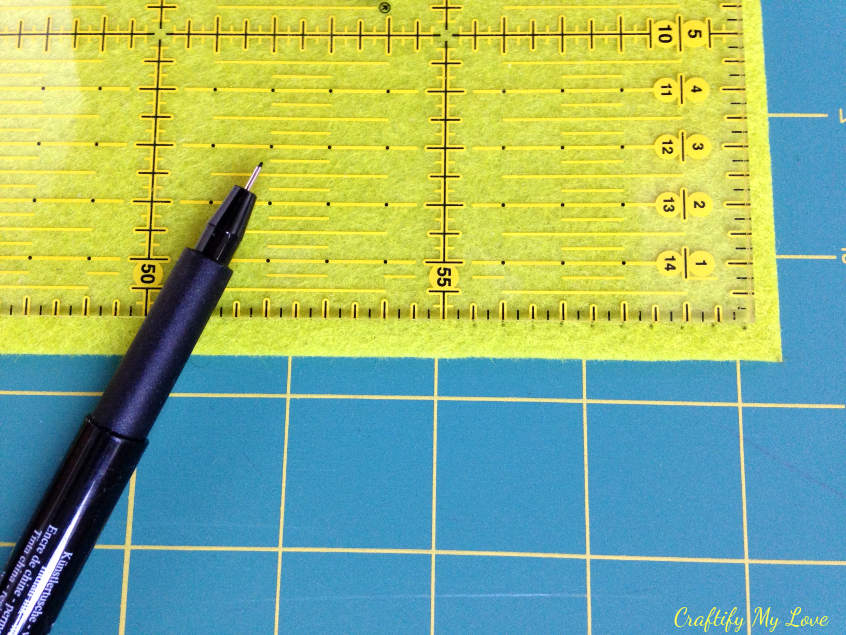
I pre-marked all the stitches so I could sew evenly (or at least try). I am not the best when it comes to hand sewing, I simply lack the patience it takes…
If you love flowers same as I do, you might also like:
- How to make a GIANT Paper Flower
- Mini Paper Roses aren’t bad either 😉
- Tassel Flowers are a good way to use scrap yarn.
- I’ve put together a whole Series of Felt Flowers for you. Start HERE.
- Check out all my Flower Crafts HERE.
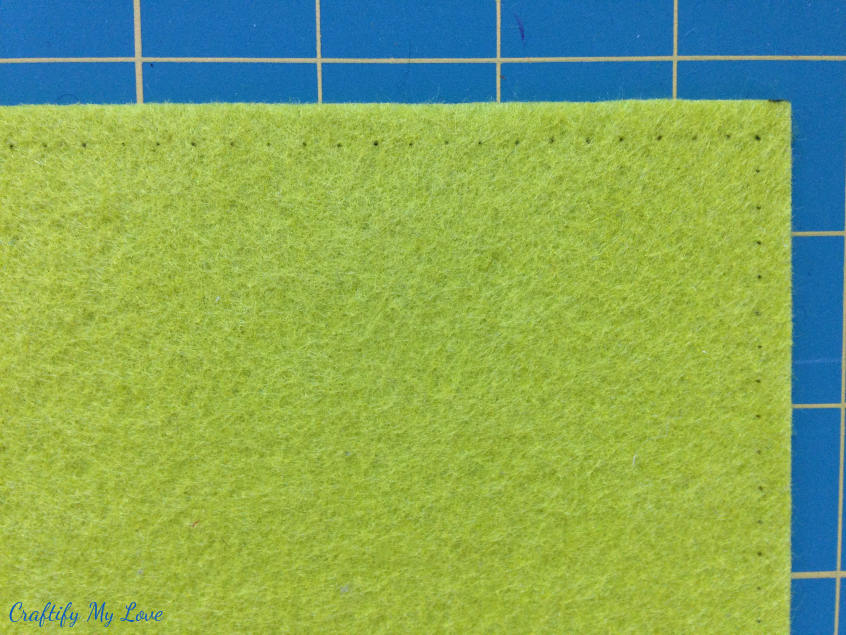
The seam allowance I added was 0,20 inches (0,5 cm) and the distance between stitches was the same.
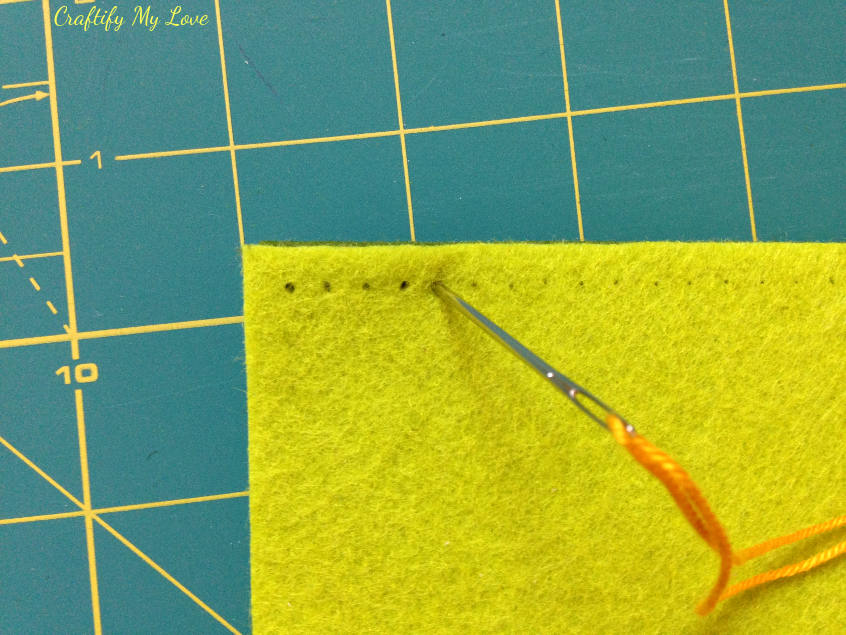
I even went so far as to pre-punch the holes through both layers of felt (you can’t see the second layer on all my pictures). Can you tell that I am a horrible hand sewer? I really wanted it to turn out good so I was happy to add this extra steps. You don’t have to, though!
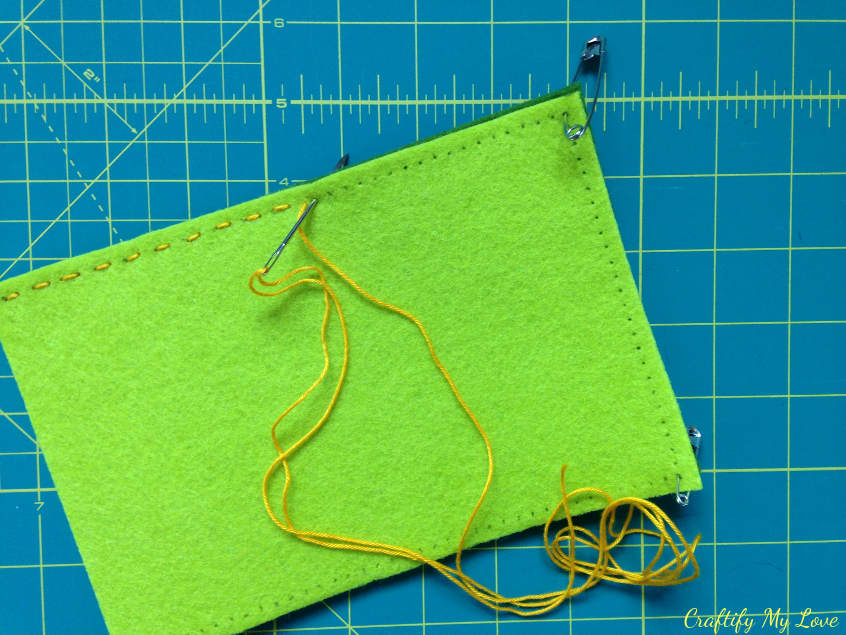
I fixated the two layers of felt at the corners with a safety-pin and started hand sewing the tablet sleeve together with a contrasting embroidery thread.
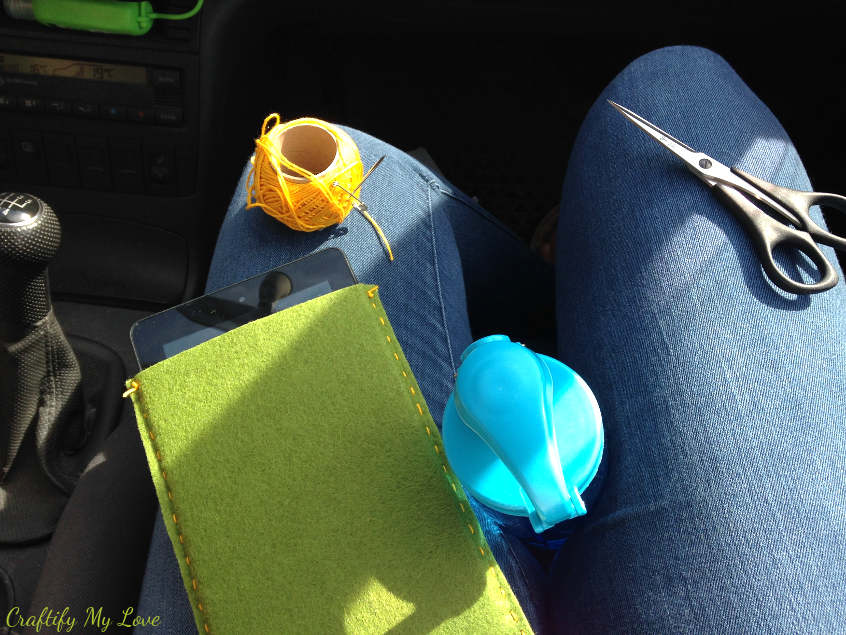
As it was time to catch our plane to London, I finished the stitching in the car while my Love drove me to the airport.
Step 2 – Making colourful felt flowers to decorate your tablet sleeve
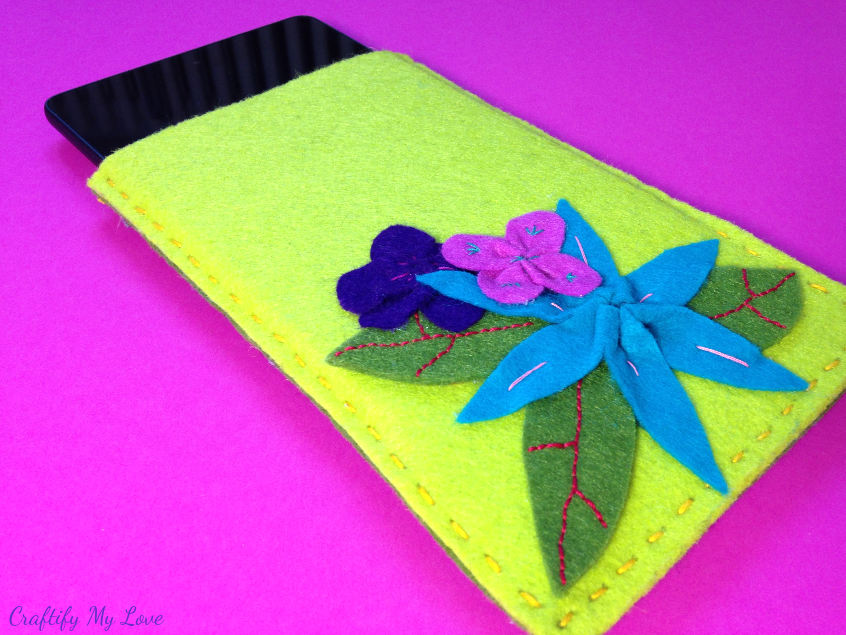
As my tablet sleeve looked a bid sad, I started decorating it with lovely felt flowers as soon as I got home from London.
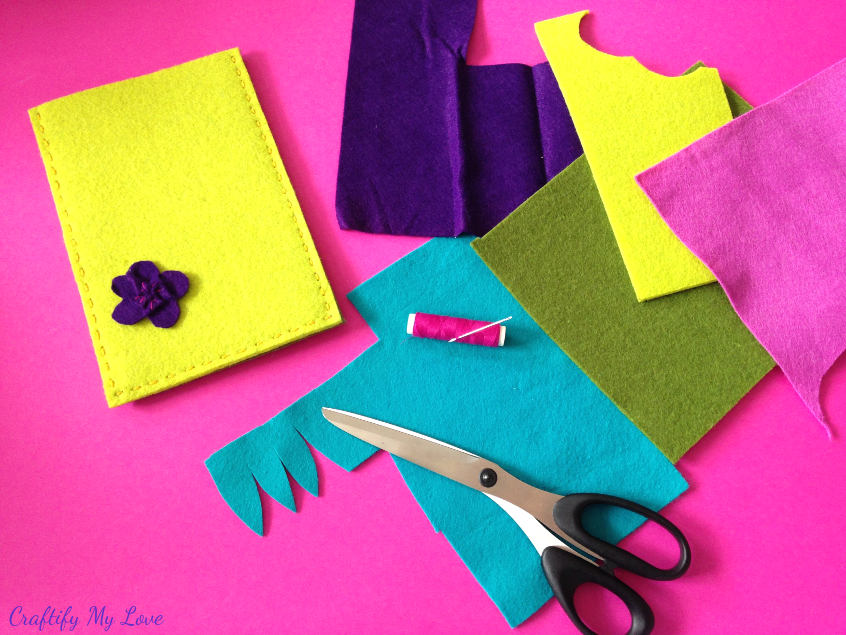
I used a thinner felt for the flowers, and the same green felt from the back of my tablet sleeve for the leaves.
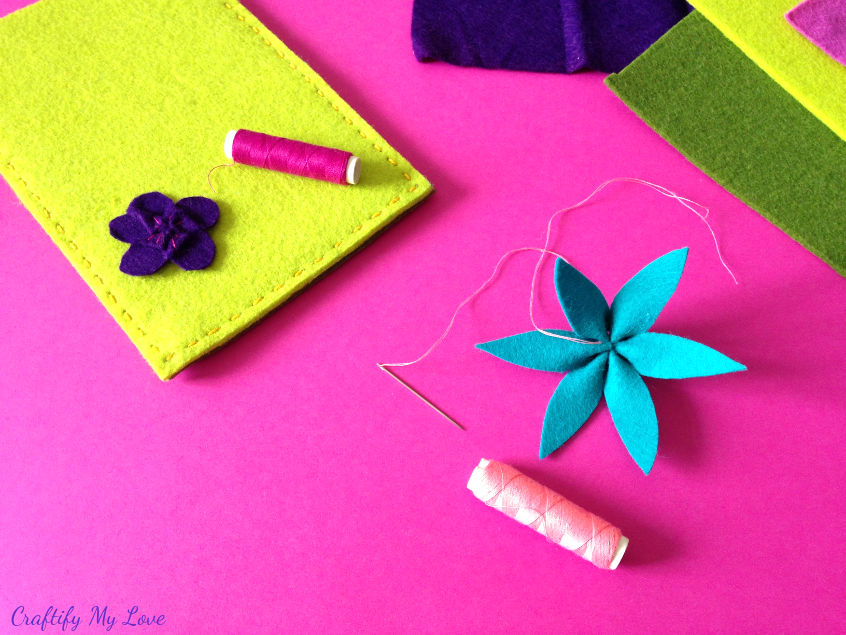
Start cutting pointy petal leaves as shown in the picture above. You could do anything from four to six petals. If you feel better, you can trace the outlines. But you can also freestyle it, like it did. After all there is no flower like the other in nature.
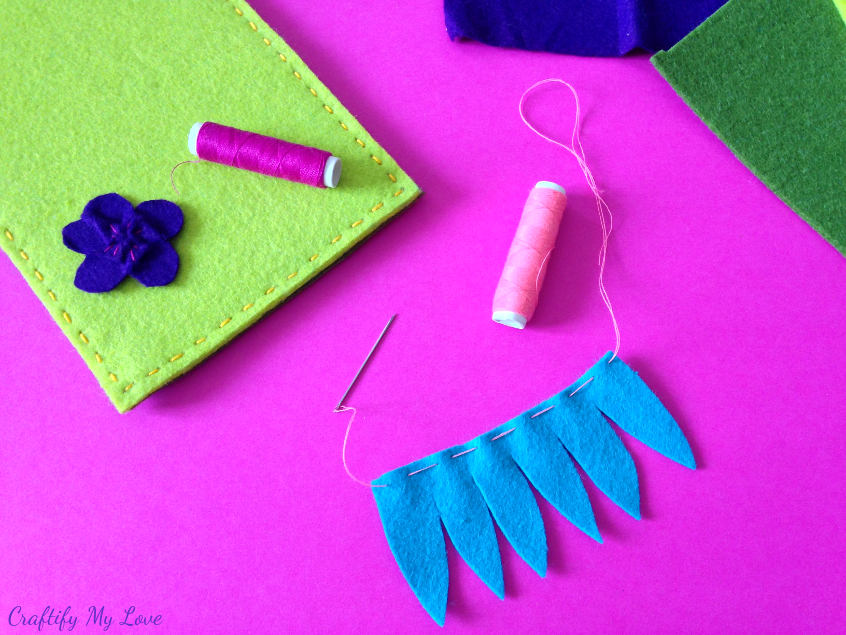
Using a contrasting thread, stitch loosely at the lower border of your felt petals.
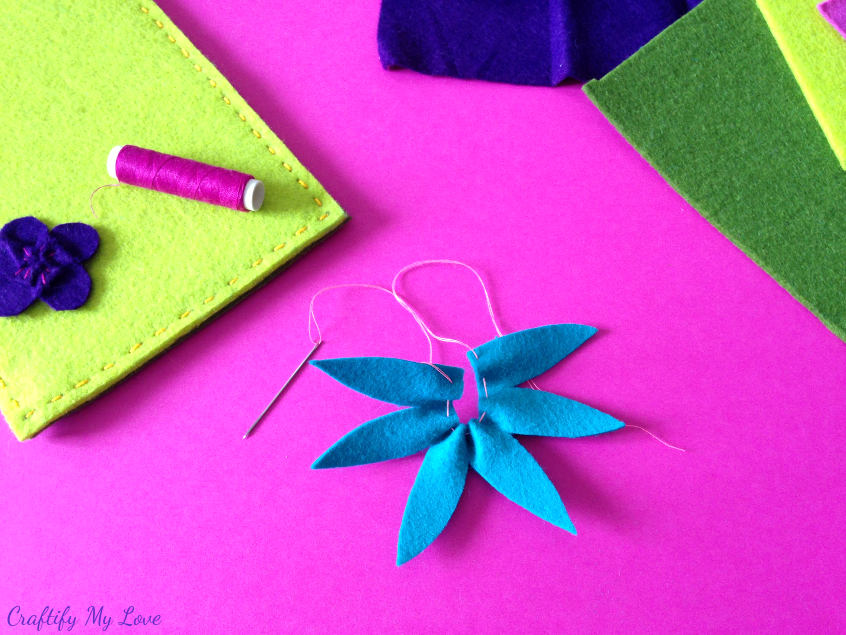
By pushing the petals together along the thread, you create a darling felt flower. I think it looks a lot like a Clematis, don’t you think?
Make a knot so the flower will stay put. Don’t cut the thread just yet!
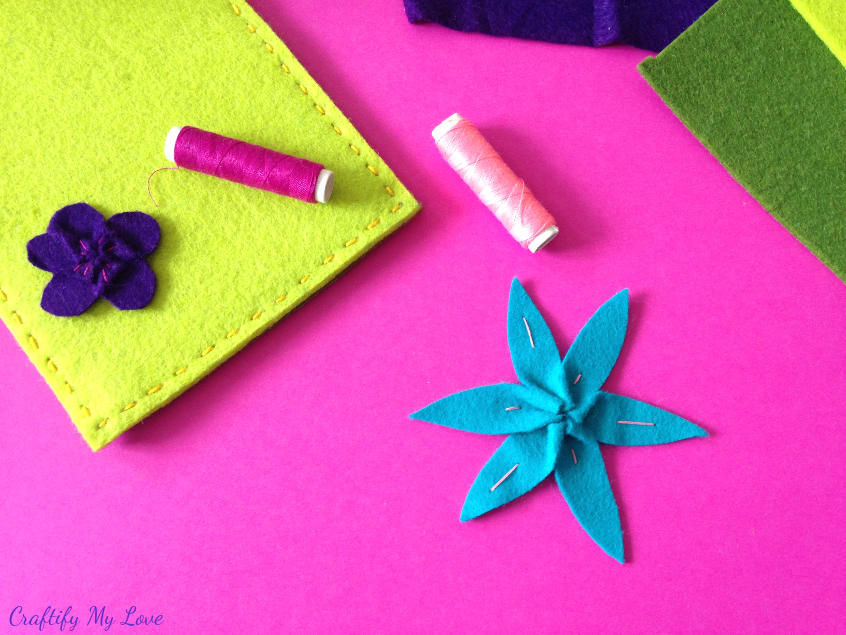
With the remaining thread you can add hand stitched details to your flowers.
Related: Find even more Felt Flower Tutorials HERE.
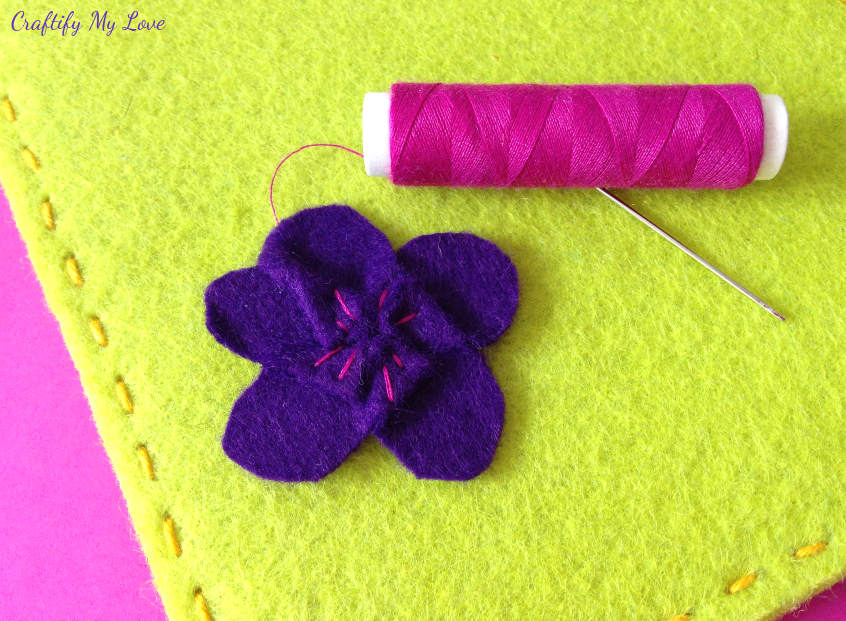
I encourage you to get creative!
For a more roundish flower you simply cut round petals like the ones in the picture below. Again you can experiment with the number of petals and of course the form of them.
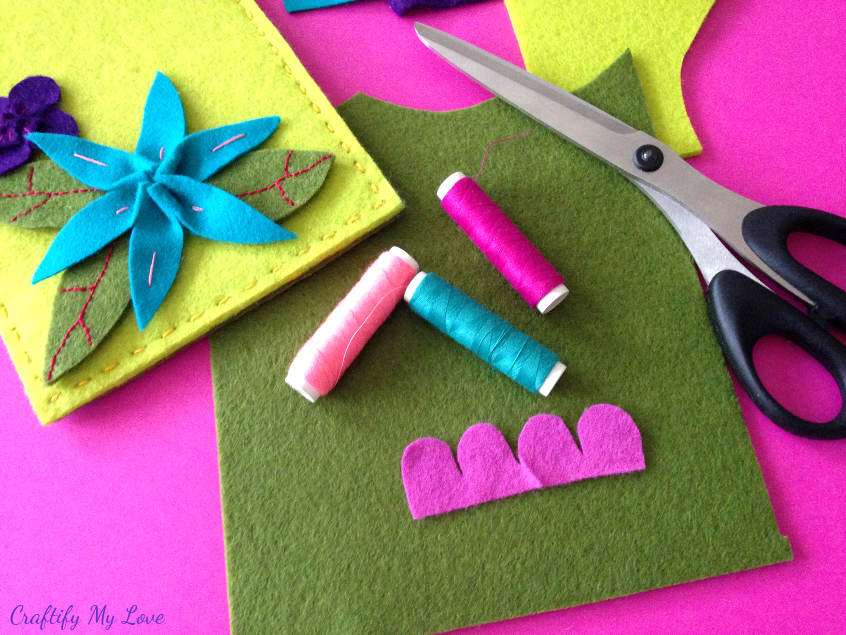
What are flowers without some foliage, right? So, cut some leaves (I did oval-shaped ones) and arrange them with your felt flowers on the tablet sleeve.
Are you happy with what you see so far?
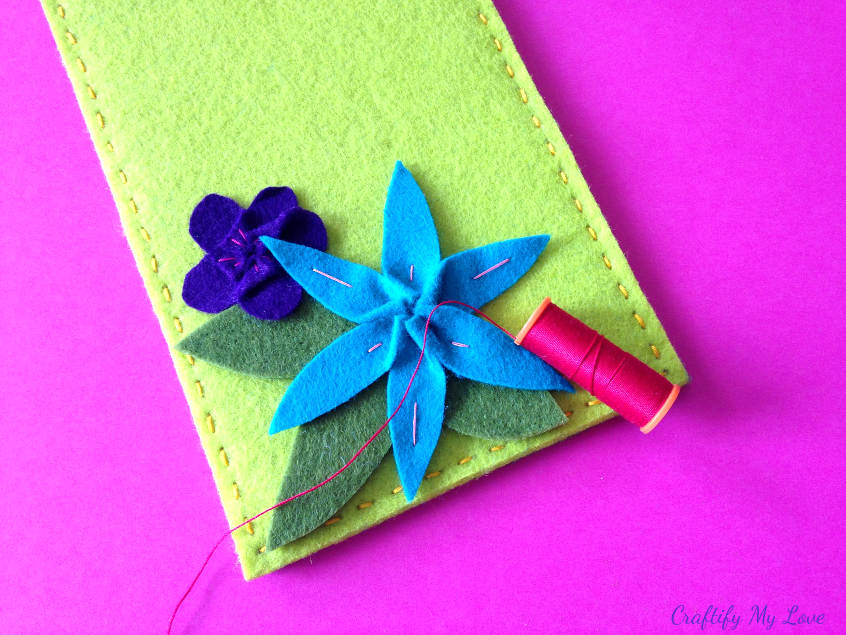
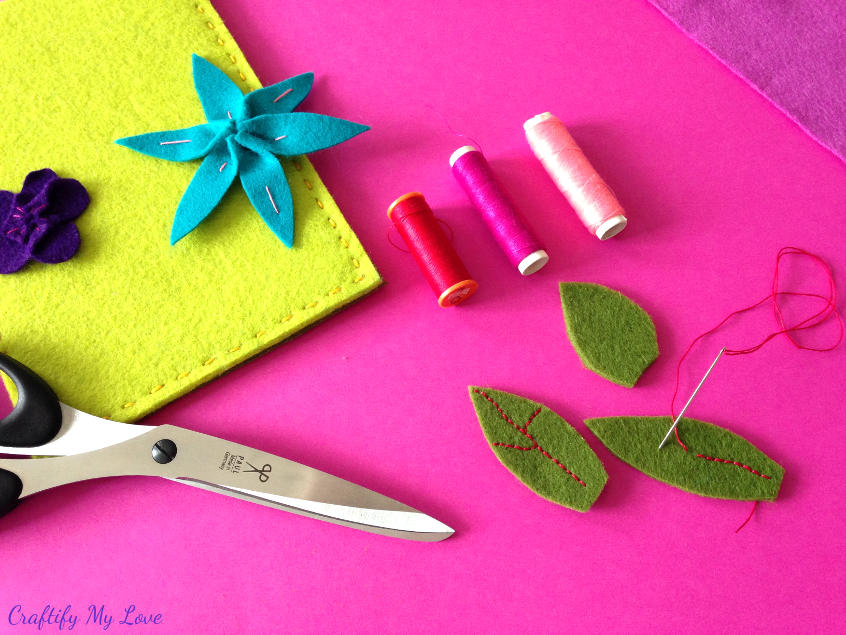
Choose a contrasting thread and start stitching details to the leaves, too.
Step 3 – Gluing felt flowers to tablet sleeve
If you arranged your felt flowers and leaves to your liking, it’s time to glue them to your tablet sleeve. Use a piece of cardboard to protect your tablet sleeve from being glued shut! Cut it to size and push it all the way down.
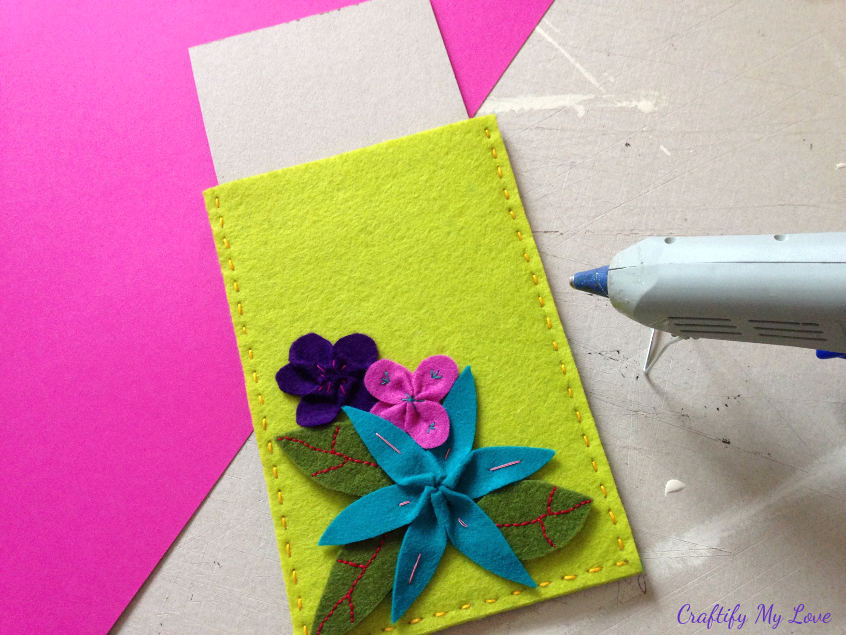
Apply hot glue to all the felt leaves and flowers (one at a time of course) and glue them to your tablet sleeve. Pay attention while you work, hot glue is HOT! Also you don’t want hot glue spilling out from under your details, as this won’t look very attractive.
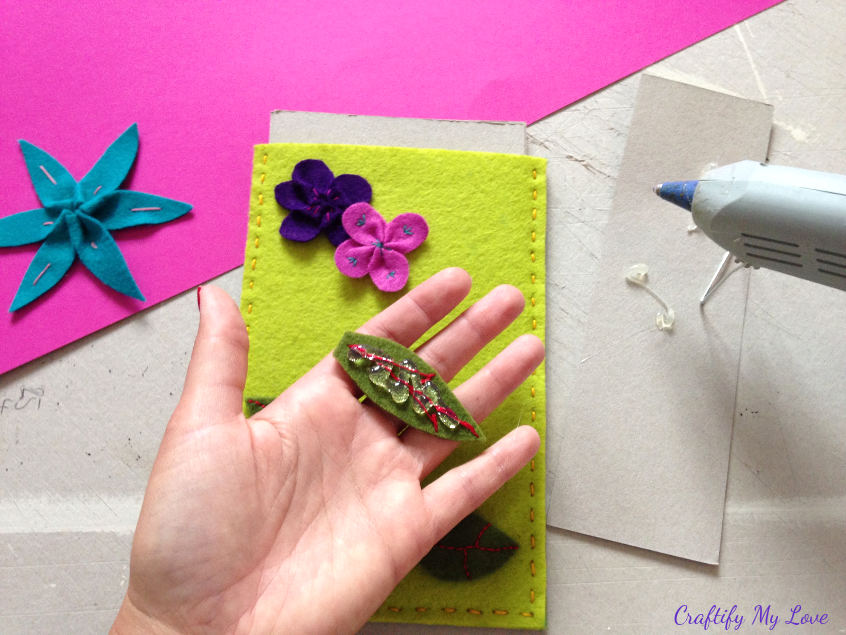
Well done! Now step back and admire your work.
What do you say? Will you give this tutorial a try? This would also make a good gift idea, right?
Love,

If you’d like to join in the Craft Room De-Stash Challenge, you can request to join our Facebook group here!
INLINKZ:
Are you in for some FLOWER POWER?
Yeah!! Then you might also like my other crafts including flowers!
Crocheted newborn hat with flower


What a DARLING tablet cover! Those flowers are just the perfect touch. I love it! Pinning. -Marci @ Stone Cottage Adventures
Thank you Marci for the praise and support.
Habiba I LOVE this! I have a tablet and had been looking for a cover. I think I’ll just make one of these!
Yay!!!! That would be wonderful ? make sure to show me what you created and holla if you need any help.
I love this! It’s so fun and colorful!
Thank you Jessica! I love how it turned out, too.
This is such a cute cover for the tablet Habiba! Much cuter than the cover you can buy. I love the flower details & the easy tutorial you provided. I need easy. Impressive that you finished it on the way to the airport.
Thank you so much, Florence. I am happy that you like how it turned out and how I explained the steps to get there. You know, when I set my mind to something, I try to see it through 😉
This looks fantastic. You said you don’t hand sew well but you really do. Plus to do it the morning you were leaving town. You go girl!
Thank you soooooo much, what a wonderful comment ??
This is good. Maybe i will have to steal that one from you. The only reason i will not is that it has flowers on it. You flowers are not Men´s thing. Nevertheless it is a good one. Kudos!
My dear friend. No need to steal this one for me. If you want I make you one for yourself and one of your technical devises. I’ll even find a way to design it more masculine if you want 😉
Such a cute table cover! I love the fact that it’s one of a kind and so colorful. You are very talented!
Very kind of you to give me that wonderful compliment. Thank you very much!!
I love seeing tutorials on how to make fabric flowers so I can’t wait to try out your versions as well. I also need a tablet cover so thanks for sharing a great project.
You’re very welcome! I am planning on making my first video tutorial with these flowers. Cross your fingers that I’ll manage 😉
I love your tablet cover. I have one from my original Kindle that I use for my current tablet. My new Kindle is smaller and I’ve been fiddling with the idea of making a cover for it for quite a while. I’m thinking felt might be the way to go!
Yay! Glad that I could inspire you for a new project. I sure would love to see the outcome if you want to share it.
You are a woman after my own heart, hastily crafting on the fly! Cheers to your Love for helping out, and I love how your tablet sleeve turned out! Happy to have you in the challenge!
I so enjoy this challenge Megan! And I really work best when under pressure. I finished presents for my goddaughters birthday on Sunday. Can’t wait to share the tutorials 🙂
Very creative, and I never even knew felt came in more than one thickness.
Thank you Lyne. Felt in different thicknesses is very handy sometimes. Depending on what you plan on doing with it 😉