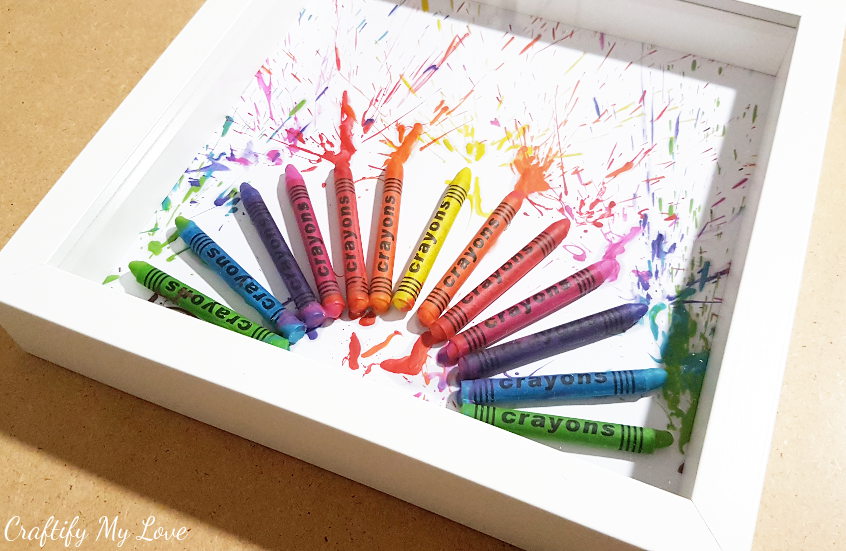
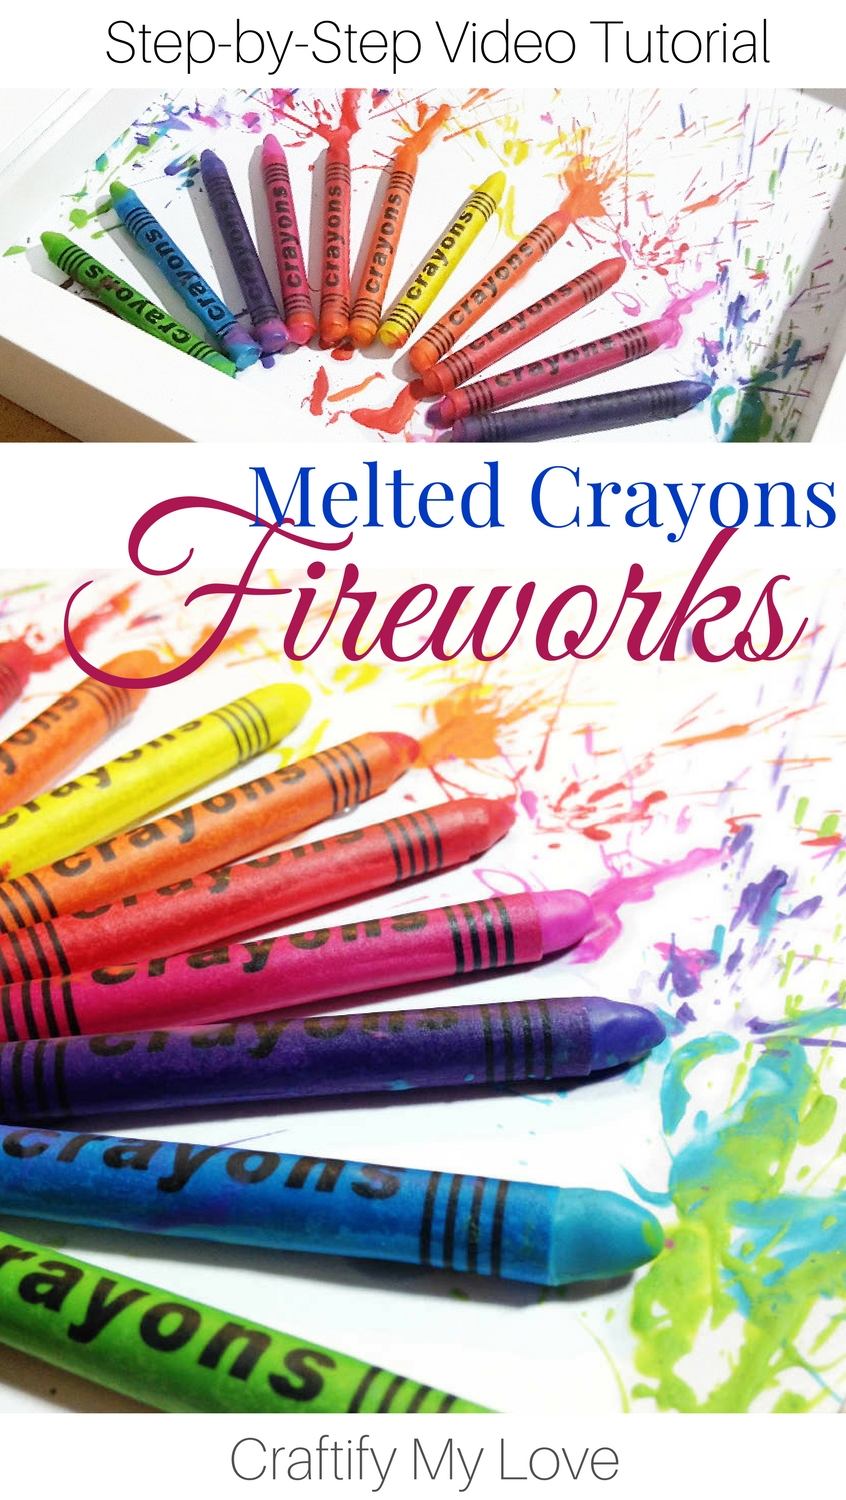
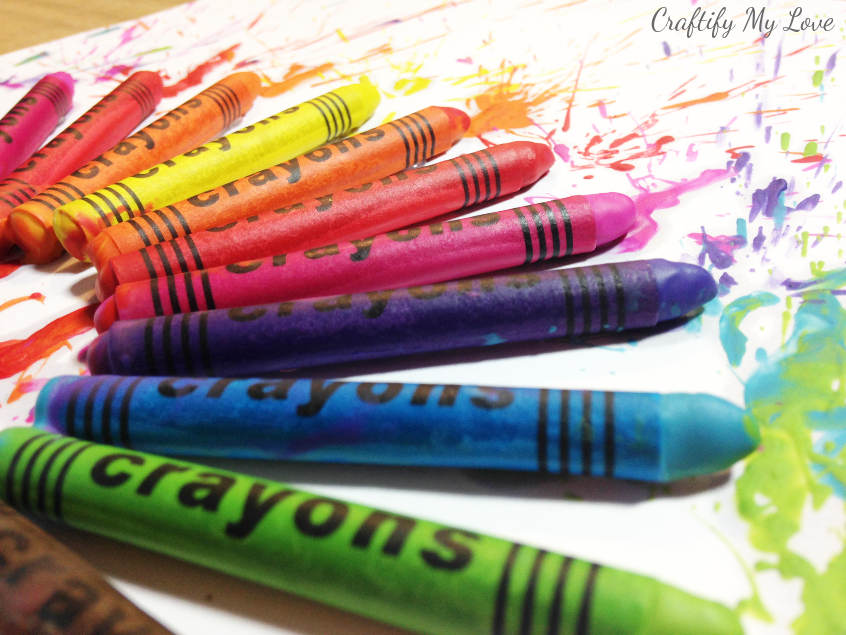
Today I will teach you how to make Melted Crayons Fireworks! This is part three of my three-piece wall art project I made for this years Craft Room Challenge.
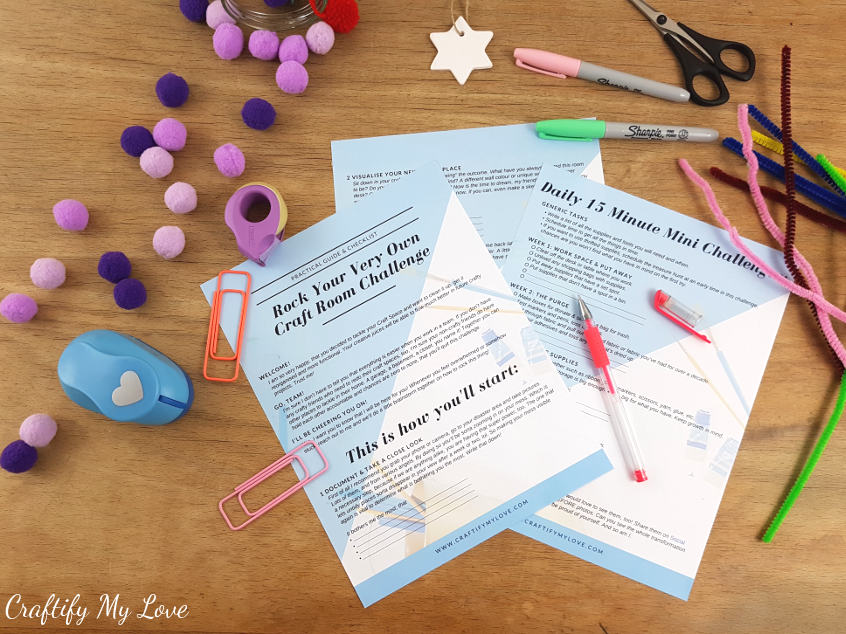
I learned a lot during this challenge and I just recently sat down and put it all down on paper so you can profit, too. Go, grab your FREE Guide & Checklist to rock your very own Craft Room Reorganization.
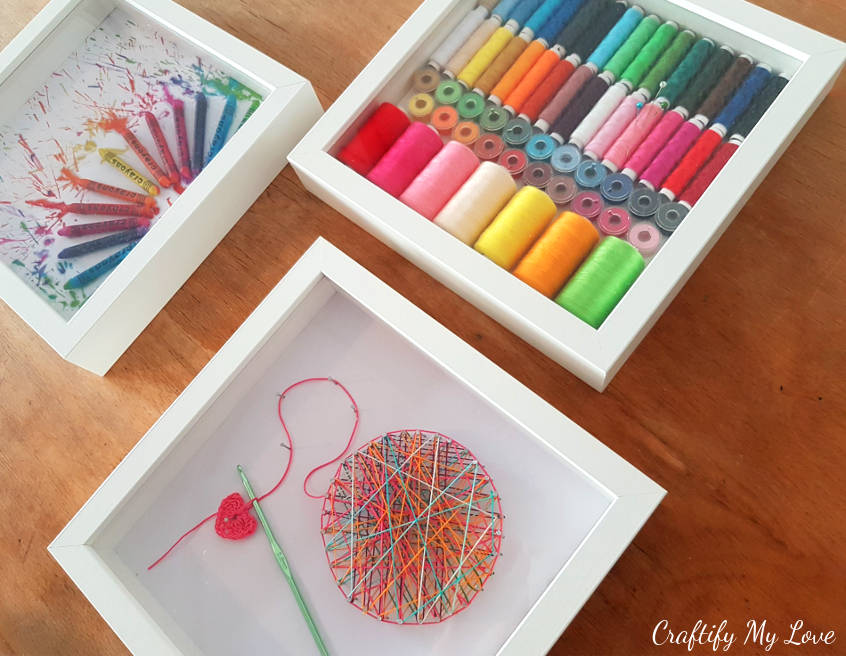
Three Piece Crafting Inspired Wall Art
- Crocheting Inspired String Art
- Sewing Inspired Shadow Box
- Painting Inspired Wall Art (this post)
Learn How To Make Melted Crayons Fireworks
This is such an easy craft that is joyfully messy at the same time. I am convinced that adults and kids alike will have big fun making this DIY fireworks!
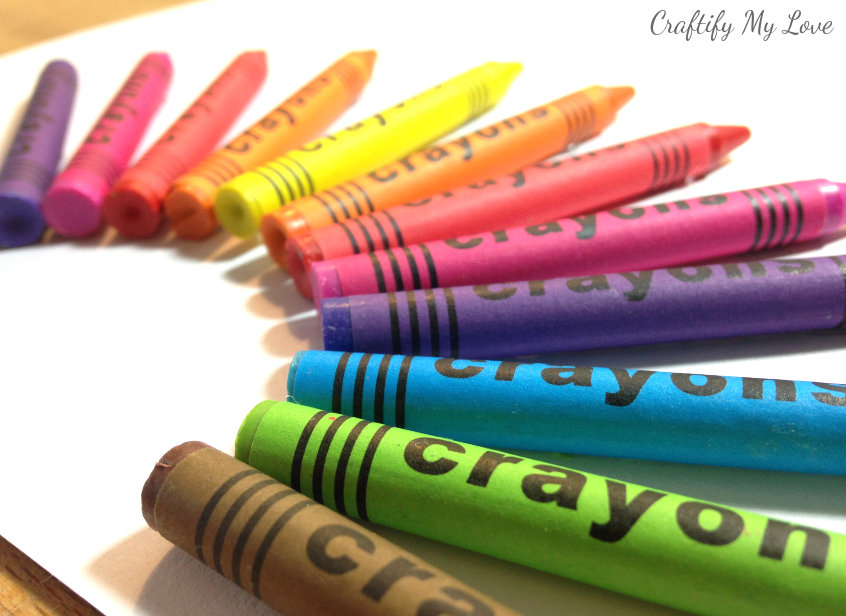
Supplies for Melted Crayons Wall Art
- IKEA Ribba frame

- Crayons (I had two boxes of crayons at home, I got as a merchandise gift years ago)
- Cardboard (I used old scrap cardboard I was ready to toss anyways)
- White Card Stock (didn’t have that, so I used a sheet of scrap-book paper)
- Hot Glue Gun + Sticks
- Blow-Dryer
Craft Supplies for LOW or NO Money
I often change directions during a craft on a whim or create totally unplanned, so I have to make do with what I have. I do have a lot, don’t get me wrong, but sometimes the supplies I have in mind are not in my stash.
Creativity is when you make it work anyways!
In most of my tutorials I try to show you, that you can often make things work, even though you don’t have all the supplies at home! If you enjoy saving money, too, you might be interested in my FREE Guide on how to find Craft Supplies for LOW or NO money at all. Grab it here.
Also, this project fit right into the monthly challenge of my friend Megan from C’mon Get Crafty: Craft Room De-Stash
For more inspiration on what you can do with the stuff you already have at home, check out the other artsy creations at the end of this post.
3 Simple Steps to Make Melted Crayons Fireworks
You’ll be able to make this DIY project in an hour or less.
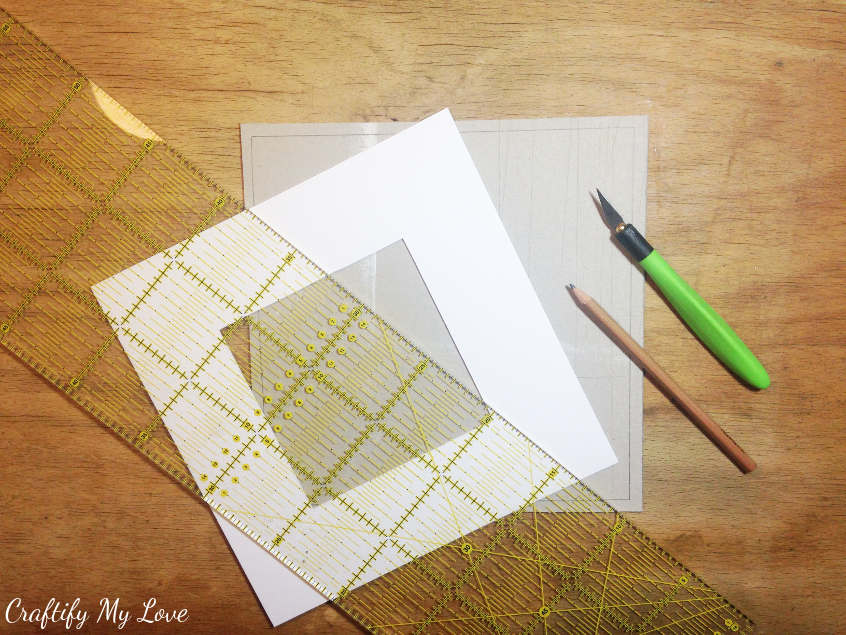
1 – Prepare the Base
Open up your Ribba IKEA frame and grab the passepartout (that is the neat white card stock frame that often comes with a picture frame and makes EVERYTHING you place behind it look so much better!) as a template.
Cut out a piece of cardboard of the same size. You’ll be covering it up in a minute with white paper, so don’t worry about the state of the cardboard.
I cut it out from an old one that I used as a cutting mat (by the way: not a great idea to cut on paper, as this made my cutting knife dull way faster) before I had my super cutting mat.
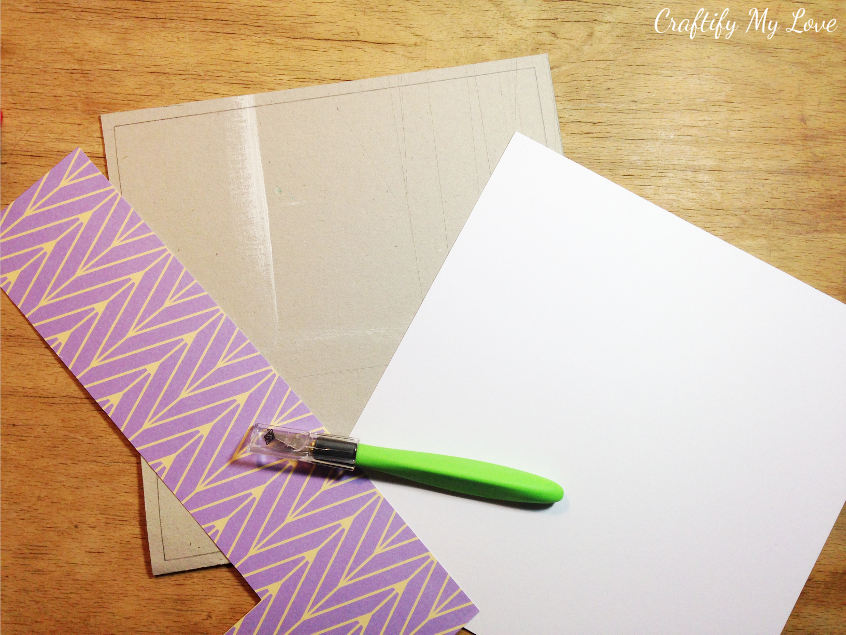
Prepare a piece of white card stock in the same size. I didn’t have plain white card stock at home, so I used scrap-book paper that came with a white back.
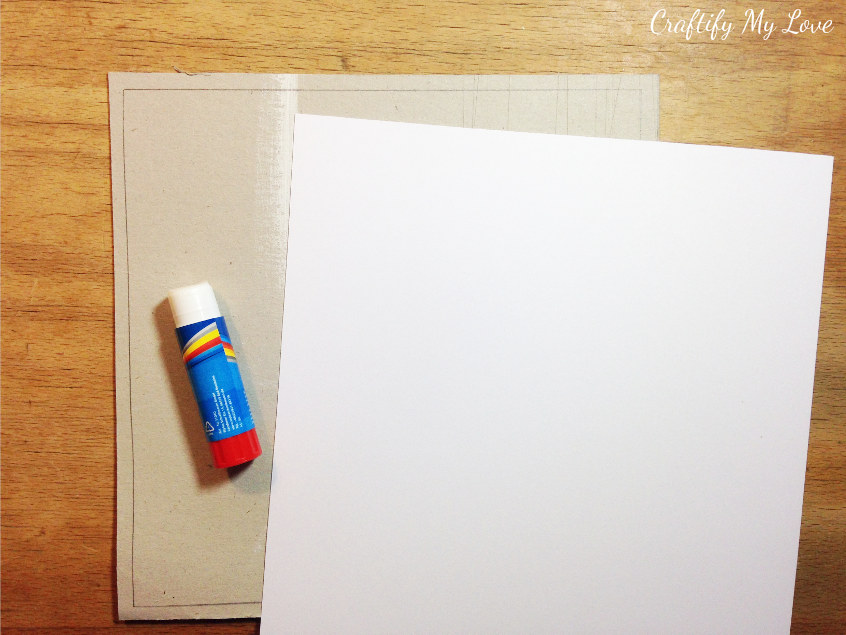
Glue the card stock onto your cardboard base.
Pro-Tip:
I recommend a glue stick or spray as you don’t want to see the glue lines shining through the paper. Liquid glue sometimes will do just that!
2 – Design your Crayons Rainbow
Now this is important, so pay close attention:
Place the spacer, that comes with your IKEA Ribba frame, on top of your cardboard/card stock base. Why? Because if you glue the crayons too close to the border of your base, the spacer won’t fit later on.
Plug in your hot glue gun now. You’ll be needing it in a couple of minutes.
With the spacer in place, start designing the layout of your crayons. You can arrange the colours however you like! I decided to do them in a rainbow. You can choose to use just one colour, or two alternating ones. It’s up to your preferences 🙂
One by one, remove your crayons and hot glue them onto the base of your unique piece of wall art. This way you won’t lose your previously designed layout.
3 – The Process of Melting Crayons
That last part of your creative DIY project is super exciting. At least that’s how I felt 😉 Before you get messy, though, make sure to cover your workspace with old newspaper, brown paper or old fabric.
ProTip:
If you think you’ve covered enough of your precious carpet, hardwood floor or tiles, think again! The wind you’ll be creating with your blow dryer will carry those drops of melted crayons a fairly long distance. So, in order to make this a FUN project, cover twice the space you were thinking to protect!
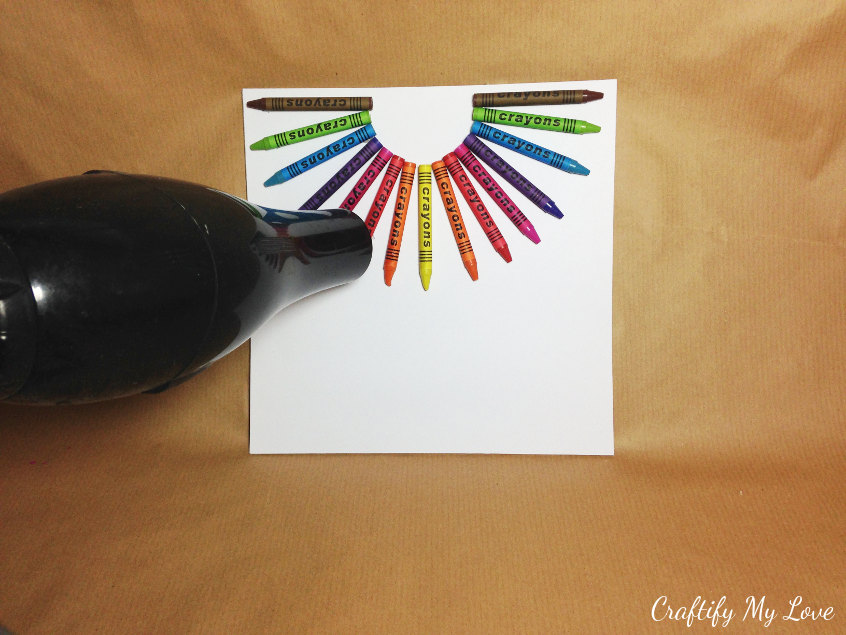
Switch on your blow-dryer now and get to work. It took me all of 2:45 minutes to melt the crayons to my liking. Aim your blow dryer in the direction you want the melted crayons to splatter.
The video tutorial at the end of this blog shows this process very good. You might want to make sure to watch it in preparation.
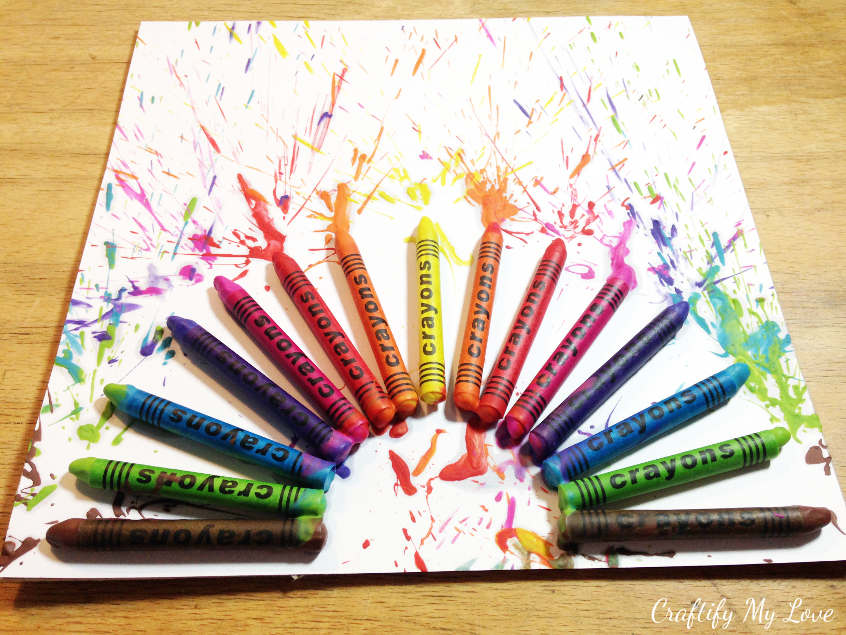
Now lay your piece of art down flat, let your melted crayons cool down and dry.
To finish things up, place your painting inspired wall art back into the IKEA Ribba frame. Don’t forget the spacer. 😉
And, you’re done!
Tell me, will you keep this unique DIY fireworks for yourself or will you give it away as a present?
Love,
PS: Don’t forget to PIN this to Pinterest if you want to make it later.
Video Tutorial: How to Make Melted Crayons Fireworks
Craft Room De-Stash Challenge
If you’d like to join in the Craft Room De-Stash Challenge, you can request to join our Facebook group here!
Seriously so fun. !!! Turned out great.
Thanks Deborah! I’m glad you like it.
Not only does this look fabulous it looks like so much fun to create. I love it!
Thank you Debra. After a short episode of nerves I had suuuuuper fun making this.
I like how colorful all three of your projects are but I certainly like the fireworks the most. Such fun! Thanks for sharing.
Thank you, Donna! I decided that colourful is my favourite colour next to glitter, lol.
Habiba, this is SO pretty! I love the colors, and the symmetrical look of how the crayons are spaced. Now I see how important it is to cover the space well, and the fun part is the hair dryer! I had no idea a hair dryer would melt crayons, but it looks like a fun project.
Thank you so much, Florence! I had a lot of fun doing the melting part. Even though I didn’t cover up enough space. Luckily I worked in the bathroom and I could scrape the little crayons droplets away pretty easy.
This is sooo fun! I love it! Now you’ve got me thinking about artwork I can make for my sewing room. 🙂
Yes, yes, yes!!!! Go ahead! Think some more and start creating. It’s super fun and you can blog about it, too.
How fun! What a great way to decorate your craft room!
Thank you my love. I love all those colours the most.
This is such a great craft room decor and a great way to use up your stash.
Thank you Emily. I loved making these.
This turned out really pretty. I love how you positioned the crayons in an arch. Pinned.
Thank you Erlene. I played around for quite a while till I decided on a shape!
That is so awesome! Great job!
Thank you, Deborah
I’ve enjoyed this whole series of posts. The results are so colorful and perfect for craft room decor!
Thank you Lydia, same as you enjoyed reading about this whole series, I’ve enjoyed creating it. And, looking at it day in day out.
I love how bright and colorful this is!
Me, too!!! Thank you, Jessica.