Every child should know how to make a simple paper butterfly, don’t you think? Butterflies are fun, butterflies are bright & happy!
In the summer you teach your kids about insects and flowers and everything outdoorsy. So I figured it’s the perfect time for this tutorial, so you can teach your child how to craft a super simple paper butterfly.
I received those gorgeous butterflies (the blue one in the image above) and fun wobbly tassel flowers for my birthday this year. My god-daughter (4) and her sister (7) made them for me. The purple and orange one from the photo below – my god-daughter favorite color is purple, remember?
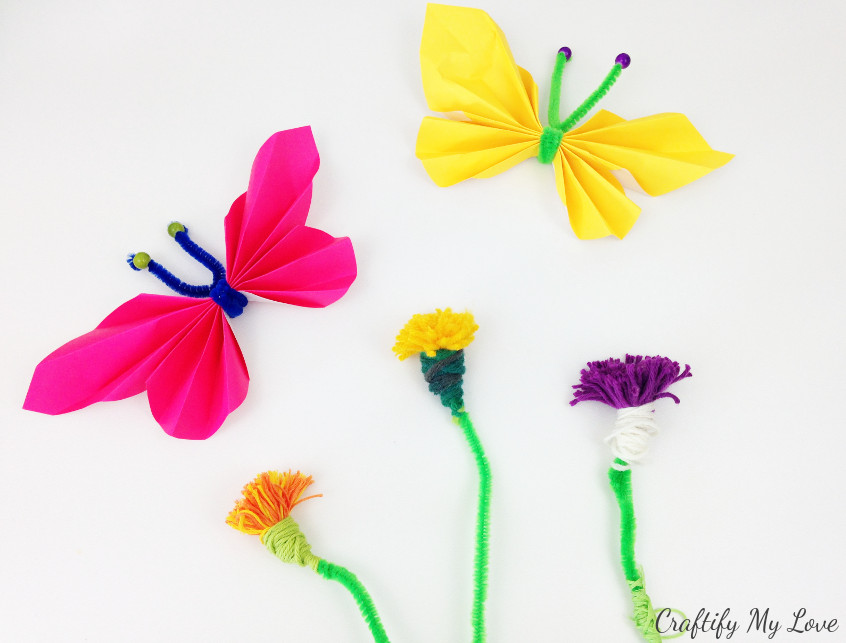
These wonderful kids crafts were the best birthday gift I got this year.
Crafty me had, of course, to figure out how to make them so I can show it to you…I put them back together properly, promise!
Supplies to make a Simple Paper Butterfly
This post contains affiliate links. That means if you make a purchase through these links, I may receive a small comission at no extra cost to you! You can click here to read my full disclosure.
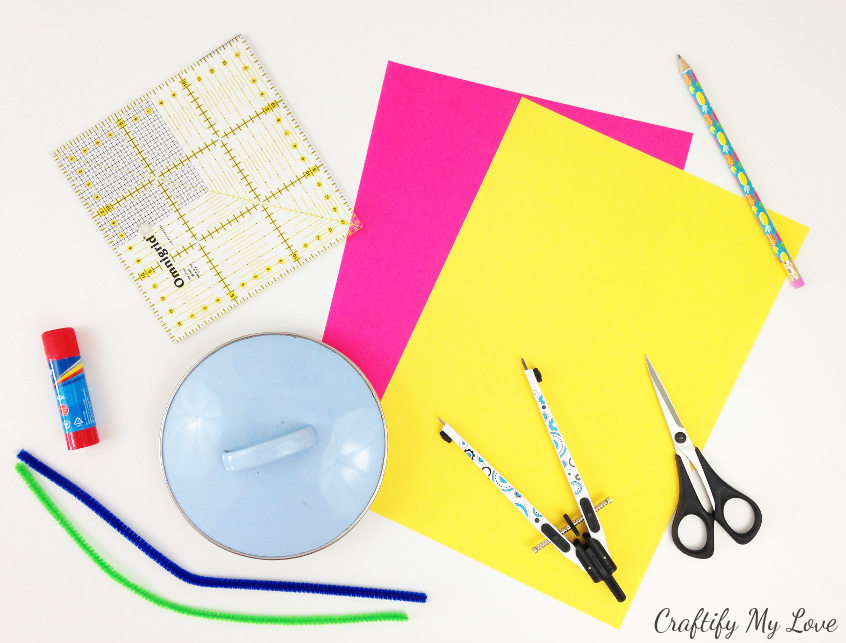
Essential Craft Supplies:
- Construction Paper (If you are going to IKEA in the near future, check out their craft paper in the kids’ section. I think they have two different packs and they each come with a variety of papers. I love that I most probably will always have the kind of paper at home I’ll be needing for a craft.)
- Pipe Cleaners
- Beads (I found that these work great with pipe cleaners. Others might not fit!)
- Glue Stick
Tools used for this craft:
- Ruler & Pencil (the 15cm x 15cm Quilter’s Ruler is a perfect size for this craft)
- Sharp Knife & Cutting Mat (this combo has a great price!)
- Scissors
- Compass Circle Cutter
I didn’t use this circle cutter to make these simple paper butterflies as the circle used is slightly too big for the tool. I used a lid as a template and my scissors. But it came in handy for so many other paper crafts that use smaller circles, so I wanted to make sure you know a magic tool like this exists!
What to do with these simple paper butterflies?
I can promise you, that if you teach your child how to make these fun little butterflies, you’ll be ending up with an entire armada at the end of the summer, lol.
Yes, they are that simple & fun to make!
Use them to/for
- gift wrapping (all you need is a glue dot to fix the butterfly on top of the present)
- a summer garland (poke a hole through each wing with a sturdy needle and thread some leftover yarn)
- mobile for the terrace, porch or a nursery
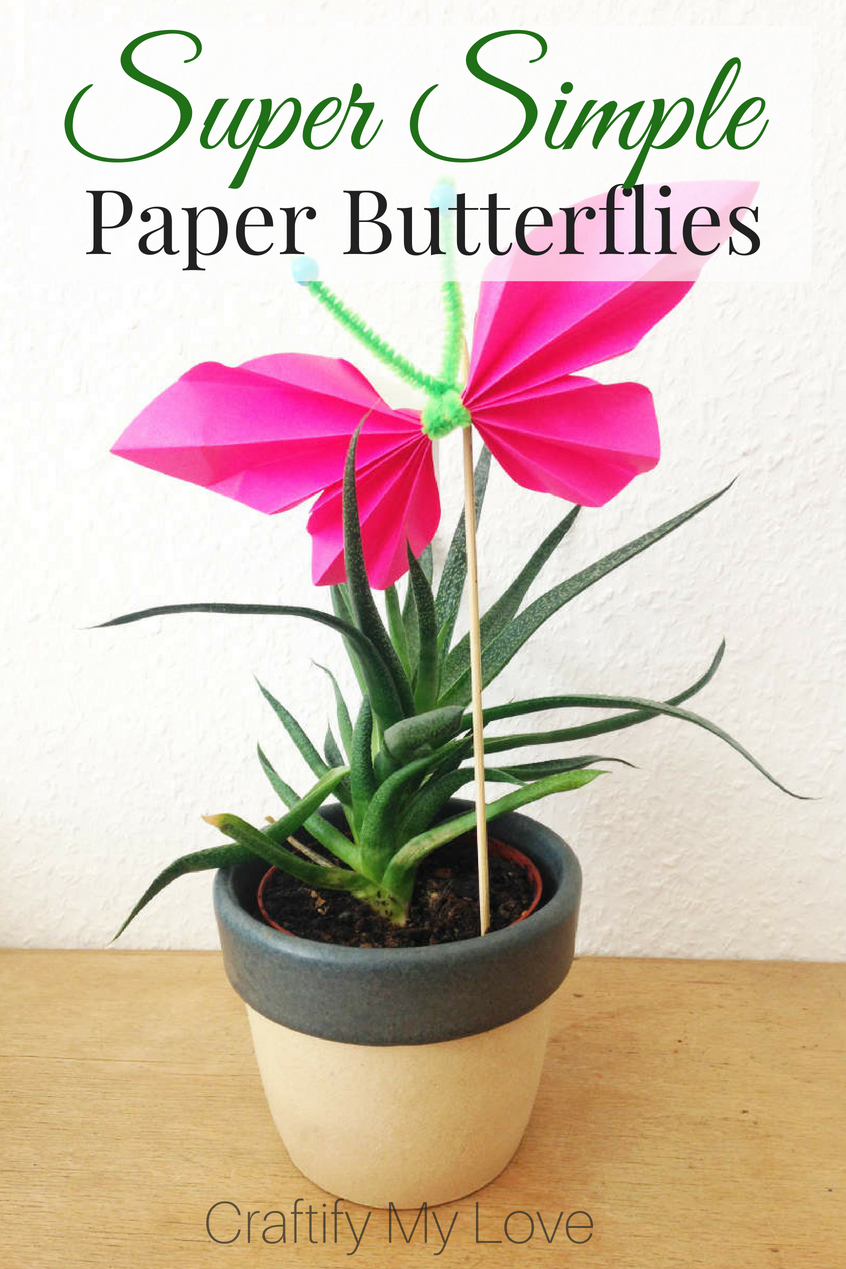
- plant decor (simply poke a bamboo stick through the pipe cleaner – see picture above)
- home decor (glue dots or a blob of hot glue will do the trick to fix a butterfly to a mirror or picture frame)
- hair accessory (I am totally convinced – actually I might try it right after I’ve written this post – that when you make a tiny butterfly, they would look gorgeous on a headband or bobby pin)
I am sure you can come up with even more purposes for those darling simple paper butterflies. Please share them with me and other readers in the comments!
Now, How to Make those Simple Paper Butterflies
If you’d rather watch a video tutorial, scroll down to the very end of this post.
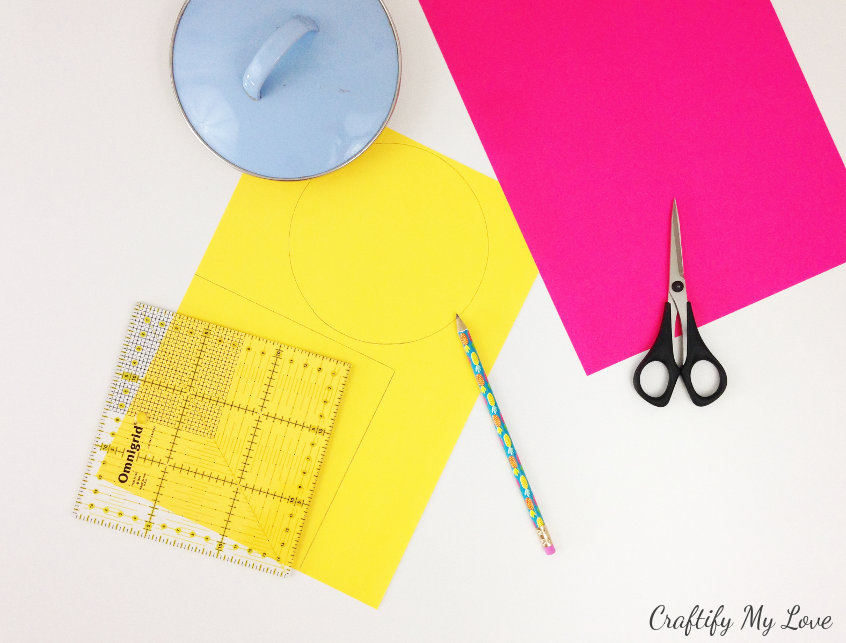
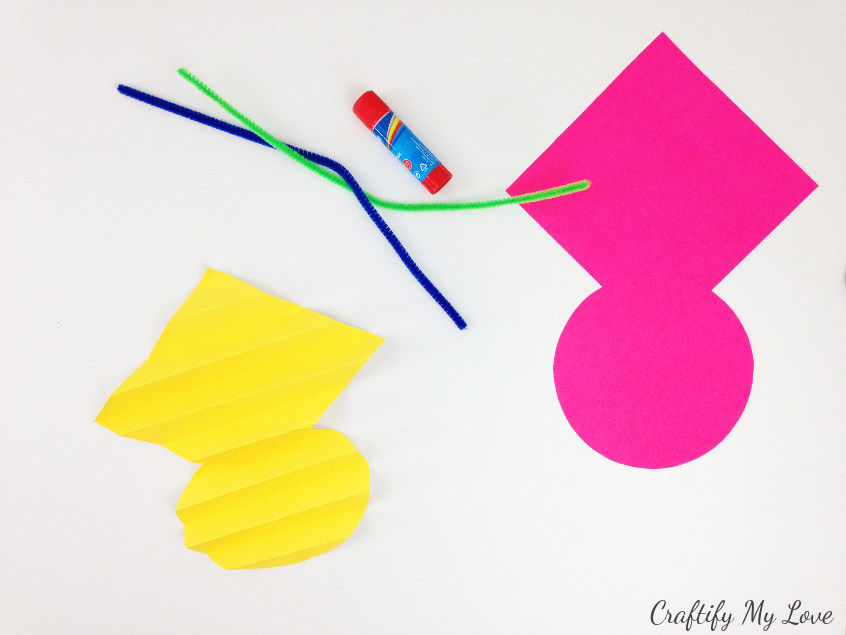
Trace a square (I used this size ruler) and a circle on a sheet of construction paper.
Cut both pieces out. If you are planning to make them in bulk (say for a summer garland) and will use a sharp knife instead of scissors, I totally recommend you use a cutting mat to protect your table. I’ve found this steal of a combo!
Grab a glue stick and cover one corner of your square.
Tip for working with toddlers/preschoolers:
If you are working with very young children, you could get colored glue sticks. This helps the little ones to actually see what part they already covered.
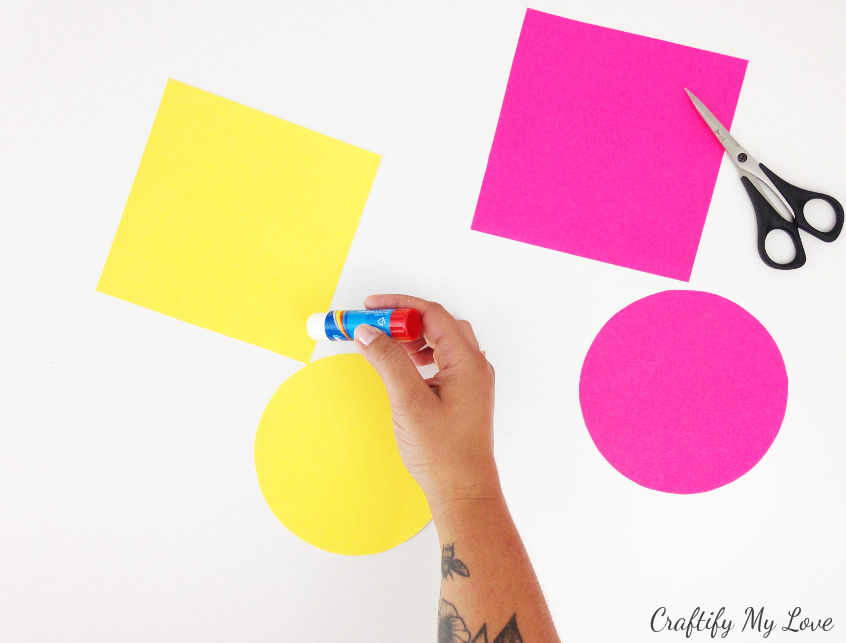
Glue the circle on the corner of the square (see image below).
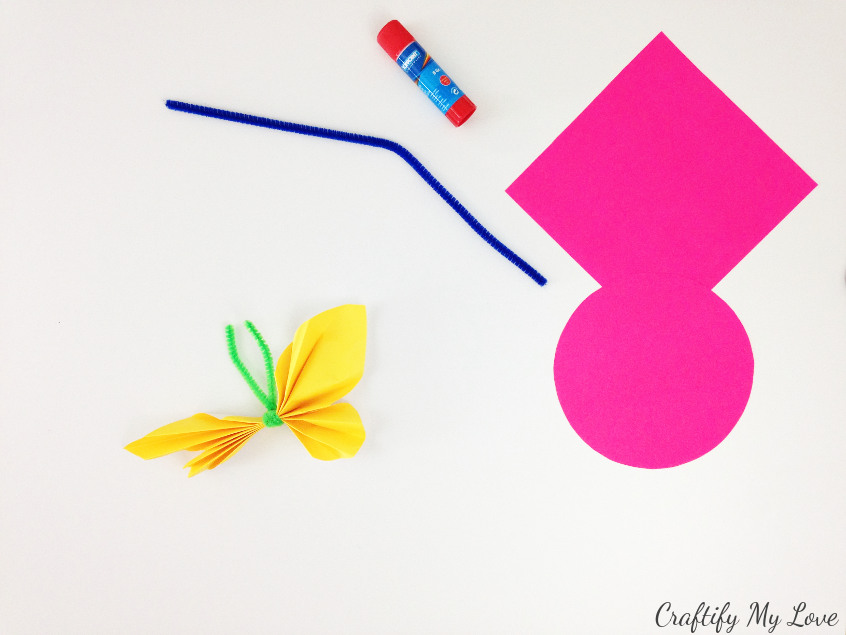
Start accordion folding the paper, same as you would do when making a paper fan.
Wrap the pipe cleaner around the butterfly twice (or more often or less, depending on how long you want the antennae to be) and twist it together.
Make sure that the ends of the pipe cleaner are sticking out at the square part of the accordion fold. This way the upper wing part will be pointy and the lower round shaped.
Related:
- Quick Butterfly Antennae Headband (to dress up properly while crafting, lol)
- Sparkly Fairy or Butterfly Wings
- No-Sew Butterfly Family Costume for Halloween
- 5-Minute Tassel Flowers
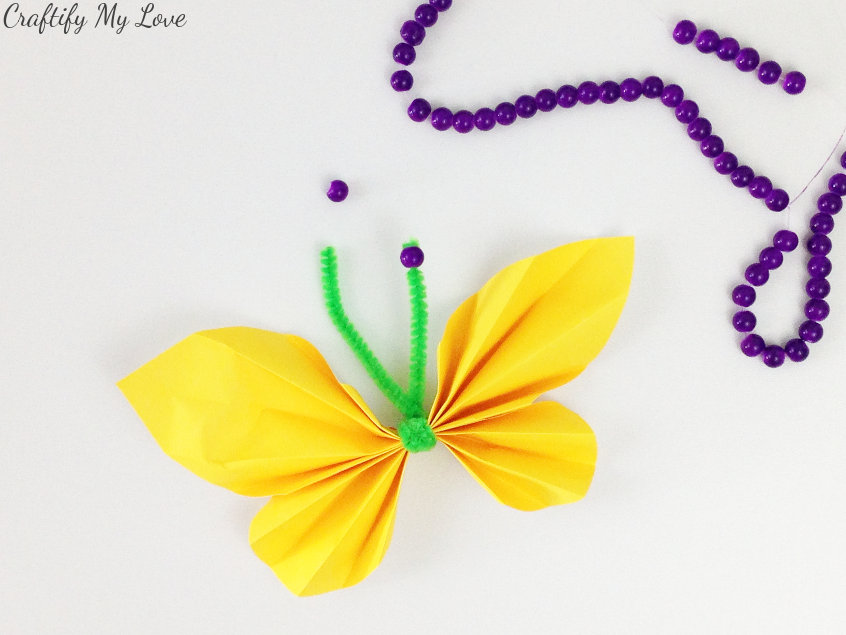
If you want, you can decorate the butterfly antennae with beads. I found that these will have a wide enough opening to fit on the pipe cleaners.
I always have a big pack of pipe cleaners at home, as I not only use them for crafting but for actual cleaning, too. There is a tiny hole in my fridge that I need to clear from muck (so gross!!!) ever so often, in order to keep my fridge from actual flooding.
And when you have crafted one, make many more!
Variations:
It’s fun to vary in color. You could even make a two-colored one by using contrasting colors for your square and circle. Or get crazy and use patterned paper, or recycle pages from a magazine!
Do you know where butterflies get their food from?
Yep, that’s right. They drink nectar from all those lovely flowers out there in the fields.
So while teaching this to your kids, make sure to make some fun wobbly dandelion tassel flowers with them. And you could try to find a matching outdoors activity over at allfreekidscrafts.com, too.

I really hope you’ve enjoyed this tutorial.
What do you usually do with all your kids’ art? Let me know in the comments!
Love,

PS: Don’t forget to PIN this, if you want to make it later.
More Summer Crafts
- Painted Rock Photo Holder
- Watercolour Flowers Card
- Keepsake Bookmark from Admission Tickets
- Girly Shaker Bookmark with lots of Sparkles
- DIY Sharpie Shoes
- Sparkly Wire Dragonflies
- Vacation Memory Bookmark with your best Photos
- How to Press Flowers With A Book
Video Tutorial: How to make Simple Paper Butterflies with Toddlers


These are SO CUTE! pinned.
That’s what I thought when my goddaughter have me hers for my birthday. Thank you for your support.
So pretty and fun! I’ve got to make these with my kiddos!
I’d love that. Happy crafting together ????
These are adorable and I love all of your ideas for using them especially as an embellishment on gift wrap! Pinned!
Thank you Shirley. I just made a fresh batch for the next couple of presents I’ll be wrapping.
What a sweet craft! My kids will love these!
That’s what I was aiming for. Show this cute craft to other kids, so they get to have fun making them ???
My kids are going to love making these! Thank you. I now have my craft to do for next week!
Yay!!! I’m glad I could be of help.
They are so pretty! My daughter has her room decorate with butterflies, so I’m going to try to make a few of these for her.
Thank you for sharing at The Really Crafty Link Party. Pinned.
It must be wonderful to live in a butterfly themed room ?thank you for letting me know a place like this exists.
Love your video. I can see these used for pony tail decoration or maybe to decorate around a little girl’s mirror.
Such good ideas!!! Fascinators would work, too, I guess. Thank you for adding to the list of possibilities.
Your idea is perfect to keep the kids busy this summer. I’ll be featuring it tomorrow at Merry Monday in my Fun Summer Vacation Ideas for Kids.
Thank you so much, Jenny! I love to decorate my home with them when my goddaughter makes them for me.