Do you like summer as much as I do? I love all the flowers, the colors, the scents… This year I decided I’ll be trying to bring some of this summery loveliness into fall and winter. How? By pressing flowers and using them in a couple of craft projects. My head is already spinning…I’ve got soooooo many ideas!
Let’s press those flowers together – I’ll show you how to do it the simple way, using what you already have at home. Will you join me in this project?
There are various ways to press flowers
You can press flowers using a (DIY) wooden flower press (maybe one day I’ll make myself one of those), you can press them using an iron, you can even microwave them. As I haven’t tried these methods, I won’t try teaching you how to do them (yet). But as I am a curious person, I am almost certain that I’ll be posting about new experiences I’ve made soon…
I did press flowers with books many times. So obviously I’ll be teaching you how to do just that.
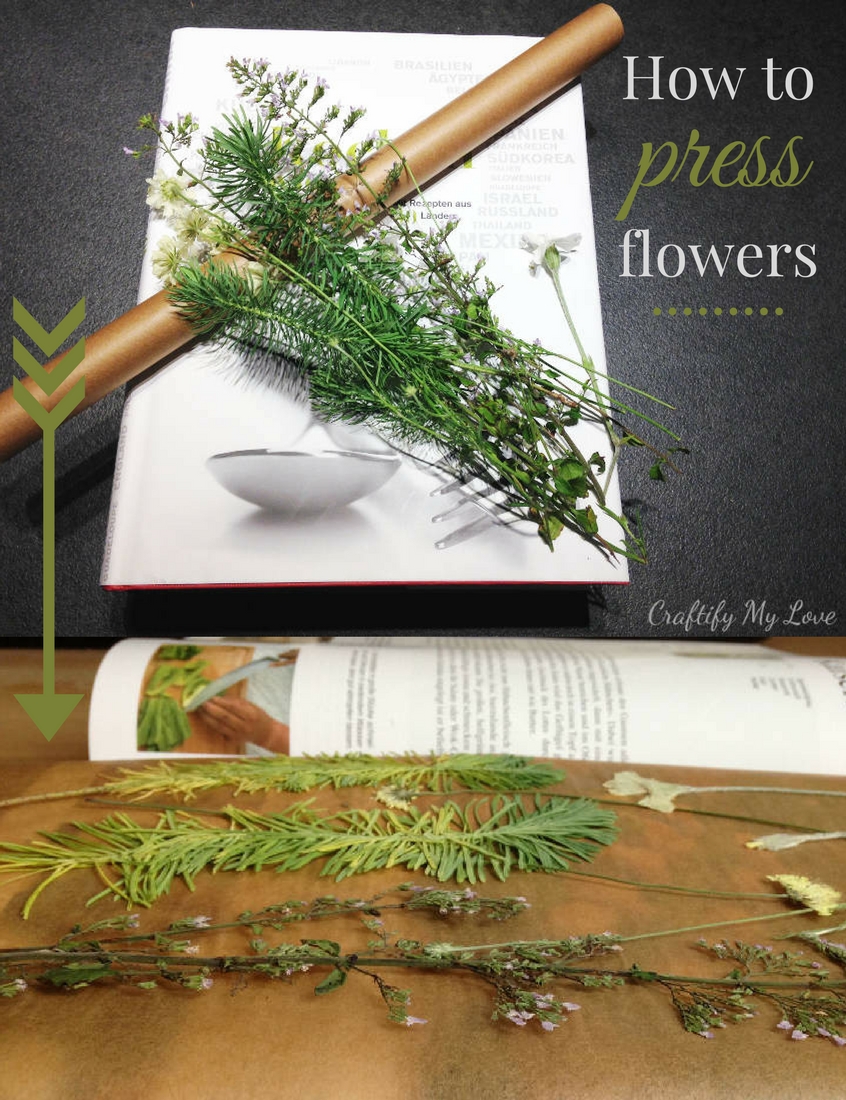
How to press flowers with a book
Over the years I’ve learned that perfectionism is something I don’t want in my life! It’s not healthy at all and I decided to get rid of all the unhealthy things. If you read up on how to press flowers using a book, you’ll find many “musts” and “dos” – and you know what? I don’t care anymore!
I want to be creative and start experimenting whenever I feel like it and not having to shop before, spending a gazillion dollars on special material.
Imperfection has its charm and I am celebrating that in every craft I make.
Supplies to press flowers
So basically all I use is a book, some paper and flowers.
Basic knowledge
Flowers contain a lot of water. If you want to preserve them, you need to get them dry. You could do this by simply hanging them upside down. If you also want to have them flat, you need to press your flowers.
If you press flowers in a book, the paper of your book will soak up the excess water. It will get wrinkly, so better use a book where you don’t mind this happening. In order to protect your book a little and help the flowers drying faster, you could place sheets of paper between the book pages and the flowers.
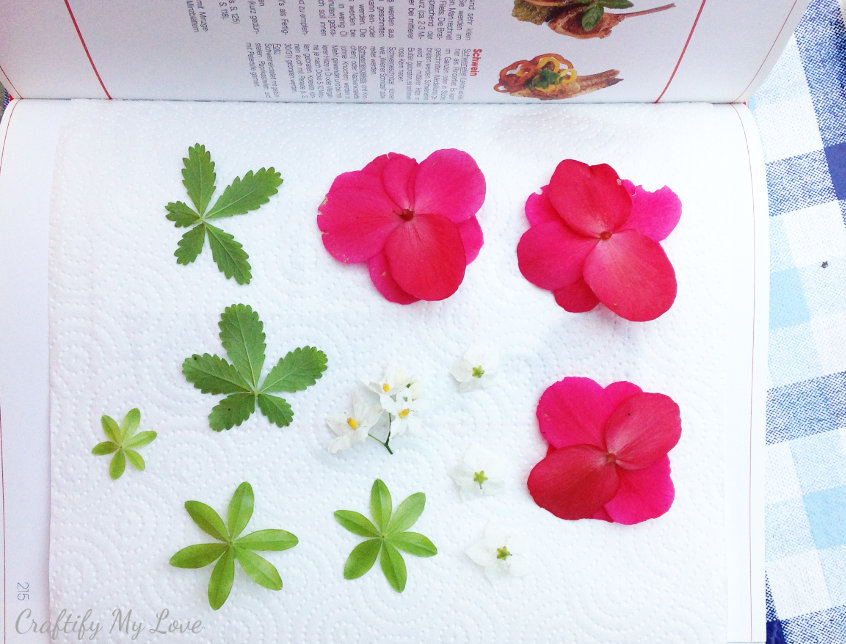
You could use printer paper, flat cardboard, plain non-treated facial tissue or even non-corrugated coffee filters. I even used baking sheets (although they don’t soak up a lot of water *eye-roll* I could have thought of that in advance) and paper towels. Using paper towels could end up with a funky pattern in your pressed flowers – but again: imperfection rocks!
Oxygen and a slow drying process will cause your pressed flowers to lose color or even turn brown. If that happens you can either cherish the outcome or start over again. Heavy weight will enhance the drying process – so place other books (I even added a stone pestle and mortar once) on top of the book you are pressing flowers in.
Step 1 – pick flowers
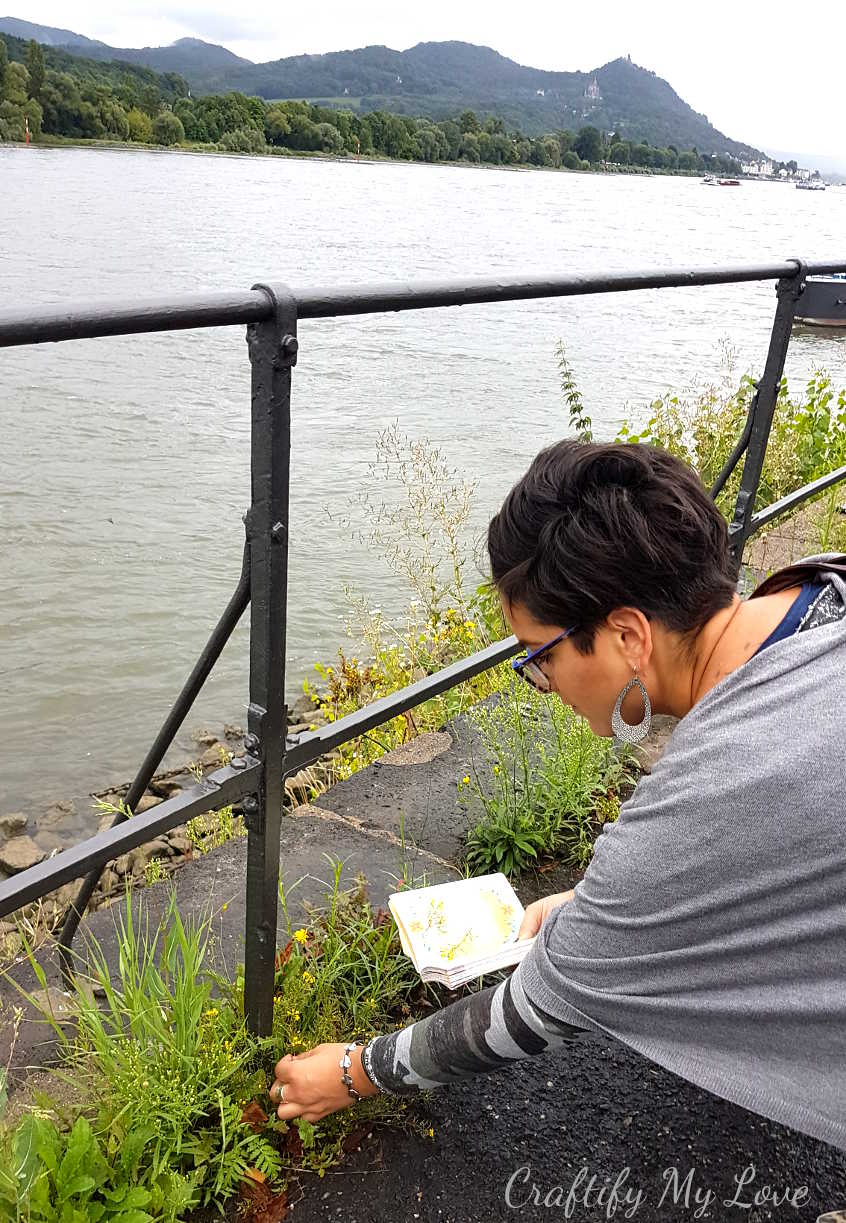
Leave your home and go find some flowers. You could do that in your own garden, in a friends garden or while taking a walk (extra health bonus for that wohooooo!). If you want special flowers you can go to a florist’s shop and buy them of course.
If you love flowers same as I do, you might also like:
- How to make a GIANT Paper Flower
- Mini Paper Roses or Giant Paper Flowers aren’t bad either 😉
- Tassel Flowers are a good way to use scrap yarn, and don’t you just love Felt Flowers (a series of 5), too?
- Check out all my Flower Crafts HERE.
Step 2 – place flowers into book
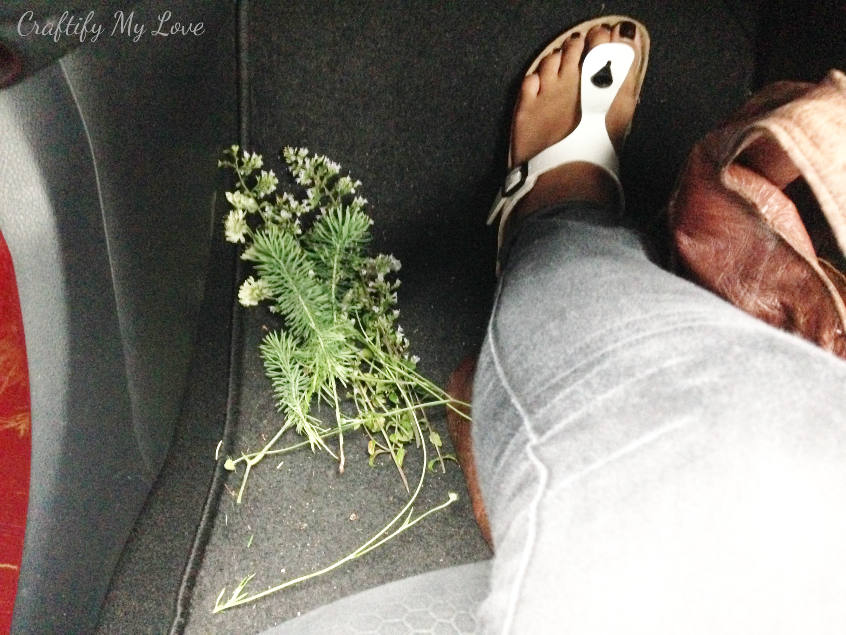
Bring them home fast so they will still be fresh or bring a book and some sort of paper (it’s a plus when it has a good ability to soak up fluids) and place your flowers in the book right after picking them.
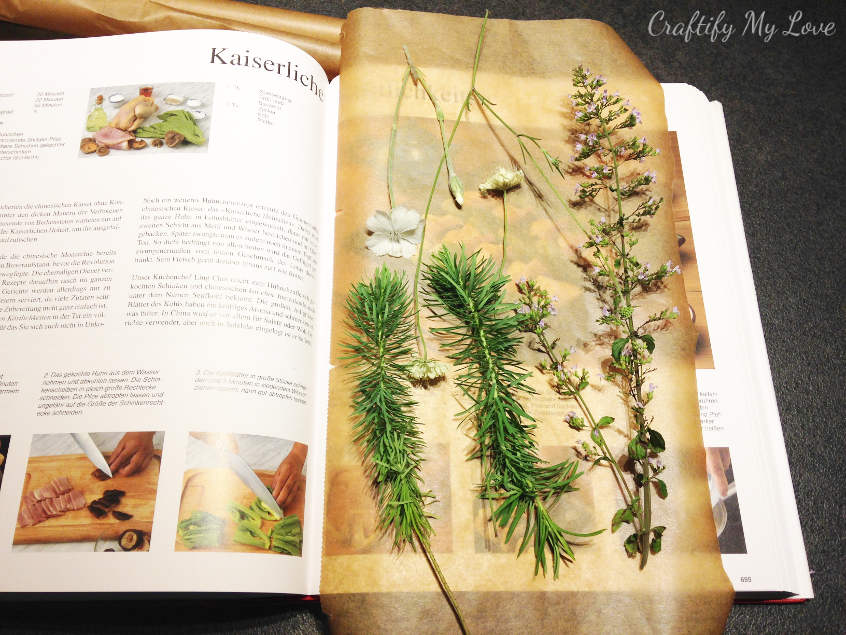
ProTip by Habiba:
I open the book from the back and work my way to the front. This way I won’t disturb the flowers that are already in place.
Step 3 – press flowers
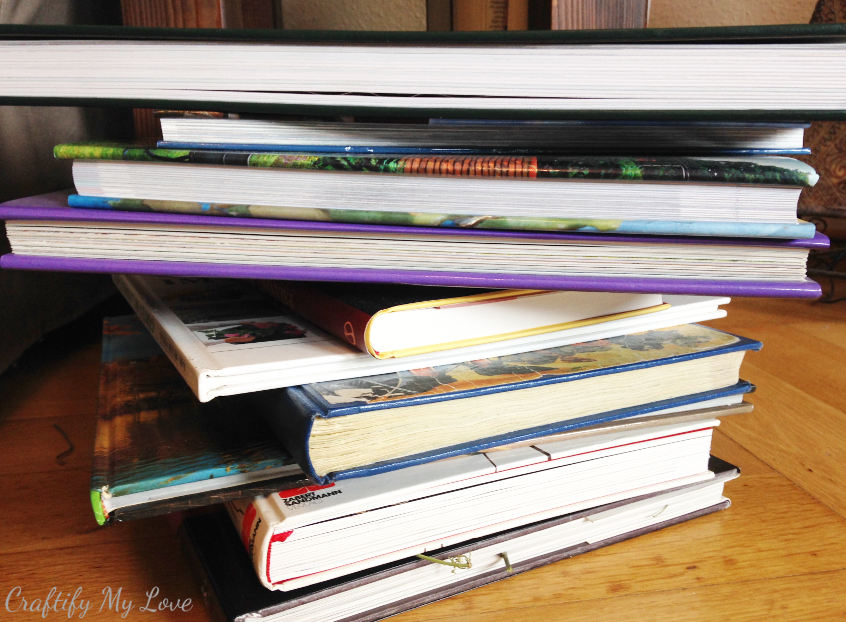
Apply a lot of pressure to the book. First off I would use a thick book. Then place other books on top of this one in order to get quality pressed flowers. Remember, the faster the flowers dry and the heavier the weight, the better the outcome!
Step 4 – give them time – no peeking!
The hardest step for me: Be patient! It is recommended by some tutorials to NOT take a peek while the flowers dry as this could ruin the outcome (color and texture). However, when you press flowers on a whim like I did, using your agenda while out for a walk, you just can not not open it for several weeks…duh! And I am still perfectly happy with the outcome.
Step 5 – check if done
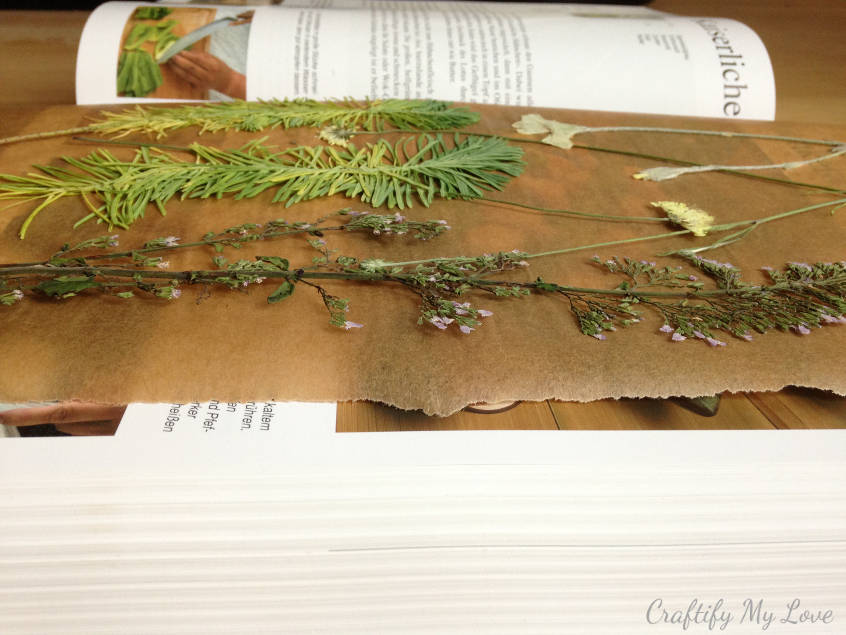
After a couple of weeks (I usually let mine dry for about 3 to 4 weeks) they should be done. If they still seem not fully dried, just close the book and give them a couple more days. You could dry to change the paper so it has new capacity for leftover moist.
Step 6 – be in for a surprise
Sometimes I forget that I pressed flowers and find a surprise years lager. I can’t really remember, but I think I pressed these fall leaves last year or even the year before – lol.
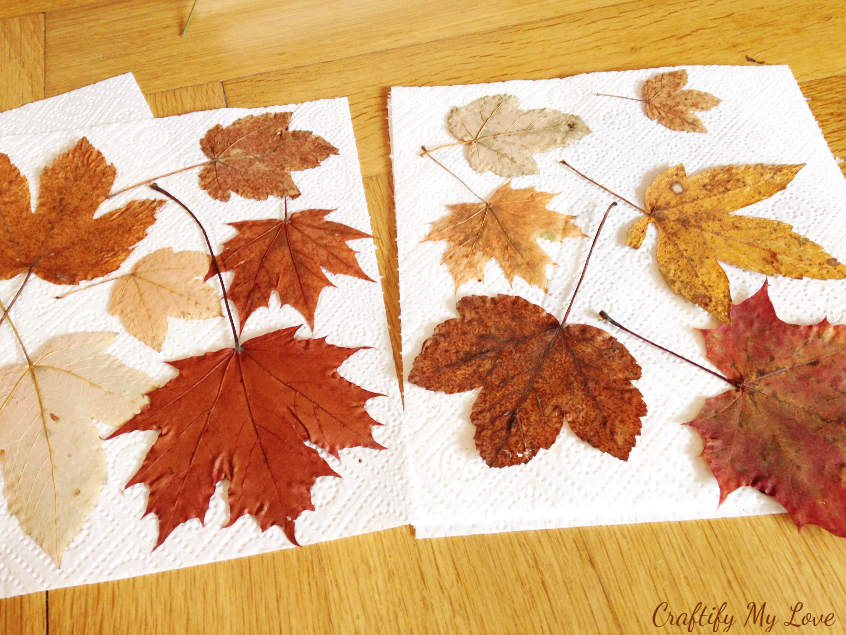
Have you pressed flowers before? What did you do with them afterwards? Come, subscribe to my blog to see what I will do with those lovely gifts from mother nature.
Love,

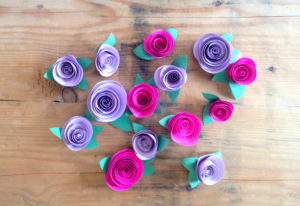
If you missed pressing flowers this year, you could make these wonderful paper roses instead:
These sparkly dragonflies bring a summer feeling into your home in no time at all!


I’ve never tried pressing flowers. But I also never knew it was this easy. I think I will try this.
Wonderful, I am happy to hear that. I shopped for supplies today to get my craft on with those wonderful pressed flowers.
I used to press flowers when I was a kid, but I haven’t done it in years. It’s a great way to preserve the flowers to use in the winter!
I haven’t done it in years either. Can’t wait to start crafting with them!!