I wanted to make a painted rock photo holder in a long time. Why? Because I have a quadrillion photos of my friends and family and am always looking for new ways to display them in my apartment and at work. If you’re a bookworm like I am, you might also like the idea of a photo memory bookmark.
Just last Thursday I spent the afternoon with my god-daughter at a local river collecting rocks, cooling our feet in the water and looking for fossils.
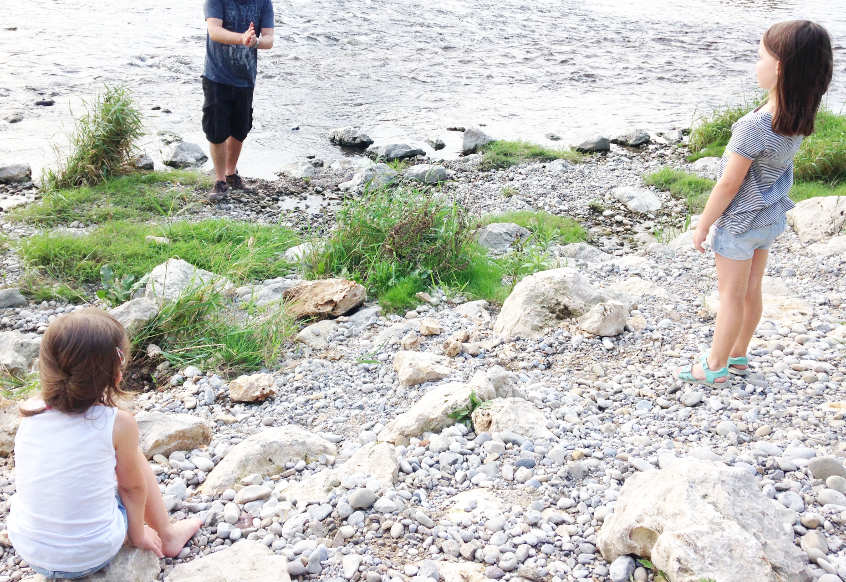
Children have a wonderful imagination!
While my god-daughter was sitting on my lap, she spotted a crocodile in the sky. It took me only a couple of seconds to see it, too. Two clouds formed the wide open mouth of a crocodile. I guess I saved myself some of that imagination from years back. #love
What do you see in those nature finds?
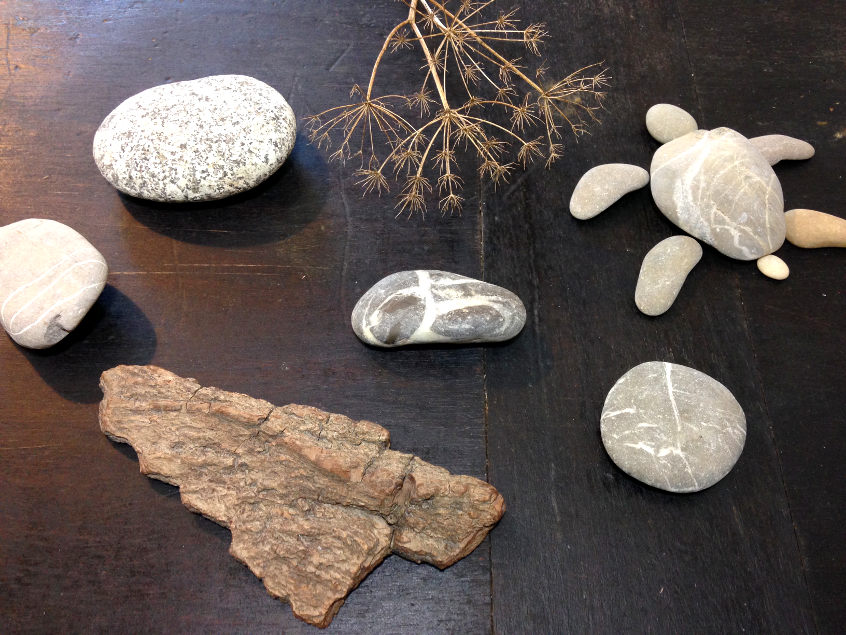
When I saw the rock to the left of the picture, I spotted power lines and saw birdies sitting on them, immediately! I knew that I just found the rock for my painted rock photo holder.
SUPPLIES: Painted rock photo holder
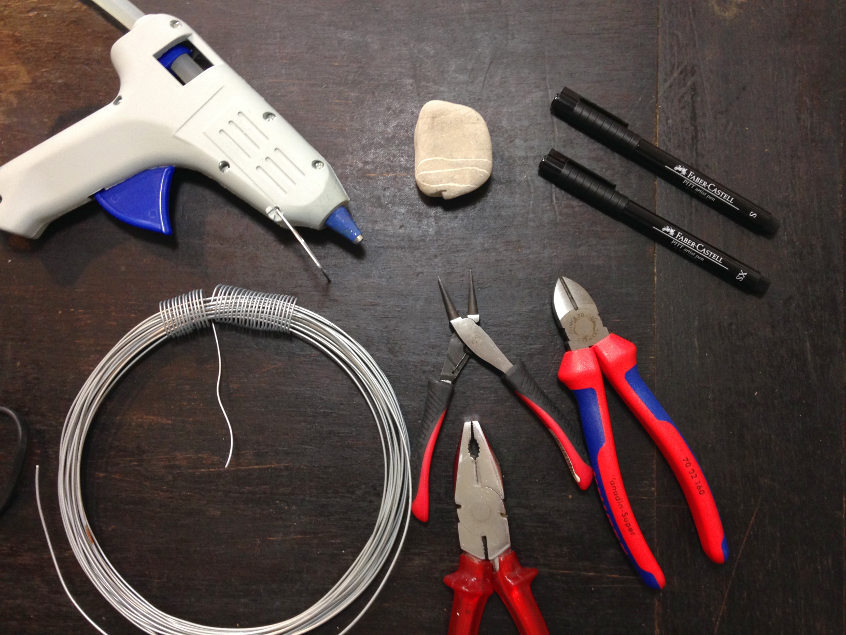
- Rock
- Faber-Castell Artist Pen in XS
- Pliers
- Wire
- Hot-glue Gun
I had all those supplies at home. And I bet, you do, too! So why not sit down right now and make yourself a painted rock photo holder. It will take only 10 minutes of your time!
HOW TO: Painted rock photo holder

Step 1: Design your rock
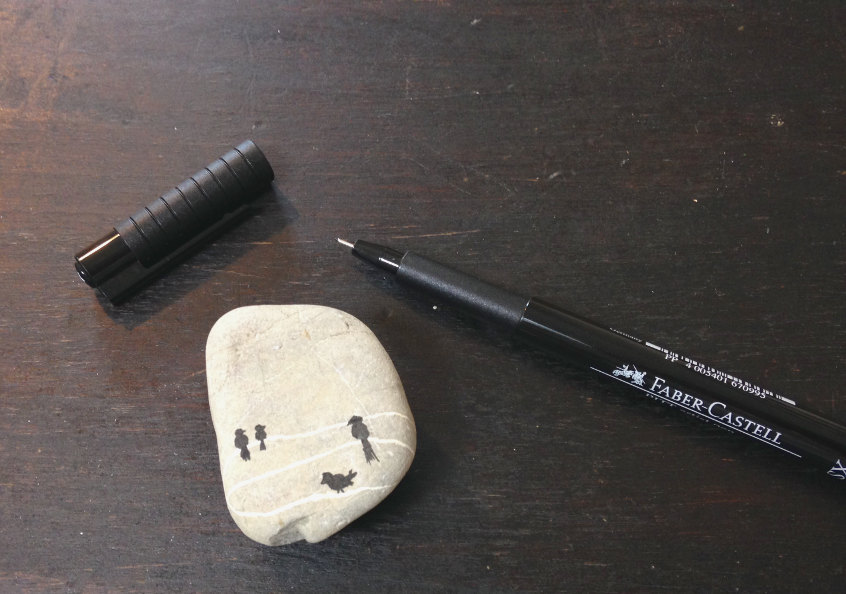
Using an Artist Pen from Faber-Castell (I used size XS), paint birdies on those nature given white lines. I think they look a lot like power lines, don’t you think?!?
Step 2: Sculpting the photo holder
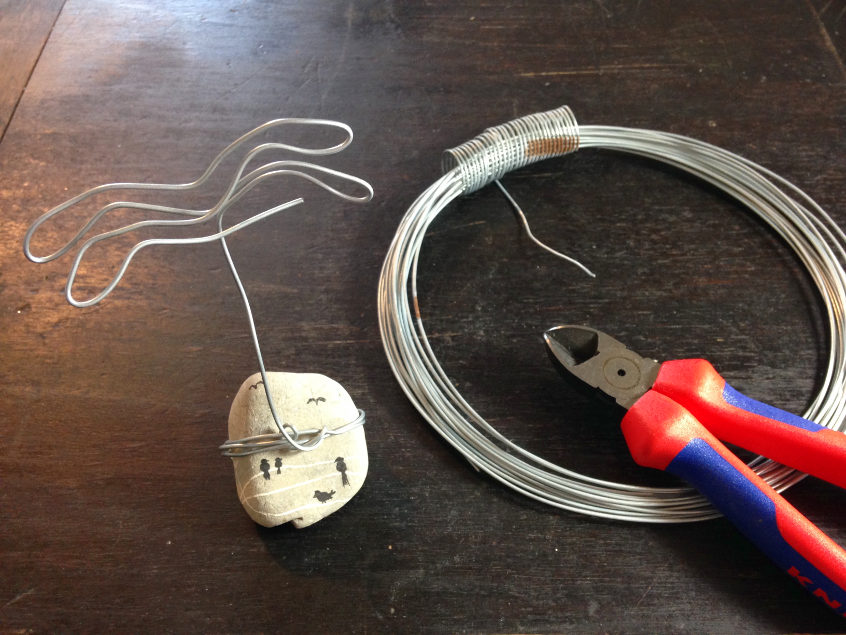
Wrap a piece of wire around your painted rock photo holder and try to form the top into bird shape.
Step 3: Finishing touches
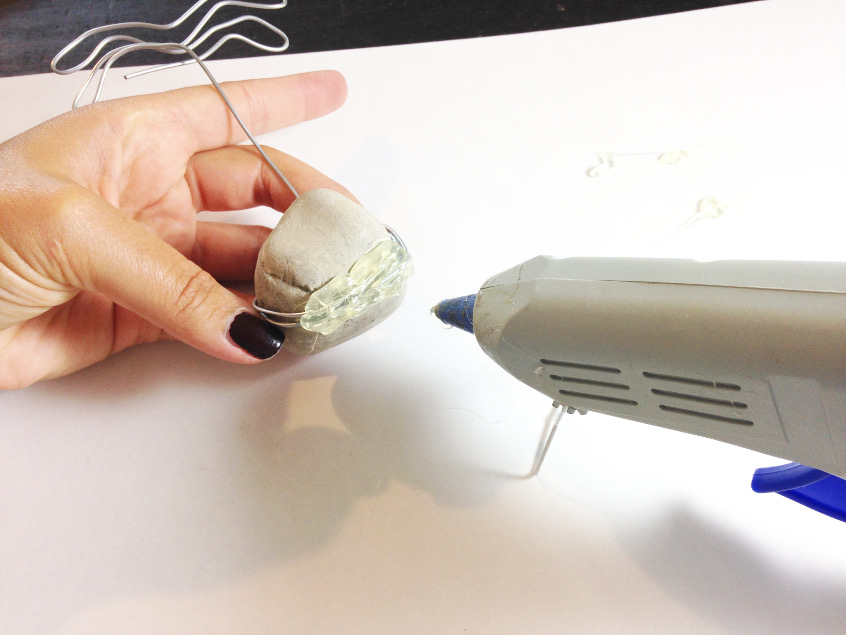
Fix the wire in place by adding hot glue to the bottom of the rock. My painted rock photo holder wouldn’t stand the way I wanted it to.
Pro-Tip by Habiba:
By applying the hot glue to the bottom I could alter the stance.
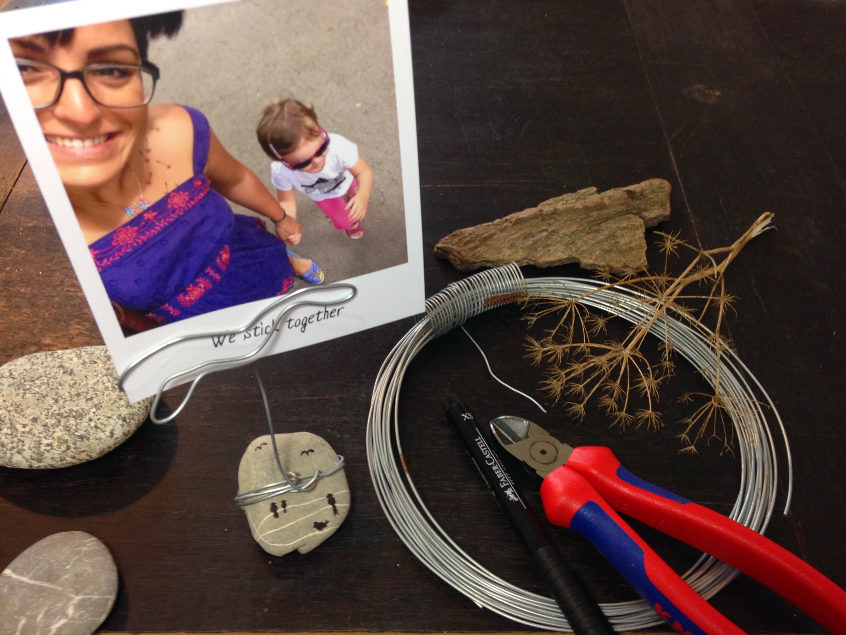
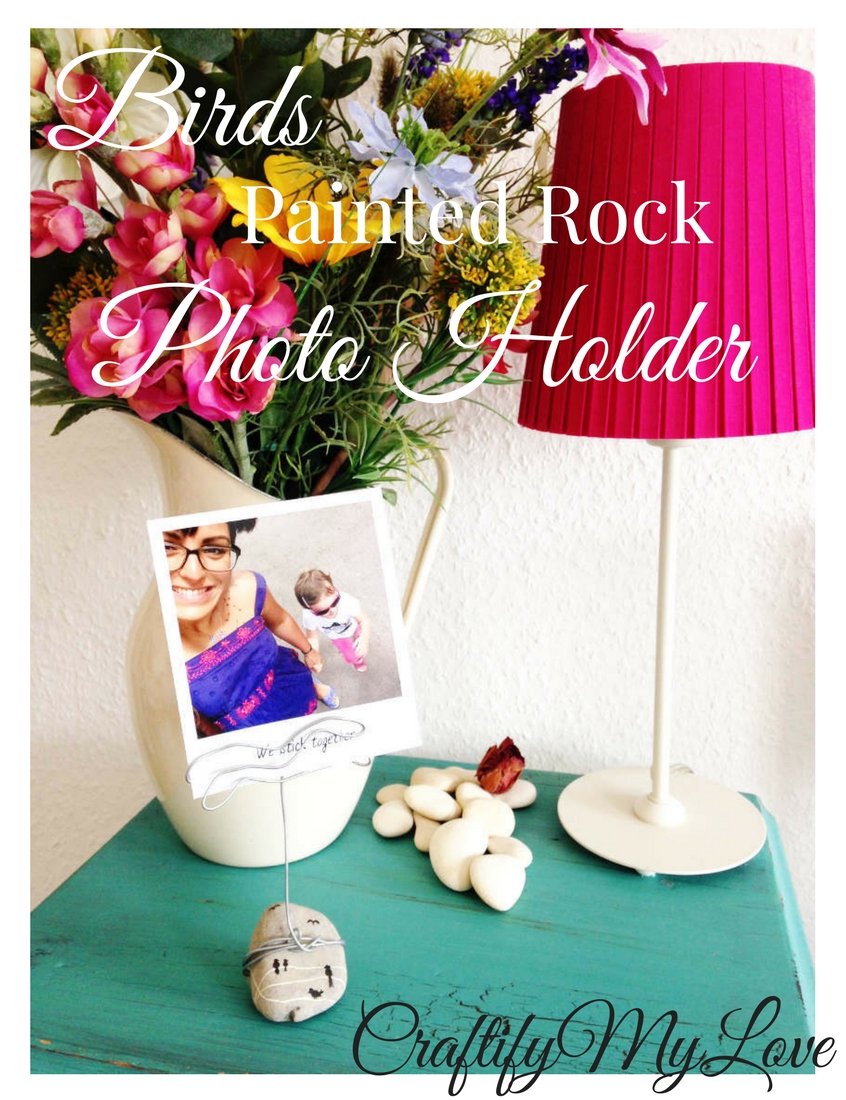
I added two more flying birds to the sky and found a photo of my god-daughter and I on our first visit to the Zoo together <3 .
You might also like…
If you’re into nature and love to surround yourself with natural materials, I have a couple more ideas on how to decorate your home with handmade crafts. And if you looked closely you saw that I am wearing my Sharpie shoes on the photo 😉 . I’ll link to that tutorial, too.


Oh Habiba the turtle shapes rocks just made me smile I ? it!!!! Painting rocks is so much fun ? I painted a few this weekend extremely relaxing ?
I had fun collecting the turtle shaped stones. I will do another project with them soon! ?
This is really neat! My son is an avid rock collector. He’s been collecting since he was a little boy & still does at the age of 18. I’m sure I’ll have to find my own rock for this because his are special to him! 🙂
You could offer him to make photo holders with a design he likes, maybe then he’ll let you work with some of his rocks.
This project is so novel and modern. Really really fun and pretty. Pinning.
Why thank you for this wonderful compliment ??and the support!
What a great idea! So creative! I would love some of these on my desk!
Hey Michelle, they are really quickly done! Go make yourself some for your desk 😉
This is a cute project! I like your painted rock photo holder & you made it look easy, except I wouldn’t be able to draw a bird to save my life! I do think the rock looked like power lines though. Always keep your imagination!
LOL Florence, I wasn’t quite happy with my birds either but I am always saying it doesn’t need to be perfect, it’s made with love and by myself. Thank you for your lovely comments!! ?
I love this. The little birds are just enough detail and whimsical addition to make you look twice and smile. Thanks for sharing.
Thank you Donna for the lovely comment ???
This is so innovative. I love the birds on the power lines. And of course, the turtle is so adorable. I want to see more!
You’ll see more ?I have so many ideas in mind and will blog about them of course ??
Habiba you are indeed a true artist. I love the painted rock and photo you attached. I especially love the opening photo. So touching indeed. Items made with loving hands are always the best.
Dear Ola, thank you for this lovely comment! I love spending time with the girls and I get excited when I see how wonderful the imagination of little children is.
Very nice! Clever idea to use the hot glue to help stabilize the photo holder.
Thank you Lydia! I was starting to get annoyed by the rock tumbling over all the time…so I figured “hot-glue for the rescue!” lol
I have a pile of rocks for another project, but I think I will dedicate some to this one now. This looks like I could even modify it so my 5 year old granddaughter could make one as a gift for her parents.
This is simple and fast and packs a nice visual punch. Thanks for sharing this.
What a lovely idea to let your granddaughter make one as a present!! I am sure you two will enjoy the crafty time together!!
I never thought a rock could be so cute!!! 🙂 I love how it turned out.
Sometimes I have a clear vision like in this project. And sometimes I am really surprised how a craft turns out to be?
What a great project, and memory!!!
Thank you Emily ?
This is adorably sweet! I love the little birdies!
Thank you so much. I love those birdies, too ?
[…] Rock Photo Holders are also great for holding pictures of the grandkids and take up little space. It is also easy to change the photos as you send new ones to Grandma. […]