I really do have a problem, when it comes to throwing my things away. I do a little better when I can donate them, but still….
See, I do lots of crafty DIY projects where I literally use trash, either as supplies or tools. This saves some serious money, enhances your creativity and makes for unique end results. Triple yay, right?
I have to admit I am so very proud of myself that I managed to part with a lot of things. Keep on reading to learn how I overcame my little problem and rocked the Craft Room Purge. Kinda. Sorta.
Give Yourself Grace – baby steps will do

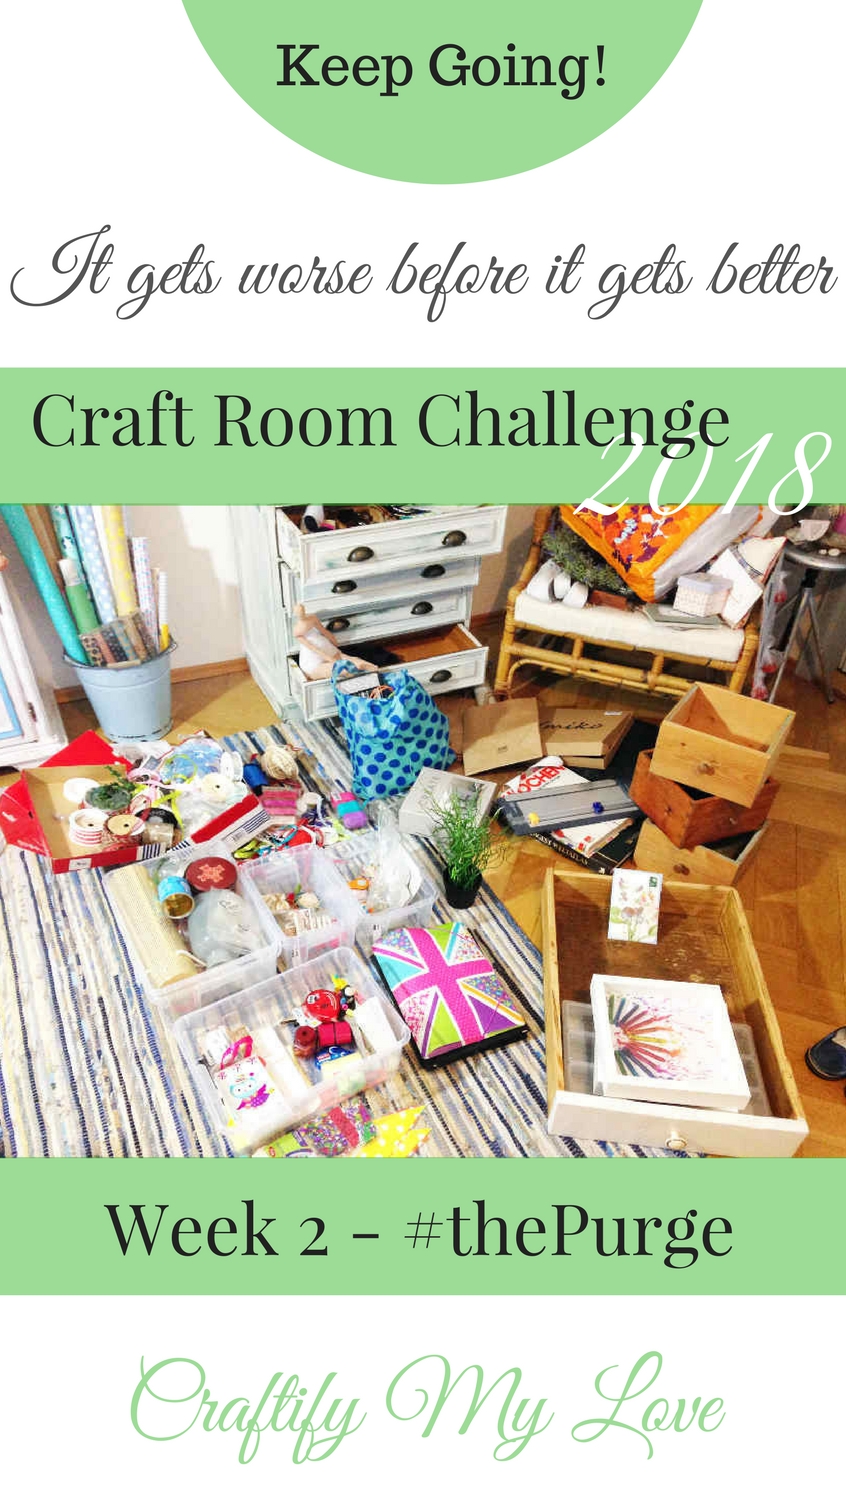
Why the “kinda” “sorta” part? Because I was too hard on myself, let myself think negative noughts, and got a little overwhelmed by this task.
But then I remembered that I am only human and I can only do so much in a day. Especially when sick with bronchitis, working a full-time job and completely lacking the tidiness gene, lol.
I’d love for you to keep in mind:
If you’re going to do a craft room (or actually any kinda room) makeover, it will take some time, and it WILL GET WORSE before it GETS BETTER. Please be kind to yourself throughout the entire process!
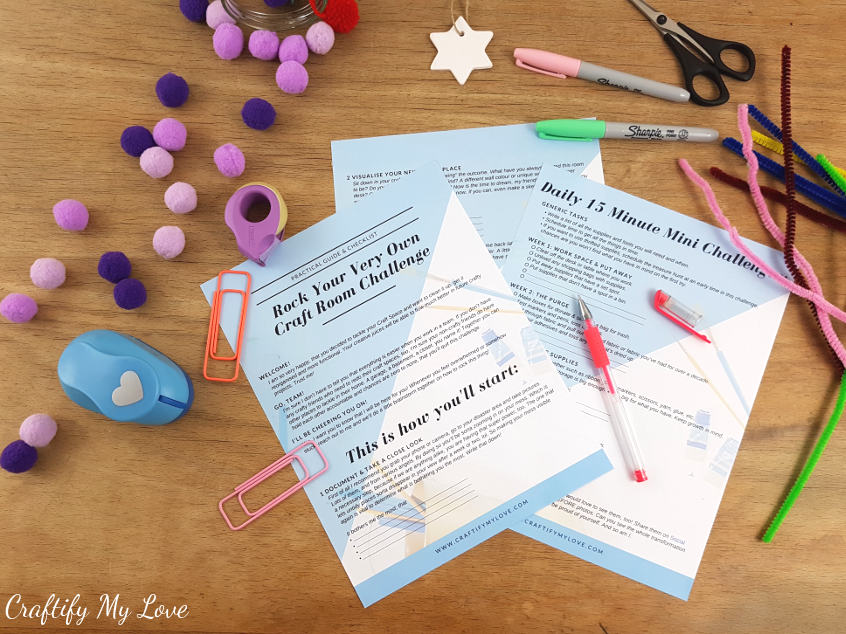
Break this ginormous job down into a gazillion small tasks (how, you ask? Download your free guide & checklist, now!) so you’ll see it’s actually doable and thus you can follow thru. Also, whenever you feel like giving up, reach out! I am happy to lend a hand in motivating you.
Craft Room Challenge 2018
- Before Shots and Overall Goals
- Week 1 – Workspace
- Week 2 – The Purge (continue reading this post)
- Week 3 – Organise Supplies
- Week 4 – Clean & Decorate
Back to Start!
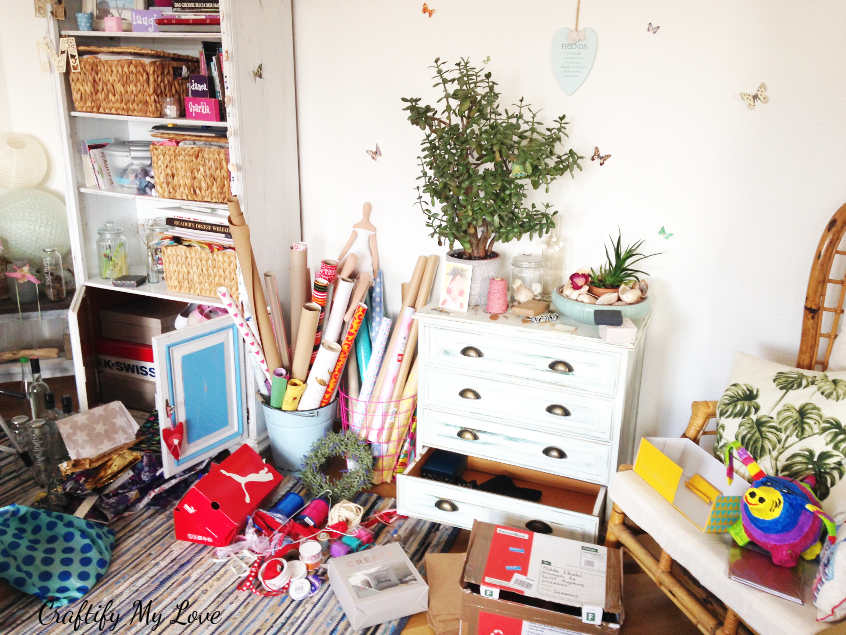
Let me take you back in time real quick. Three weeks ago I took the dreadful before pictures of my craft space. And yes! I was insane enough to put them on the internet. If you want to see all the gory details, you can here.
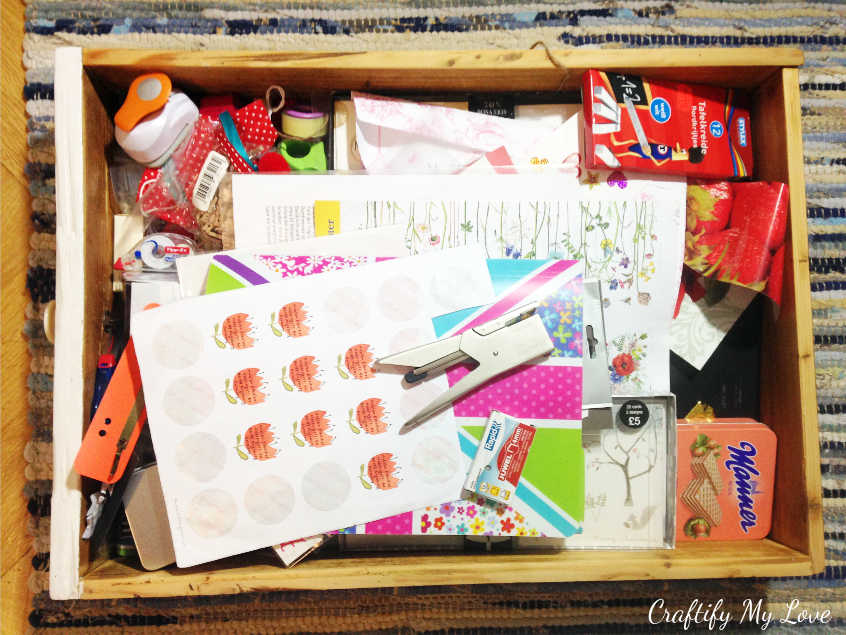
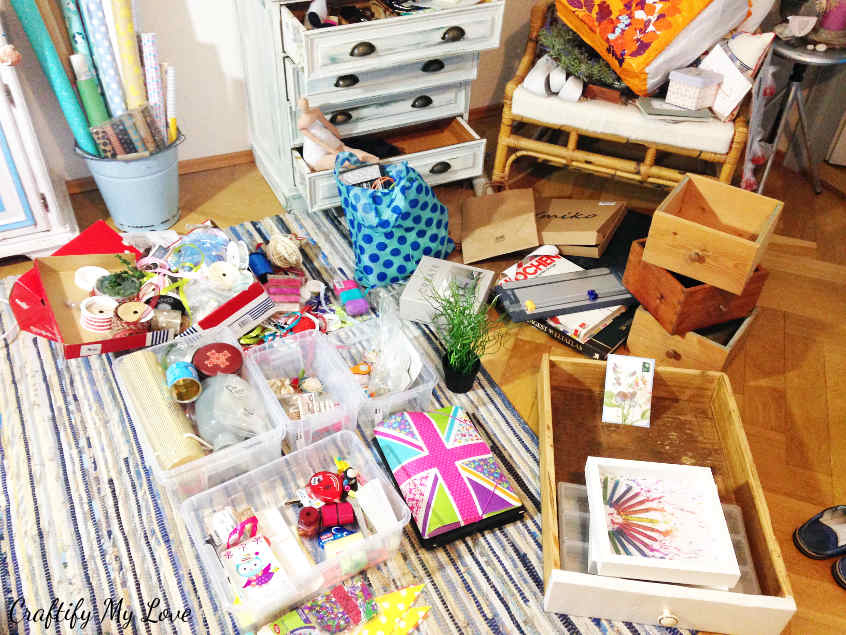
During this weeks craft room purge, I even found more chaos when I dared to open the drawer of my desk. Lol, I totally skipped that in week 1 – clear your workspace, when I tackled my desk, but I guess that was ok.
Do you have one of those junk drawers, too?
Craft Room Purge
Go through your things and decide for each item if
- it is still of use for you –> then put it on the keep pile
- it can be of use for someone else –> then put it on the sell or donate pile
- it really is trash –> then put it where it belongs, lol.
Now take a look at these 5 steps I did during the Craft Room Purge:
1 – Throw Stuff Away!
Over the years I collected all sorts of things I wanted to do killer DIY projects with but at the same time started to feel claustrophobic of sorts.
So I asked myself questions like
- Is this easily replaceable?
- Am I really that much into this project?
- Wouldn’t I feel much better with less clutter and is this item worth not feeling the best I can?
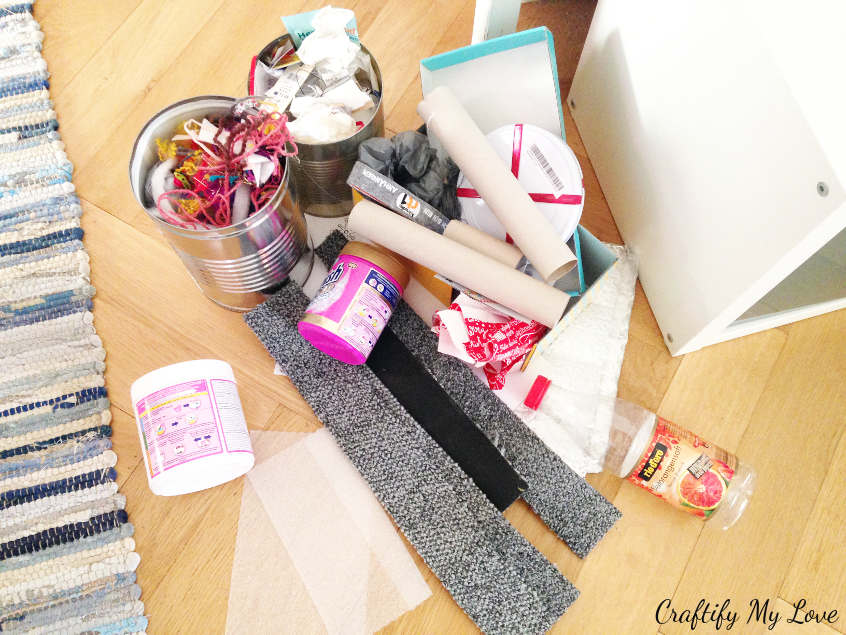
And you know what? I made it! I really did!!! And the following image just shows a tiny part of all that I got rid of.
2 – Give Things A Second Life By Donating Them
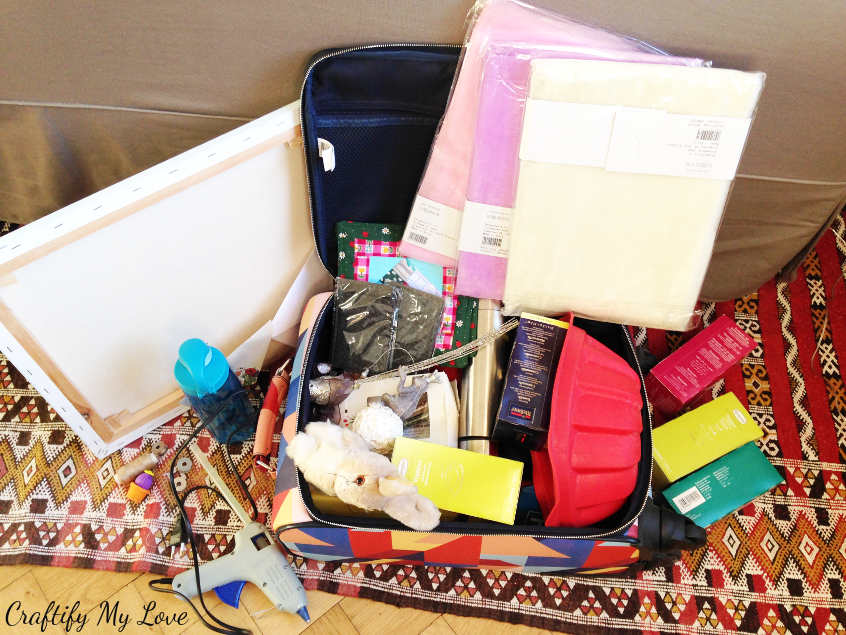
I have a broken piece of luggage and I used that one to collect all the things I’d rather bring to the thrift store so someone else can celebrate a major score.
I realized that I needed to seize the moment and thus I started to pull out things from my entire apartment (not only craft supplies), that were somehow bothering me or not working for me.
Again this is not all the things I decided to donate, there is still stuff going on that pile, day after day.
3 – Sort By Category
I already measured and bought plastic bins for one cupboard and I am using these to aid me in the Craft Room Purge.
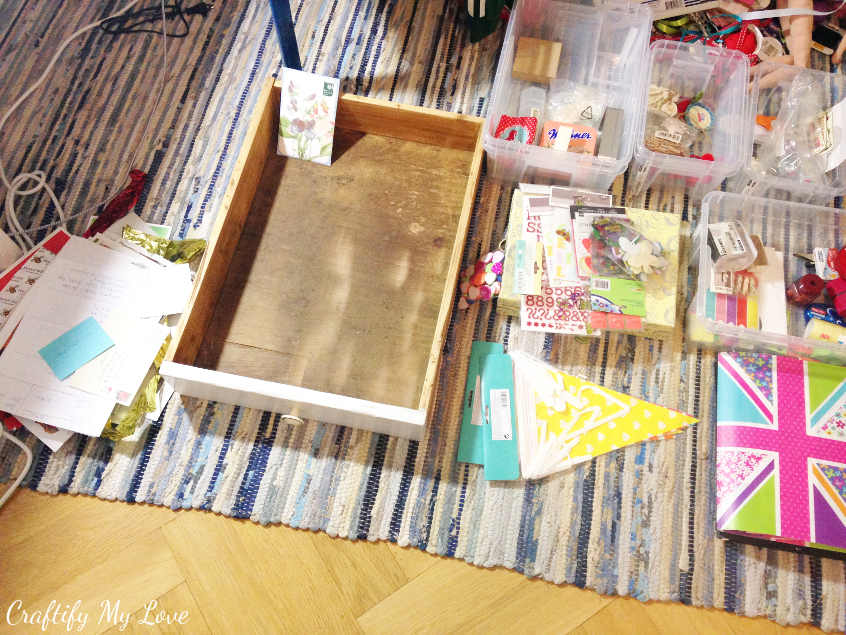
When decluttering that junk drawer I put things in the trash (the pile left of the drawer), I put things away that have already a set place in my craft space and I sorted things by category.
Next week I’ll be finding a home for the supplies of every category.
4 – Optimize and Organize As You Go
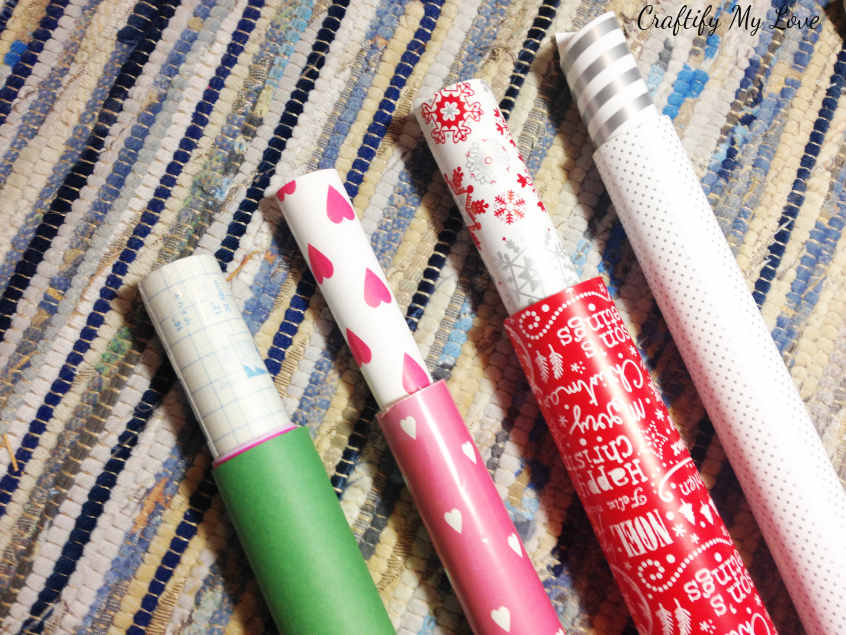
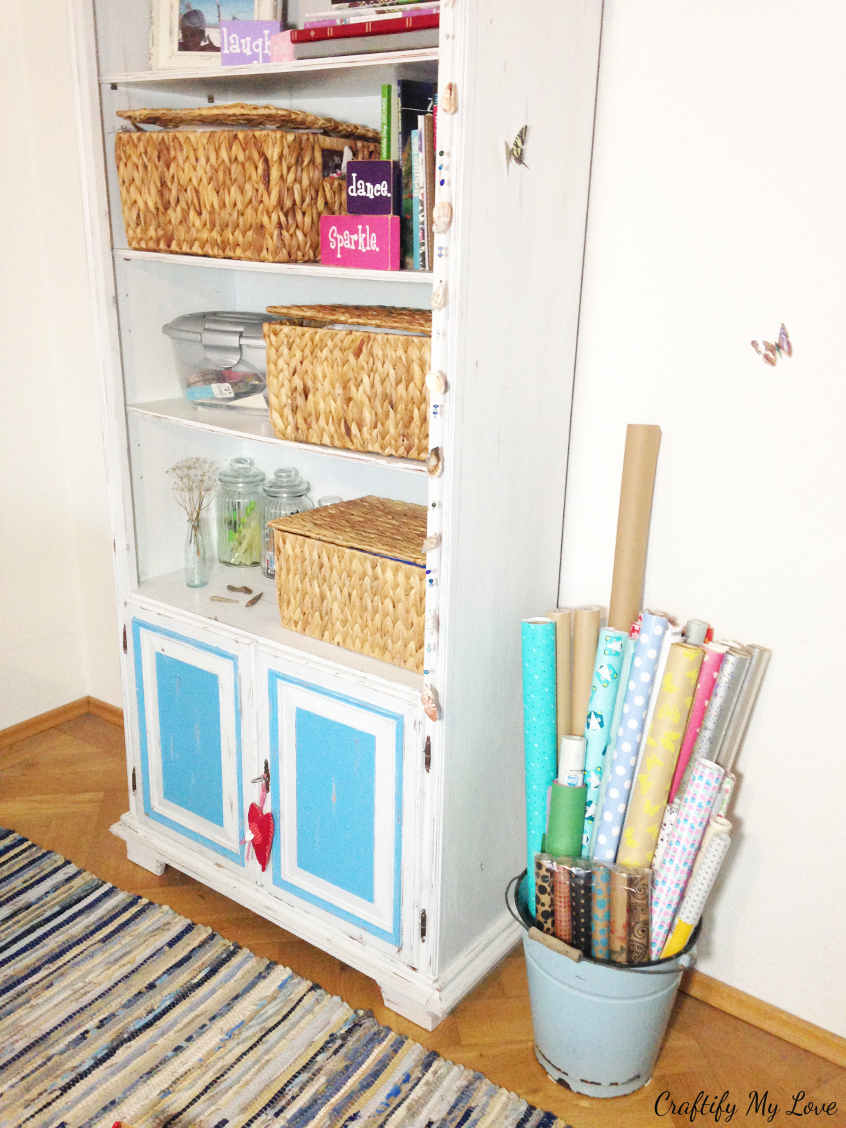
When I tackled my baby blue bucket and my pink wire basket I stored all my wrapping paper and other paper rolls in, I got rid of crumbly leftovers, faded paper and paper I simply don’t like anymore.
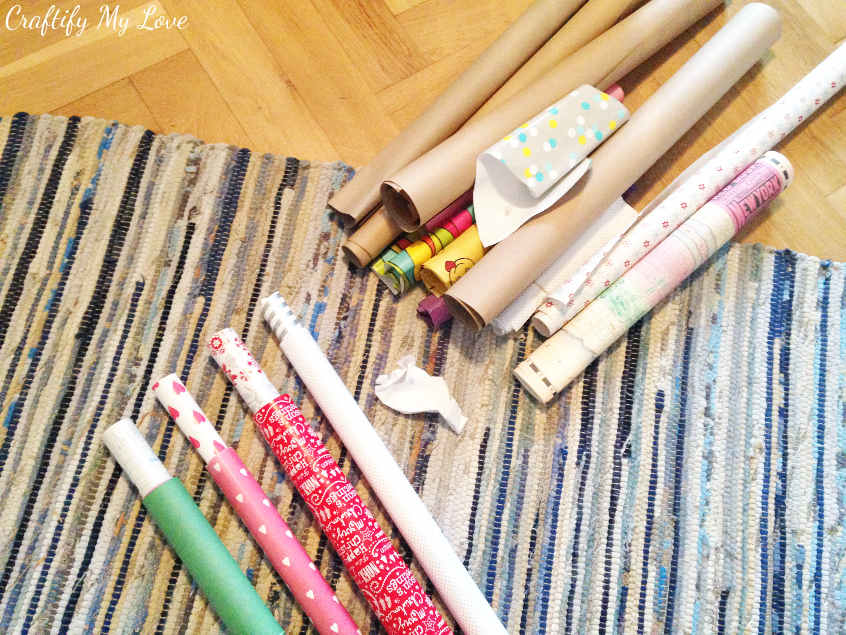
Then I came up with the idea to store matching wrapping papers within each other. That saves me a lot of space and I can store my entire wrapping paper stash in my thrifted baby blue bucket.
5 – Put Aside For A Second Life
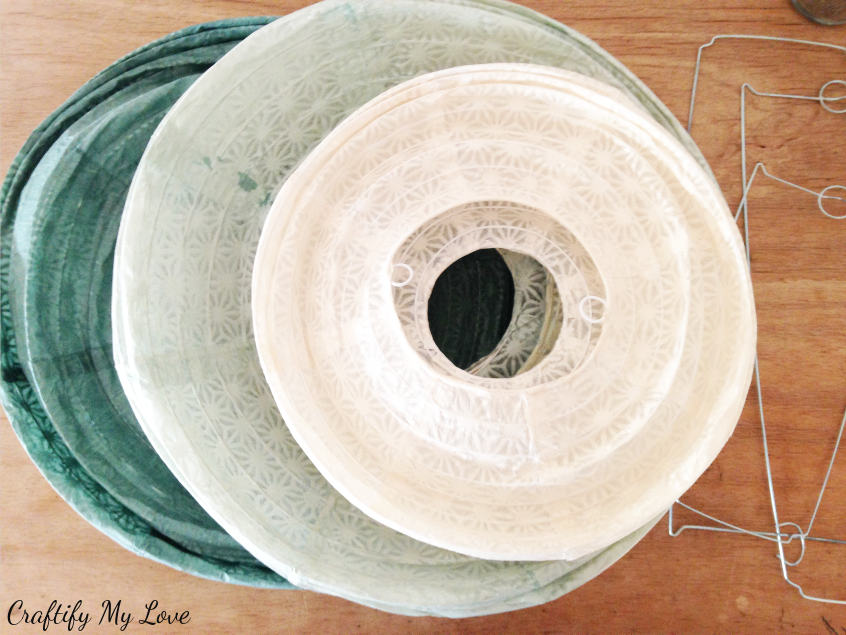
I simply couldn’t part with these paper lanterns. I dream of having a wonderful porch or garden someday, where I can hang these lovelies + some fairy lights and enjoy a wonderful summer evening with my love.
So they will stay and I’ll find a happy place for them until it’s their time to shine.
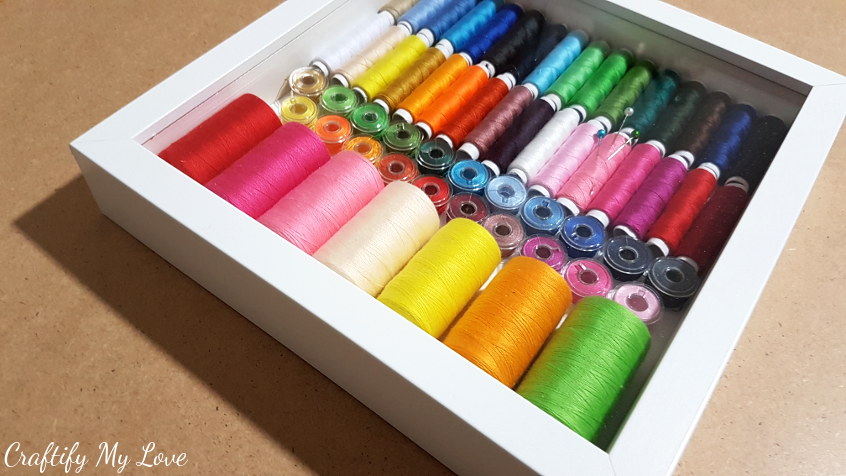
I stumbled over two sets of discount sewing thread spools, I was told not to use with my machine. The cheap thread causes a lot of lint and that is not good for the longevity of your sewing machine!
To be honest, I “rescued” these sets from the donate pile after a couple of days. Obviously holding them in hand somehow ignited creativity in my mind to DIY some unique sewing themed wall art for my craft space. You like? Check out the full tutorial here.
Results of Craft Room Purge
I have to admit, I have by no means managed all I had planned. But I’ll keep purging while reorganizing next week and I might even continue doing so when my craft space is completed.
Because, wow is this feeling good!
Let me show you now what I did accomplish:
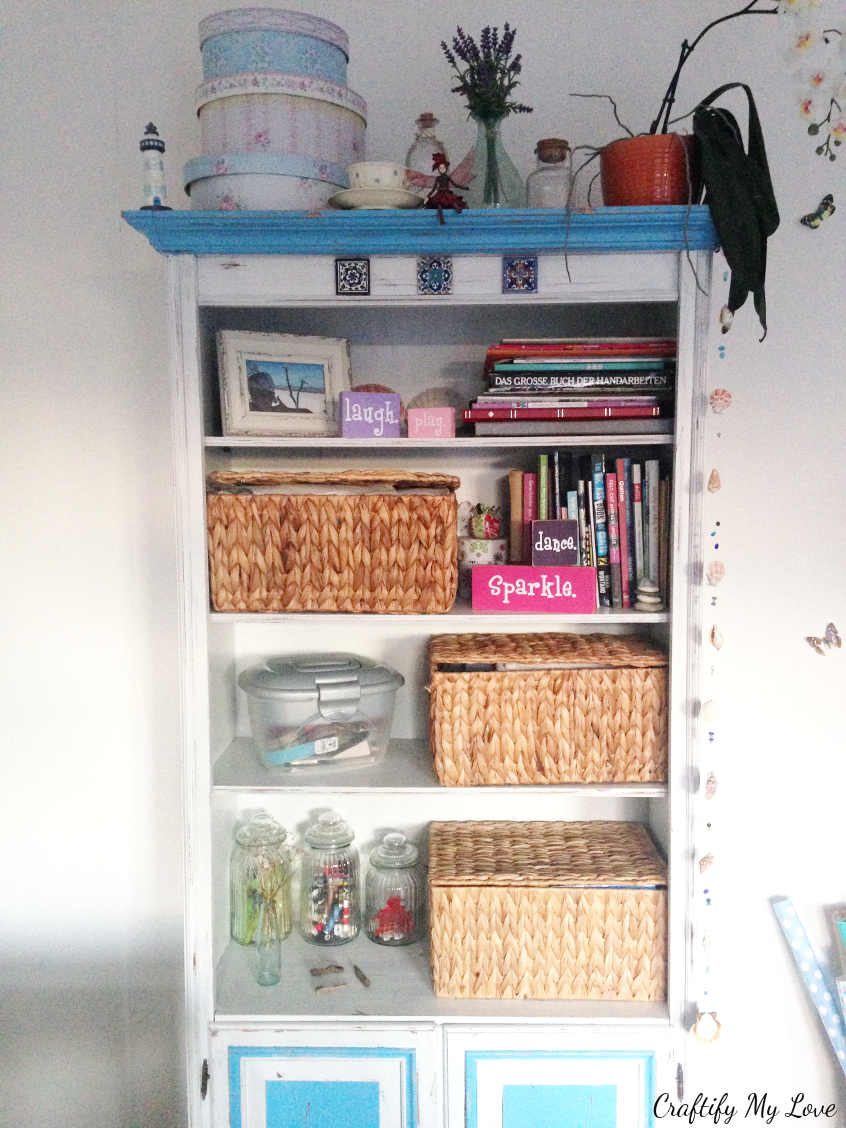
I decluttered the shelving part of this thrifted and painted furniture. I know, to some of you it might still look untidy, but I like it the way it is. And, as soon as Markus entered the room he noticed the difference and told me that he is proud of me. Blushing a little right now…
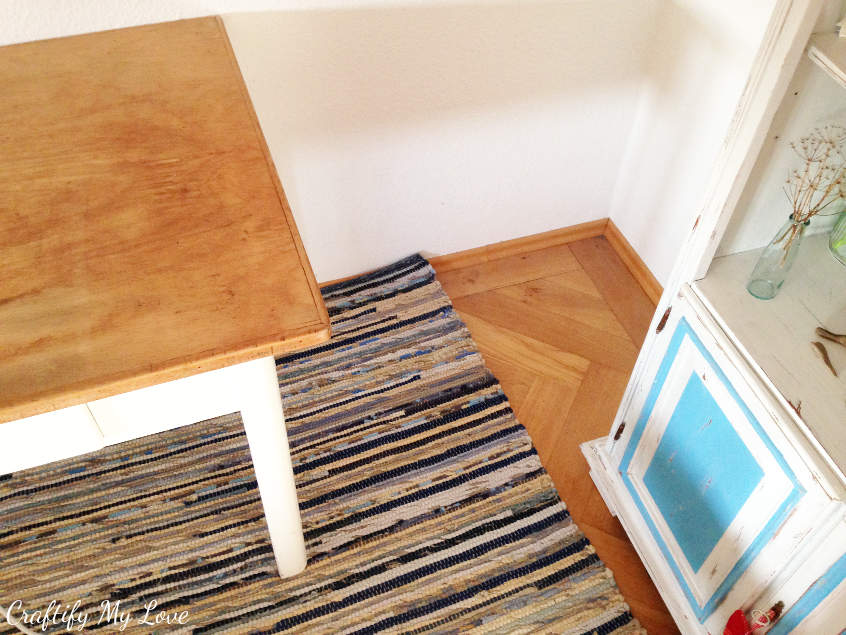
Do you remember The Dump from Post No. 1? This was where I would collect all sorts of supplies for my “next” crafty project. Yeah, right!
This space is empty for now. But I already have a new storage idea in mind.
Look how tidy all the wrapping paper rolls look now.
All in all, I am quite happy with the outcome so far. On to week 3, that is all about organizing those supplies.
Tell me, how far have you come this week?
Love,

PS: If you haven’t done so far, make sure to grab your free copy of the magic guide + checklist to help you through your very own Craft Room Challenge.

Welcome to the 2018 Craft Room Challenge!
- From January 3rd through January 31st, 14 crafty bloggers will be sorting, organizing, cleaning, and decorating their craft spaces.
- Each of us has a very different craft space to tackle, so chances are you will find one similar to yours. We’d love for you to join in on the fun challenge and clean right alongside us.
- Follow along and join in on social media by using #craftroomchallenge and #confessyourmess.
- You can also find us and the challenge via our social media accounts you’ll see listed on each of our sites.
- We’ll also have 15-minute mini daily challenges for you in case you have limited time to dedicate to the challenge.
- We hope you share your messy spaces and progress with us so we don’t feel alone this month!
Before you see the rest of the crafty spaces, please meet our lovely hosts:

Marie & Aleisha from The Inspiration Vault • Pam from P.S. I Love You Crafts
Yami from The Latina Next Door • Jolene from Create Pray Love
Habiba from Craftify My Love • Lyne from The Paper Addict
Megan from C’Mon Get Crafty • Erlene from My Pinterventures
Shirley from Intelligent Domestications • Valerie from Val Event Gal
Michelle from Our Crafty Mom
Now, let’s take a look at their craft rooms and spaces!
I think your mess even looked pretty with all the pops of color! Mine was (and still is) just awful! 😉
Haha, now that is a nice thought: Place colourful supplies in strategic places to make your hot mess look gorgeous ?? thank you so much for your comment my dear. It gives me motivation to keep going!
Hi, found you trough the youtube announcement video for this project.
I did not visit the other participants right now because I’m in a kinda similar position.
My “craftroom” is 1/4 of our Living room (23 square meters, living in a smaaaaall apartment with daughter and Hubby) so the last time we had company over here to visit is nearly 2 years ago. I need and want to get this back to normal. Got the furniture to put things in but I’m just so overwhelmed. Don’t know where to start…. technically it would be the best to move all stuff and empty everything to then go through as I put things back where they belong….. practically we just dont have enough room for that…..plus I really dont know how to organize all this stuff as I do many different things. I really would need a guiding helper but have no one near that would or could do.
Grüße aus Frankfurt
Sarah
Dear Sarah, you’ve found the right gal! I am happy to help you out. I was and am overwhelmed frequently with this project, lol. But with the help of my blogging friends and my man I managed. And I am happy to be here for you to help you through this step by step. I’ll reach out to you via email so we can discuss more!
Looks like your mess is all coming together, and looking good! This is something that I need to do again, and keep it that way! My dump area has grown outside of the closet where it use to be, especially since I pulled everything out of my craft booth and brought it home.
Linda, ive been pushing this job off for way too long. Dreaded all the time and work i couldn’t be creative. Now I realised that i can combine cleaning up with being creative. So excited to show you all the outcome of the craft room challenge ?