Hi! I am glad you are joining me today in this easy Sewing Room Wall Art project in 3d!
I am currently smack in the middle of the Craft Room Challenge and this weekend I was simply sick and tired of decluttering, purging, and re-organizing. I wanted to do something creative, and creative I got!
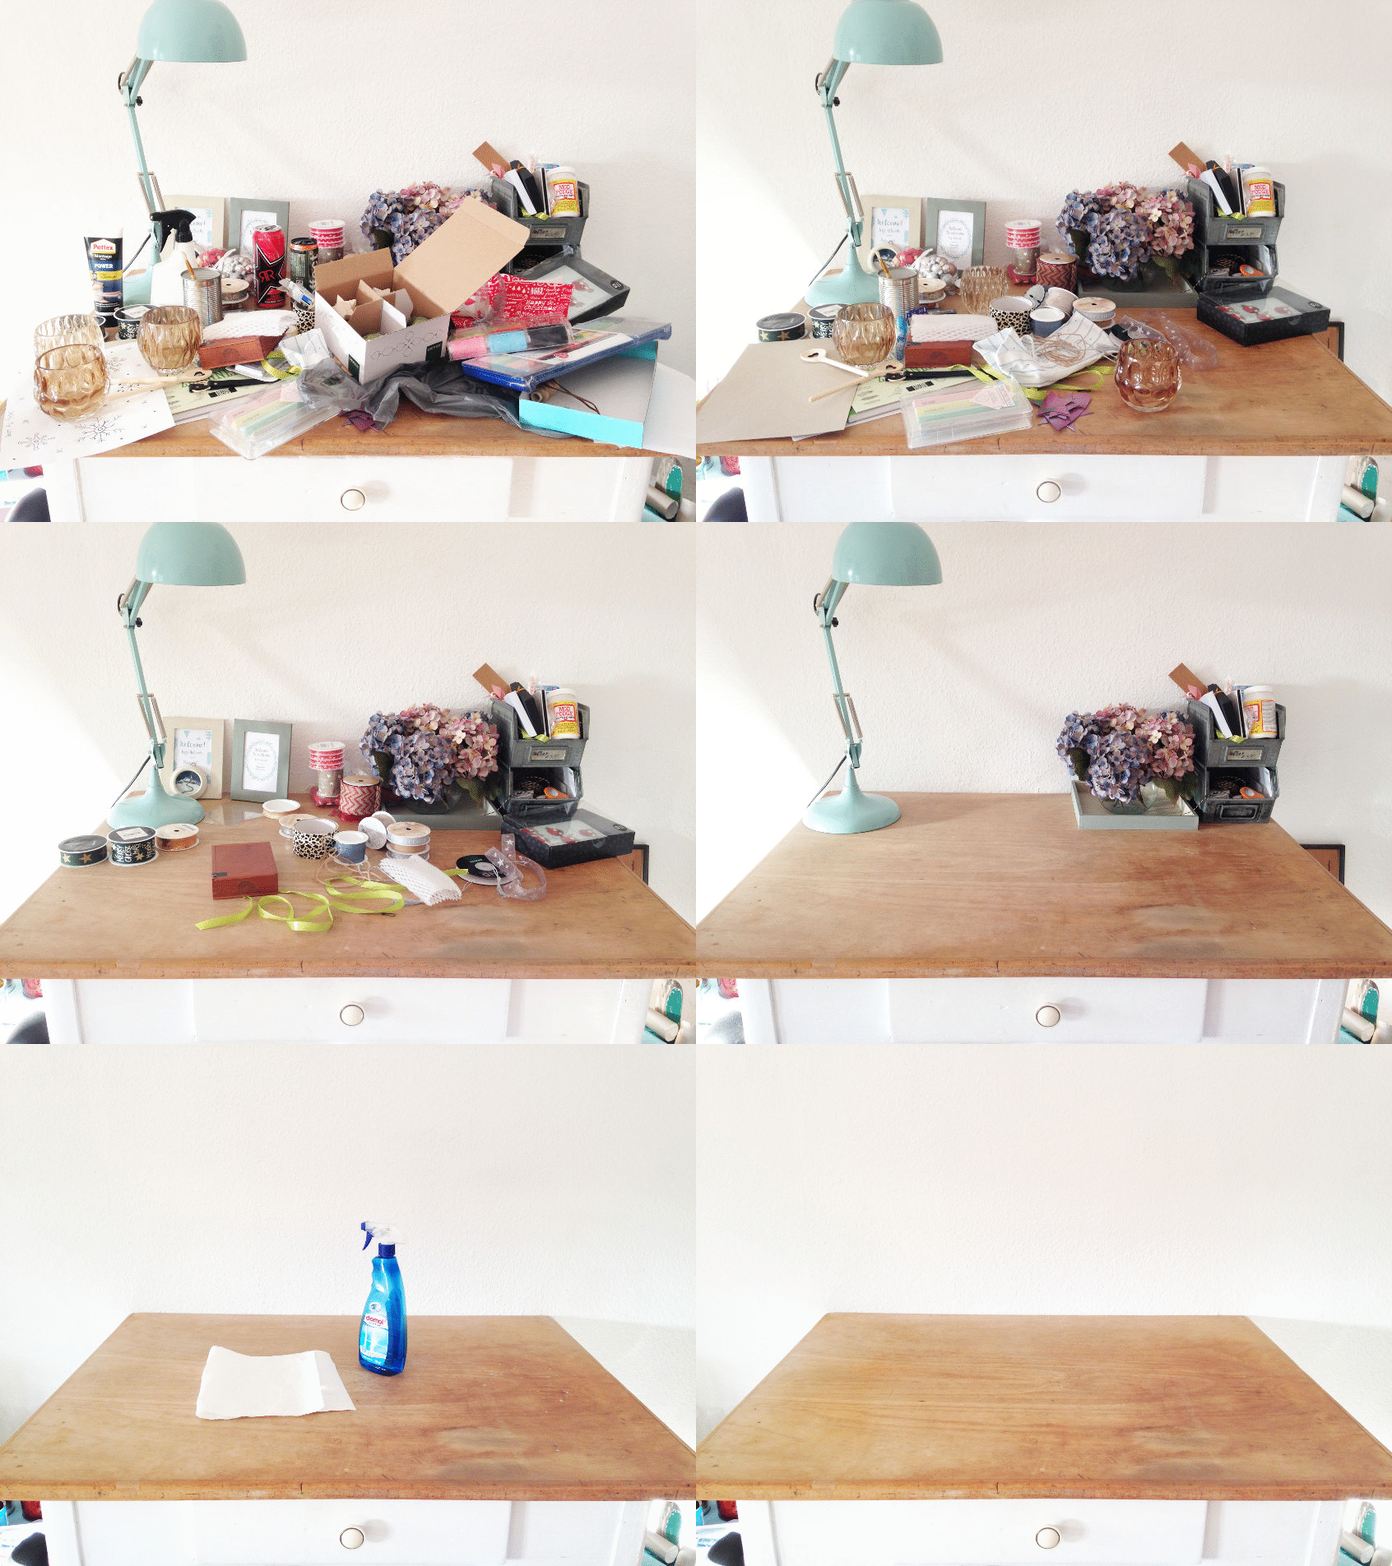
Update: I absolutely rocked the Craft Room Challenge…want to take a quick tour with me?
Three-piece Crafting Inspired Wall Art
This little project is going to be part 1 of a 3 piece crafting themed wall art I’ll be decorating my newly organized craft space with.
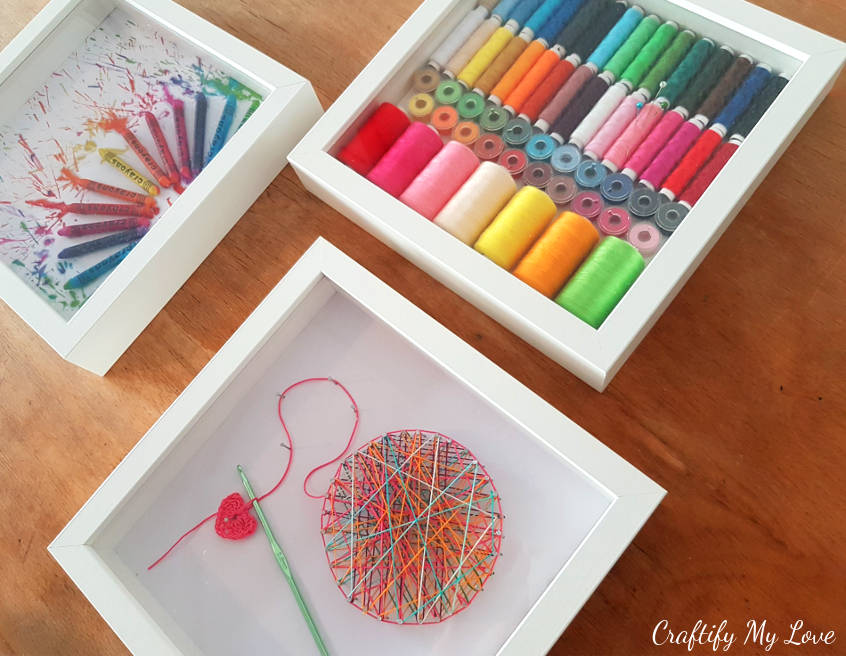
Check out the other two elements:
Luckily decorating is also part of vamping up my craft space, so I didn’t even have to have a bad conscience. I am merely working ahead of my schedule here. Yay, me!
Monthly De-Stash Challenge
As I only had to buy the IKEA frame Ribba for 5 Euro to make this sewing room decor, I can dedicate this little craft easily to the De-Stash Challenge, my friend Megan from C’mon Get Crafty hosts every month.
We are allowed to make stuff using the ginormous craft supplies stash we already have at home. But it is ok to buy necessary extras for $ 10 or less.
Supplies for Sewing Room Wall Art
Ages ago I bought these two boxes of sewing thread bobbins. They never got to see the inside of my sewing machine, though. Why? Because I got told off for using this kind of “cheap” thread when I brought my machine to inspection last time.
So did I waste the money on these boxes? Nooooo. I put them away and figured one day I’ll come up with a crafty recycling project. And that day has come this weekend, lol.
I was so excited about this project, that I totally forgot to take a proper picture of those sets before putting them to use. And I wasn’t patient enough to put all those spools back in, lol. But I’m sure you’ll forgive me for that.
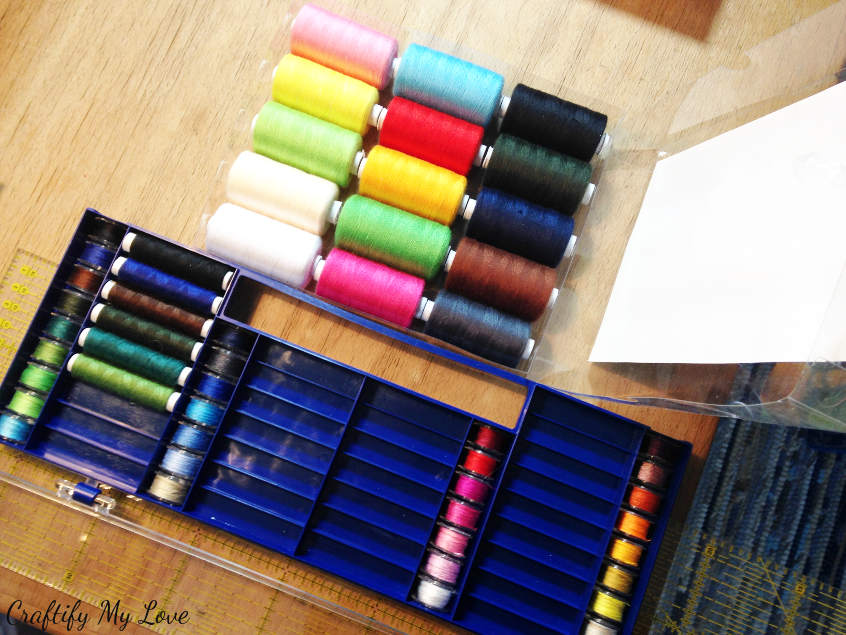
- Thread set like this one
- Big sewing thread reels like this set
- IKEA Ribba
- Sturdy cardboard (preferably white, 2-3 mm thick)
- Ruler
- Pencil
- Some sort of paper cutting tool, like this Xacto Knife
- Hot glue gun
- Glass Head Pins (optional for decoration)
4 Simple Steps to Make Your Very Own 3d Sewing Room Wall Art
You can do this little creative recycling project in a couple of hours, one afternoon, tops! Keep reading for well-explained step by step instructions:
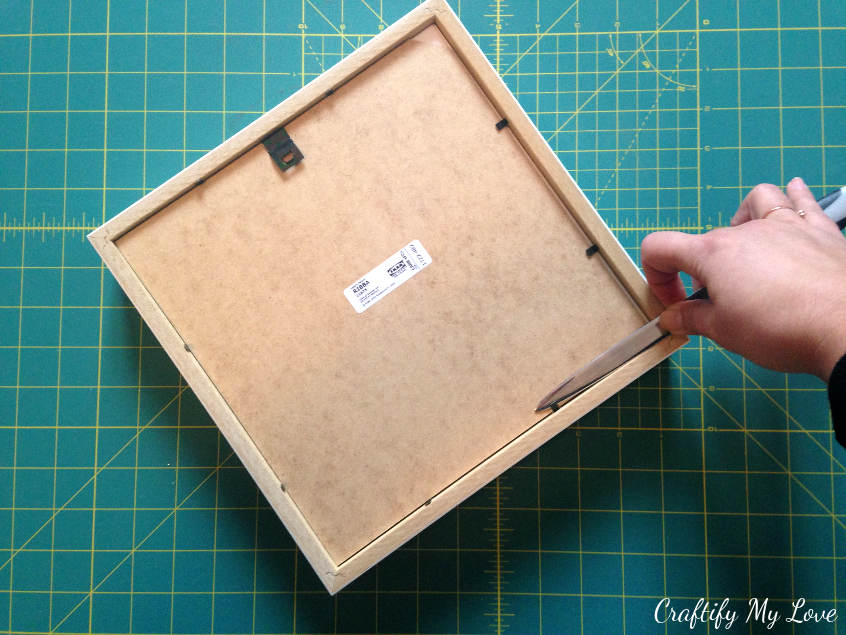
1 – Disassemble IKEA frame Ribba
Bend those little metal thingies open, but be careful, not to cut your fingers. I find using a letter opener is quite handy.
Take off the back and get the Passepartout (you know, the fancy white paper frame to make your photos look even better)and the spacer out. You’ll be using them both as a template in a minute.
2 – Create Base for your Sewing Room Wall Art
Using the Passepartout as a template, you’ll cut a piece of sturdy cardboard. It will have to hold all those thread reels so make sure it is nice and thick. But then, not too thick, so you will still be able to close the frame. Mine is about 2 mm thick.
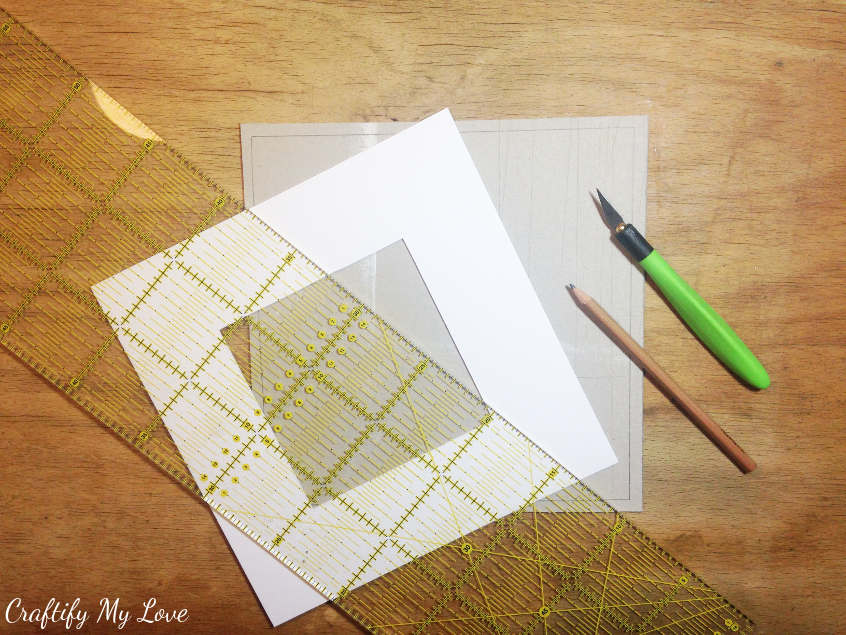
I only had a well used sturdy cardboard at home, that actually fit the size of the frame. A German DIN A 4 (regular printing paper) won’t do the trick as the measurements of the Ribba are wider.
Time-Saving Tipp:
If you want to skip the part, where you have to either spray paint or glue a white paper on your base, you might want to invest in a nice white sturdy cardboard.
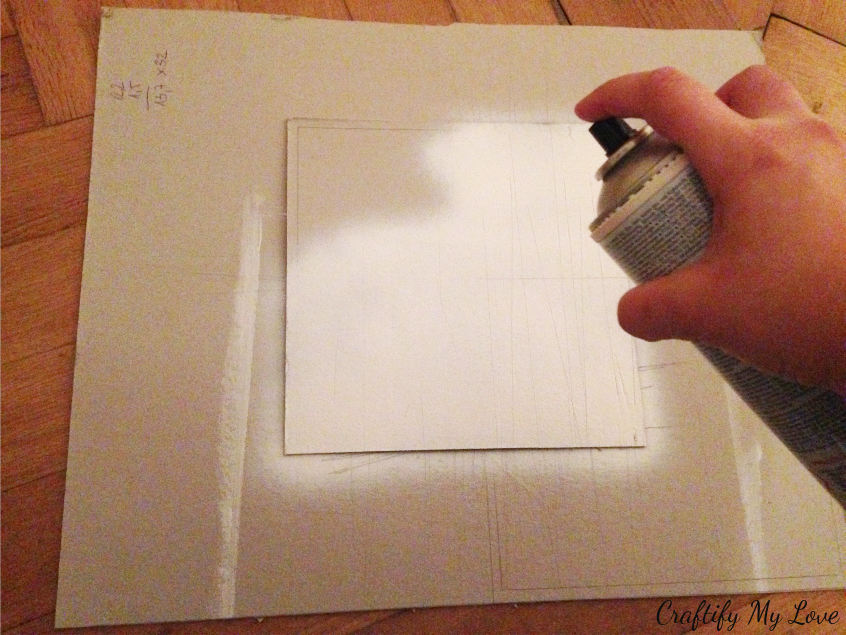
Because of all those cutting lines from previous projects (I eventually invested in my wonderful self-healing cutting mat as cutting on cardboard is not good for the sharpness of your knives or rotary cutters) I ended up sacrificing a sheet of scrapbooking paper with a white back. I chose one with a pattern I am not too keen on and hope I won’t regret in the future, lol.
3 – Creating the actual ART part
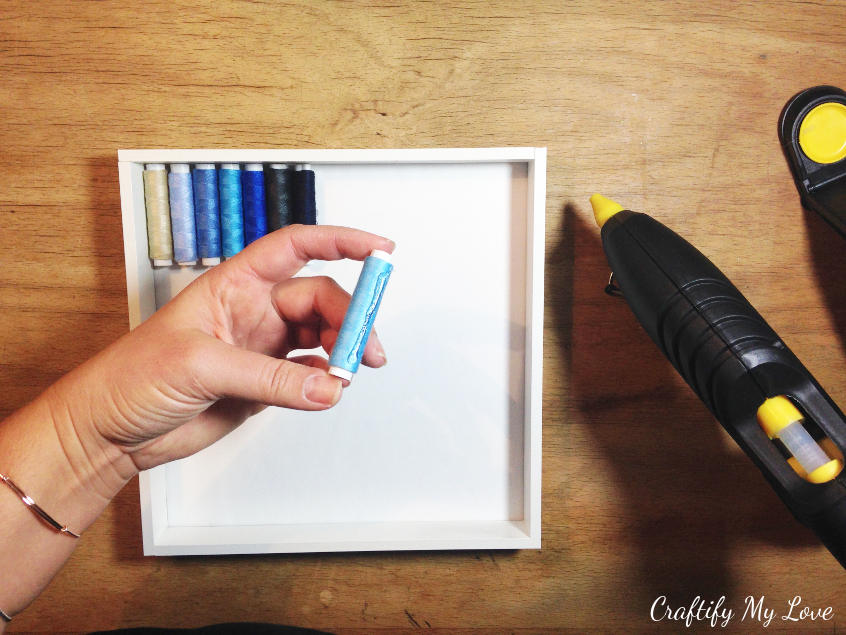
First of all, you’ll place the spacer of your Ribba frame on top of your previously made base. This way you’ll make sure that your artwork will actually fit into the frame when assembling it.
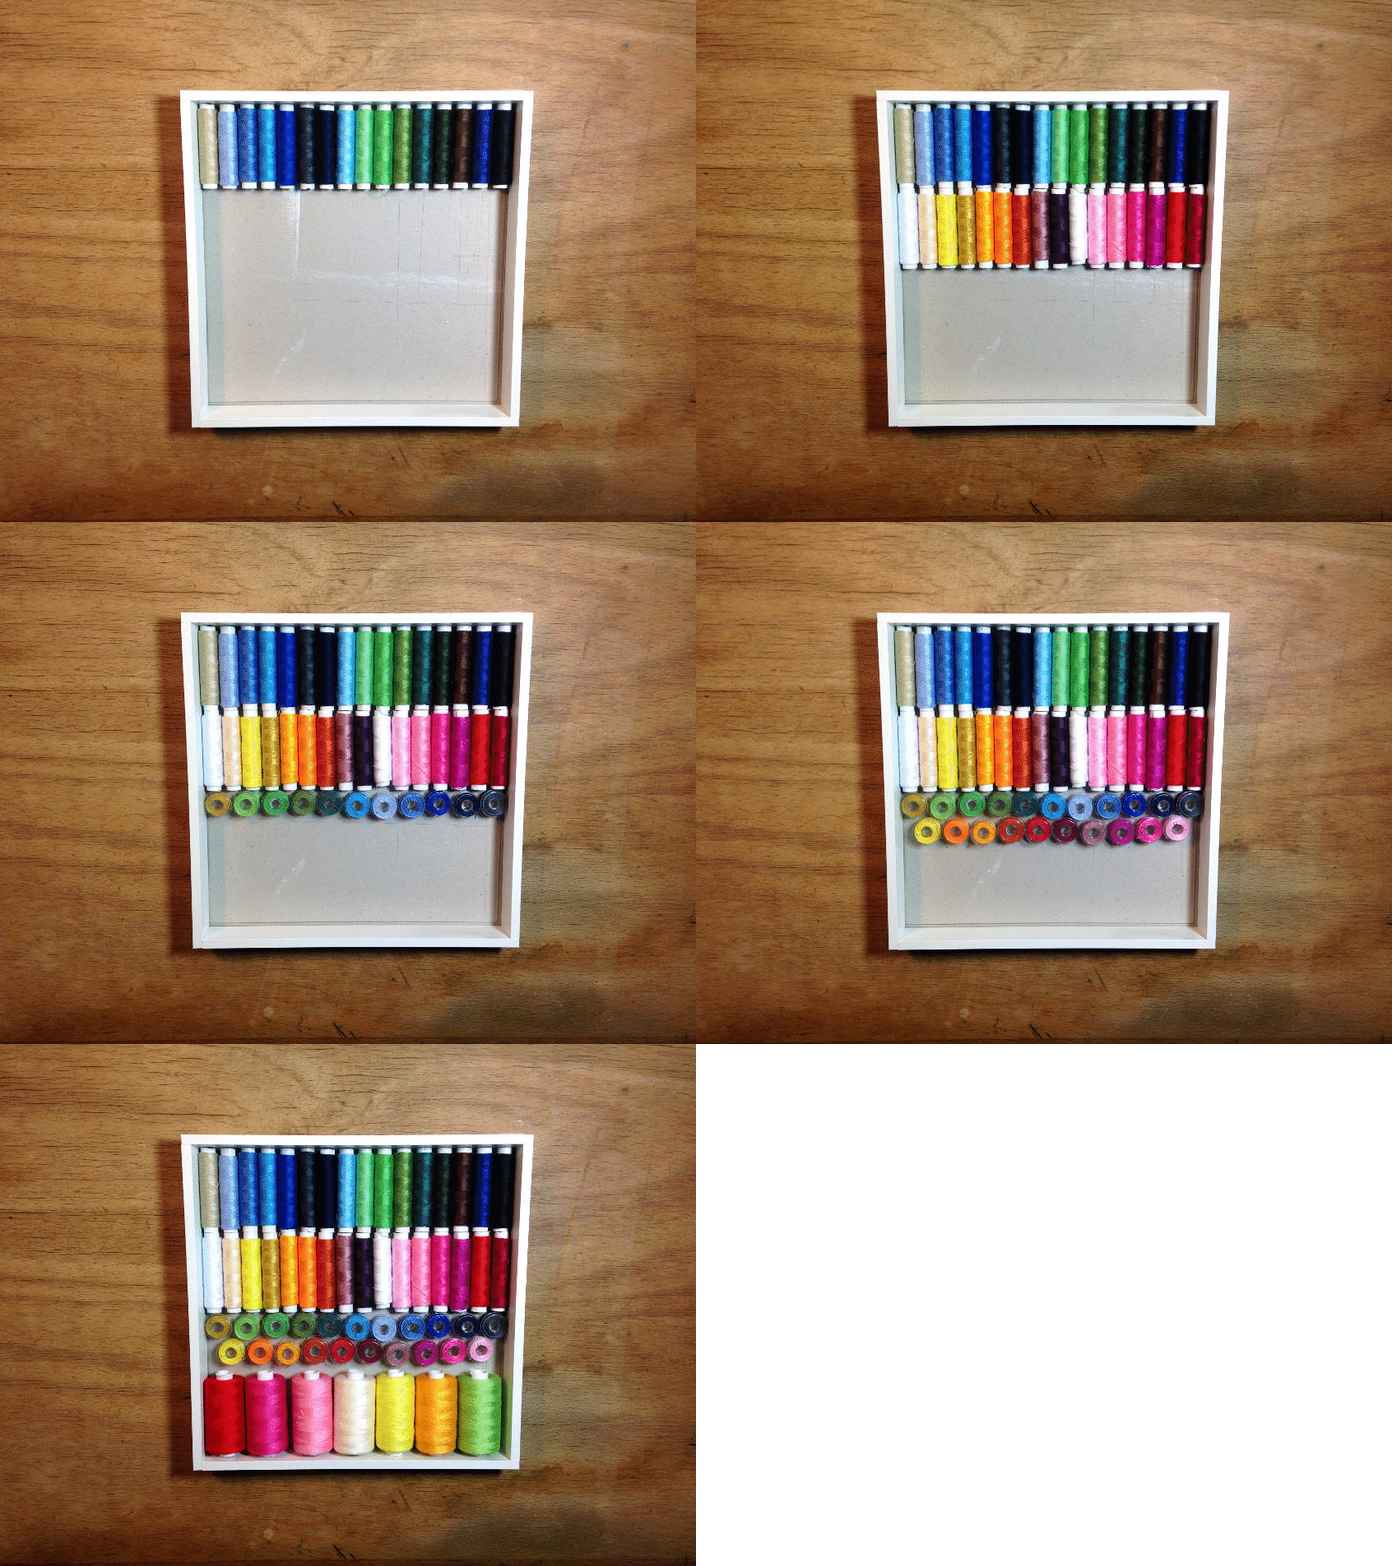
I’d recommend you do a dry run before actually getting out your hot glue gun. You can see my dry run in the GIF further down.
Did you notice that the background in the GIF was still grey? This is how I realized that I need to cover the base with white paper because you could see through in a couple of spaces.
Also, you will be able to see if you can do the same exact design I did or if you need to freestyle. Why? This could be necessary because of differences in the size of your thread spindles.
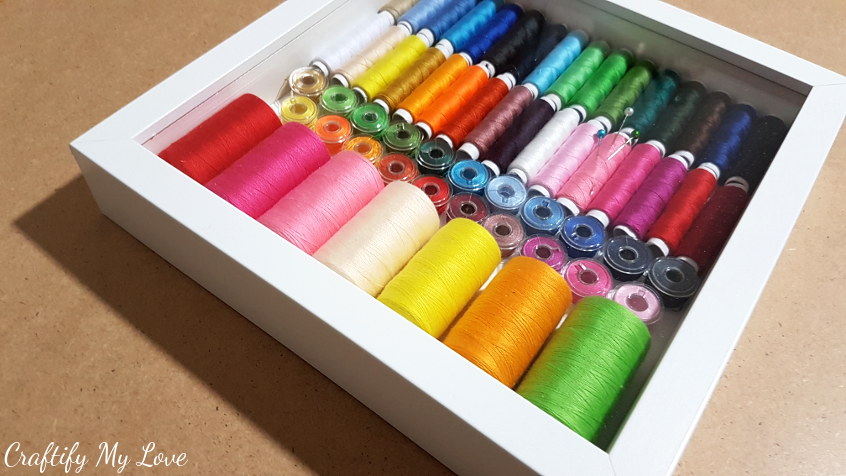
Keep on gluing until you created this wonderful rainbow bobbin design:
Can you see that there is a little blank space around the base? This is so your artwork will fit into your Ribba.
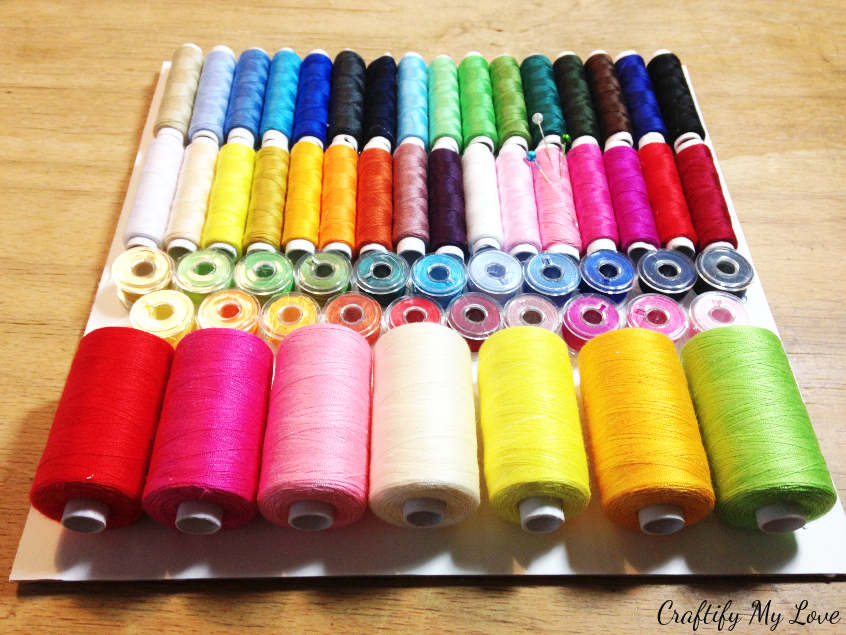
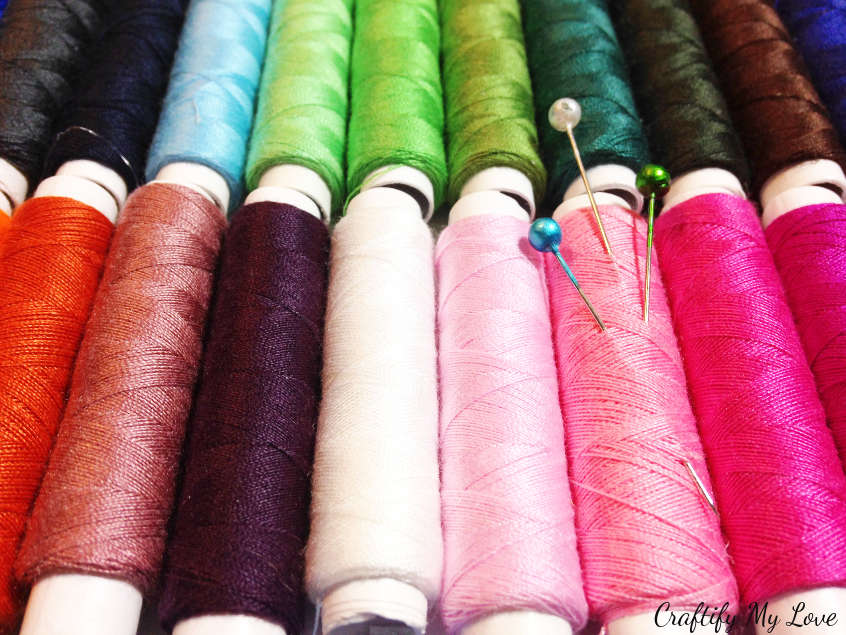
I decided to add a view glass head pins to emphasize the sewing theme of this project.
Simply stick them into one or several thread reels.
4 – Assembly
It’s time to finish up! Get your IKEA Ribba frame and insert the spacer. Place your individually created artwork upside down on the spacer (the exact opposite than in the picture below), add the back and bend the metal thingies down again.
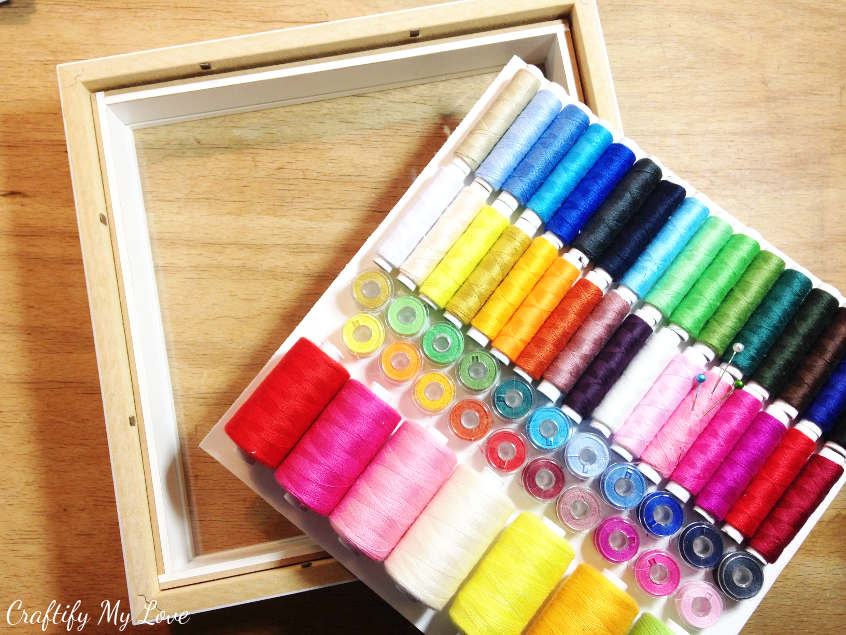
Admire your self-made Sewing Room Wall Art
I always get a huge energy boost, when I’ve created something. Do you, too?
Also, here is the promised sneak peek of part 2 of my 3 piece craft room decor. Make sure to join my tribe, so you get a notification when it’s time to make this one.
I can guarantee a lot of fun and a little messiness, lol.
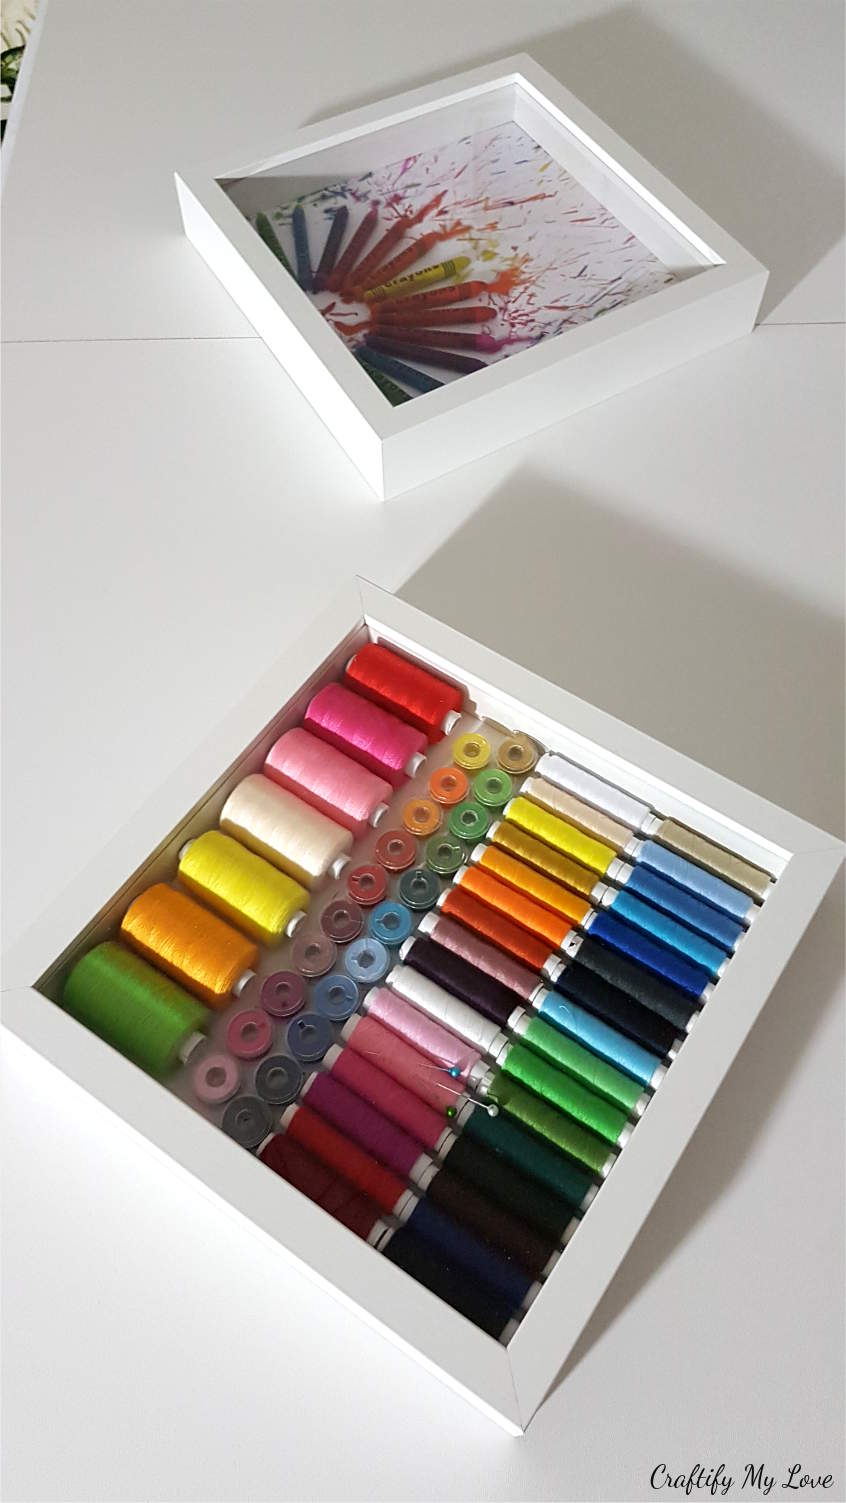
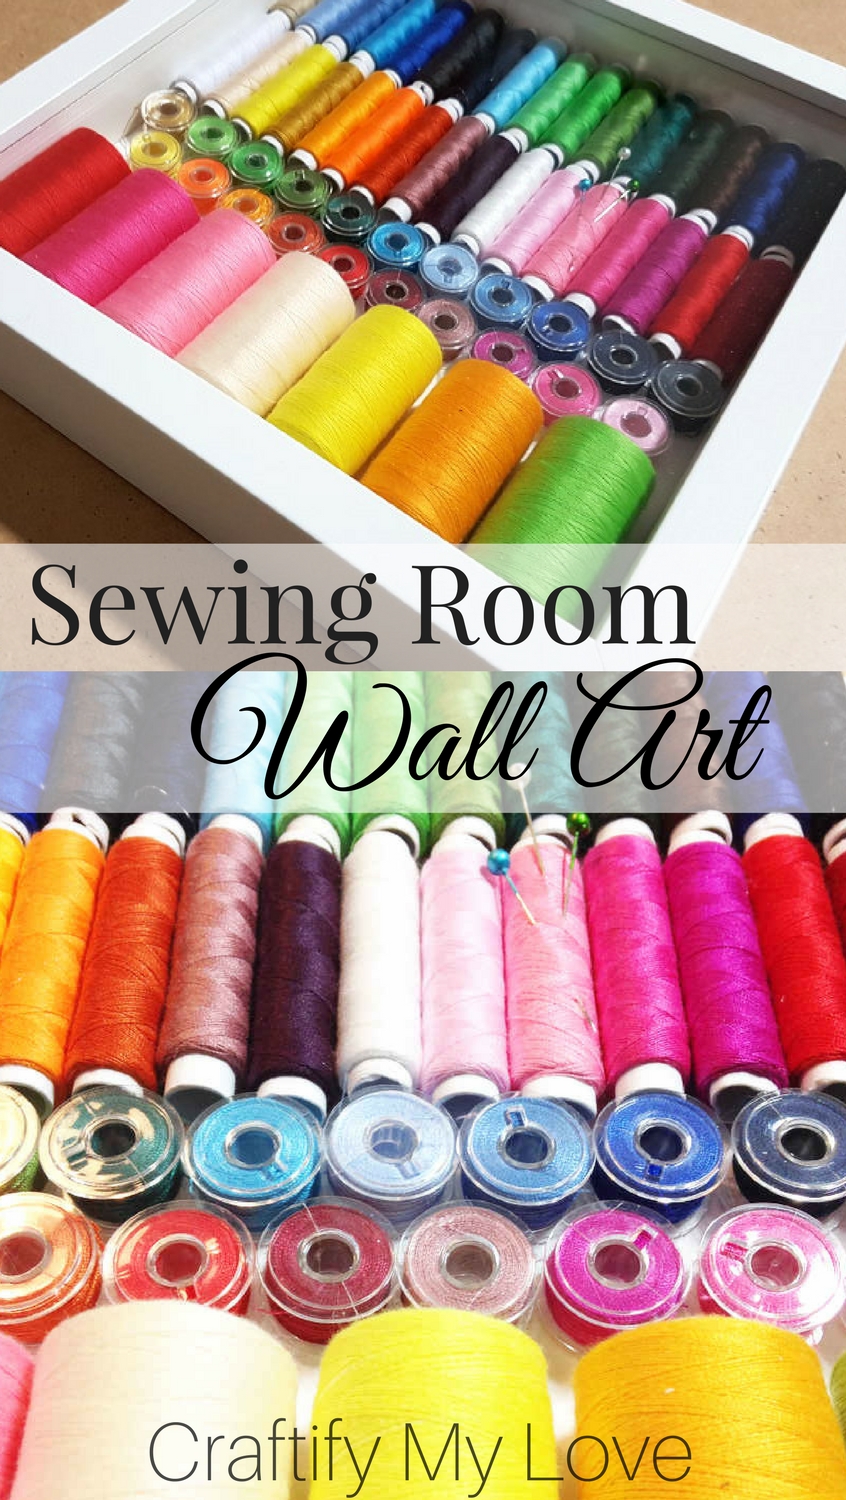
I had to add this image, too, because ohhhhhh those colors!!! I am in L.O.V.E.
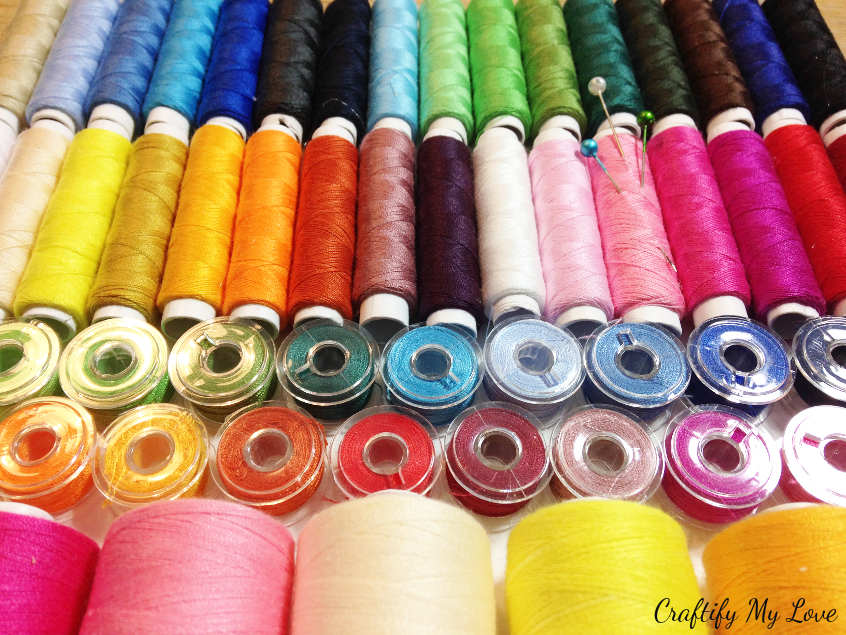
If you think some friends of you might like this tutorial for a sewing room wall art, too, it would be fab if you shared it on Social media or Pinterest. Thank’s a ton, hon!
Tell me, have you decorated your craft space?
Love,

PS: If you want to learn what actions I took during my Craft Room Challenge 2018, you can check it out here.
Craft Room De-Stash Challenge
And now it’s time to check out what creative projects you could accomplish today with your craft supply goodies. #CraftRoomDestashChallenge
If you’d like to join in the Craft Room De-Stash Challenge, you can request to join our Facebook group here!

I was sooo happy to click through to read that you used discount thread that you weren’t going to use for sewing to make this. 🙂 It’s perfect for a sewing room, but when I first saw it, I couldn’t wrap my head around using spools of perfectly good thread to make it. Now I’ll start checking thrift stores to see if I can find some to use. 🙂
Oh noooo! You’re the second person telling me this. Should I add a warning in the top of the post like “During this project no perfectly good thread spools came to harm!”? I think that would even be funny 😉 And what a good idea to check thrift stores for them, because mine almost took a trip down that road 😉
Love this! I am also cleaning out and updating my craft room this month and I need some great ideas for wall art. Thanks for sharing such a cute idea. Visiting from the blog hop.
Hello kindred soul! I am glad I found yet another person who is updating their craft room. I feel like this gives me even more energy to accomplish this horrid task (can you tell I don’t enjoy the process of tidying up, lol?). I am glad I could give you some inspirations for your wall art.
This is a great use for those naughty cheap threads. A rainbow box of threads is like a box of fresh crayons or paints. Just makes you want to create something. Your wall art triad is going to look fantastic.
Thank you so much, Dione! I think I’ll be making last minute changes to the third part of my triad. Crossing my fingers I’ll have everything at home and that it will work out nicely.
Oh, wow! All those colors in one frame?! I absolutely * L O V E * your creation! -Marci @ Stone Cottage Adventures
Visiting from the De Stash Blog Hop
Thank you so much, Marci!! AS I don’t have a favorite color (I always tend to say my favorite color is colorful ;-)) this was a must in my case.
I adore this idea. I love all of the color of the thread. Aren’t you glad you bought the wrong thread?
Yes, yes, and yes! I am super glad I bought the wrong thread and I am even more glad that I took the two boxes of thread out of the donation box again, lol.
Looks like you have been busy in your craft room! Love your new decoration and am feeling motivated to declutter my “stuff”!
Yes, Roseann, motivation is a very big part of this Craft Room Challenge! I am happy you are motivated to declutter. I am granting myself one day of rest today. But tomorrow I’ll be elbow deep in my boxes full of buttons, sparklies, fabric and what not again.
I love the colors in your wall art and enjoyed the creativity of your GIFs.
Thank you so much Lydia. The desk-clearance-GIF was my first one and I enjoyed it so much, that I thought, lets make another one.
This is such a cool project for your craft room!
Thank you Michelle! I really enjoyed making it!!! And can’t wait to put it up on the wall.
Hello fantastic website! Does running a blog similar to this
take a great deal of work? I’ve no knowledge of computer programming but
I had been hoping to start my own blog soon. Anyhow, should you have any ideas or
tips for new blog owners please share. I understand this is off subject
but I simply needed to ask. Thanks a lot!
Hi there, thank you for your comment. The good news is, that you don’t have to have any knowledge of computer programming to start a blog. But of course it takes time and I think passion to stick with it. Especially, in the beginning, you need to learn what you’re doing. But I can tell you it is a lot of fun and you can learn quickly. I would be happy to give you a tip or two (because, boy, what all I learned in the past year!!) but as of now I don’t have planned any blog posts about how to run a blog. I’d recommend you google it because there are a million blog posts and video tutorials exactly on that topic out there. One tip though! Don’t spend a lot of money on any courses in the beginning, there is so much info for free out there. Also I’d reccomend starting with a self-hosted WordPress blog (you’ll have to get your own URL and a hosting company which will cost you a little, but there are good deals out there). And you’ll need a theme (there are ones for free or inexpensive ones) and then you’re set to go. Let me know if you have any more question. Have fun! Habiba
Such a great piece of art for any sewing room! I personally am sewing deficient, but I still love the theme and the color array! Glad you are enjoying the challenge.
Megan, I am by no way a sewing goddess. I get things done. The seams will be crooked most of the times though. I enjoyed this craft mainly because of the vibrant colours.