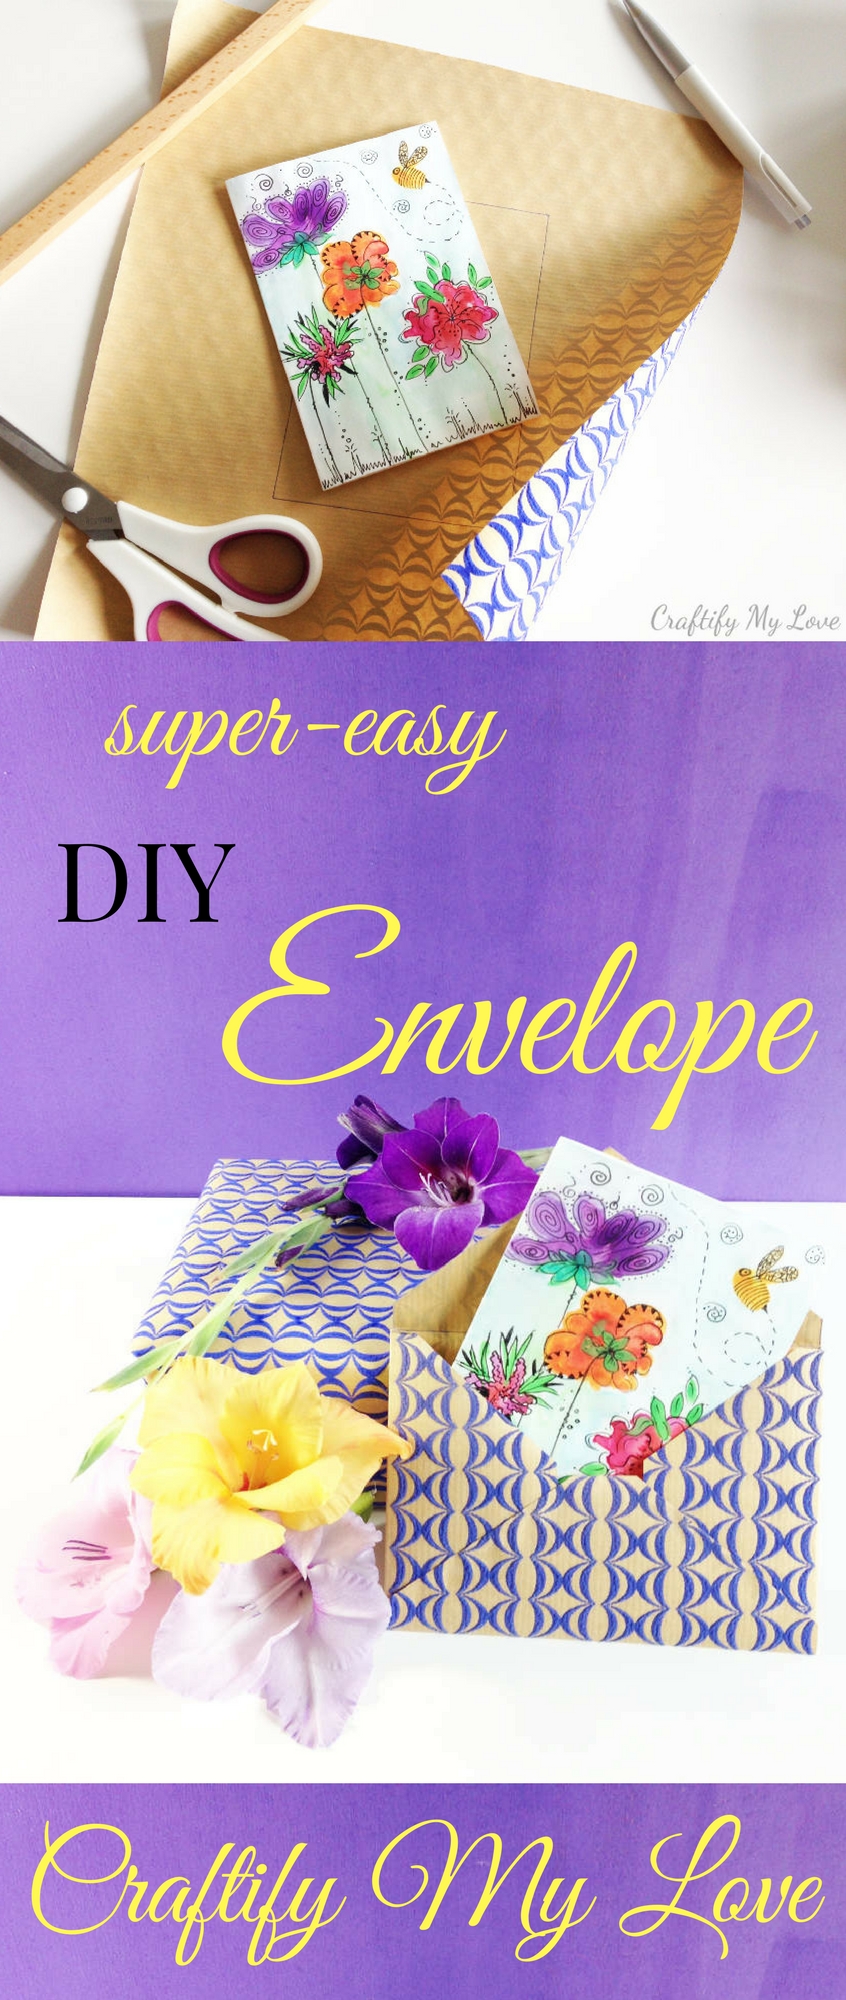
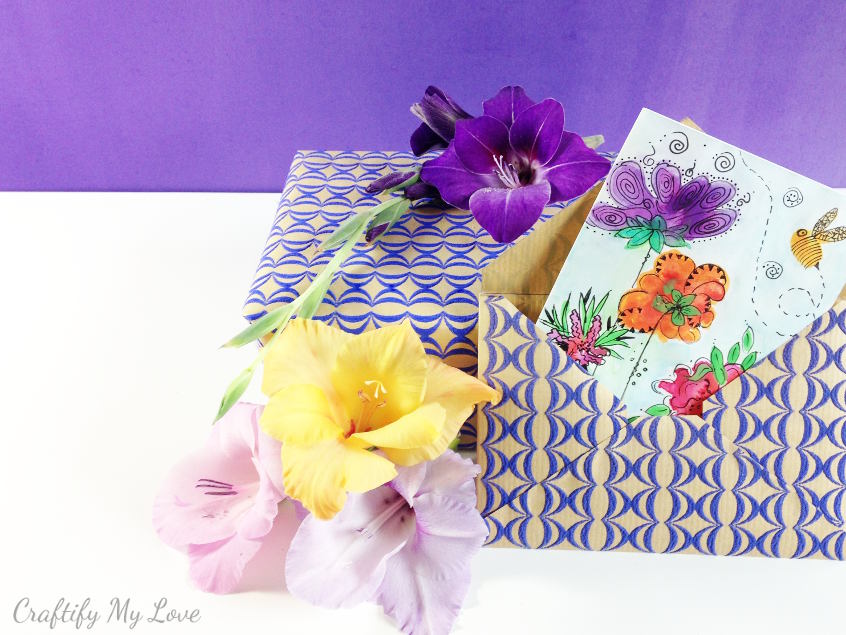
Now that you’ve learned how to make your own watercolor cards, you’ll need a matching DIY envelope to round this project up, right? Don’t worry! I’ve got you covered, and it’s super easy, too!
As your card might not be the same size as the one I’ve made, I won’t be giving you simply a standard template. No! I’ll be teaching you the ultimate way on how to make your very own DIY envelopes in 4 easy steps.
How to make a super-easy DIY envelope:
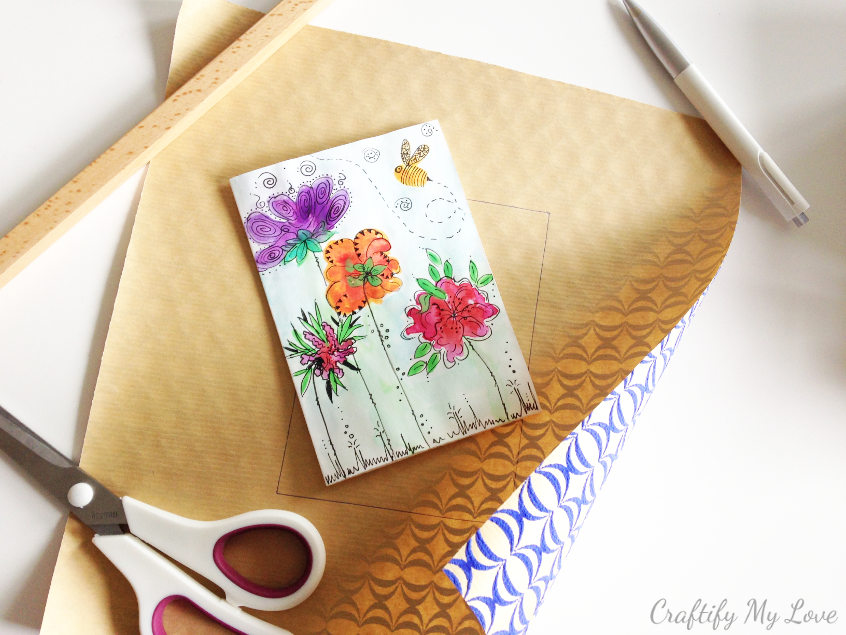
Supplies to make your DIY envelope:
- gift wrapping paper
- ruler
- scissors
- pen
- glue stick
- sticker
- your handmade card for measurements
Step 1 – Trace card measurements on paper:
Trace the measurements of your card on a piece of gift wrapping paper. Make sure to place it in the middle, so that you have at least room for half of the cards measurements around it.
Step 2 – Measure the flaps for your DIY envelope:
The top and bottom flaps should be half the hight of the envelope + one inch.
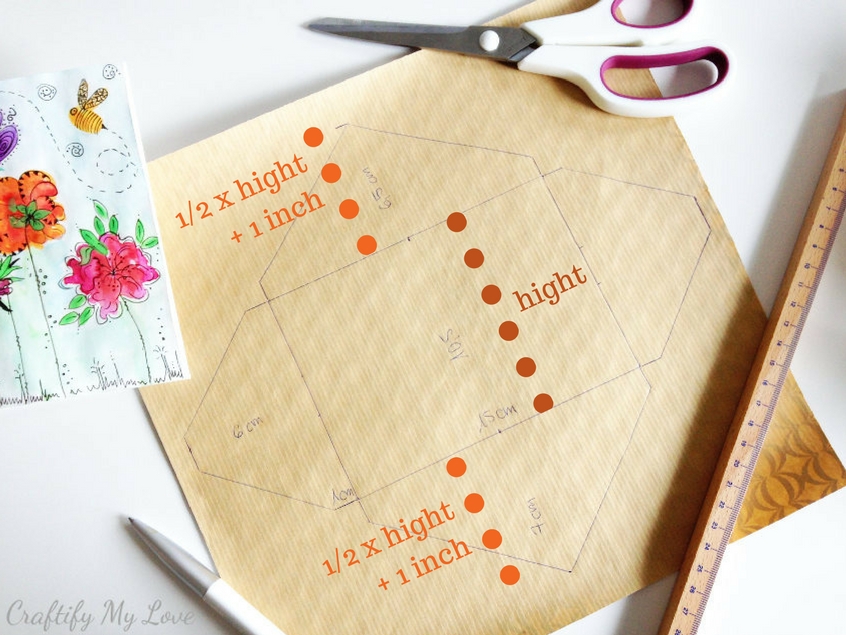
Did you see that I started to draw the triangle part of the flaps half an inch away from the envelopes base? This gives your glue room later on. You don’t want your entire envelope to stick together, right?
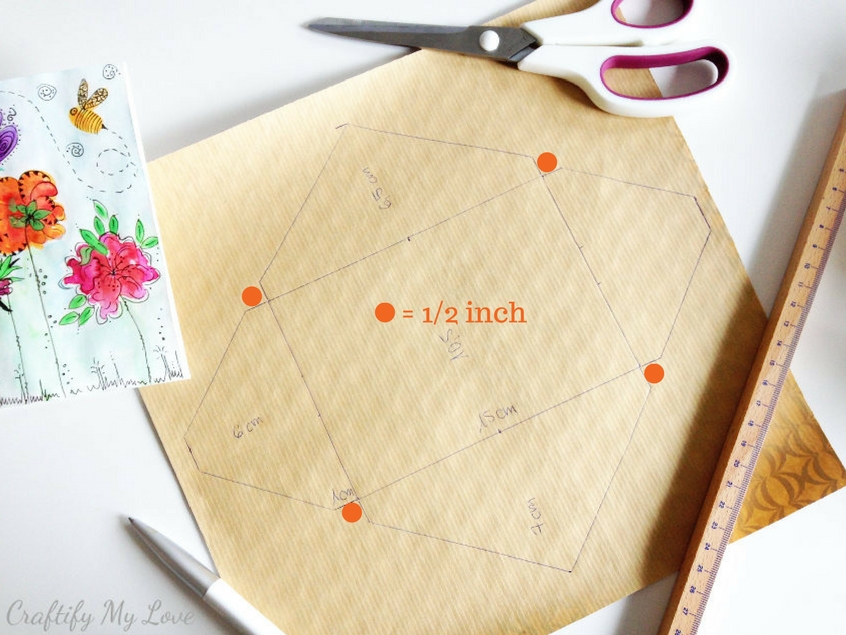
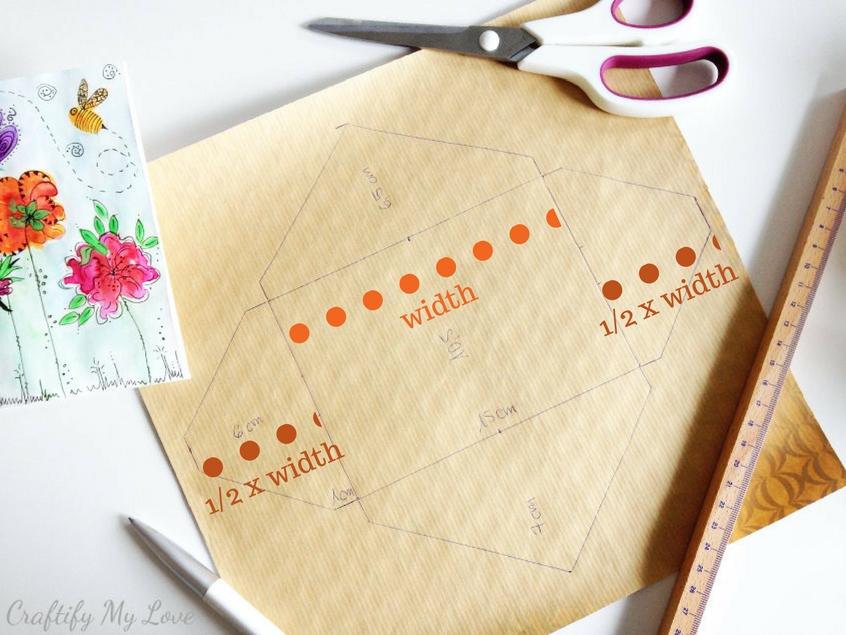
The side flaps can be a bit shorter (I tried because my scrap of gift wrapping paper was simply not wide enough 😉 ). But try to make them half the width of the envelope, just in case.
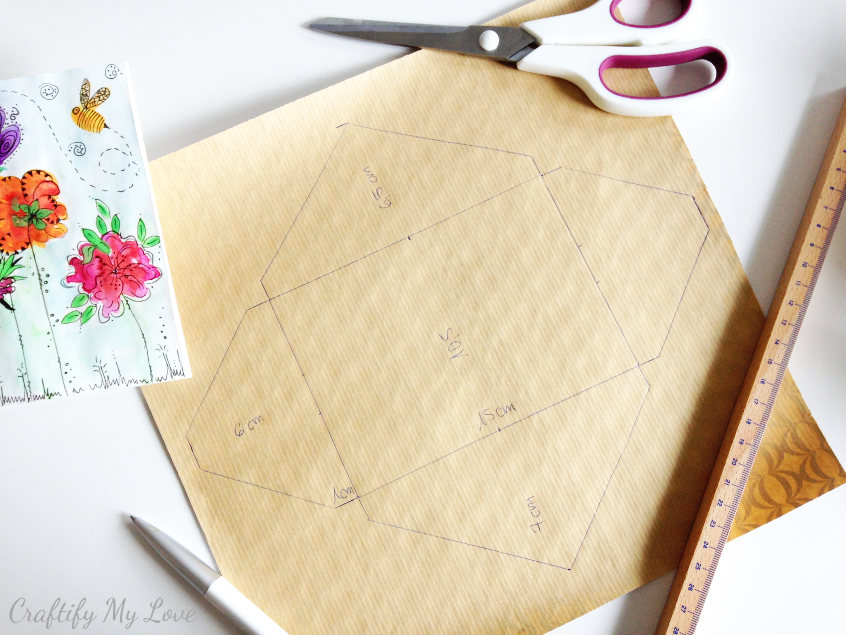
Once you’re done, you should have a sketch of your DIY envelope like this. It’s ok to write the measurements on it, as this will be the inside of your envelope. No one will see it once you’re done 😉
Step 3 – Cut & Fold
Now cut your DIY envelope around the outer edges.
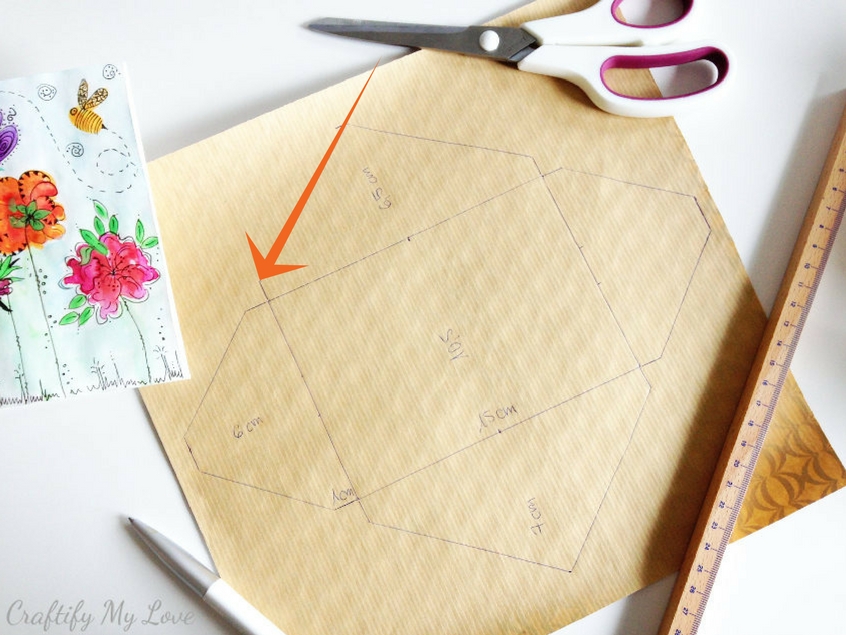
Fold the top, bottom and side flaps. Next, you’ll unfold all but the lower flap again.
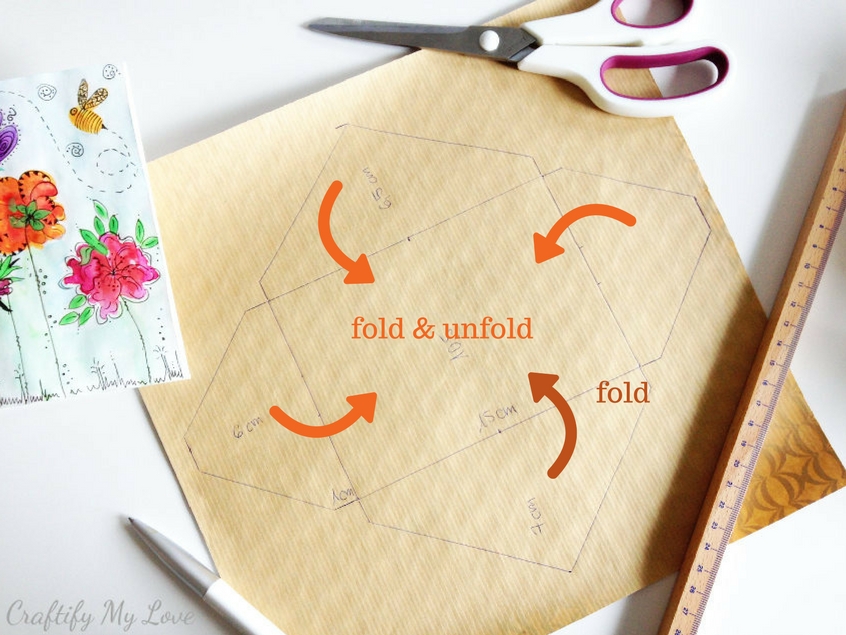
Step 4 – Assembly of your DIY envelope
- Apply glue to the lower edges of both side flaps.
- Press down firmly on the (previously upward folded) lower flap.
- Make sure you didn’t get any glue on the inside, so your envelope won’t stick together.
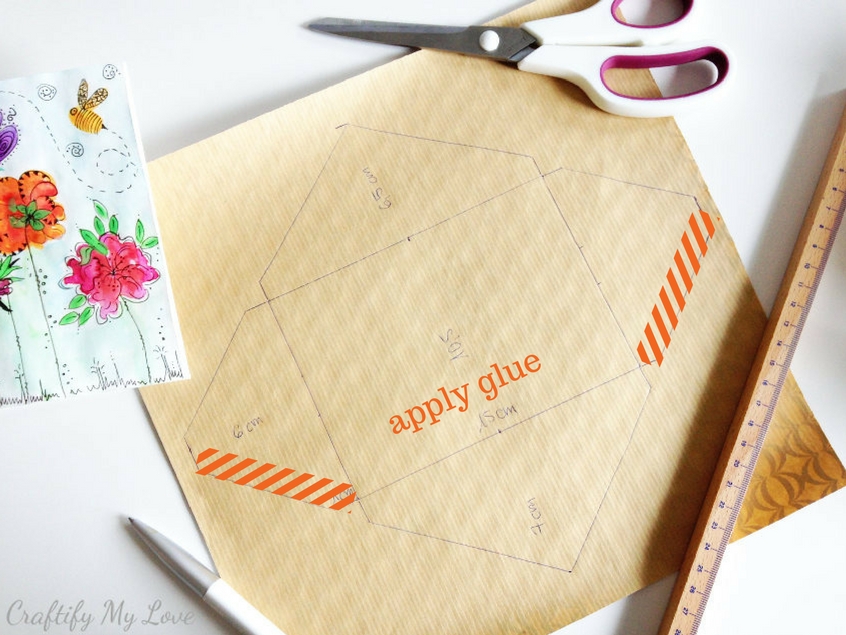
Step 5 – Make use of your DIY envelope
- Now it’s time to write a lovely handmade flower card or a Mixed-Media Easter Card for your friend or family.
- Place it inside your DIY envelope, and
- close the envelope with a sparkly sticker.
Related:
- Mini Envelope & Card from recycled hand-lettering sheets + free template & cutting file
- How to Wrap a Gift + Tips on Bow-Making, Gift Tags & Supply Storage
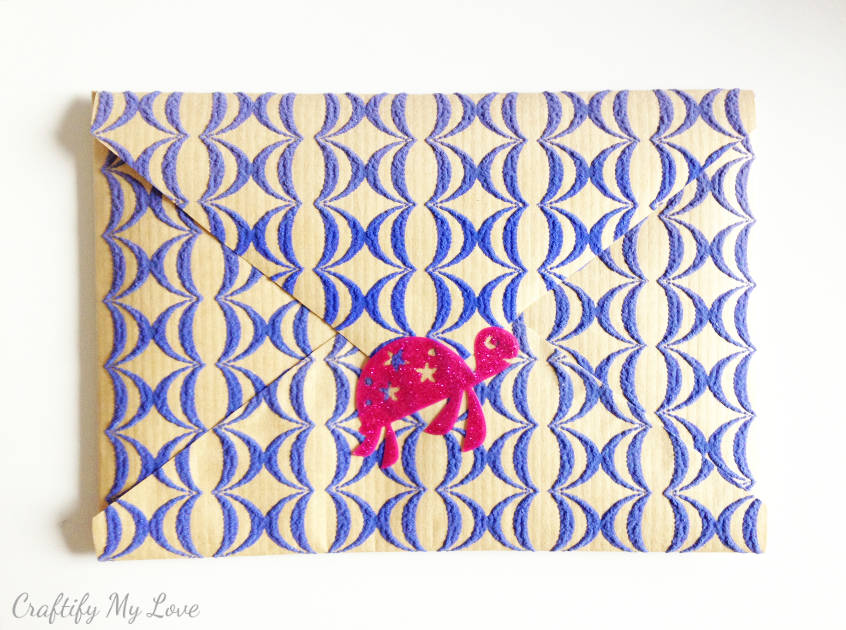
Who will receive your next handwritten card?
Tell me in the comments…I am sure the recipient of your lovely card will be happy as can be. I mean, come on!
You invested your time and creativity to surprise a loved one!
Love,

Learn how to make your own DIY watercolor card now, too.
Recycling Craft: Mini Envelope & Card from Handlettering Practice Sheets
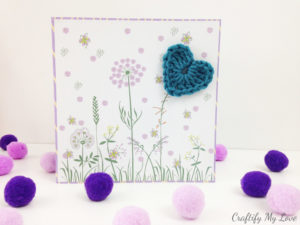
Floral Card for Multi Purposes
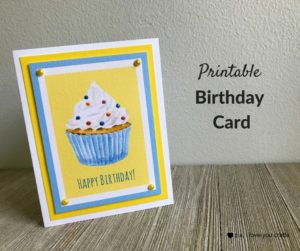
Or print this lovely Birthday Card by my friend Pam from P.S. I Love You Crafts.
How to Wrap a Gift + Tips on Bow-Making, Gift Tags & Supply Storage
Great tutorial Habiba! I love how colorful this is
Thank you so much. I crafted this out of a whim and really liked how it came out.
[…] https://craftifymylove.com/2017/10/23/how-to-make-super-easy-diy-envelopes/ […]
Wow just amazing I absolutely love this envelope idea! So much that I am going to have a go at making these.
Thank you so much! Did you already give it a try? How did they turn out? I bet you rocked this craft!!!
Thank you for the tutorial! I once knew how to make envelopes, but then forgot! eesh! My Easter Card project just went up a crafty level! 😉 -Marci @ Stone Cottage Adventures
Haha, Marcy, I love that I could be of help. Now if I new if there was a standard format for envelopes in the US I would even create a template for you to download.
Tomorrow, I am publishing my Easter Cards (with matching envelopes, mind you) giving credit to you for the inspiration! The envelopes look super cute. Thanks again! -Marci @ Stone Cottage Adventures
Yay, Marci! That is fabulous. Can’t wait to see your post and how your cards + envelopes turned out!