Lately, you can see a lot of watercolor art on Pinterest and other places. And I must say I really love it! I haven’t been painting with watercolor since school so I wasn’t sure if I could do it. But as I love myself a good challenge, I just tried and made some watercolor cards for my friends upcoming birthdays.
I think they turned out lovely and my friends liked them, too! It’s fairly simple and I’d love to show you how to make watercolor cards in this quick tutorial. Because … I believe you can do it, too!
Learn how to make DIY watercolor cards

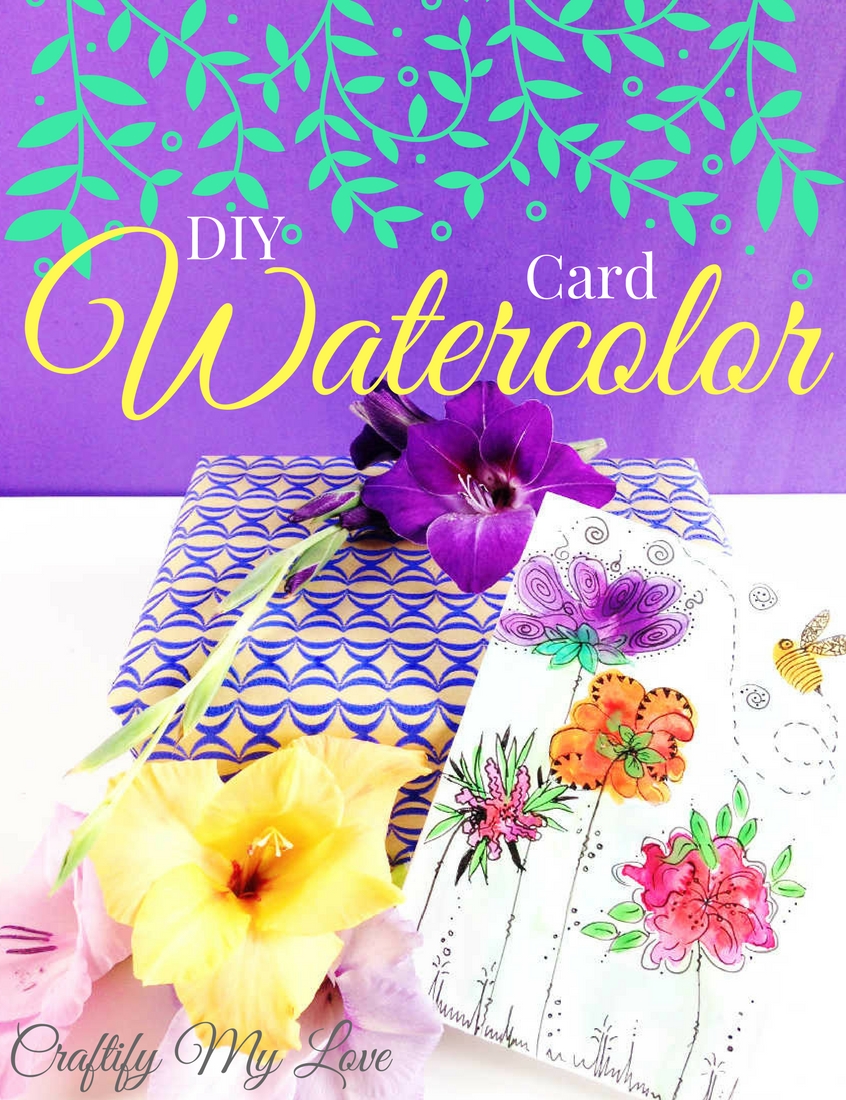
Supplies: Watercolor Cards
Probably you’ll have everything at home. If you have kids in school age, you do!
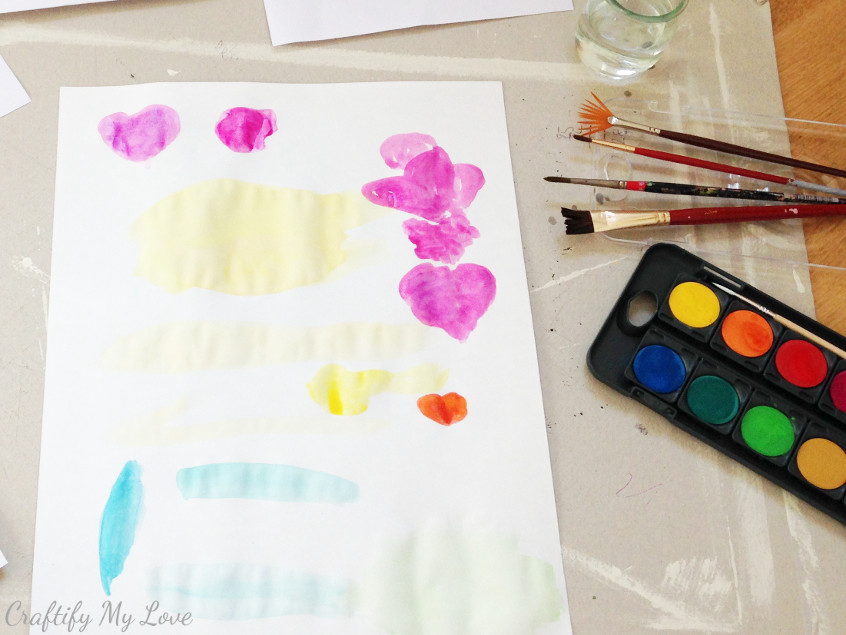
- watercolors (I bought a box of 12 colors for 3,99 Euro at my local T€DI – which is basically the same as a Dollar-Tree)
- brush (I tried out various brushes and ended up using the lower two brushes from the photo below)
- black pen (I used a FABER-CASTELL Artis Pen in S)
- paper (I used basic printing paper, but as you see, the paper curled a bit.
When using a proper watercolor or aquarelle paper this won’t happen!) - water
3 simple steps to your very own watercolor cards
Step 1 – Preparing the paper
Find a piece of paper and cut it to size. I used a German DIN A 4, cut it in half and folded it once more in half. I made sure to paint only on the right side of the crease.
Step 2 – Painting the rough shapes of your flowers
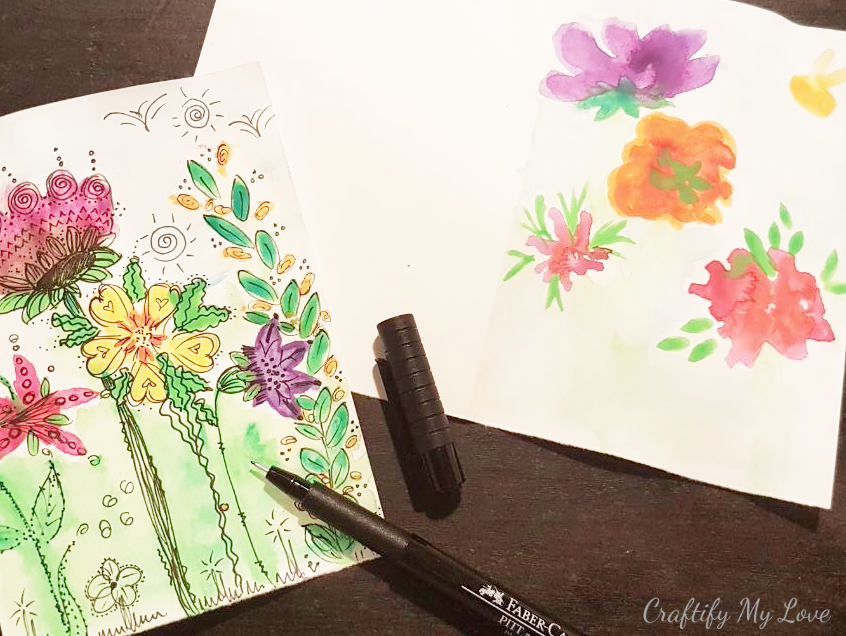
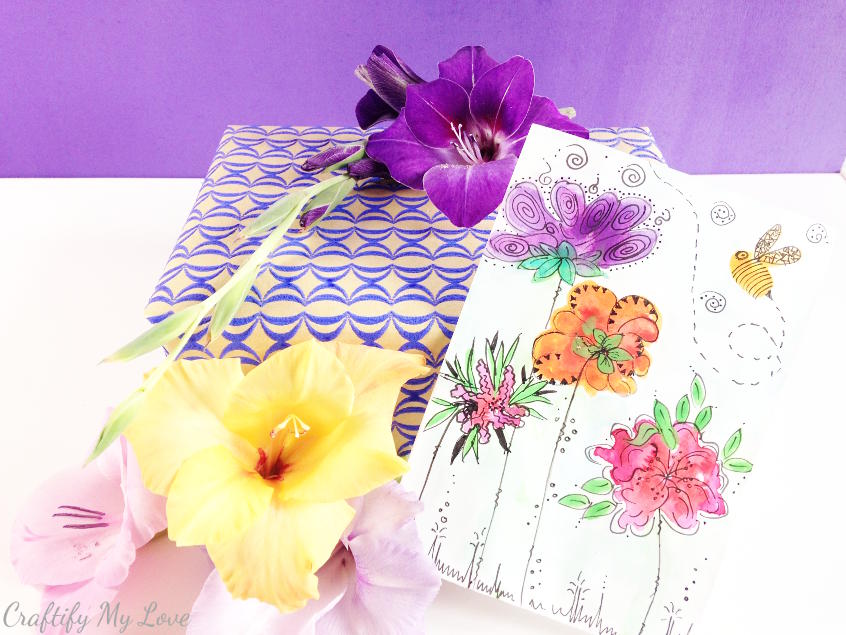
You can either have an image in your head already or you simply start painting and see where you’ll end up. The red big flower to the right on the card below looked to me immediately like a Hibiscus flower. Can you see that, too?
Using a lot of water and a little paint (you even can water the paper before adding some color), you’ll paint some roughly shaped flowers. If you want to blend several colors you’ll start with the lighter one (e. g. yellow) and mix in some drops of, say orange. Can you see the orange poppy flower right in the middle? This is how it was done.
If you want to add another color you don’t want to mix with others (for example the green leaves), you’ll let the flowers dry first.
Step 3 – Give your flowers and leaves some detail
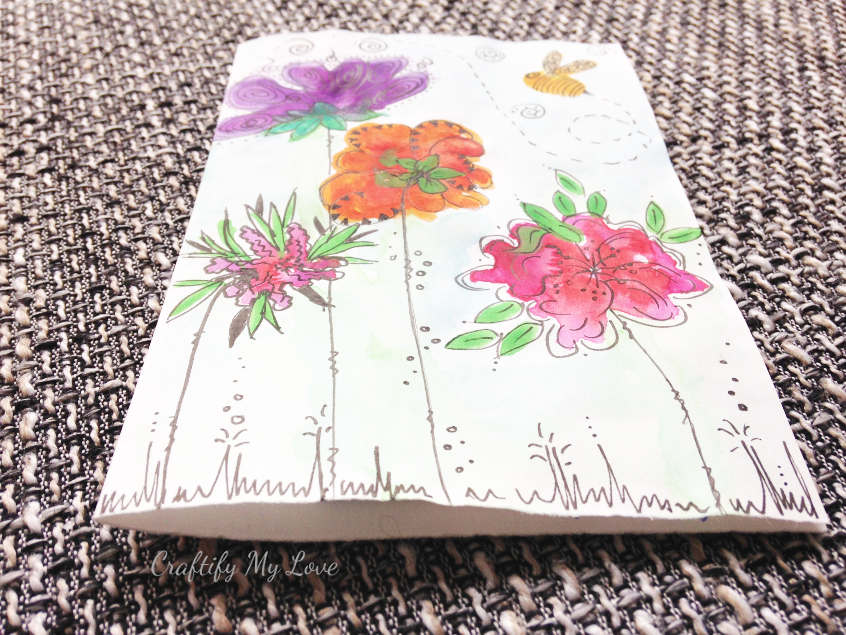
Using a thin black pen (I used a FABER-CASTELL Artist Pen in Size S) I started drawing shapes, doodles, details, curlies, and whatnot on my watercolor card.
Simply let your mind wander and your creativity will do the job!
When did you paint with watercolors the last time?
Find other super creative & fun Card Making Projects HERE – I think you might like them!
Need an envelope?
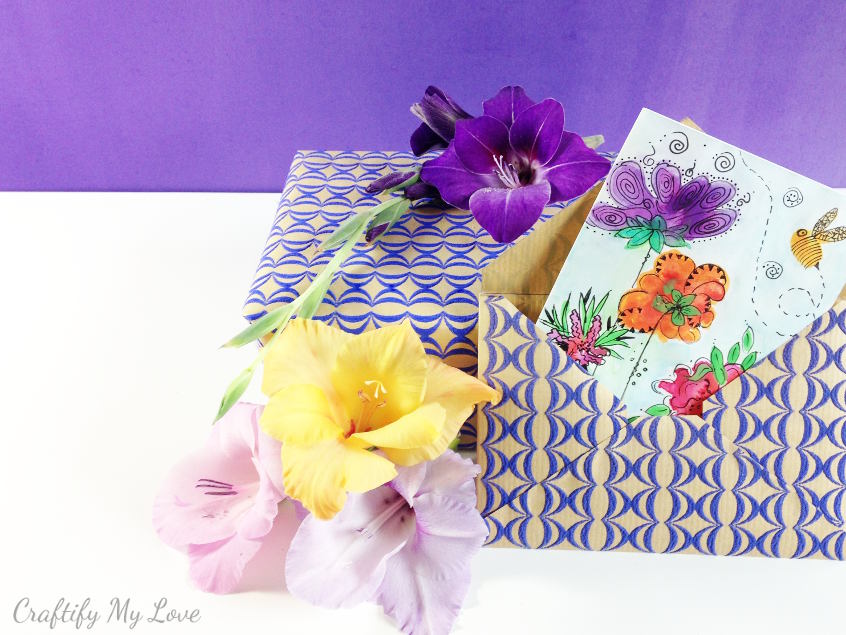
Learn how to make a matching DIY envelope in a couple of simple steps:
Love,

I ♥ painting with water colors and thank goodness I work with children and have access to it all the time. I never thought of creating a card and this is a fantastic idea thank you Habiba ♥
Your most welcome! Maybe you’ll show me your creation once your done?!
I recently bought some watercolors just to play around with. They are so much fun to play with, and I can easily get lost just blending all kinds of colors
Same here! Playing around with them is a wonderful pastime ?