These DIY Mini Envelopes from Recycled Handlettering Practice Sheets are again a super last-minute paper craft I didn’t even know I was going to make three days ago.
Originally, I had planned to share another handlettering card project for this months Bring on the Crafts Blog Hop, but you know how life is…
Life is full of surprises!
So far, I haven’t told you that I attended a handlettering class three weeks ago. It was – again – last-minute. I was interested in taking a class for a long time, but never managed to sign up. When I reached out to Bastelkiosk (a local crafty group of 5 women who offer classes for many different creative topics) they told me someone canceled and I could participate the next evening if I were spontaneous. Yay, me!
Bring on the Crafts — A Craft & DIY Blog Hop
On the first Friday of each month, a group of DIY and crafty bloggers join forces. Together, Marie from The Inspiration Vault and I, Habiba from Craftify My Love, we bring you the #BringontheCrafts blog hop. Each blogger creates a fun craft or DIY project to share that follows a monthly materials theme. February’s theme is Paper! Each blogger chooses their own craft to make as long as they love it and it uses paper in the project.
Our February Co-hosts
- Jenny at Cookies, Coffee and Crafts
- Gail at Purple Hues and Me
- Heather at Glitter on a Dime
Join in on the FUN!
If you’d like to participate next month, you can request to join our Bring on the Crafts Facebook Group.
Next month’s theme is Mod Podge!
Not a blogger, but a creative mind none the less!? Don’t worry, share your awesome creations in our Craft Cult Facebook Group. This is also a great place to ask craft & DIY related questions and find inspiration for your next project.
Supplies to DIY Mini Envelopes from Recycled Handlettering Practice Sheets
This post contains affiliate links. That means if you make a purchase through these links, I may receive a small commission at no extra cost to you! You can click here to read my full disclosure.
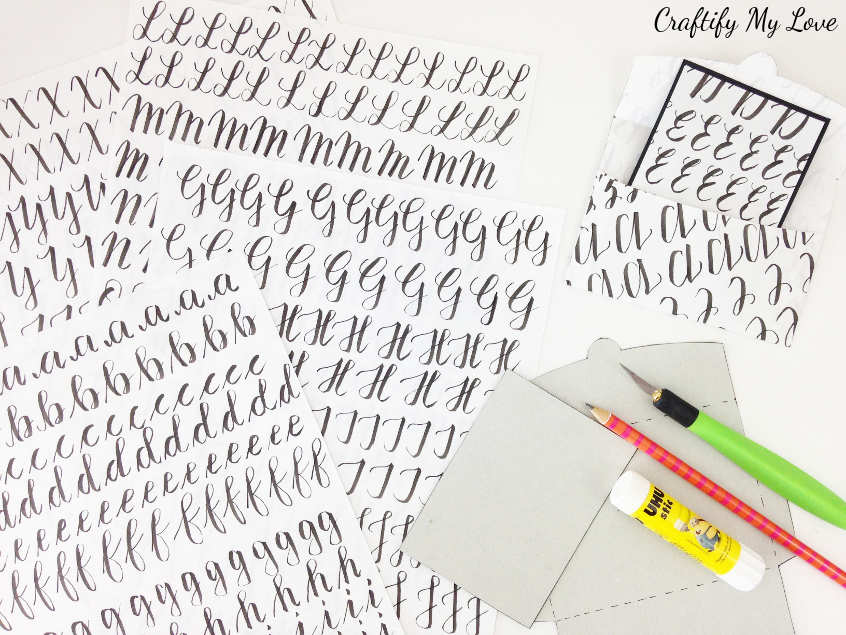
Supplies & Tools:
- Handlettering practice sheets (If you are not into handlettering, no problem! Grab a similar looking scrapbook paper or use an old book).
- Template for the mini envelope & card (Download a template or SVG cutting file HERE for FREE as a thank you for subscribing to my newsletter).
- Glue stick
- Ruler
- Card stock
- White gel pen for the note (if you are using dark card stock like I did.)
If you are using the FREE Template:
- Printer
- Cardboard (you could simply recycle a box or the back of a notepad)
- Pencil
- Scissors
- X-Acto Knife + cutting mat (I found a Value Bundle for you)
If you are using the SVG file:
A cutting machine of course 😉 Which one do you have?
Markus gave me this amazing Brother ScanNCut CM700 for Christmas, with which I created the SVG cut file for you by simply scanning my hand drawn design. Awesome feature, I am telling you!
Video Tutorial: DIY Mini Envelopes & Card
Video coming soon! Make sure you don’t miss it by signing up to my YouTube channel HERE.
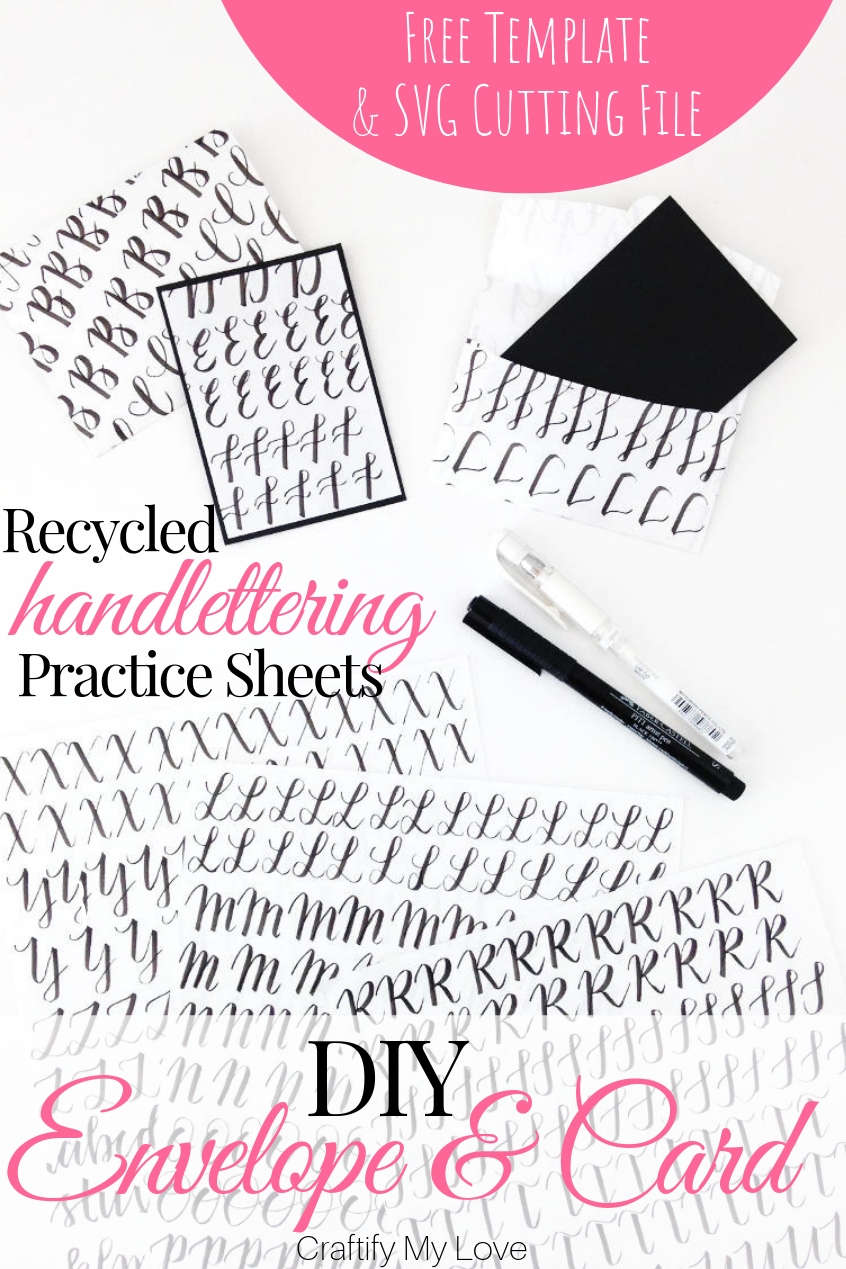
How to: DIY Mini Envelopes from Recycled Handlettering Practice Sheets
2 Alternate Ways to DIY an Envelope (by hand or using a cutting machine)
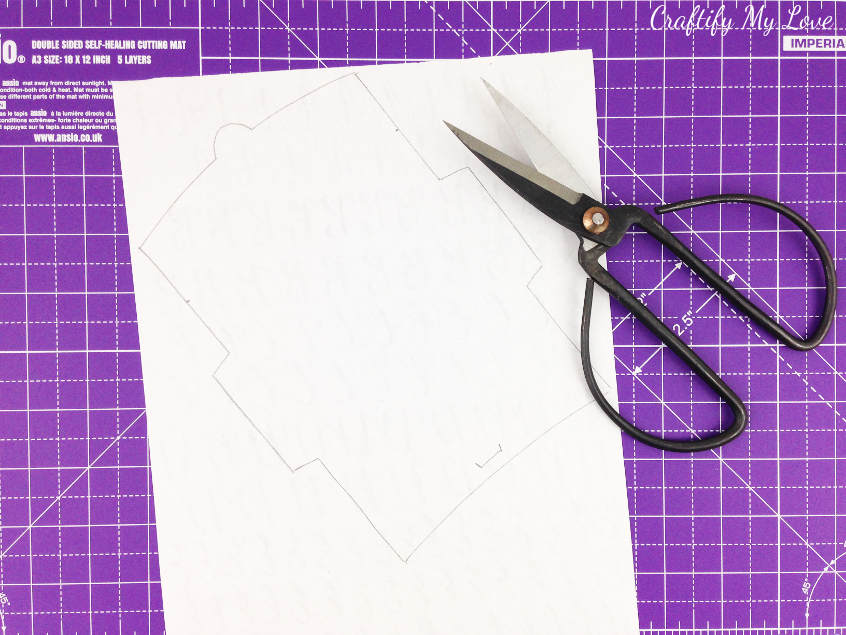
If you don’t own a cutting machine just yet, grab the FREE template for the envelope and card HERE as a thank you for subscribing to my newsletter.
Download and print the template. You could
- either print it directly on the back of your handlettering practice sheets or basically any other paper you like
- or you can trace it on and cardboard to keep the template for later projects or to use it at an angle as I did (see image above). In this case transfer the template on the back of your paper choice.
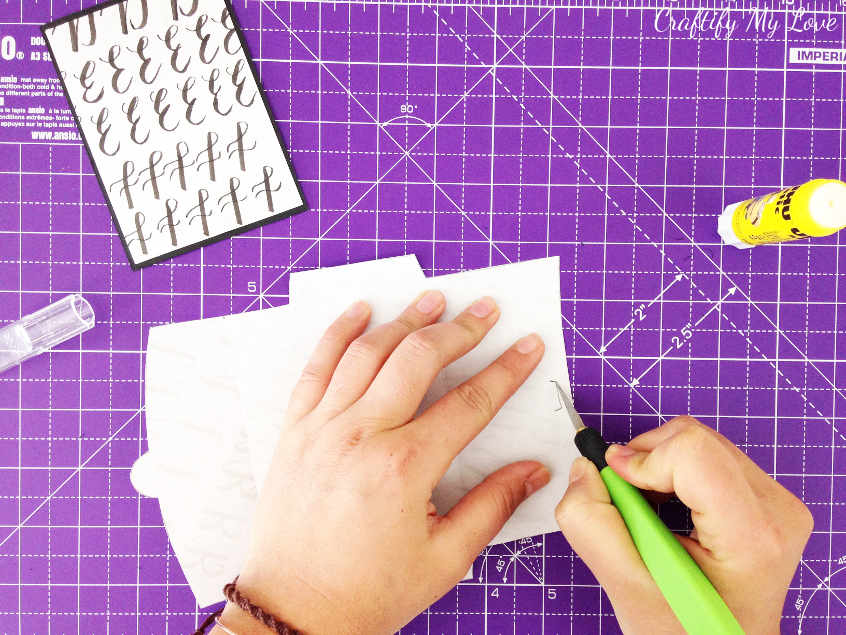
After you’ve cut out the envelope base you’ll use your X-Acto Knife to cut a slit into the back of the envelope. This way you’ll be able to use the lash on top (left in the image above) to close it later on.
Tip: Don’t forget to use a self-healing cutting mat, too! They come in different sizes and fun colors ?
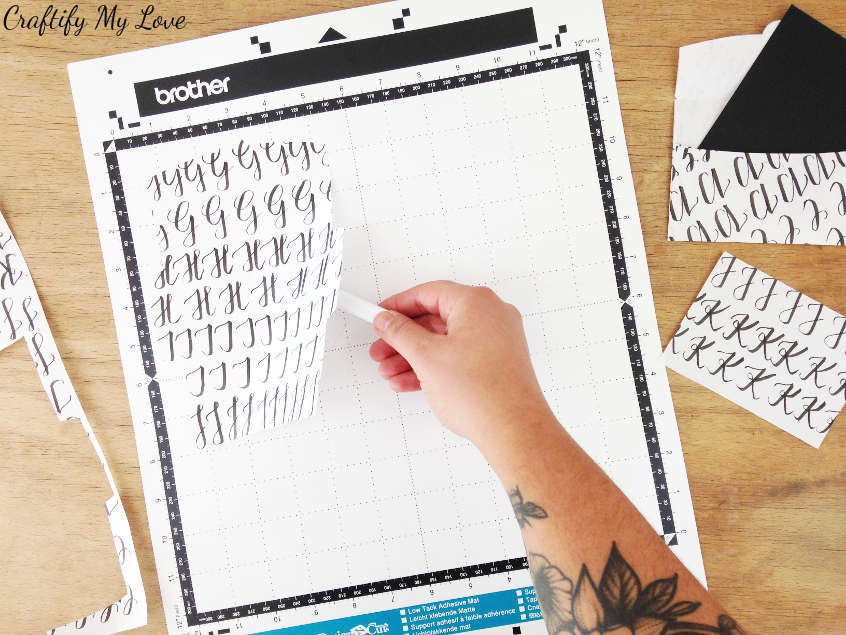
If you have a Cricut, Silhouette, or Brother cutting machine, download the Free SVG file HERE and cut out your envelopes base.
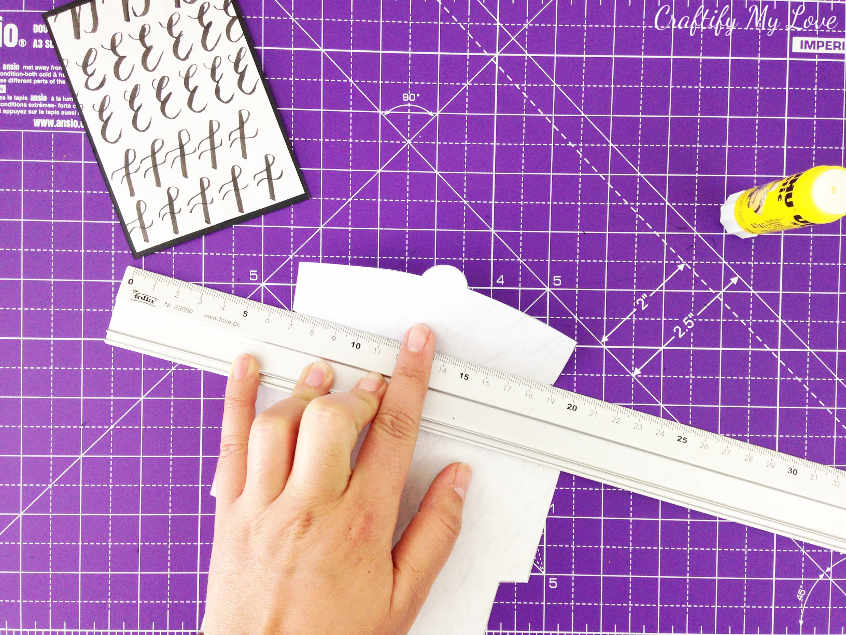
You’ll be folding now the flap of your envelope. Place a ruler 3 cm or 1,2 inches beneath the closing lash and fold the lash towards you.
Do the same with the two little wings on each side (vertical fold) and right under those two little wings (horizontal fold).
Tip: You can see this step very clearly in the Video Tutorial HERE.
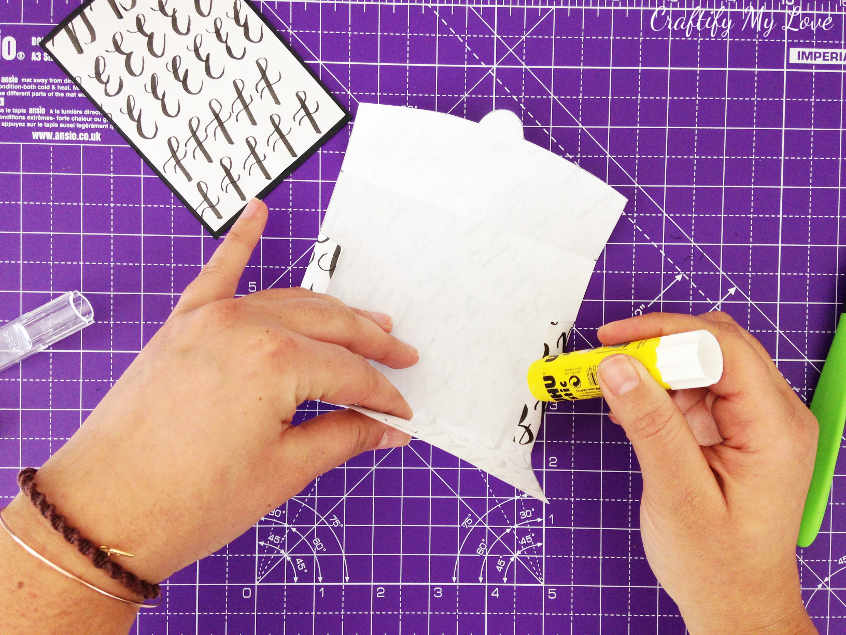
Apply your glue stick on the right side of your envelopes two little wings and fold up the bottom part of it. Voilà, you should be holding a DIY mini envelope in your hands now.
Need a Different Size Envelope or more DIY Card Inspiration?
Now, if you are looking for instructions on how to easily DIY an Envelope in Any Size, I’ve got you covered, too!
Related:
Other paper crafts you might like.
How to Create a Matching Card?
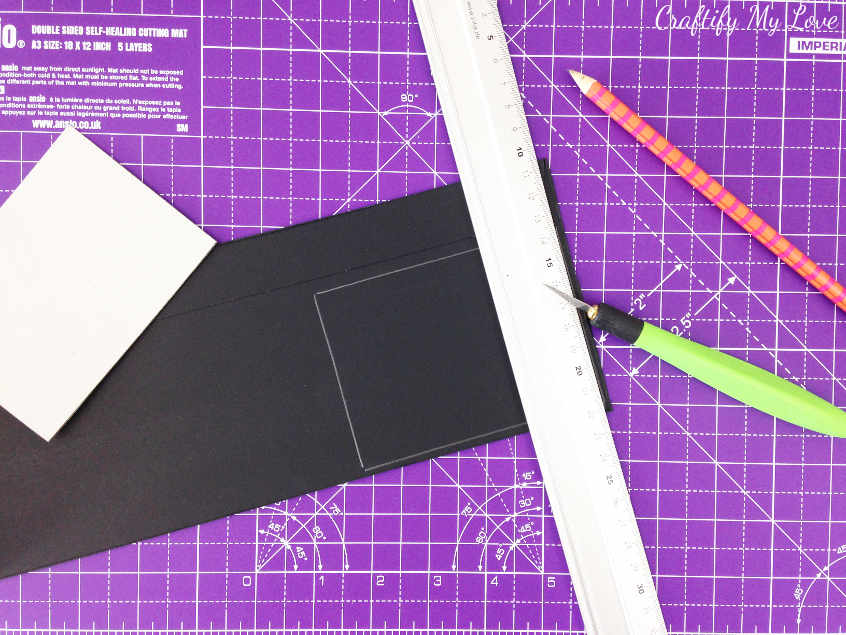
Find contrasting card stock for the back of your card. I used a black box I once saved from a NESPRESSO delivery. I love recycling things for my projects as it is both good for our nature and my wallet.
Cut out the base of your card by using the free template or the SVG file again.
Tip: Learn where to find Craft Supplies for Low or No Money in my FREE Guide HERE.
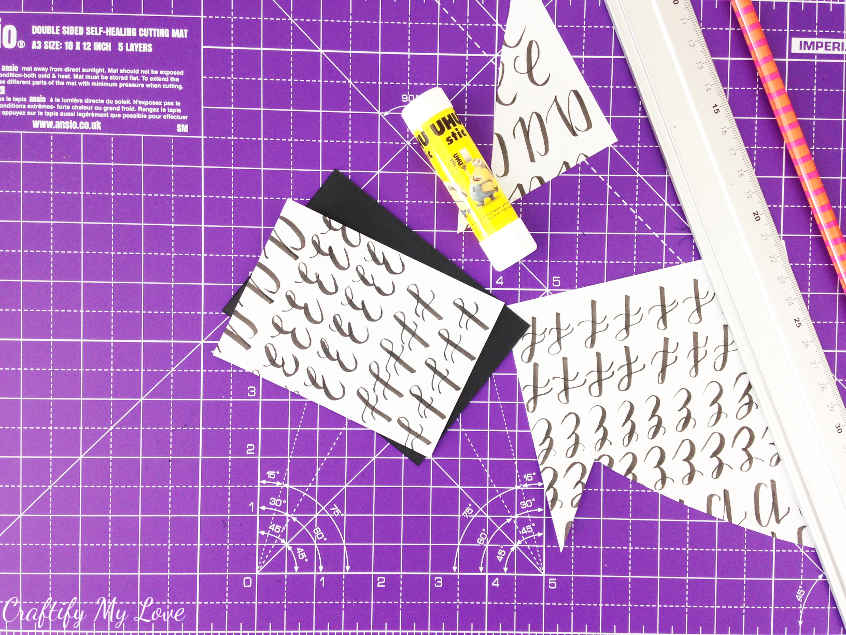
You could cut out a slightly smaller piece of the scraps left from your envelopes paper to make a super matchy card to your DIY mini envelopes. Using the glue stick you’ll glue it in the center of your previously cut card stock.
More DIY Card Inspiration you might like
- Watercolour Card
- Mixed-Media Easter Card
- Mother’s Day Card
- Find even more over at FaveCrafts.com
Will you give this frugal & fun paper craft a go? Who will be the recipient of your first envelope & card combo?
Love,

PS: Don’t forget to PIN this for later.
What a great idea! I’ve been practicing hand lettering for more than a year and I’ve saved my practice sheets but didn’t really have a plan for them.
That’s awesome! Now you have abuse for them. They would totally rock in scrap booking or in a decoupage project, too, don’t you think? Or as a Passepartout for a lovely framed photo.
What a fun way to upcycle practice sheets! They’d be super cute too if you used an old sheet music book. Pinned for later and tweeted!
Thank you, darling! Your idea with those music sheets is awesome, too.