This summer I spend yet another fabulous week at my friends house in the south of England. We know each other for more than 20 years now and share the passion for crafting, girly things, and anything sparkly really! Although we live far away from each other we stay in touch and send us pics of our latest finds and projects. When together, we spent our time treasure hunting in local charity shops, craft suppliers, or beach combing, make up new ideas or browse through the latest books and magazines we found.
This year I couldn’t walk past a new book she had in her stash which is called Tilda’s Studio. You can buy the book (which includes detailed instructions, drawings and the templates – sorry, I couldn’t find them online for you) on Amazon or check out Tilda’s blog for other crafting ideas. The book contains more than 50 sewing projects for yourself and your home.
You might ask yourself: “If she wants me to buy the book, why this blog post, then?”. And I’ll give you a very good reason of course: “I’ve had some serious questions while making the dolls, might have made a mistake or two which I want to spare you from repeating, and I really want to show you, that it’s a project which might look intimidating, but is actually doable – even when you lack patience, experience and are a perfectionist, like I am.”
I fell head over heals for the little (angel) dollies
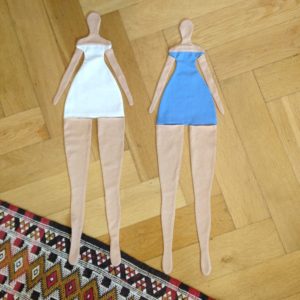
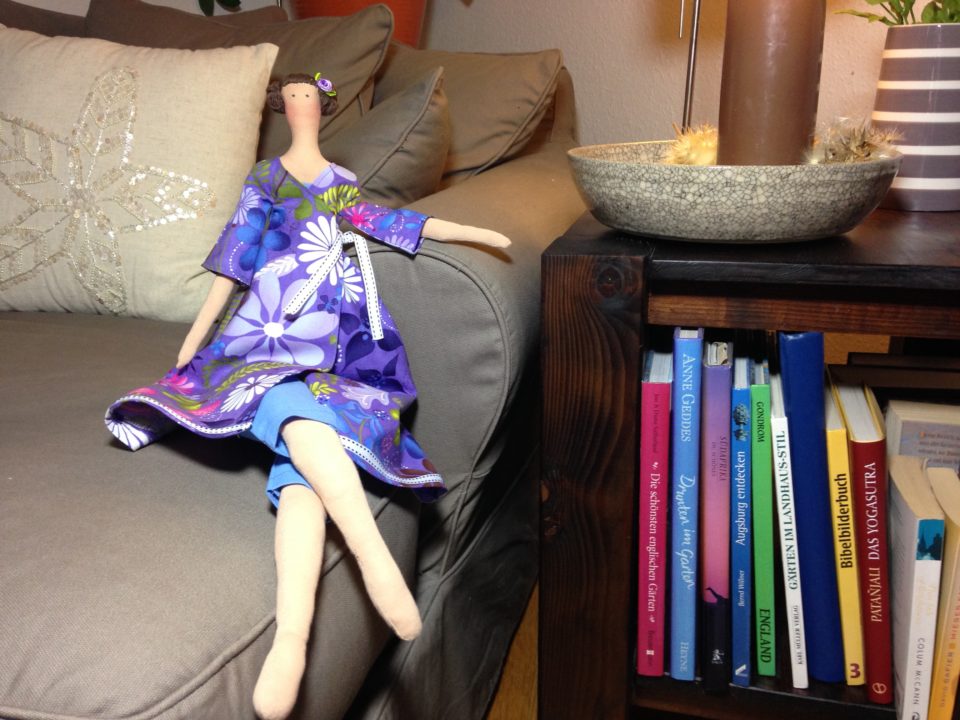
I didn’t make notes *making a note right now to do better in the future, though* so I can’t really tell you how long it took me to finish them both. Yep, that’s right! I made two – one for my friend for Christmas and one for myself *yay!! I get to keep her* – although mine isn’t completely done yet. The Madam (on the left in the picture below) is still waiting to get dressed properly, and a visit at the hair dressers and beauty salon wouldn’t hurt her either.
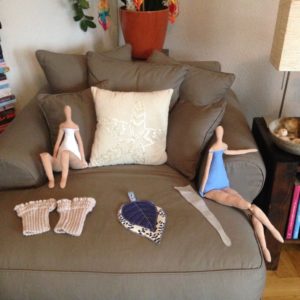
But first things first
I bought tracing paper *because it is really handy to have a package home, you can use it for sooooo many things* and copied the patterns from the book. They come in the right size already so no enlarging it with a copying machine or any such thing was necessary. I found old jersey sheets at a charity shop which cost me about 50 Cents. And they had the perfect skin tone color for my dollies. Although I’d recommend to use a non elastic fabric because the Madams legs and arms look a bit as if they had cellulite. And I am positive that this wouldn’t be the case if I had used 100 % cotton. As I have done for the bodice.
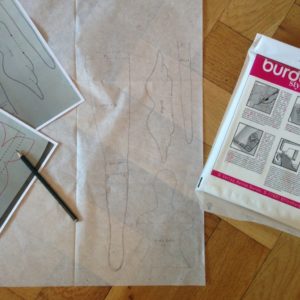
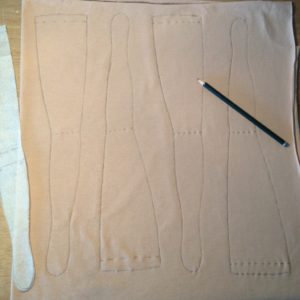
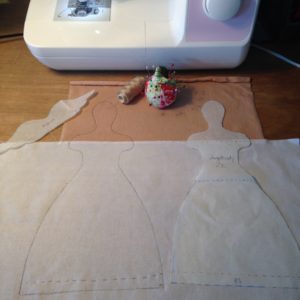
I want to start sewing already
Don’t you hate all the pre-work before you can actually start sewing? I do. Or I have to say: I did. Lately I stocked up on good tools (I think I feel a new blog post bubbling up in my chest right this moment…taking a note right this moment…I will write it soon…promise!) which makes the prepping process so much more fun and comfortable. And yes, I do feel like a pro now, hehe.
It was finally time to hit my sewing machine and get going: 2 Bodies, 4 legs, and 4 arms. Tadaaaaa
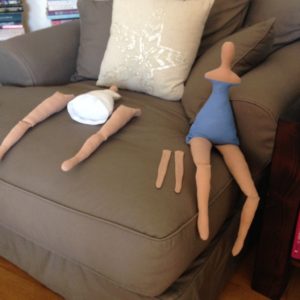
It was time to sew on the legs and arms – by H A N D – which I am not very good at because, helloooo, no patience here! After the first two legs I was so fed up with it, that I didn’t continue working on this project for a couple of weeks *eeeek* but as Christmas is coming soon I had to finish them. I decided selfishly that I will sew on the legs for the second Madam with my machine. It worked! She doesn’t look any better or worse than her hand-sewn sister.
Now for the dressing part
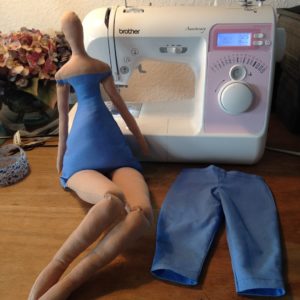
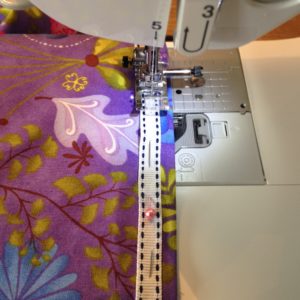
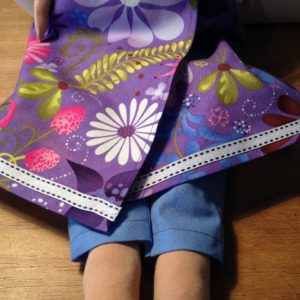
A lady needs to be properly dressed at all times. Or so I’ve heard. So it was time to make the teeny tiny clothes for my dollies. In the book you can find several possibilities to dress your doll. You can choose from pants, a skirt, a ruffled top, a jacket, even a headscarf or a wrap around dress. I decided for the pants and dress for Madam No. 1.
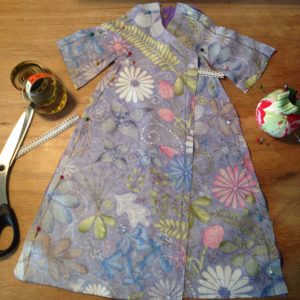
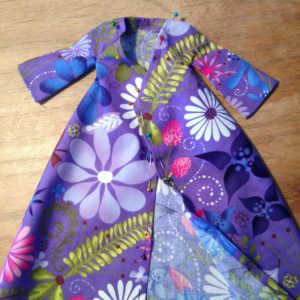
Oh and, if you actually want to be able to make a bow to close the dress you might consider cutting the ribbon twice as long as the book recommends. I can’t make a bow with mine *möööp*.
Hair dresser to the rescue
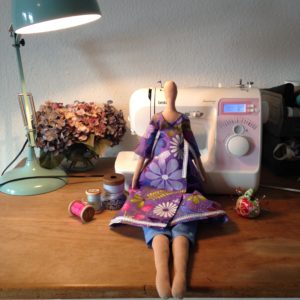
Sooooo, I gotta be honest with you for a minute. Up till now this was a super easy project although I had to tune my fine motor skills in order to get it all done. BUT I tell you, I’ve had NIGHTMARES about the HAIR. I researched on Pinterest, and researched some more. Couldn’t find doll hair (as recommended in the book) I liked or wanted to afford. So I procrastinated. Did other projects until there was literally no time left to waste if Madam Butterfly were to make it in time to my dear friend in England. So I decided last Sunday: Today is the day!
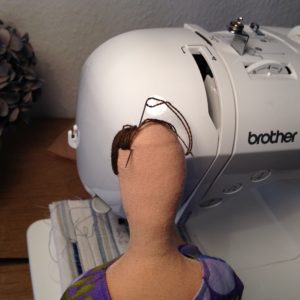
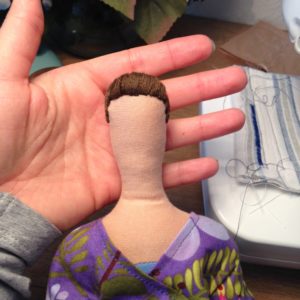
Can anyone say Voodoo Doll?
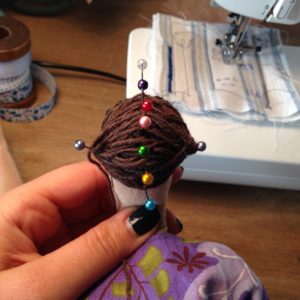
With the buns I had a little problem in the beginning. The strands would come loose all the time so I ended up braiding three strings of the thin wool and sewed the beginning loop around the pin which comes out of the dollies head where the ear is supposed to be (those two dark gray pins in the picture). After that, I wrapped the braid around the pin till the point where I stopped braiding. I sewed that on again. After that, a couple more rounds of the unbraided part of the wool (to make the little bun look like a grown-up), which I fixated again with a couple of stitches to the head. Et voilà!
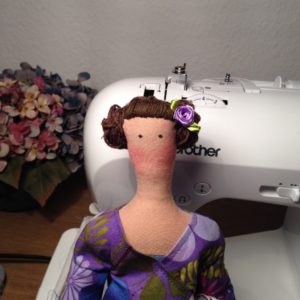
Which tone suits my complexion?
I read that you could either buy special fabric paint to create a dolls face or you could use lipstick! The lipstick it was, of course. I only had to choose the right shade. I tried different pens for the eyes as well. After the amount of time you spent on your doll by now, you don’t want to mess up with the face! No you don’t! Don’t even dare to get brave at this moment. You’ll regret it!
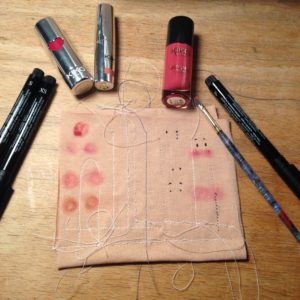
I applied the lipstick with a dry brush. But I made sure to get rid of some excess color on my scrap of fabric before touching it to Madam Butterflies cheeks. And you know what? I even did a little contouring afterwards in the face and décoletteé…but with a minimalist amount of color on the brush!!
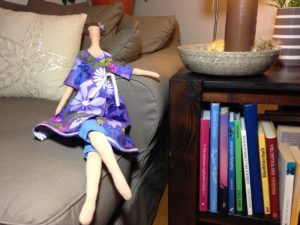
Go creative – add a little BLING
I am thinking of sewing on two tiny beads as earrings and making her a tiny neckless es well. A bracelet and a ring would work, too, I guess? This was not in the description but you could *and I think you should* let your imagination run wild when DIY-ing. So I think I will give it a go…
I hope you enjoyed my first crafting post? If you did, make sure to subscribe to my mailing list to receive more happy-craft-posts to your inbox! Also please do tag @habiba_cml on Instagram, if you craft something inspired by me. Of course you could also follow me on Bloglovin.
⋅ Habiba ⋅
This doll is so neat! I have never seen anything like this!!
Thank you so much Aleisha! It was a lot of work but I really enjoyed doing it! I still have one almost done. All she needs is some clothes, hair and a make-up 😉