Spring Wreath in Pink and Lavender
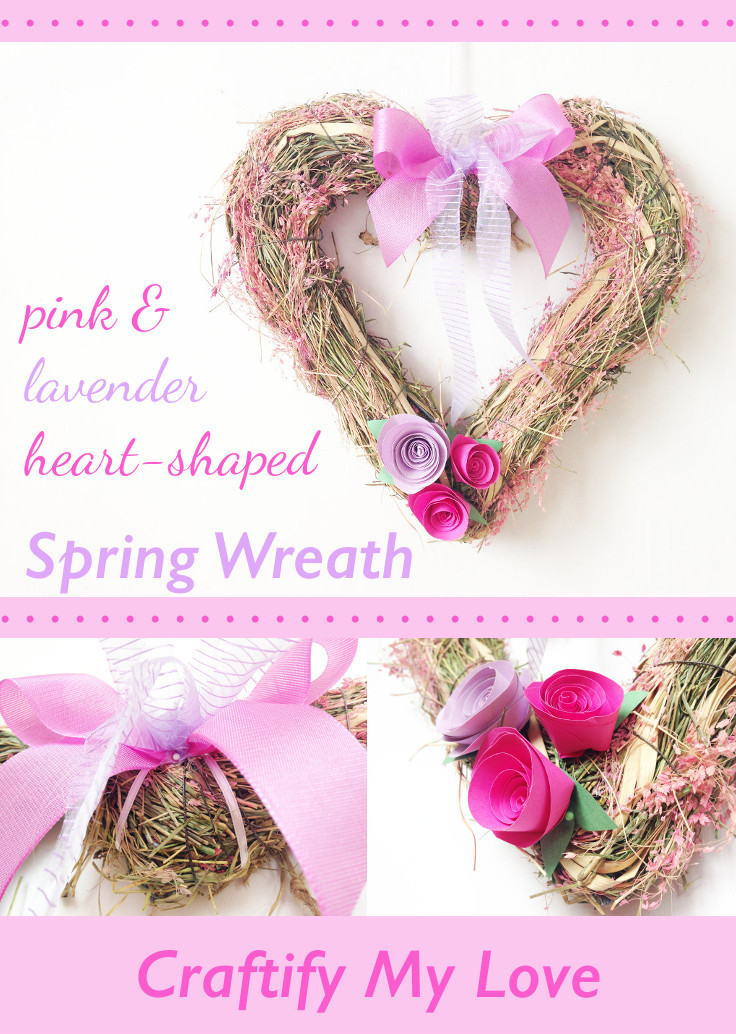
I am not really into seasonal decorating my entire place, but I do love to decorate my front door. Lots! I like entering welcoming homes and I figure a lovely wreath on your door will show people a little glimpse of what’s to be expected in side. In spring I am all about soft and delicate colors and materials so I decided to make a pink and lavender spring wreath using a straw heart (which is made out of greenish hay, straw and also a view pink dried grasses) I bought on a farmers market on a trip to Salzburg, Austria.
Boy, I gotta tell you, bringing my treasures home from my trips is always an adventure!
The heart-shaped wreath by itself would have been ready to go on my front door. But crafty me who strives to make everything I touch unique, wanted to give this wreath a little extra TLC. So I looked into my drawers and found a couple of ribbons and paper and went to work…
Materials you’ll need
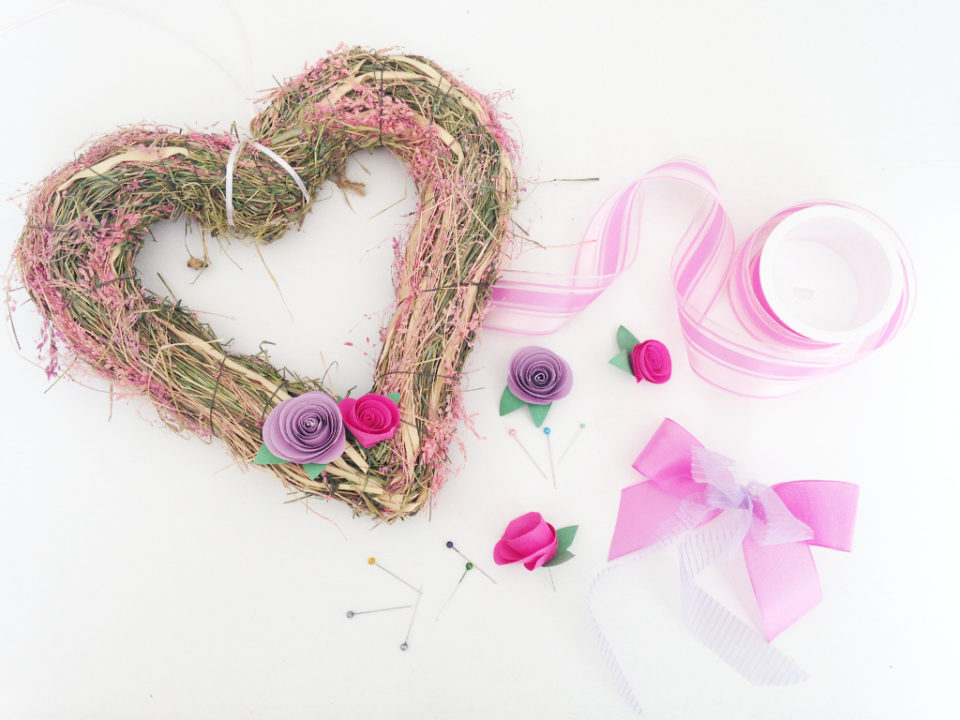
- hearth-shaped straw wreath
- ribbon in pink and lavender (to make the center bow)
- ribbon in light rose (I used this one for the suspender)
- three paper roses in pink and lavender (learn how to make paper roses)
- pins
Make your own pink and lavender heart-shaped spring wreath
Step 1 – DIY paper roses
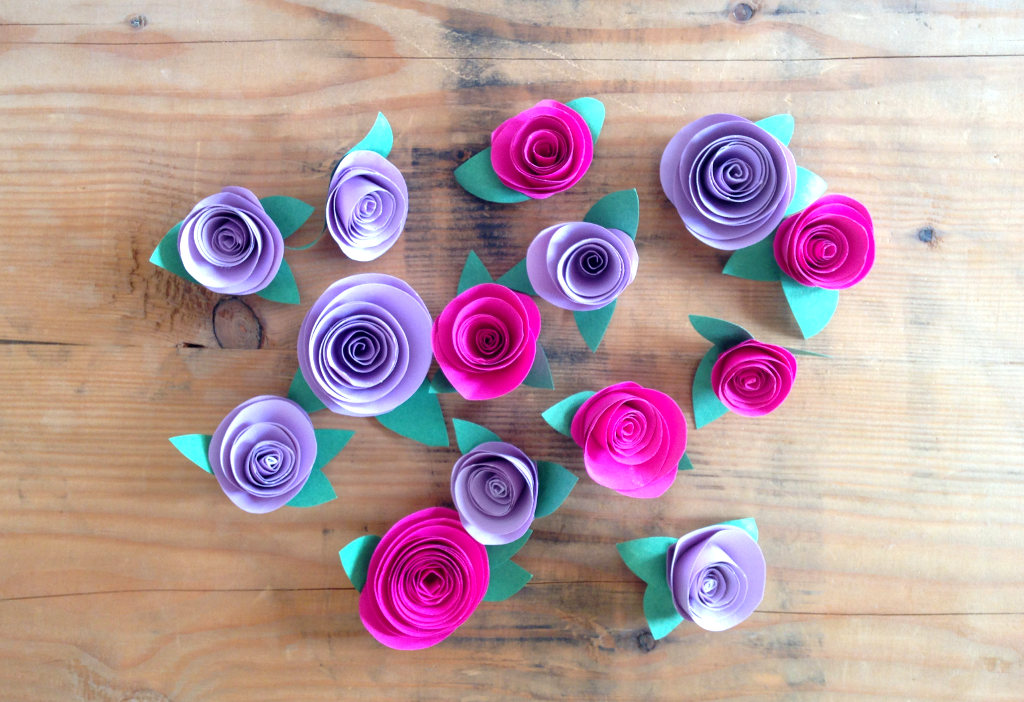
After you found all the craft supplies you’ll need, you might want to start with the DIY paper roses as they will need a little time to dry.
I had everything at home and could start getting all creative right away – I love that!!! Do you?
Step 2 – make two-colored ribbon bow
Meanwhile you can start making the bow that will go into the top of the wreath. Actually you’ll be making two bows – one slightly bigger (pink) than the other one (lavender).
Learn how to make a simple ribbon bow from Julia DIY:
Step 3 – wreath assembly
Suspender:
Use the light rose ribbon to make a suspender for your wreath. On top of this suspender you’ll be placing the bow in a second.
Now go find your pins. I used them instead of a hot glue gun because I sometimes like to change things up after a while and when using pins it’s super easy to redo your spring wreath. Simply take off the bow and roses and let your creative juices do their work again…
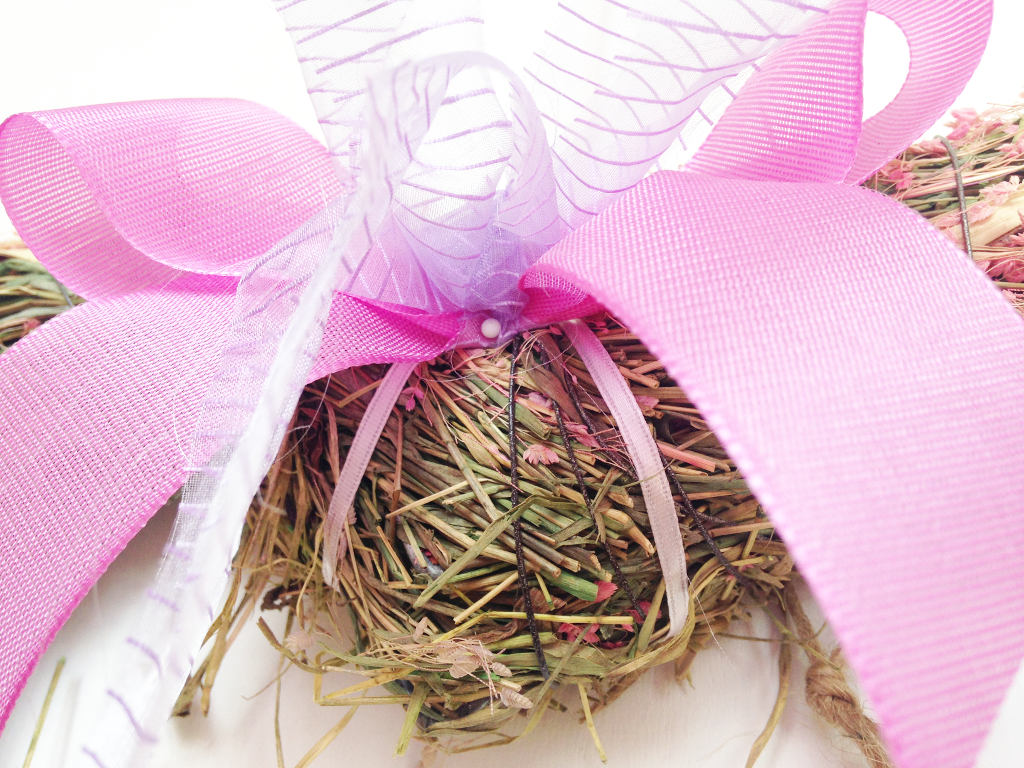
Bow:
I used four pins in total to fix the ribbon bow to the wreath. One to fix the lavender bow to the pink one and another one to fix the combo of two bows to the top center of the wreath. A pin each went on each side of the bow, so the ends wouldn’t flop down, but be as perky as I wanted them to look. And you’re half way through.
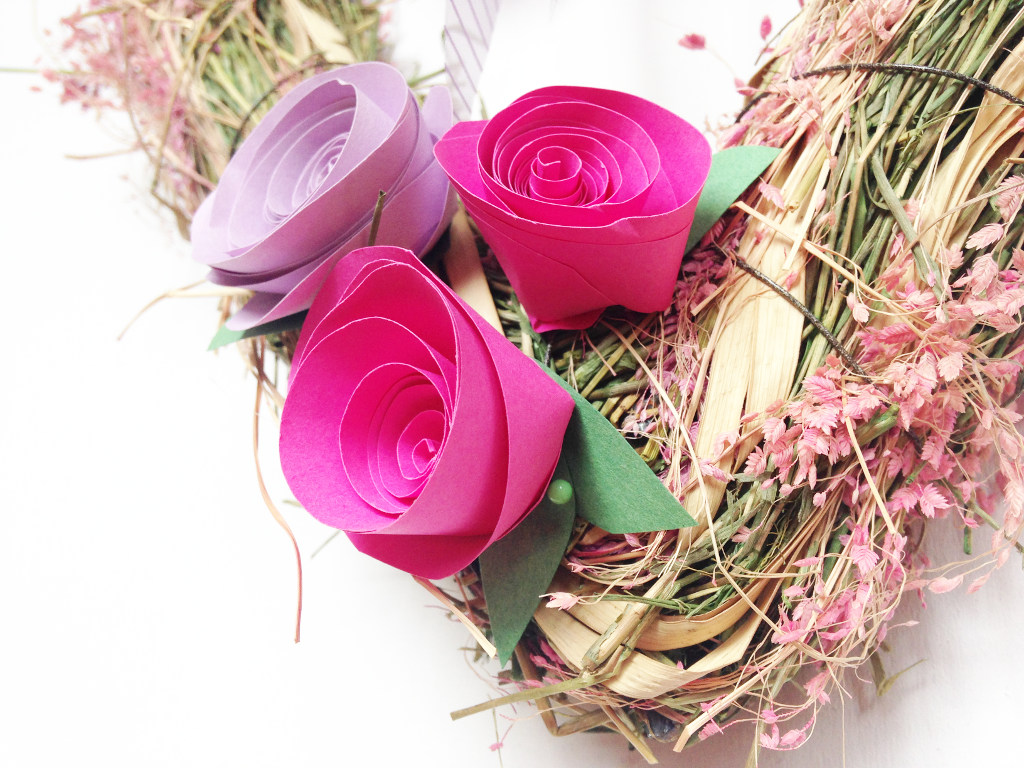
Paper roses:
Use two pins for each rose. I pushed one right through the middle and one through a leaf on the side. I suggest trial and error until you’re happy with the placement and stability. You don’t want them to fall off as soon as you close the door too hard or a spring breeze says hello to your wreath.
Now step back and admire your work!
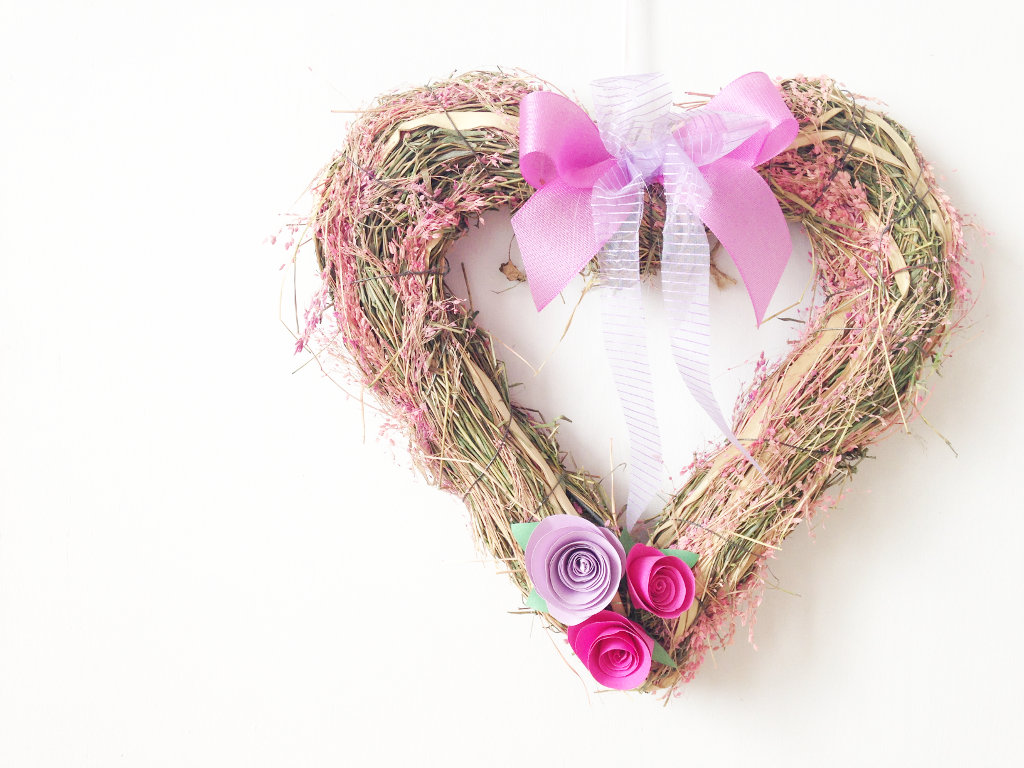
A propos heart-shaped – Go Spread The Love!
Because if you enjoyed this tutorial, why not share it right away with your crafty friends who also like to create a happy, heart-filled and welcoming home! Go ahead and PIN the image below.

Love it my dear. Our door has windows, but I do wish it was solid so I could put a pretty wreath on it
Does it have several windows? Because you could make mini-wreathes and put one in each window 🙂
So beautiful! great tutorial
Thank you Jessica!
[…] beautiful lavendar wreath will be pretty hanging on Grandma’s wall. What a pretty homemade gift to brighten her […]